Cricut: How to Make a Baby Milestone Banner
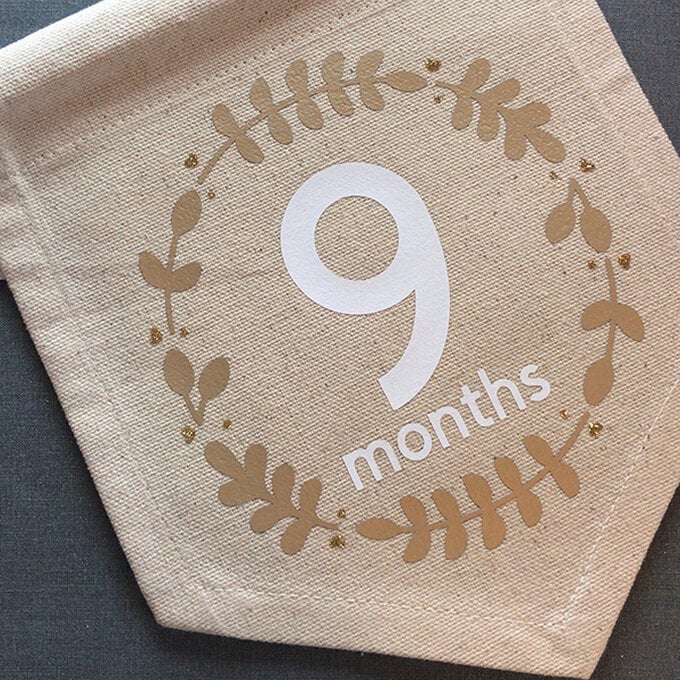
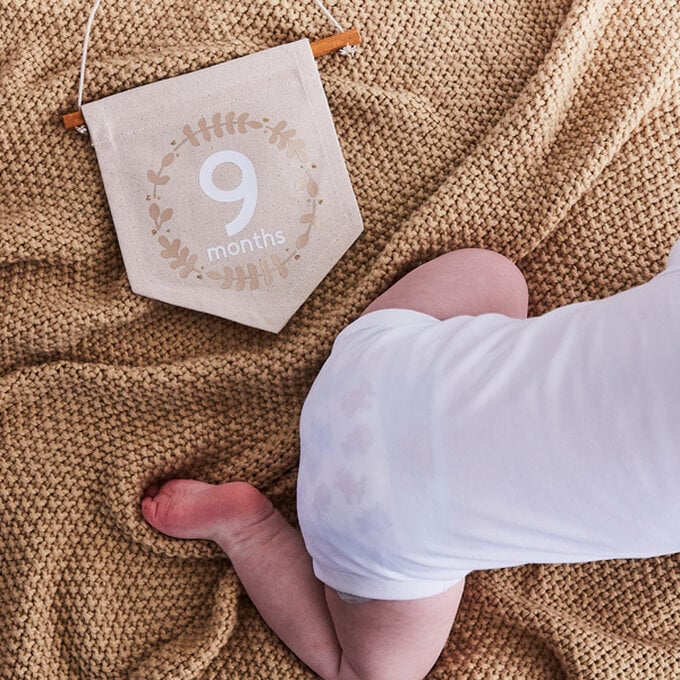
Milestone Banners are the perfect way to capture monthly images of your growing baby, preserving precious moments for years to come. With a hint of glitter this project gives your milestones a little sparkle. Personalise with the colours and month of your choice. The Cricut Maker machine was used to create this banner, however this project can also be made using Cricut Explore.
Project and how-to make instructions by Hobbycrafter Joey Daley.
This project contains paid for content from Cricut's Design Space app.
Reference screen images included within this how-to are from the iOS iPad version of the Design Space app
You will need
Subtotal
Is $ 393.00
Subtotal
Is $ 3.49 , was $ 7.49
Subtotal
Is $ 19.00 , was $ 24.00
Subtotal
Is $ 13.00 , was $ 17.00
Subtotal
Is $ 13.00 , was $ 17.00
Subtotal
Is $ 33.00 , was $ 41.00
Subtotal
Is $ 145.00 , was $ 218.00
Subtotal
Is $ 33.00 , was $ 41.00
Subtotal
Is $ 11.00 , was $ 14.00
How to make
Open the Cricut Design Space app and create a new project. In the image library search 'Leaf wreath' and select the wreath, alternatively search for image number #M8A1C9D1. Insert this image onto the canvas.
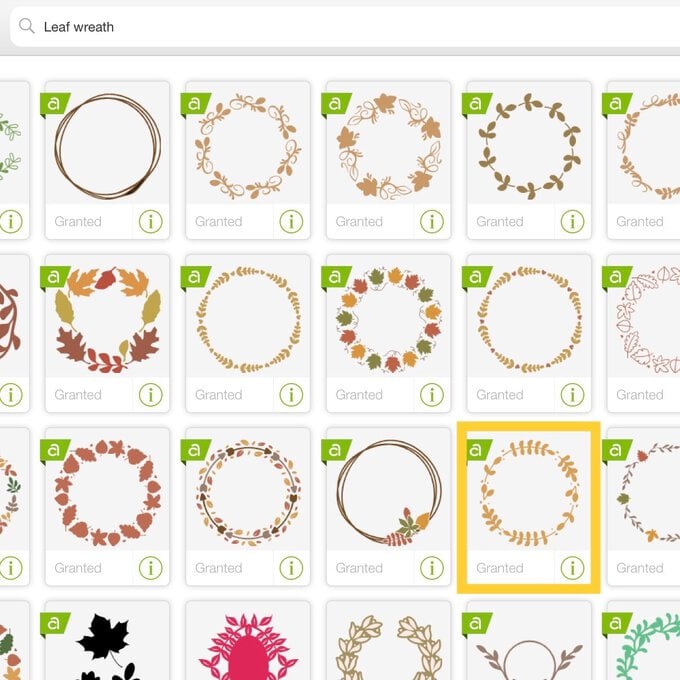
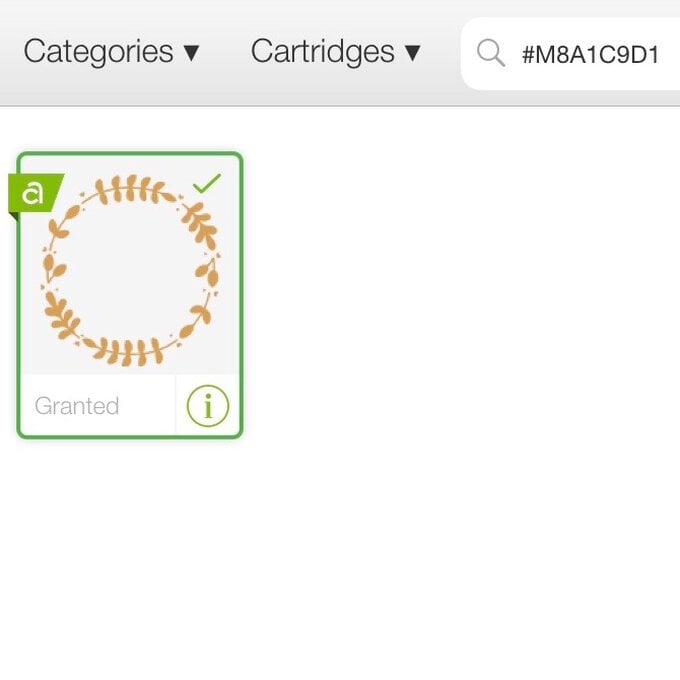
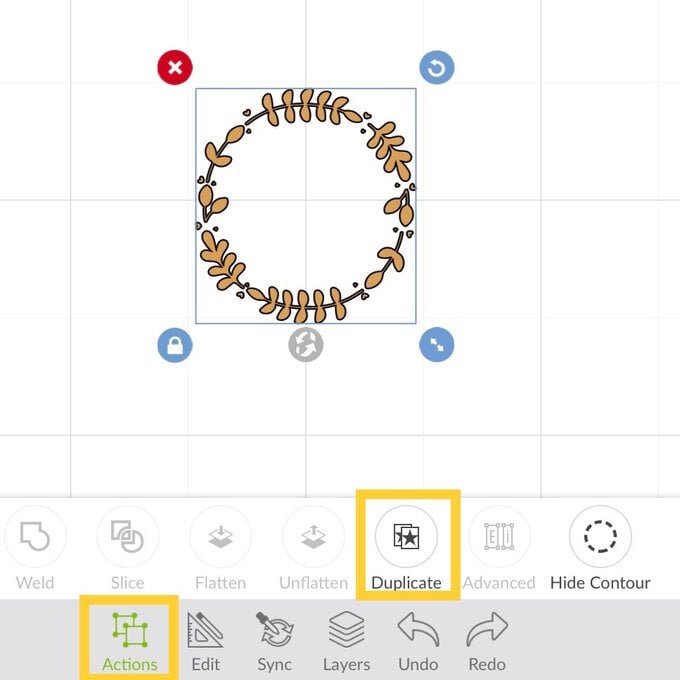
Select the image and in the Actions menu duplicate the image so that you have two identical wreaths. Then overlay both wreaths so they are exactly on top of each other.
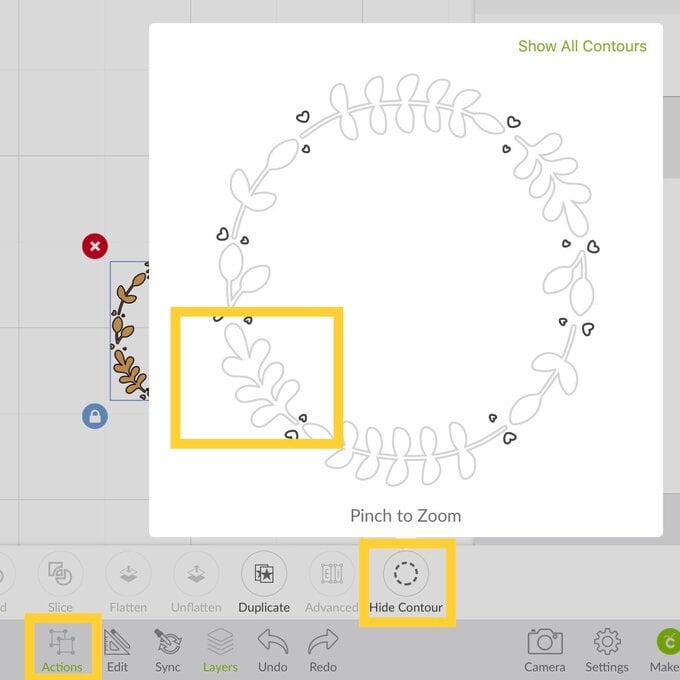
Select one of the wreaths and using the Actions menu press Hide Contour. Select all of the small hearts and hide them so they are invisible to cut. They will be greyed out if invisible.
Using the help of the Layers Panel select the unaltered wreath. Repeat the Hide Contour process to hide all the leaves on this wreath.
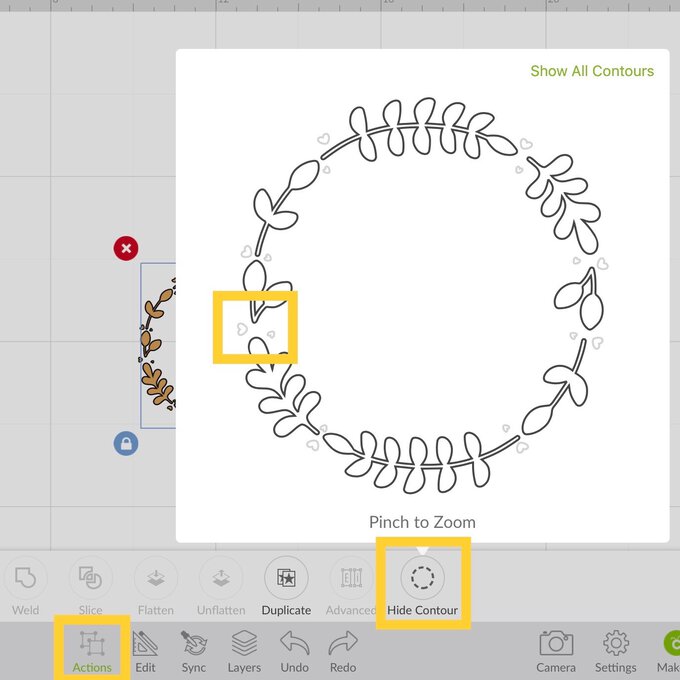
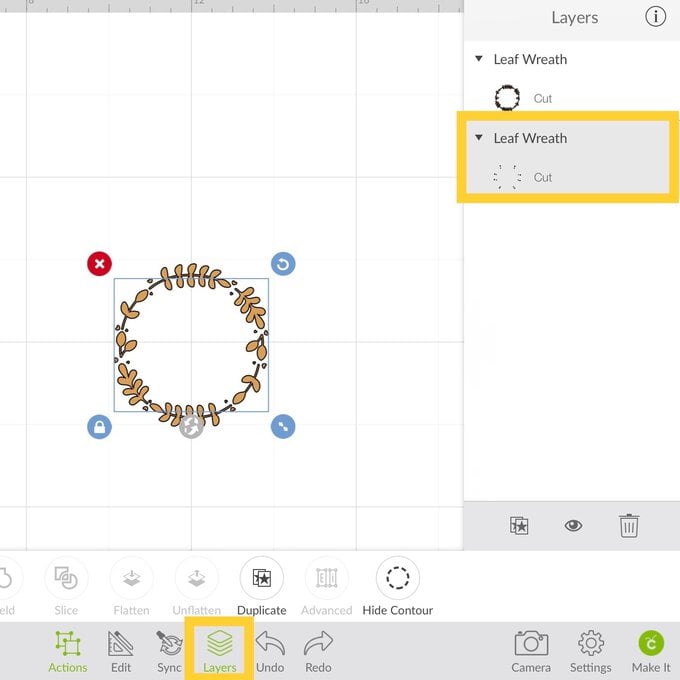
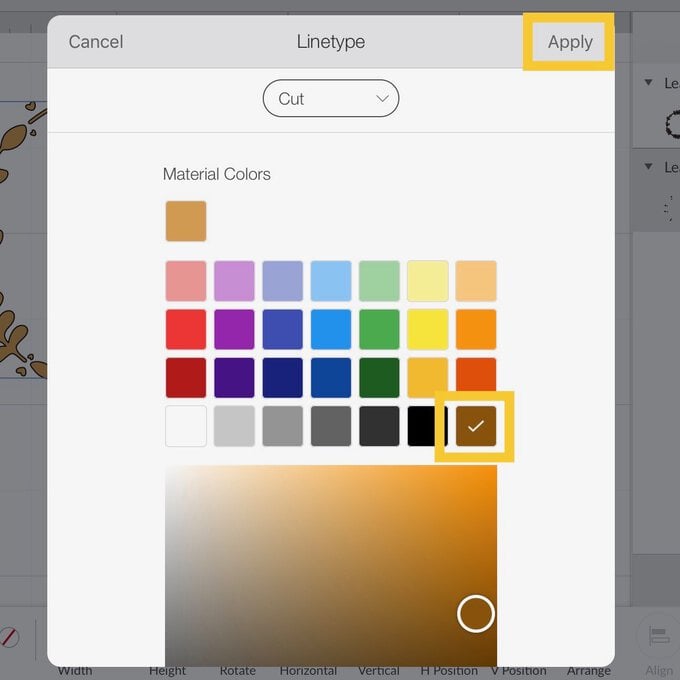
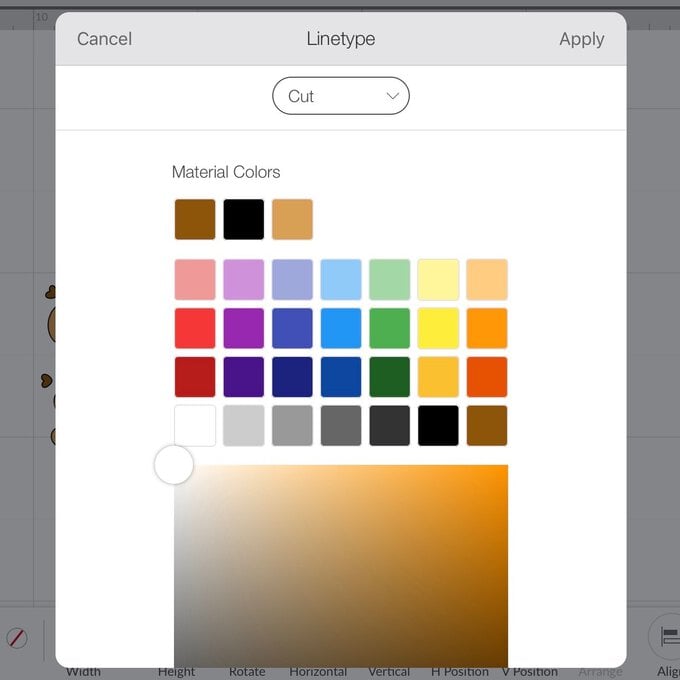
Still selecting the wreath without leaves use the Edit Menu to change the cut colour. Press the Linetype button and pick a gold colour and Apply. This will ensure you separate the wreath layers to separate cutting mats.

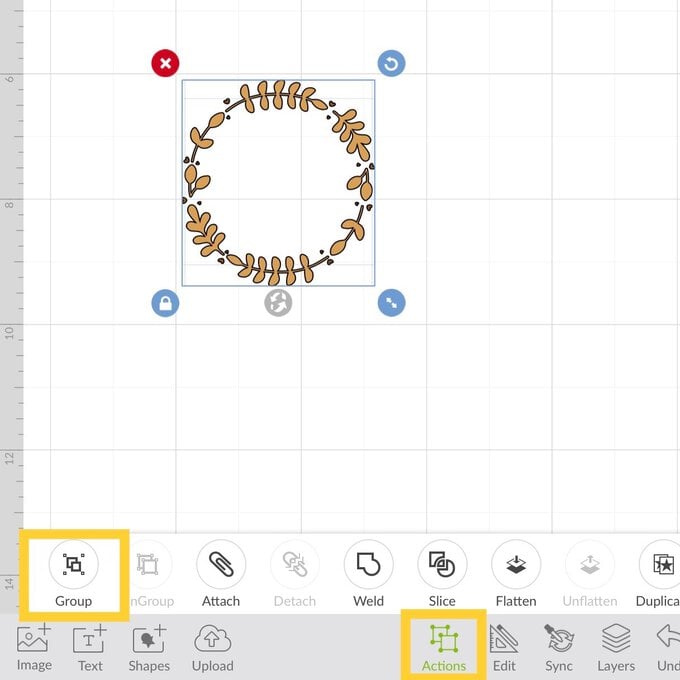
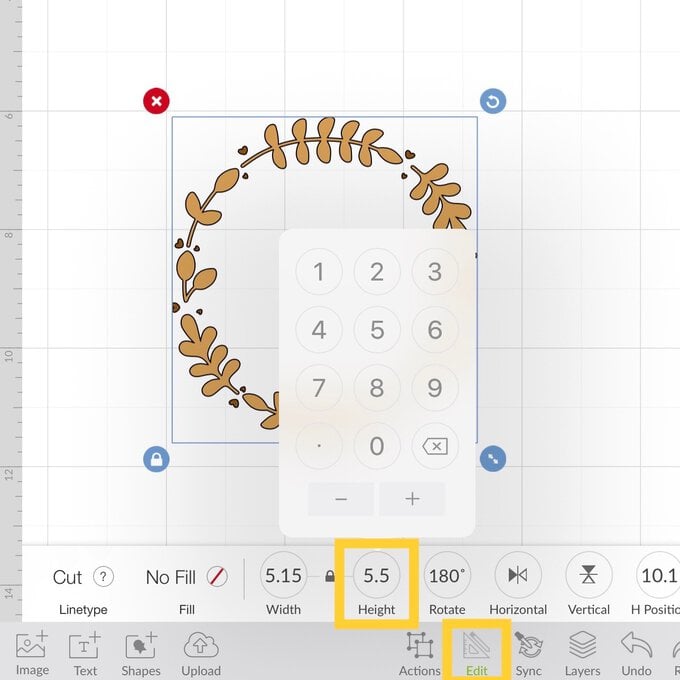
Select both of the wreaths and Group together using the Action menu, then resize to 5.5” height in the Edit menu.
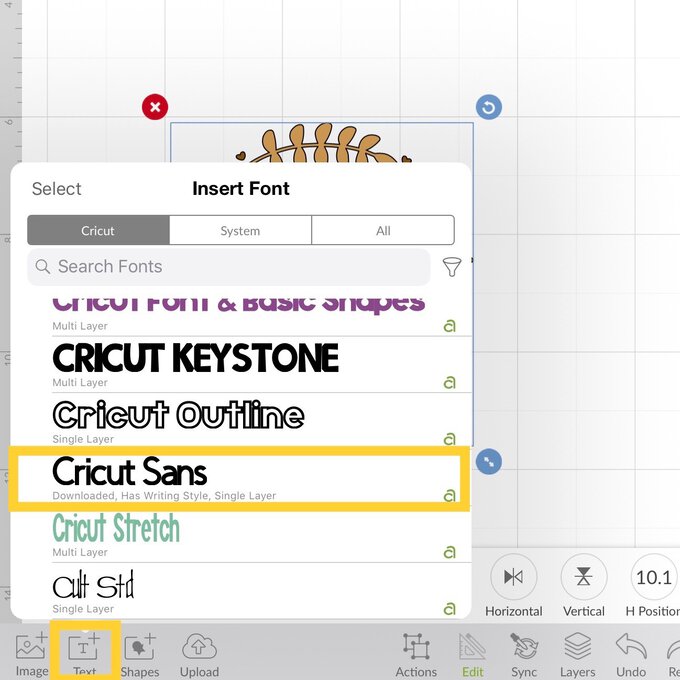
Leaving the wreath for now, move onto the text. Select the Text library and choose a font. Cricut Sans has been used here. Once selected type out your number. Repeat this process for the word 'months'.
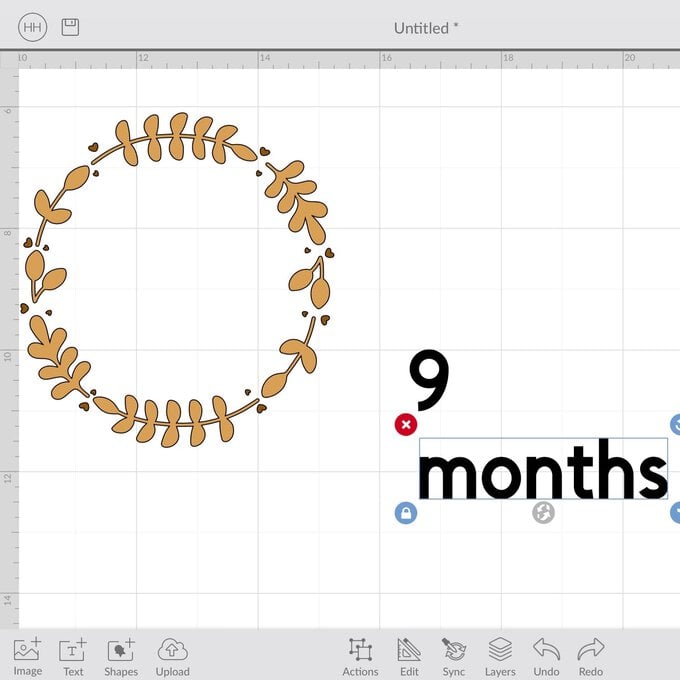
Resize using the Edit menu and position the number and 'months' into place. The number here was resized to 1.65” wide and the 'months' to 2.3” wide. However please note that when using other month numbers you will need to adjust accordingly.
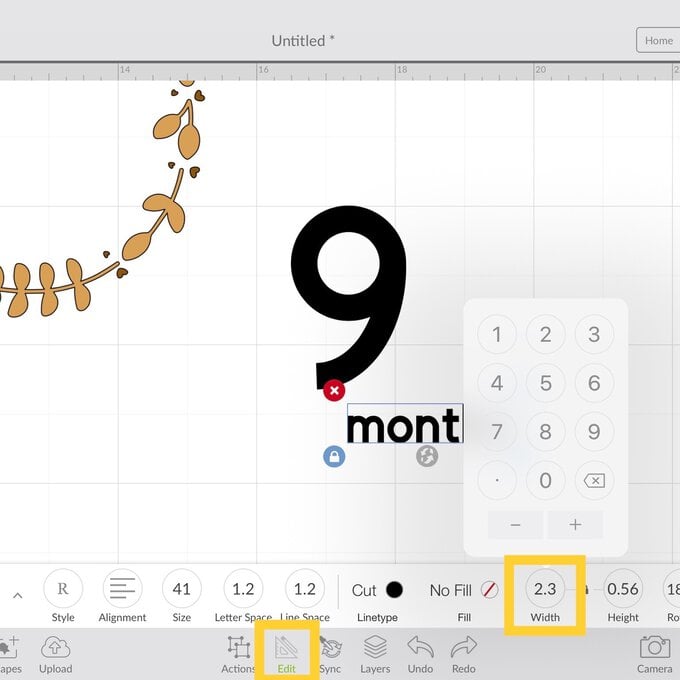
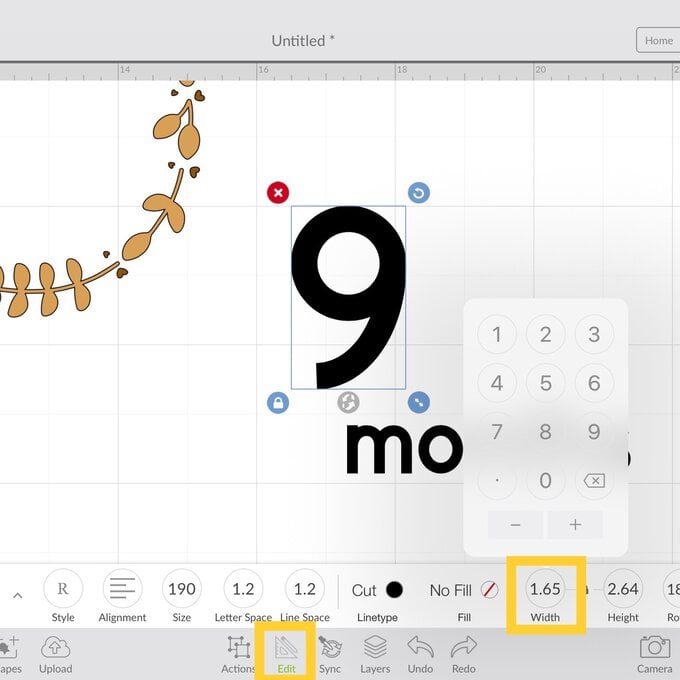
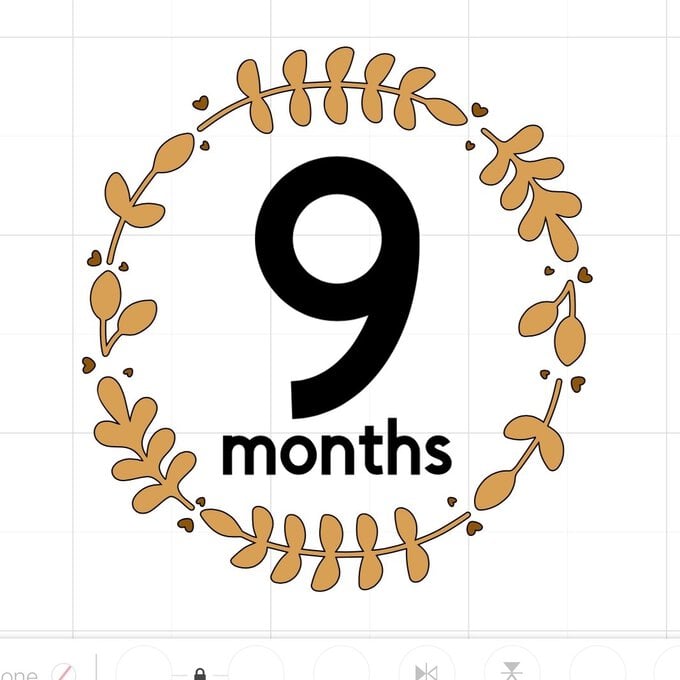
Once happy with the placement, select both the number and 'months' and change the colour to white in the Linetype option, in the Edit menu. Then using the Action menu press Attach, ensuring they cut exactly in this formation.
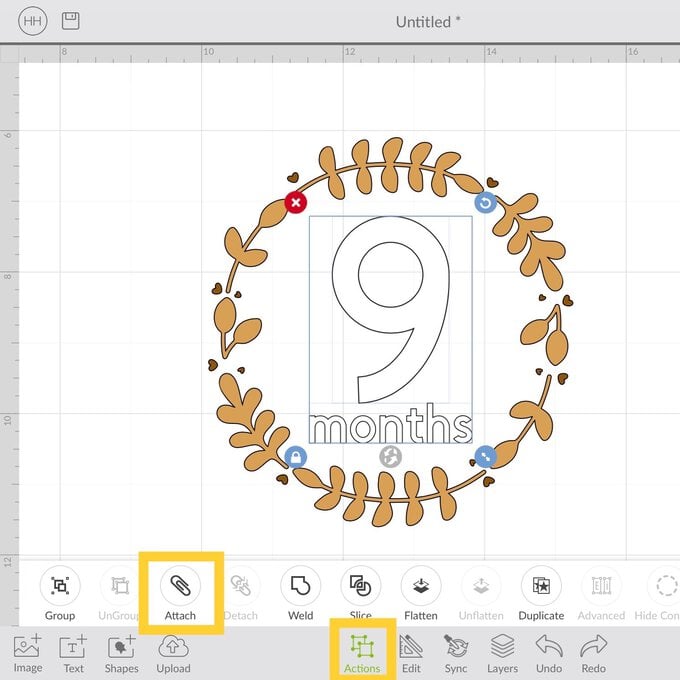
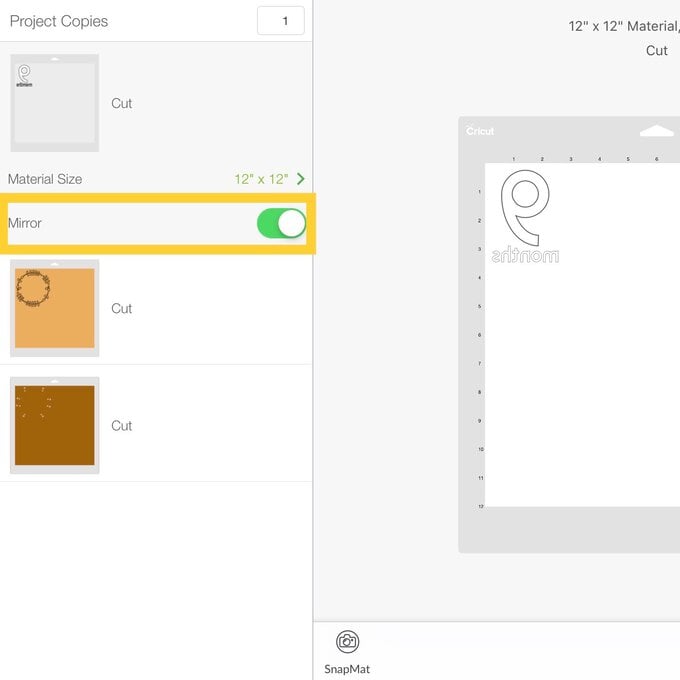
Press the Make it button in the bottom right of the app. This will send the project to the pre-view mat screen. On the left of the screen you will see the three separate mats to cut. You need to slide the Mirror button for each mat ready to cut Iron-on Vinyl, this is because we cut into the reverse.
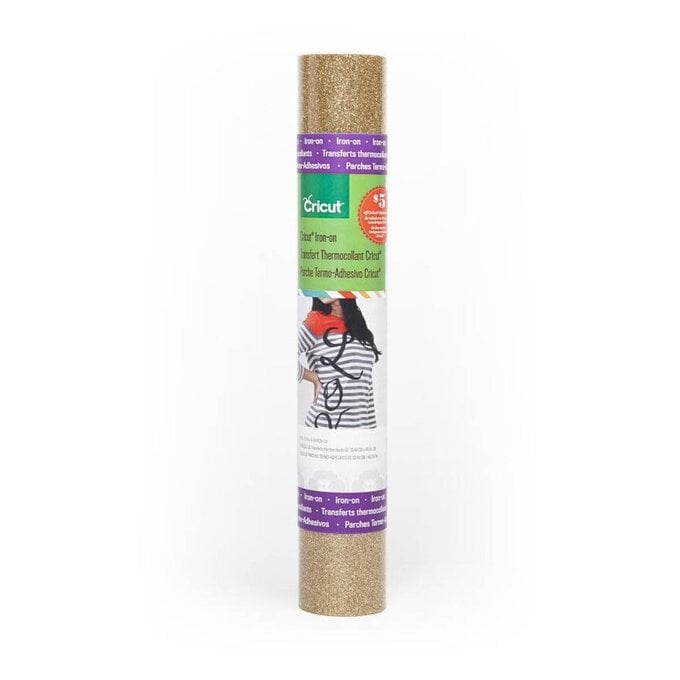
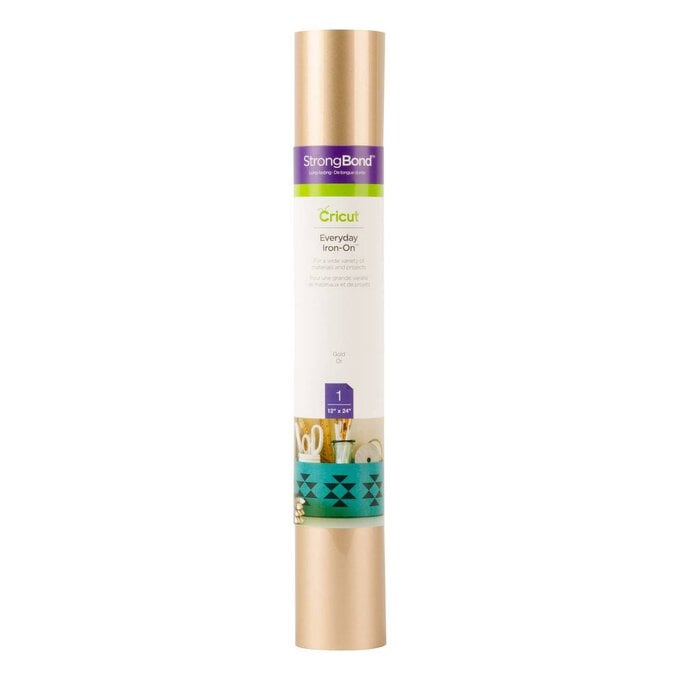
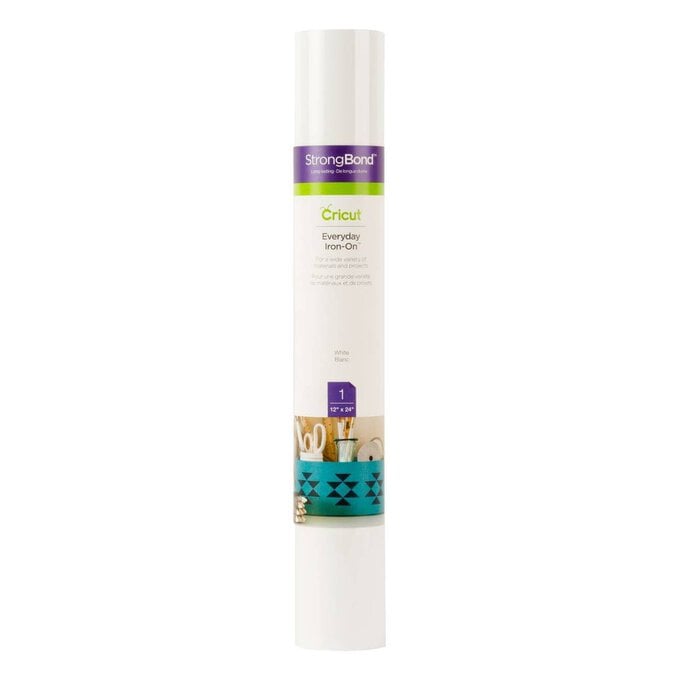
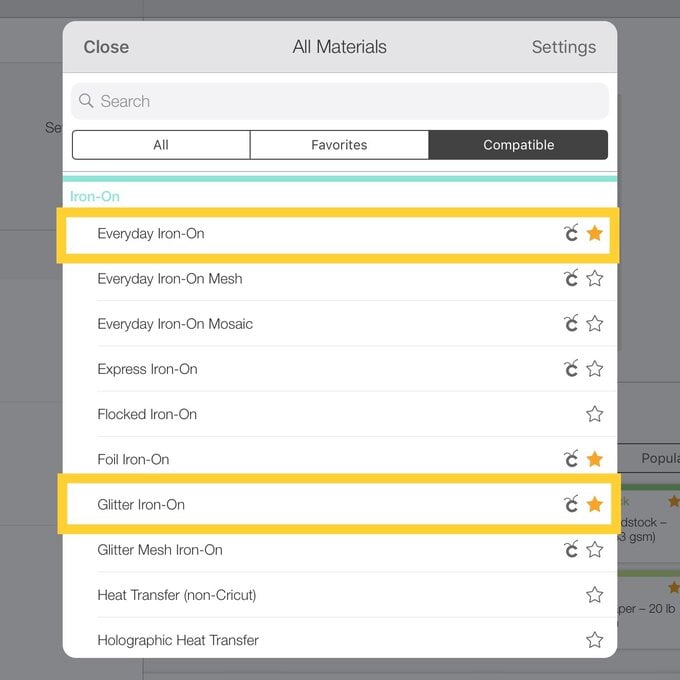
Press Continue and select your material setting. Here we have cut the white mat and the beige mat in Cricut Everyday Iron-on and the Gold mat in Cricut Gold Glitter Iron-on. Tip: Make sure when you are cutting the gold mat you change the settings to Glitter when the app prompts you to insert this mat for cutting. Follow the onscreen instructions for cutting, ensuring you put the vinyl shiny side down.
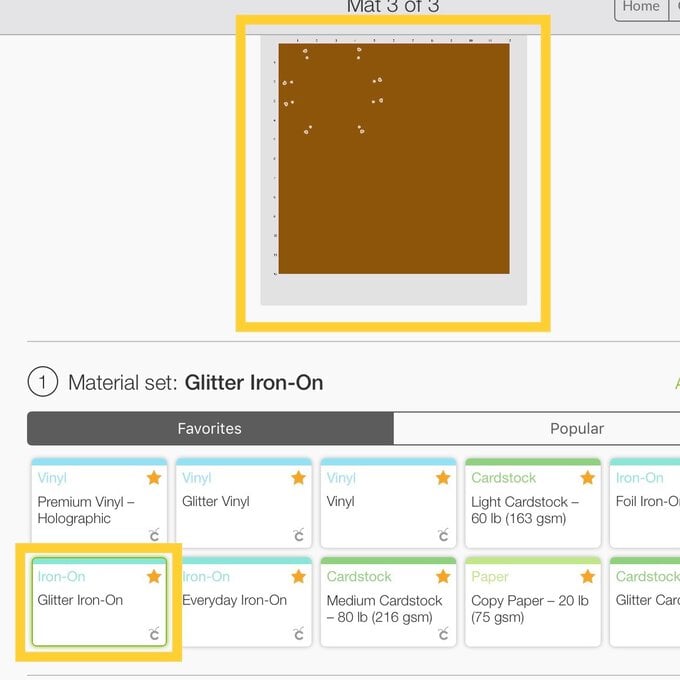
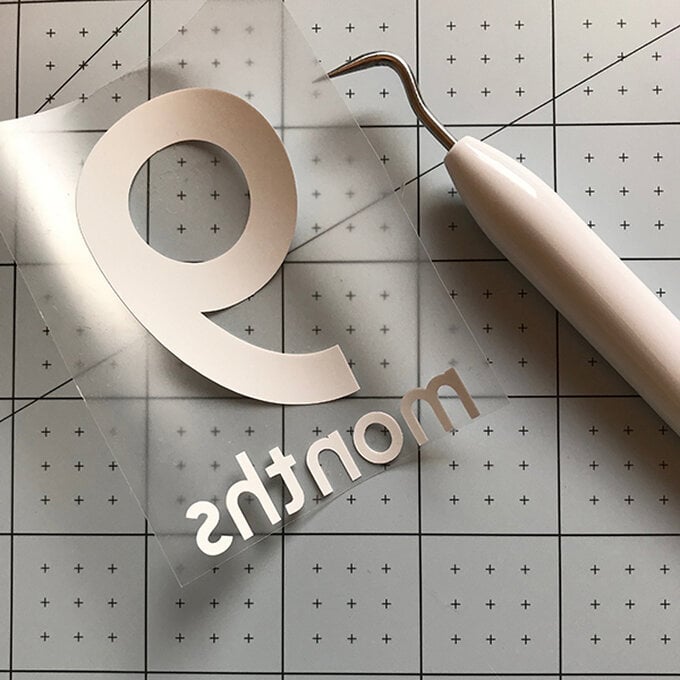
Once all three layers of the design are cut, weed the excess vinyl.
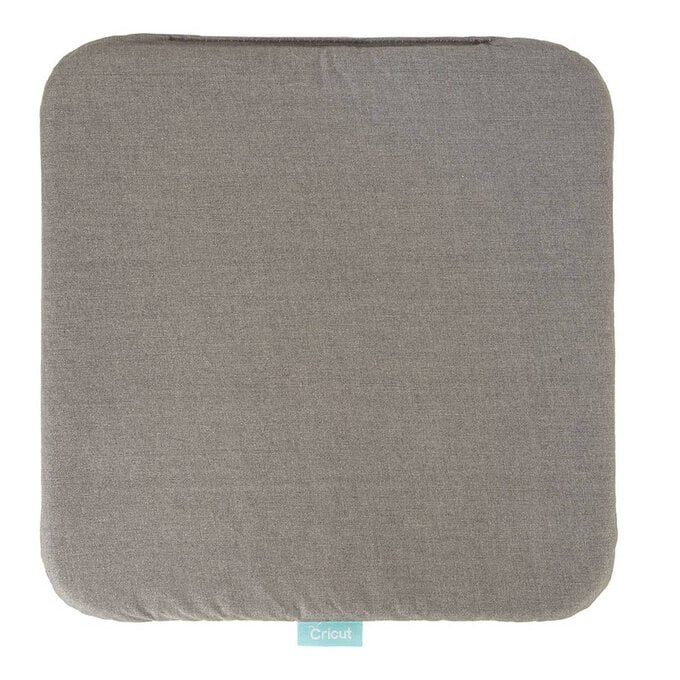
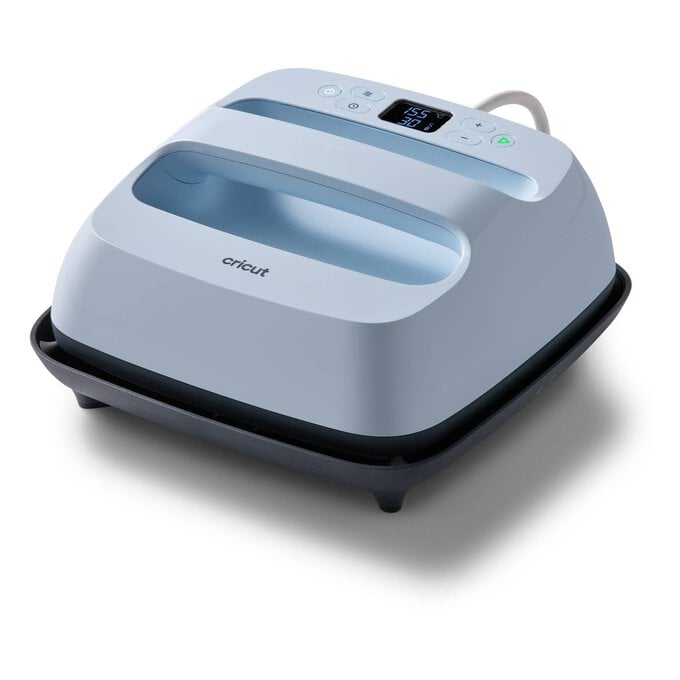
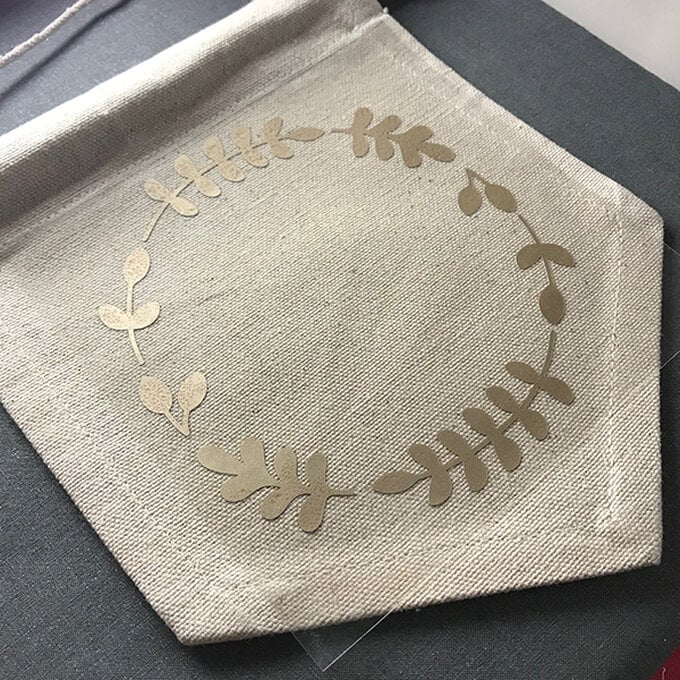
Press each layer of the design separately using the Easy Press Heat Guide: https://cricut.com/en_us/heatguide. Follow the instructions fully to get the correct heat settings and steps. When pressing on top of layers you have already completed ensure you protect them with a heat proof thin mat.
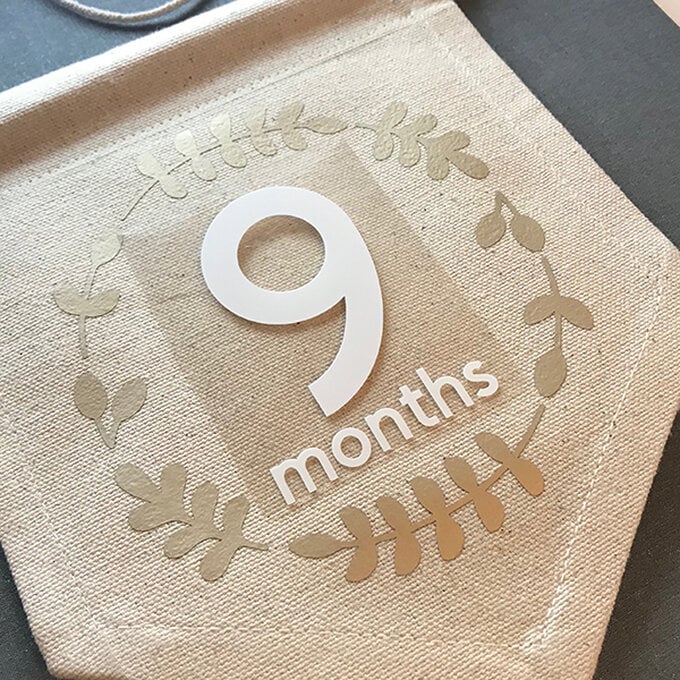
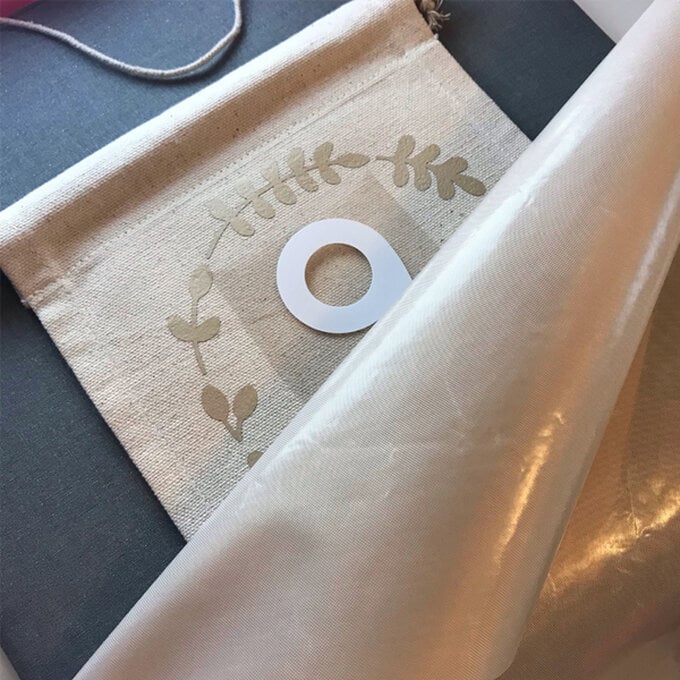
Allow to cool completely before using.
