How to Crochet an Ice Cream Banner
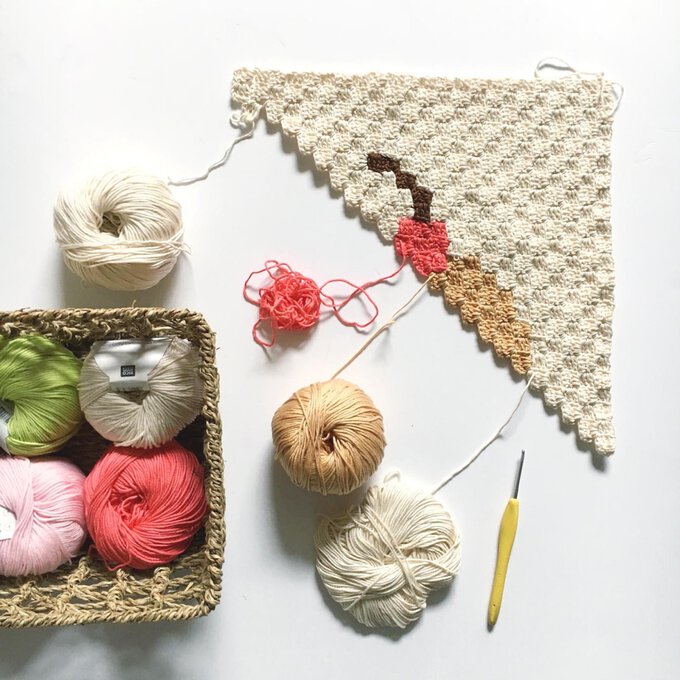
Ice cream season has finally arrived and we are loving this ice cream banner by Steph Lewis using our favourite corner to corner technique!
You will need
Subtotal
Is $ 10.00
Subtotal
Is $ 6.49
How to Make
Abreviations
Ch = chain
Dc = double crochet (US terms)
Ss = slip stitch
St = stitch
ROW 1
Ch 6
Dc into 4th st from hook
Dc into next 3 sts
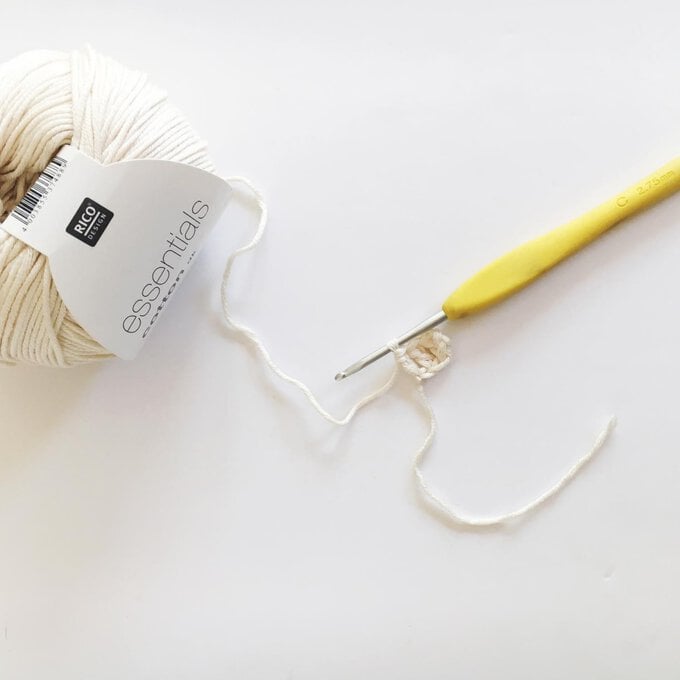
**You should now have one square that is made up of 4 Dc stitches, each of these squares represents one square on the graph.***
Turn your work
Square should look like this:
ROW 2
Ch 6
Dc into 4th st from hook
Dc into next 3 sts
Ss into last DC space to join to the square on the previous row
ch 3 (this counts as 1 Dc)
3 Dc into the same space
piece should now look like this:
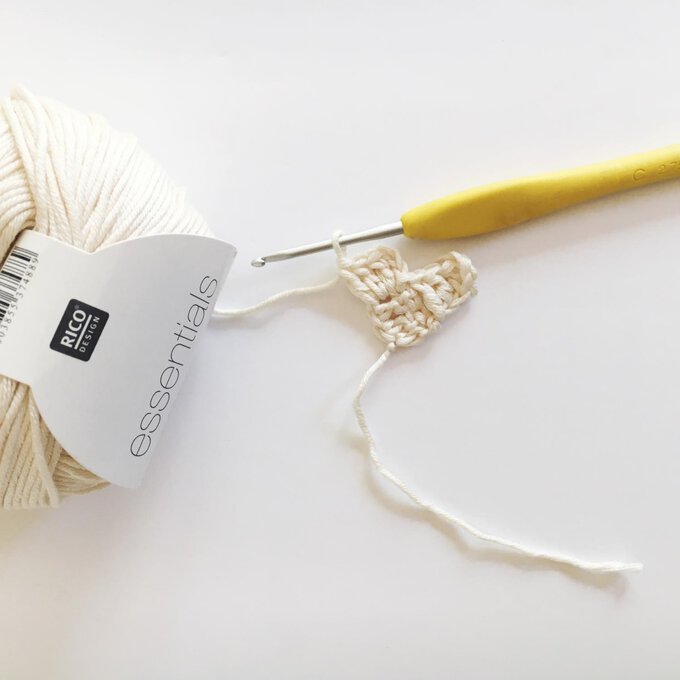
*Continue this method, adding 1 square at each end (so, 2 squares added to each row) while you are increasing.
*When you reach the point of needing to decrease on one side, use 3 ss up the side of the last square you made to put your hook back in the right spot to start the next row. Make sure these ss's are loose so your project won't slant to one side.
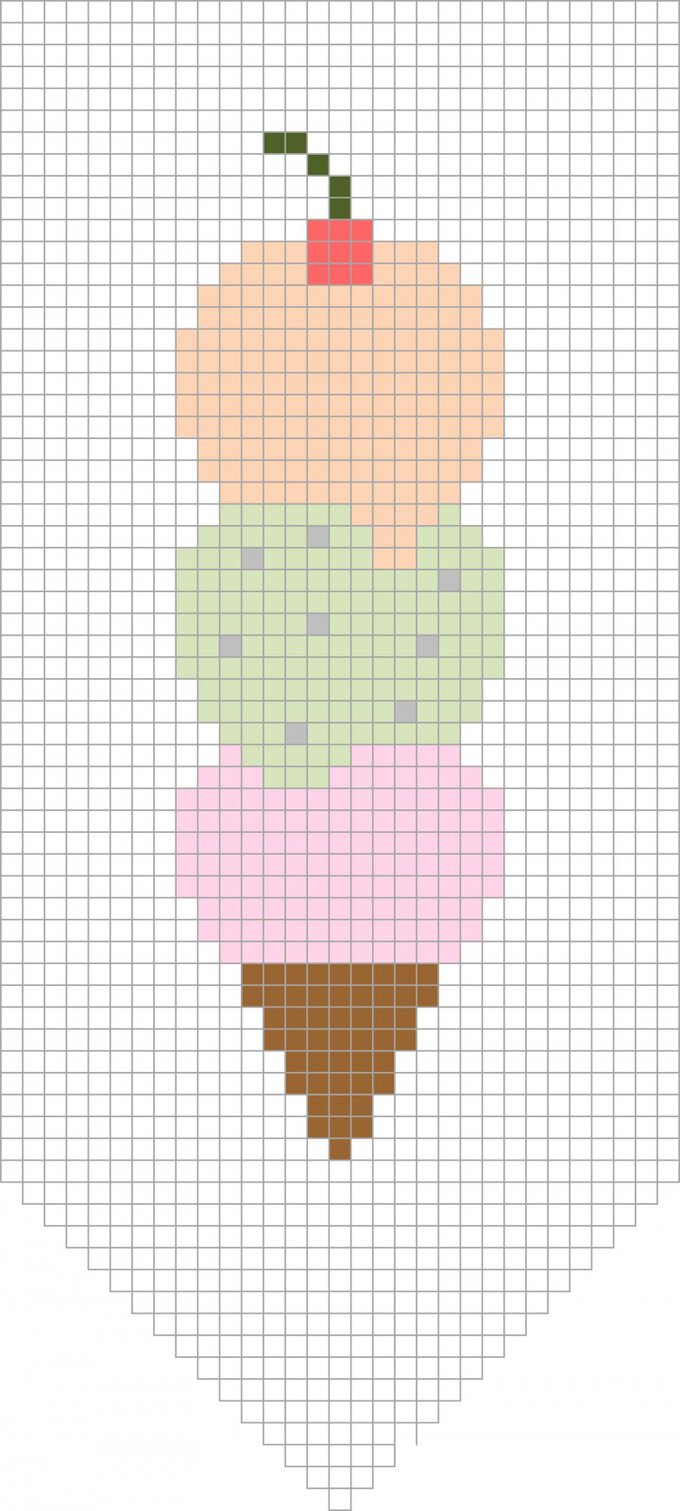
*When you get to the pointed side of the piece, use the graph to pay attention to where you need to either add or not add a new square.
*When you pick up a new color, pull the tails tight so that the color changes look seamless. I prefer to carry the colors up through the piece (it causes less ends to weave in), but you can also clip and reattach on each row if you prefer.
***TIP: I worked the graph upside down – starting at the side with the cherry. I find it's easier to END the piece on the pointed edge rather than begin there, but it can be worked either way.
FINISHING:
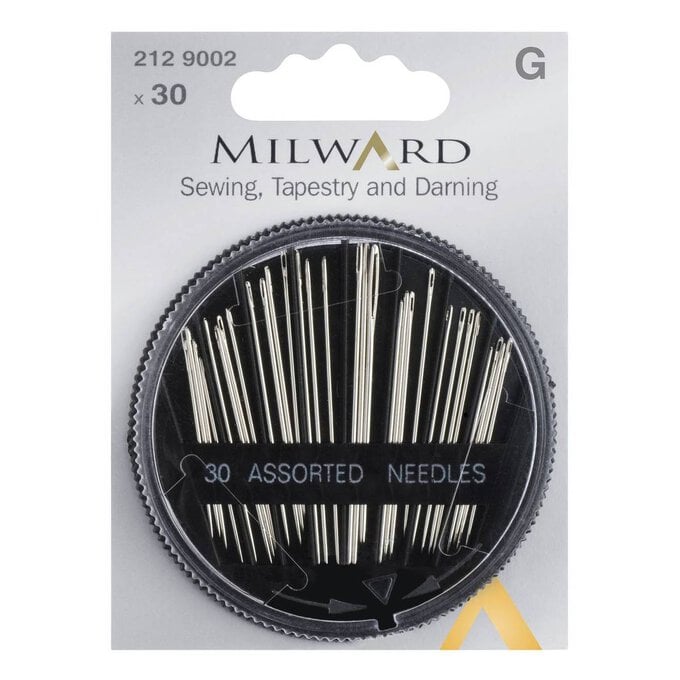
After you have finished the piece, use the yarn needle to weave in all the ends.
Take a long strand of the Natural color, and stitch around the dowel and through each square of top side of your crochet banner. Make sure to leave long tails so that you can tie them together for hanging.
