Cricut: How to Make Personalised Party Signs
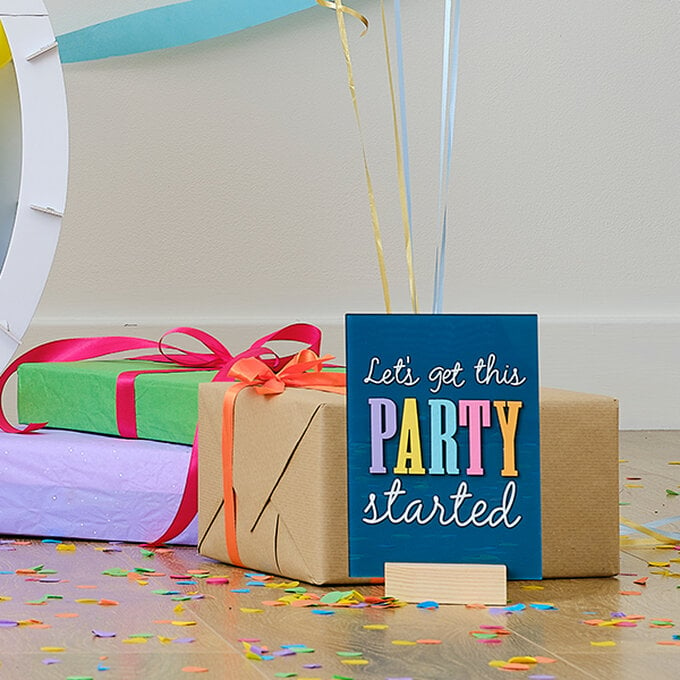
Use your Cricut machine to create a sign fit for every occasion, these fun, bright signs will stand out at every party! Follow along with the step-by-step instructions below to find out how to make these three acrylic table signs.
Got small pieces of vinyl laying around? This is the perfect project for using up scraps in your craft stash!
Discover more Cricut projects here >
Please note: This project contains paid-for content from Cricut's Design Space app. Screen reference images are taken from the Android version of Design Space.
You will need
Subtotal
Is $ 2.49 , was $ 4.49
Subtotal
Is $ 2.49 , was $ 4.49
Subtotal
Is $ 2.49 , was $ 4.49
How to Make
'Yay' Sign
* Cricut Machine
* Basic Cricut Tools
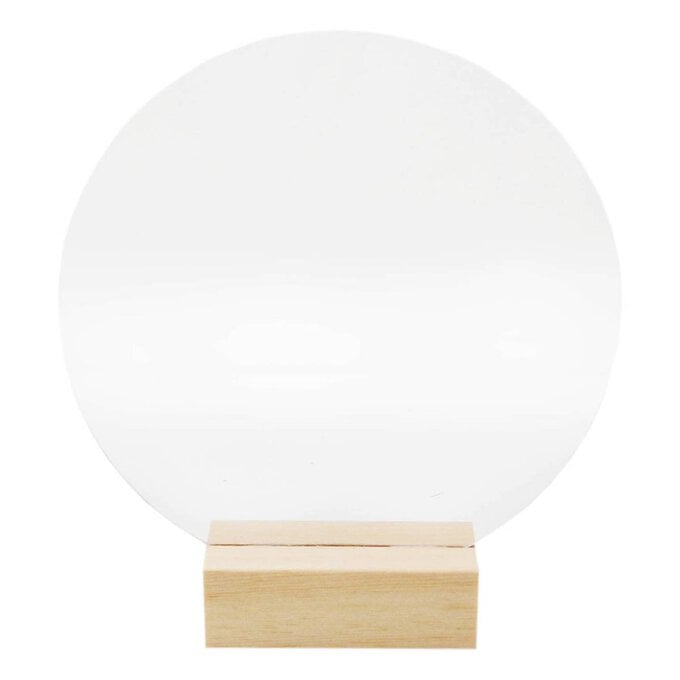
* Clear Round Acrylic Sign
* Cricut Permanent Gloss Vinyl - Pastel and Tomato Red
* Cricut Transfer Tape
* Matt Acrylic Paint - Lavender
* Paintbrush
* Masking Tape
* Fine Mist Sprayer, Washing Up Liquid and Kitchen Roll
* Alcohol Wipe
Polaroid Sign
* Cricut Machine
* Basic Cricut Tools
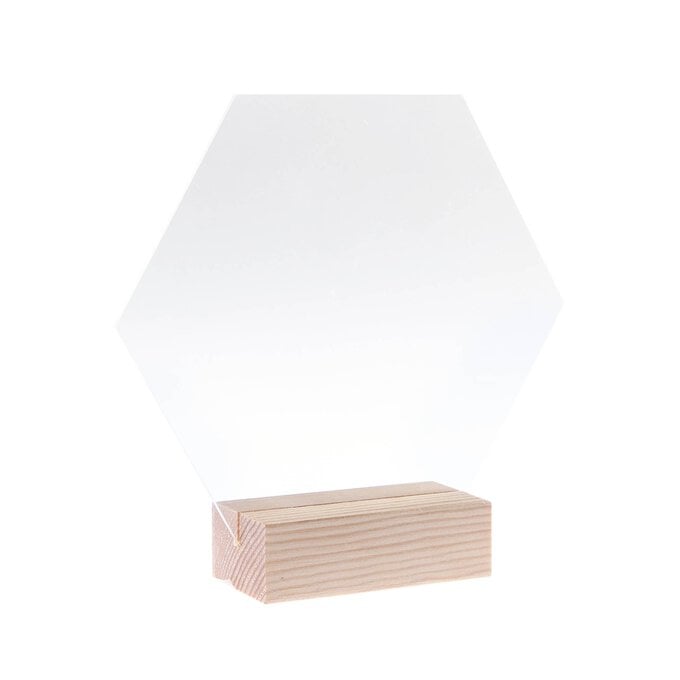
* Hexagonal Sign
* Cricut Permanent Gloss Vinyl - Pastel, Tomato Red and Black
* Cricut Transfer Tape
* Matt Acrylic Paint - White
* Paintbrush
* Masking Tape
* Fine Mist Sprayer, Washing Up Liquid and Kitchen Roll
* Alcohol Wipe
'Party' Sign
* Cricut Machine
* Basic Cricut Tools
* Rectangle Sign
* Wooden Letters
* Cricut Permanent Gloss Vinyl - White
* Cricut Transfer Tape
* Matt Acrylic Paint - Teal
* Extra Strong Glue
* Bright Acrylic Paints
* Paintbrush
* Masking Tape
* Alcohol Wipe

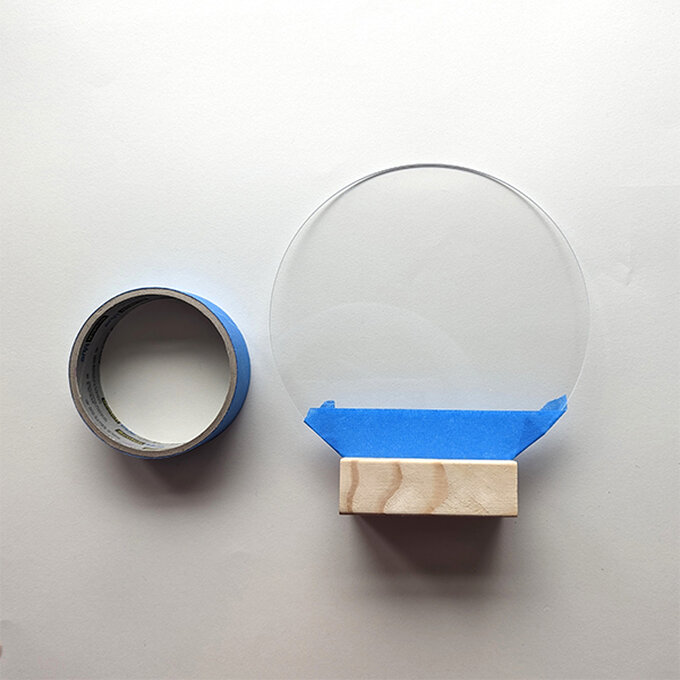
To make the circular 'yay' sign, start by masking off the acrylic part of the sign near the base.
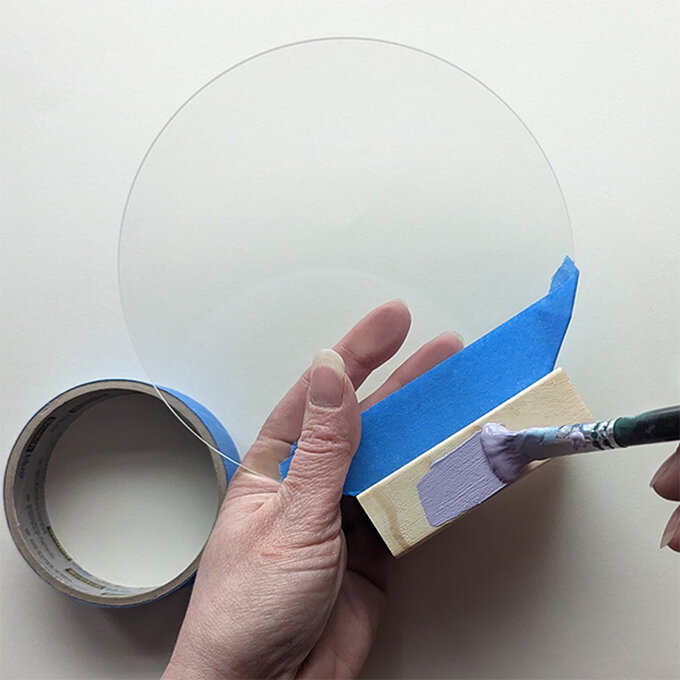
Paint the wooden base with acrylic paint - we've used 'Lavender' by Pebeo. You may need multiple coats, ensure the paint is dry before adding another coat.
Leave to dry.
Follow this link to Cricut Design Space and open up the project: https://design.cricut.com/landing/project-detail/640cfd0b19096126cefe291a.
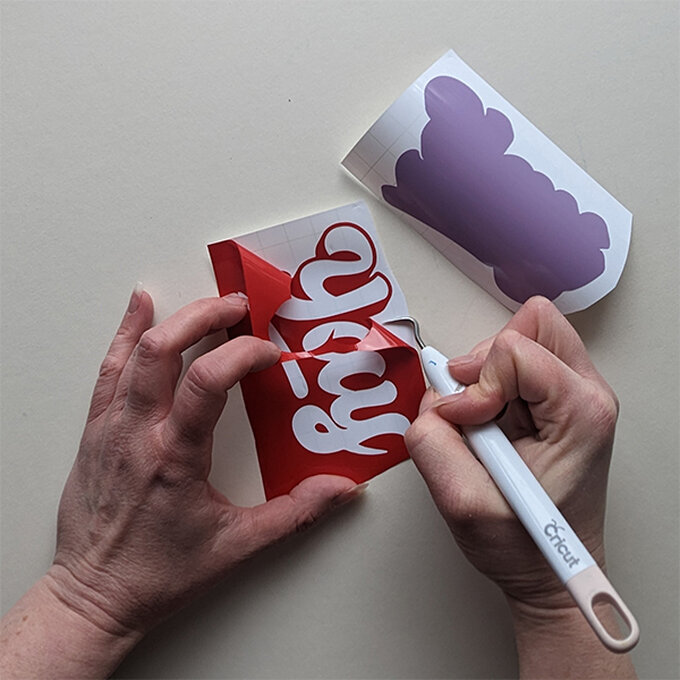
Cut and weed the vinyl. You will need three colours of vinyl; one for the circle, one for the 'yay' writing and another for the offset of the writing. We used the pink and lilac from the Cricut pastel pack and Tomato Red permanent vinyl.
Tip: Cut out the circle from paper and tape it to the reverse side of the sign - this will allow you to position your vinyl in the centre.
Clean off the sign with an alcohol wipe to get rid of any grease, dust or fingerprints.
Use the wet application method to apply the vinyl: Fill your water sprayer with water and a small drop of washing up liquid (you don't need much). Starting with the circular vinyl, apply transfer tape and remove the backing. Hold the water sprayer with your vinyl about a foot away from each other and lightly spray the sticky side of the vinyl with the solution. Apply to the centre of the circle sign, leaving an even gap around the edge of the sign.
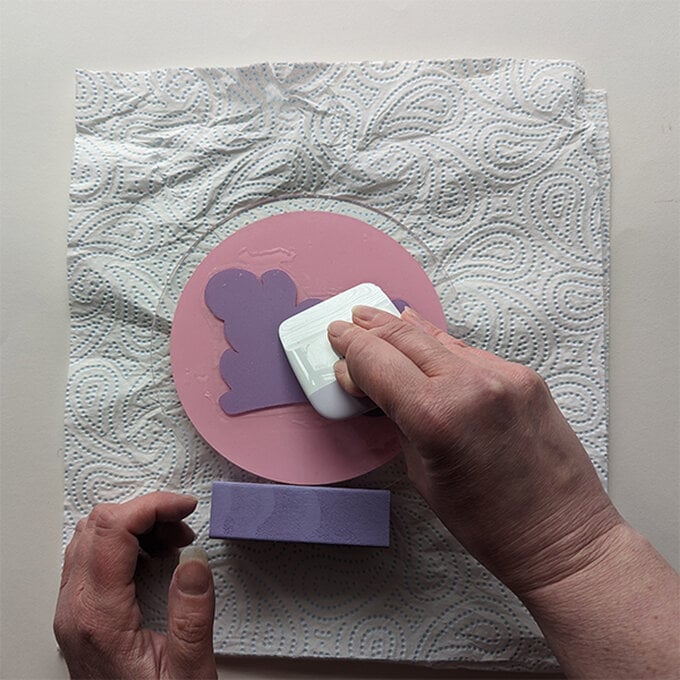
Next, place your sign on a tea towel or kitchen roll. Using your scraper tool, start from the middle of the circle and push out any water/bubbles out from under the edge. Dry gently with a cloth. This is an easy way to avoid pesky bubbles when applying your vinyl. Keep going over the vinyl until you can't see any more bubbles.
Once applied well, remove the transfer tape.
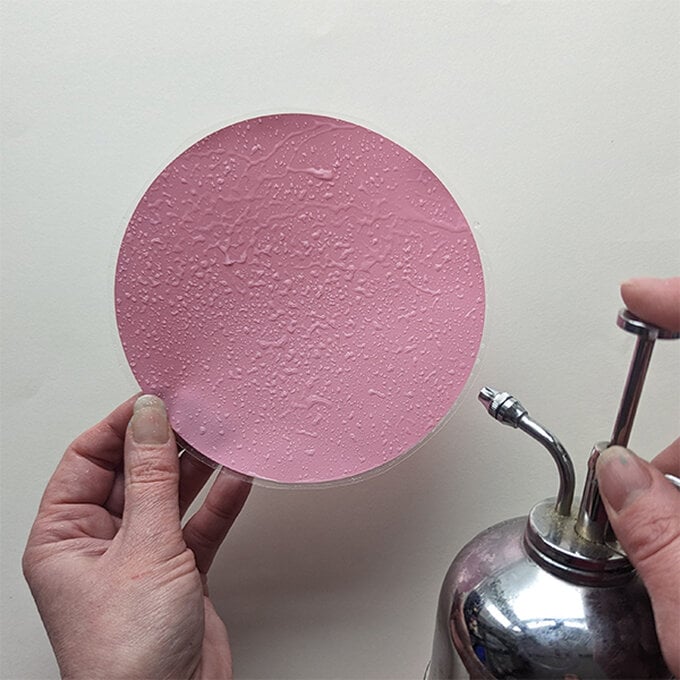
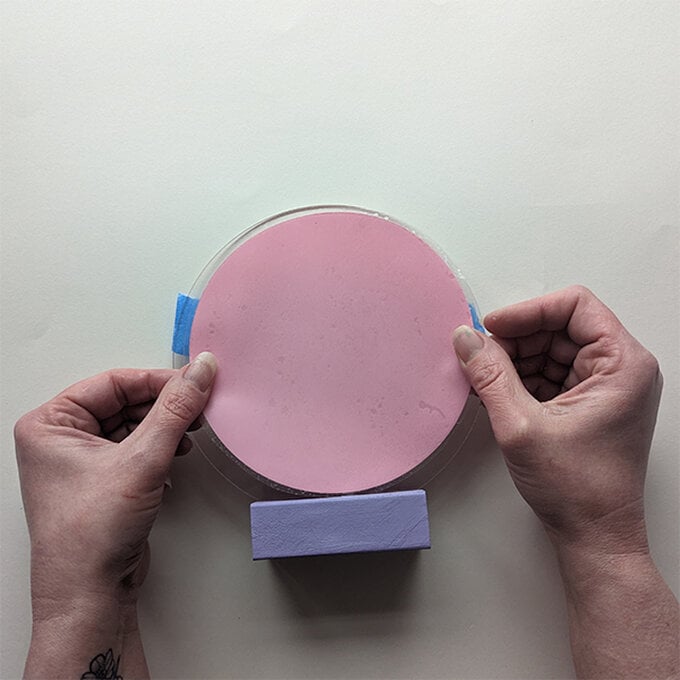
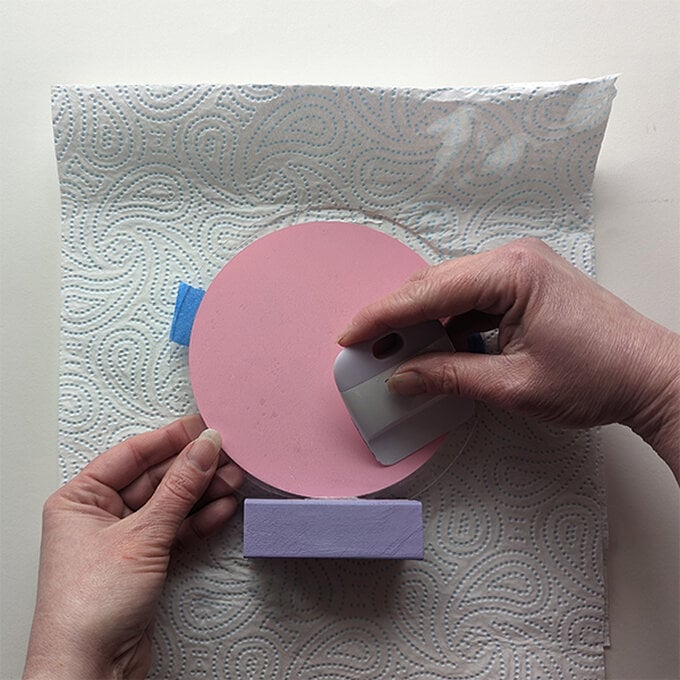
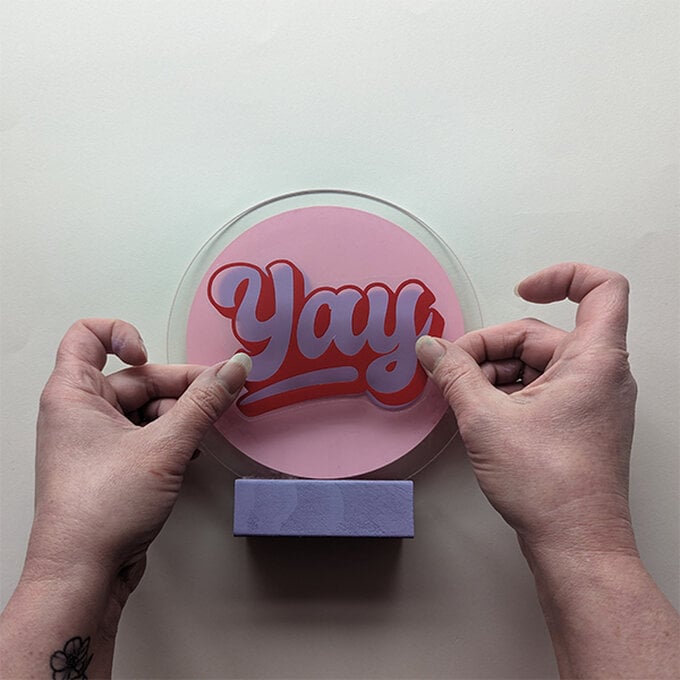
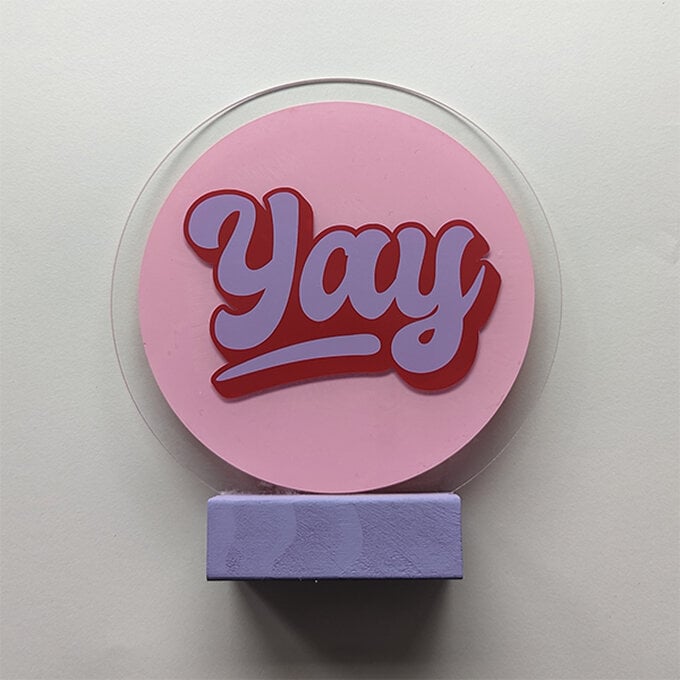
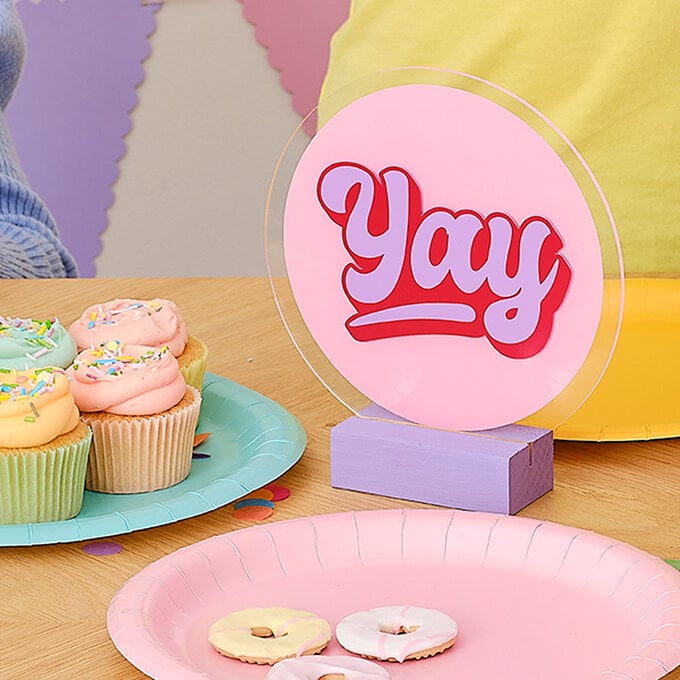
On the other side of the side (so the circle of vinyl is now on the back of the sign), apply the yay writing. Start with the offset and using the wet application method in step 3. Place it in the centre of the circle. Then add the 'yay' writing on top of that, drying in between layers with a cloth.
Follow this link to open the project in Cricut Design Space: https://design.cricut.com/landing/project-detail/640d0895a61e26a9a5040ec3.
There is a print and cut template if you need help to position the image and writing before applying the vinyl.
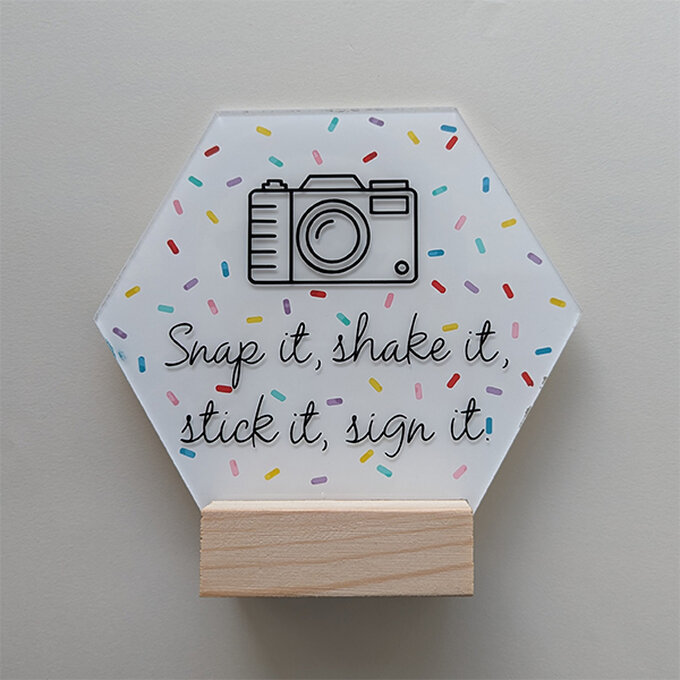
Cut and weed the layers on the project. You will need six different colours for the sprinkles (this cuts lots more sprinkles than you need but you may lose some in the weeding process so it's good to have plenty spare). We used the pastel pack and Tomato Red permanent vinyl for these. We then used black permanent vinyl for the writing and the camera.
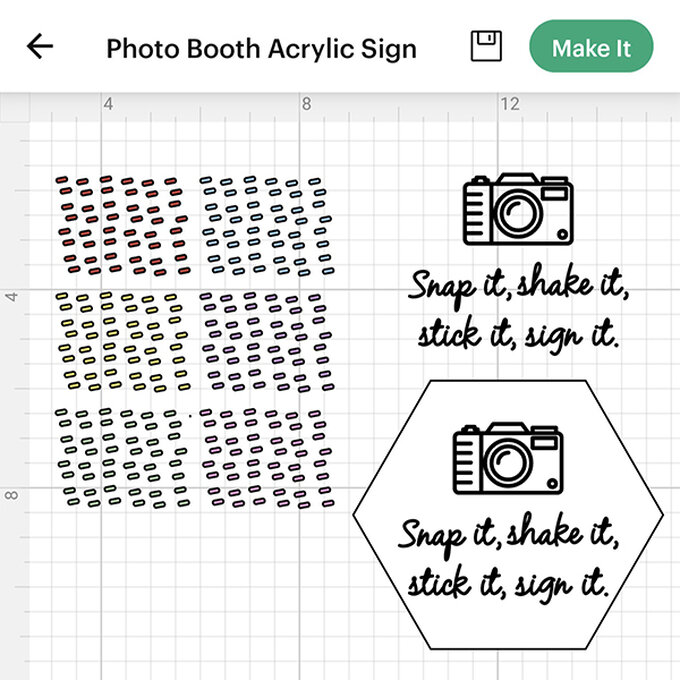
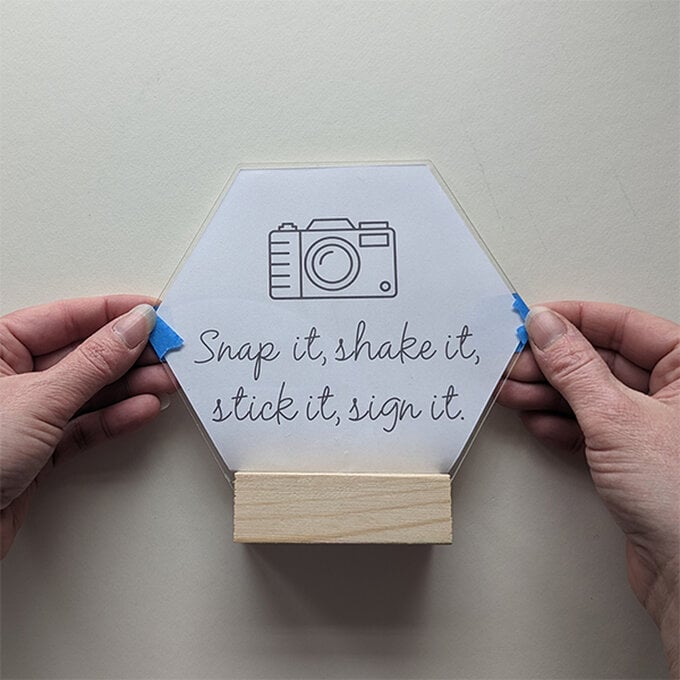
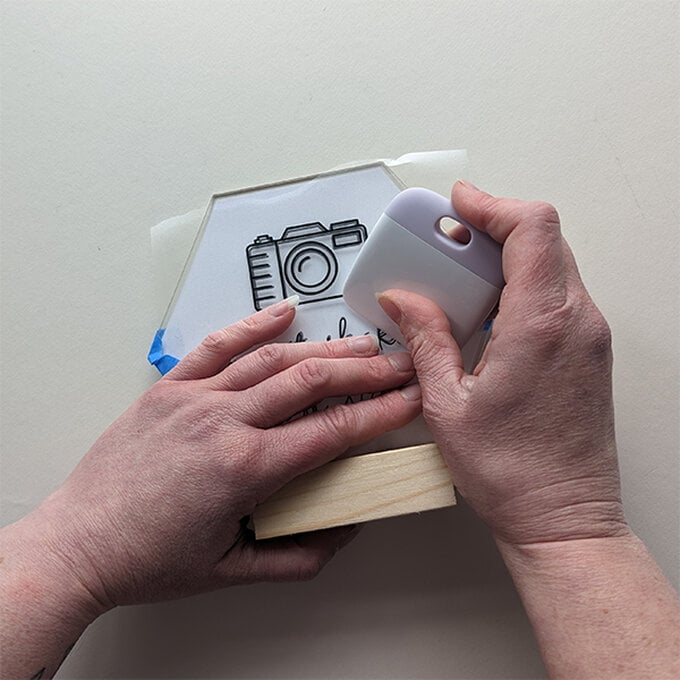
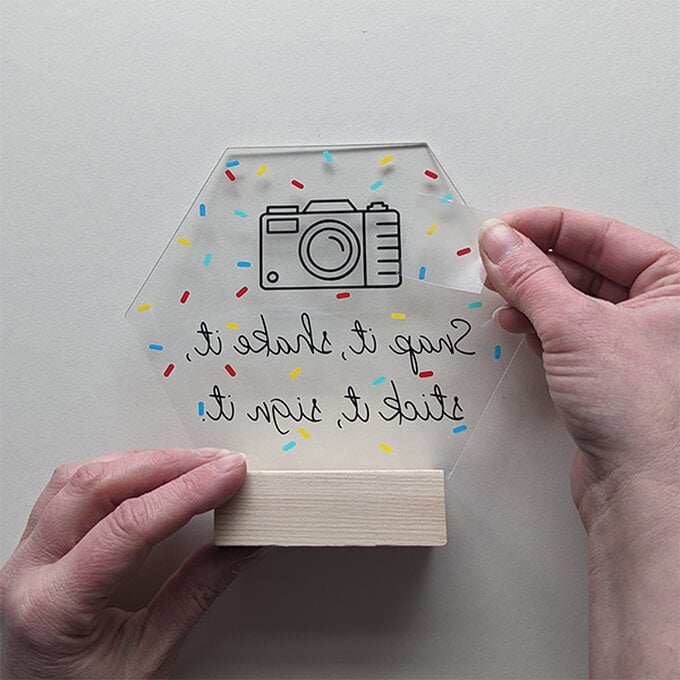
Turn the sign over and, on the reverse side, start adding the sprinkles. Use a small piece of transfer tape, picking up one sprinkle at a time.
Work your way through the colours making a random scatter of them all over. Leave a slight gap around the black vinyl on the reserve side so it stands out.
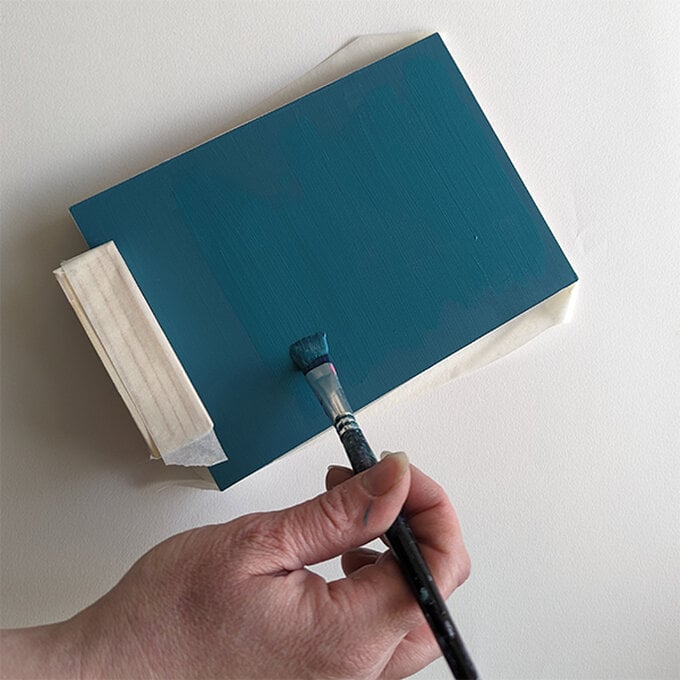
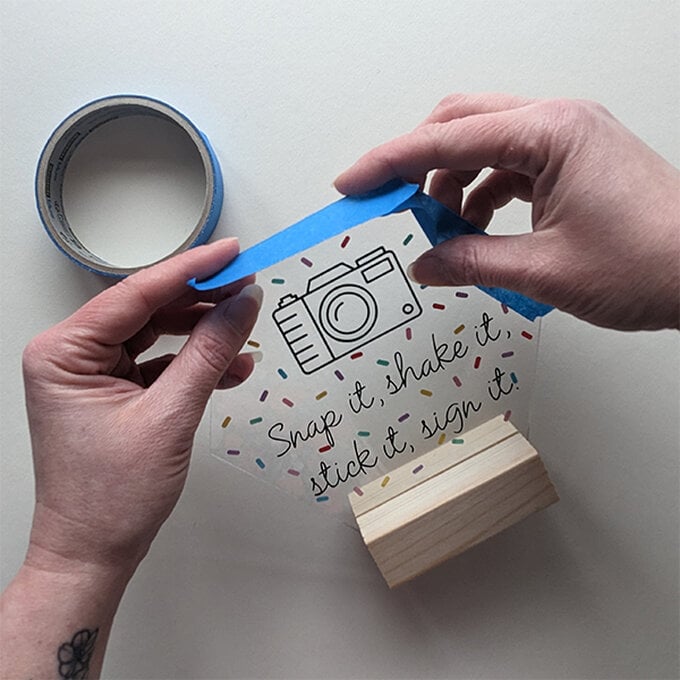
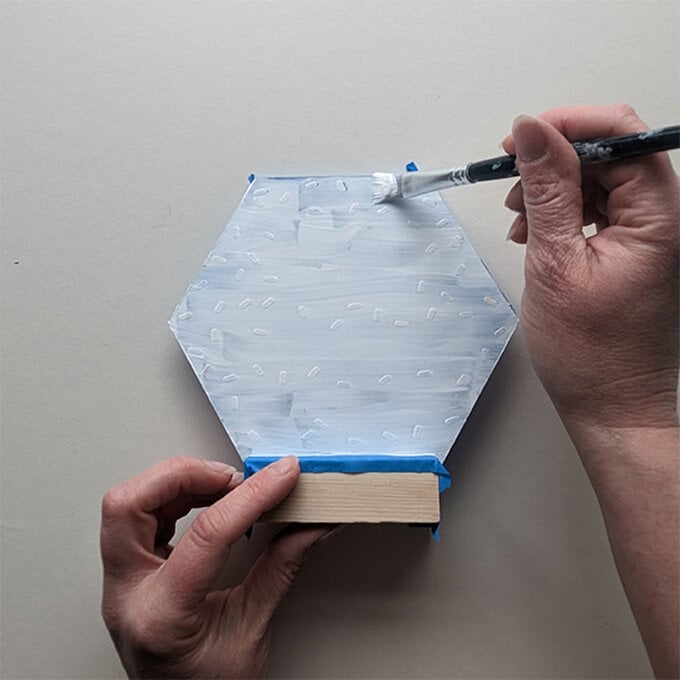
Apply masking tape to the edges of the sign and slightly over the front enough to protect it from the paint. Also use masking tape to cover the base of the sign.
Paint over the sprinkles on the reverse with white acrylic paint. You may need to paint multiple layers - make sure each layer is dry before painting another one.
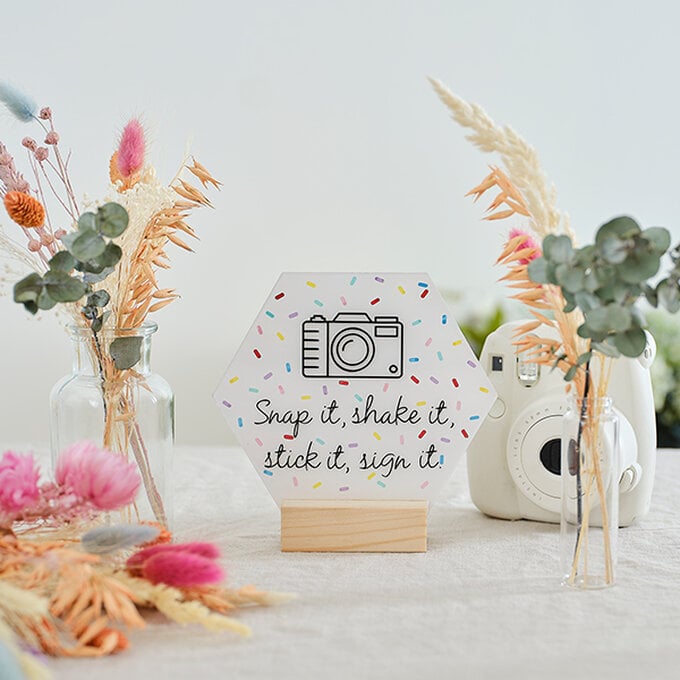
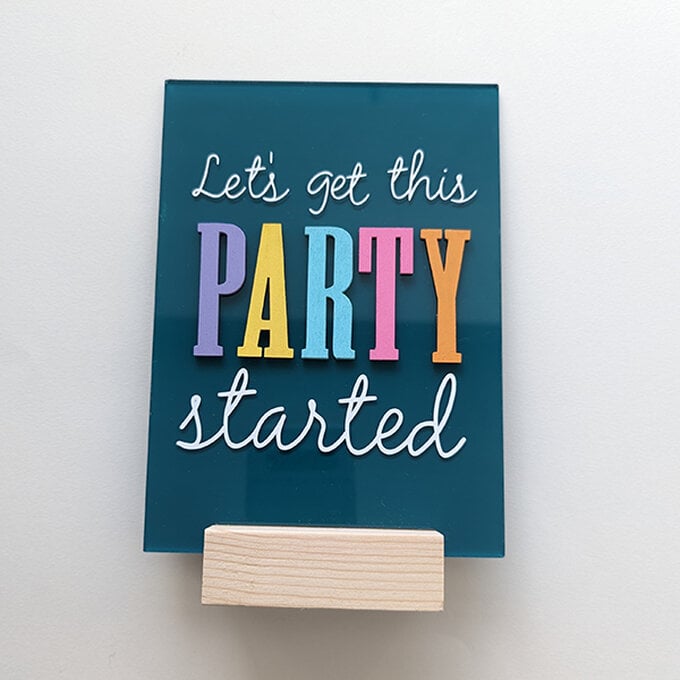
For the 'party' sign you will need some 3D wooden letters (2" tall or under). Paint the letters in bright colours - we used a variety of acrylic paints, which you can mix together to create your own custom colours to suit your theme.
Put to one side to dry.
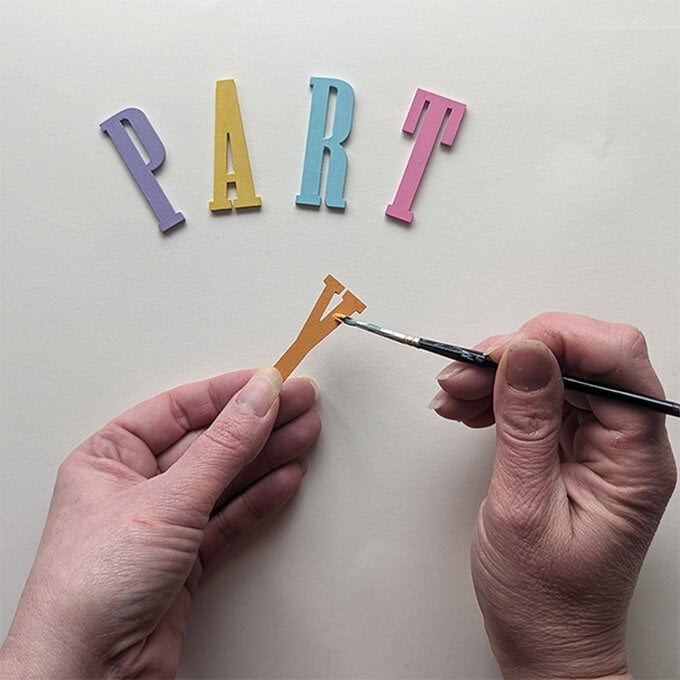
If you don't want to use wooden letters, you can cut the letters out that are in the project on Design Space.
Follow this link to Cricut Design Space to open up the project: https://design.cricut.com/landing/project-detail/640d0fc8180f70fe6426f76e
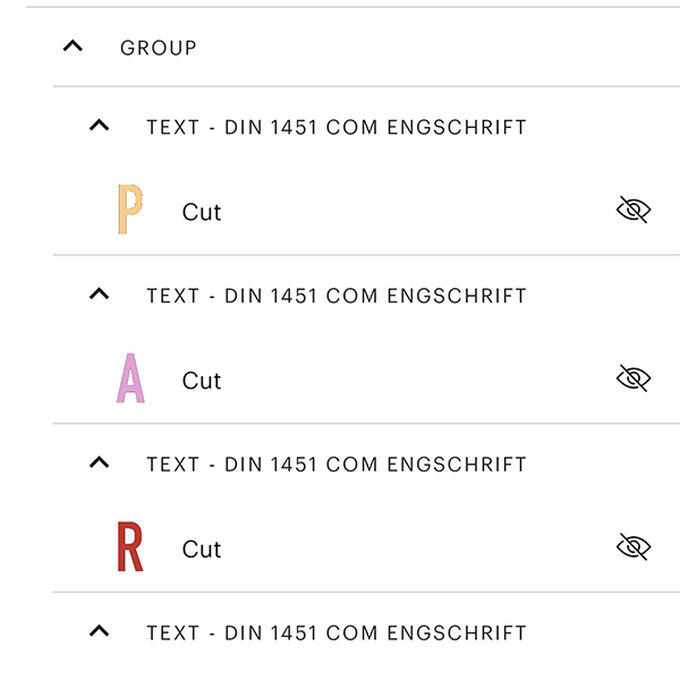
If you've used the 3D letters in the previous step you don't need to cut the 'PARTY' out. You can hide these layers by clicking on hide in the layers panel.
Cut the other writing out in white vinyl.
Clean the sign using an alcohol wipe.
There is a vinyl placement template in the project that you can print and cut out. Place this on the reverse of the sign to use as a guide when adding the vinyl.
Weed the vinyl and apply to one side of the sign.
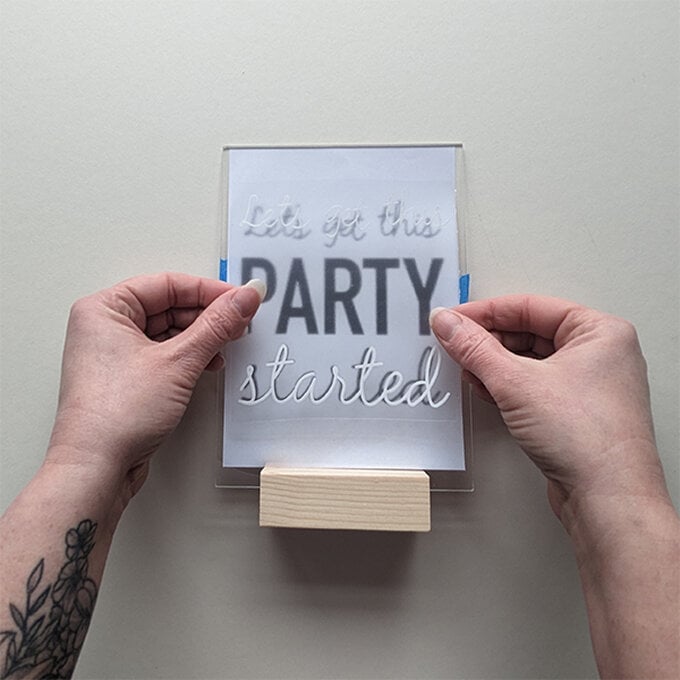
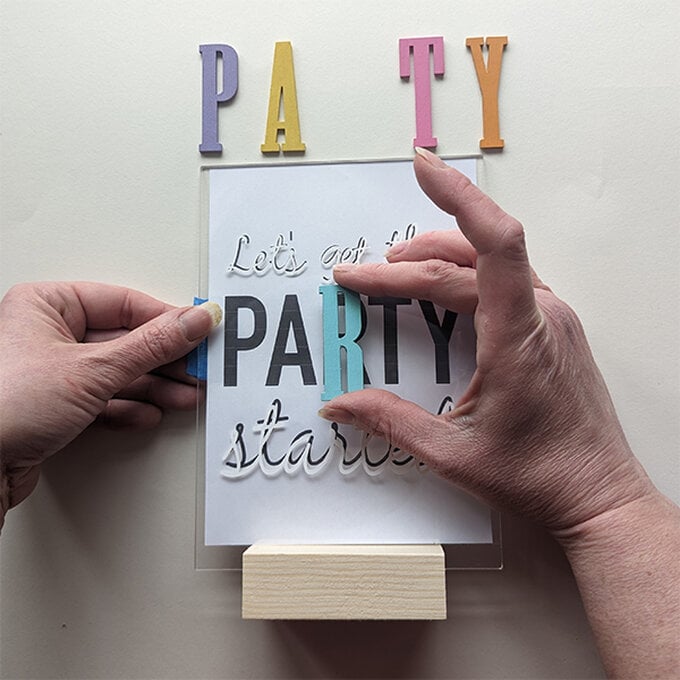
Use masking tape to protect the edges of the sign and the wooden base.
On the back of the sign, paint 2-3 coats of acrylic paint - leaving to dry in between layers. Once the sign is at your desired opacity, leave it to dry completely.
