Cricut: How to Create Christmas Table Décor
Transform your Christmas table décor with four creative ideas for personalising every detail! Set the table for your Christmas party with handmade napkin wraps, cracker alternatives, gorgeous place cards and fun drinking straws.
These Christmas table decoration ideas are great for mixing and matching with decorative details of your own. They'll be easy to adapt to suit your chosen festive colour scheme.
Project and instructions by Emma Jewell.
This project contains paid for content from Cricut's Design Space app.
You will need
Subtotal
Is $ 513.00
Out of stock
Subtotal
Is $ 13.00 , was $ 17.00
You will also need:
* Glue gun and glue sticks
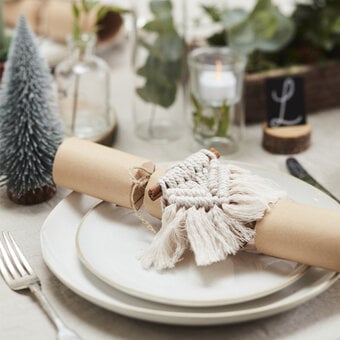
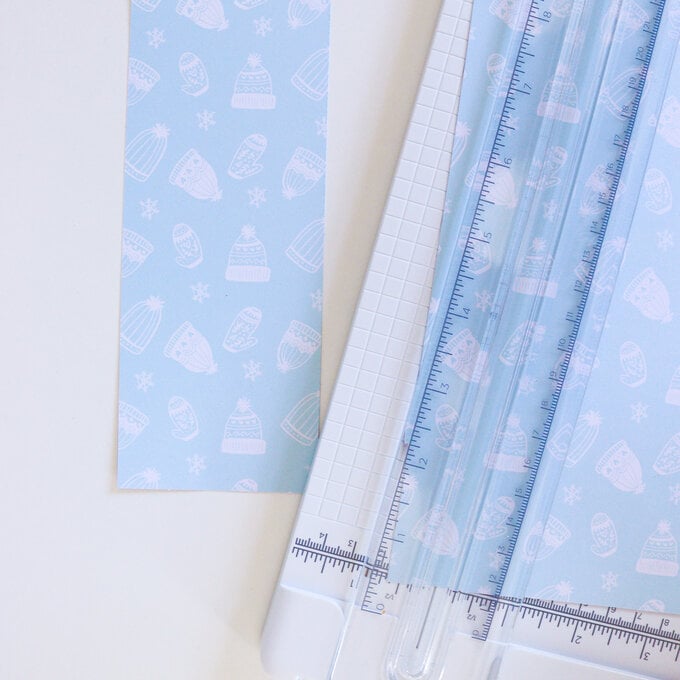
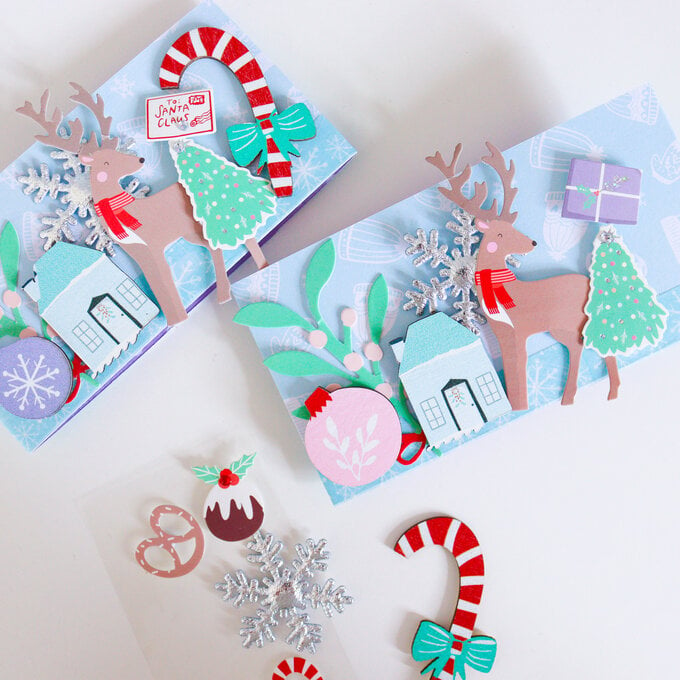
1. To start, trim a 6cm wide strip of 12x12 paper, this will become the base of the napkin wrap.
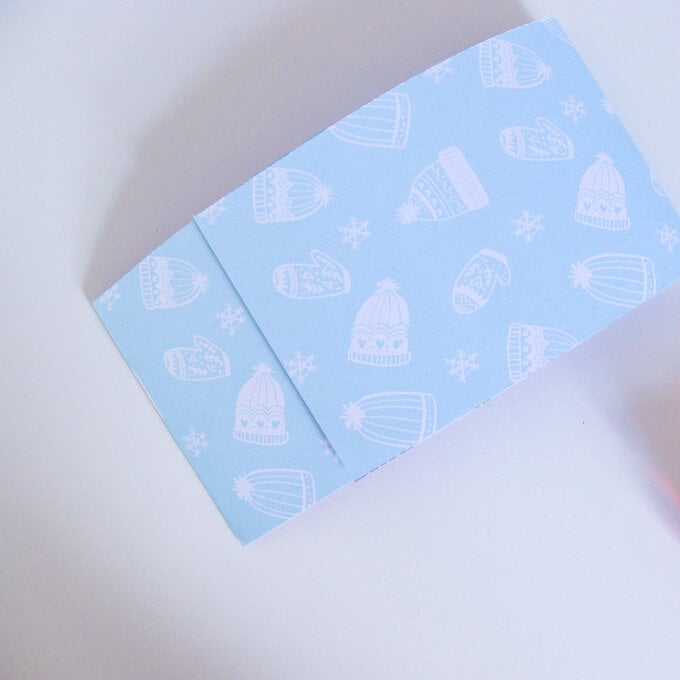
2. Next fold and glue the wrap in place, you can choose the length depending on the napkins you are using.
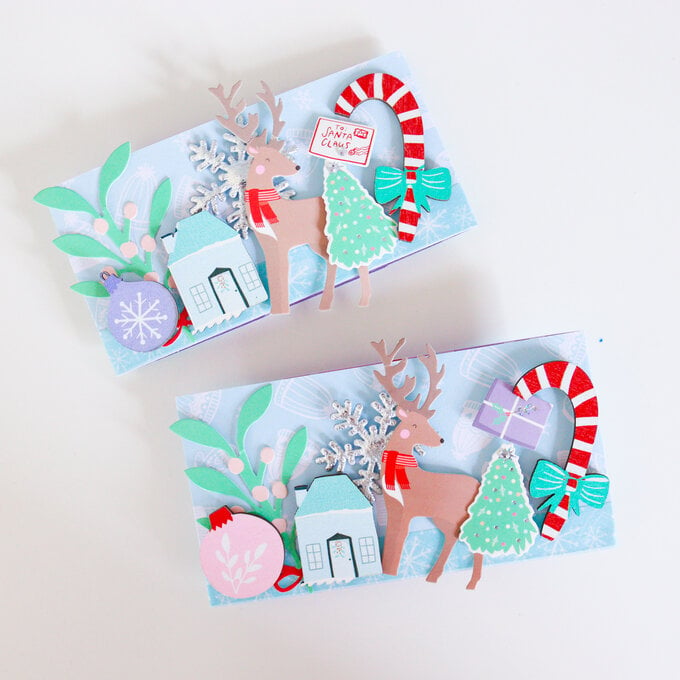
3. Then add a strip of washi tape to the bottom of the napkin wrap. Build up a mix of toppers creating lots of dimension and making the wrap as full and layered as possible. You are now ready to slip your napkins inside and lay the table!
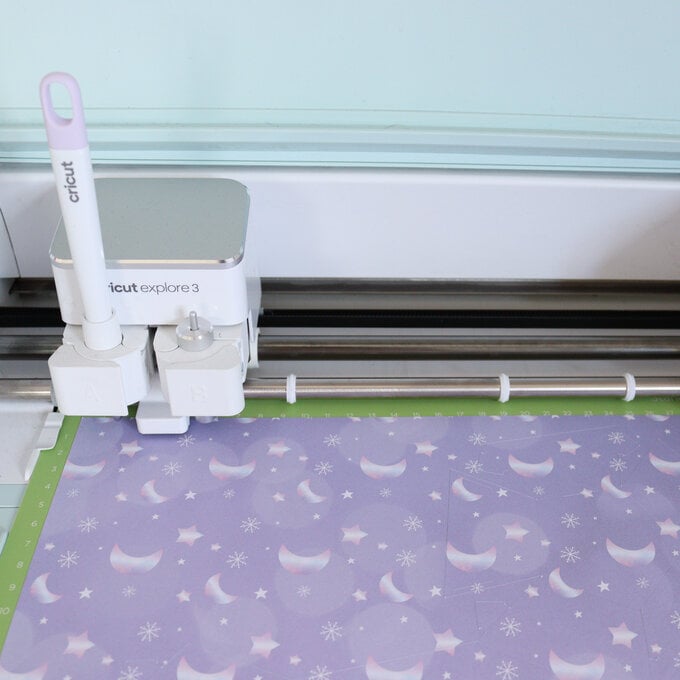
1. I cut the gems on my Cricut machine. First open up Cricut Design Space and search for the image 'Gem Box #M54B6719' then resize the image to 11.5 inches wide.
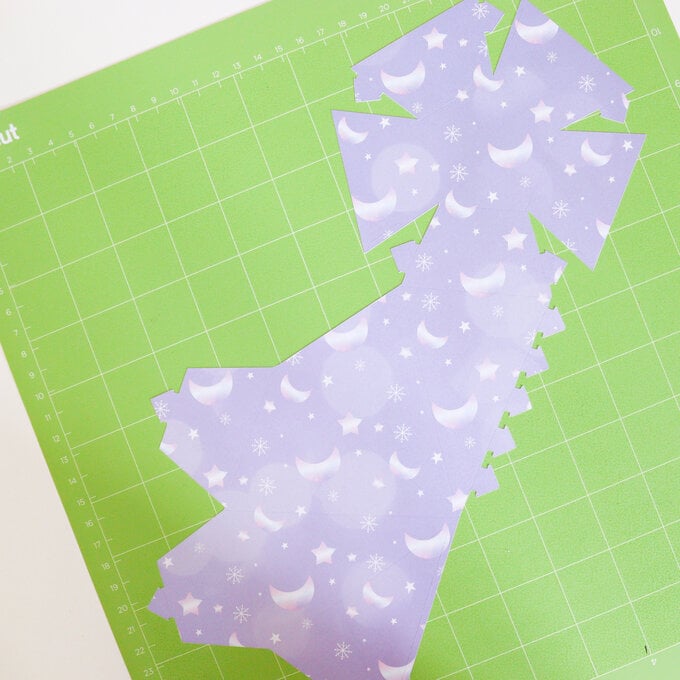
Then head to make it, lay a piece of 12x12 paper mat and select medium cardstock as the material setting. Load the scoring tool then start cutting and scoring the project.
2. Remove the gem from the mat and fold along all of the scored lines
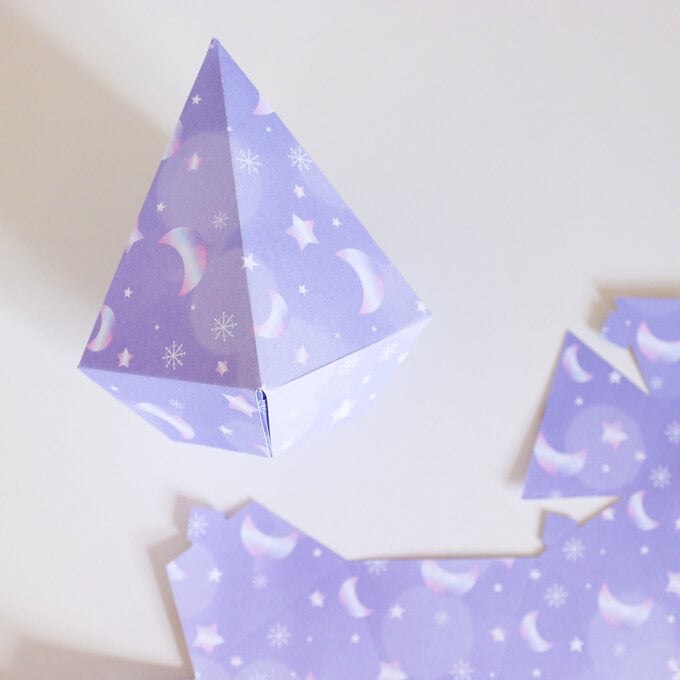
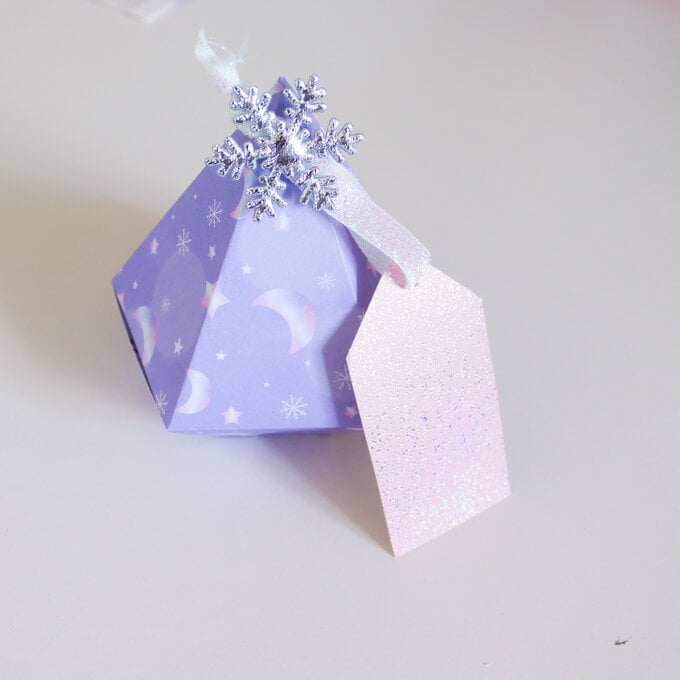
3. Next assemble the gem by slotting all of the arrows into the corresponding slots. Before closing it up completely add treats and a joke inside.
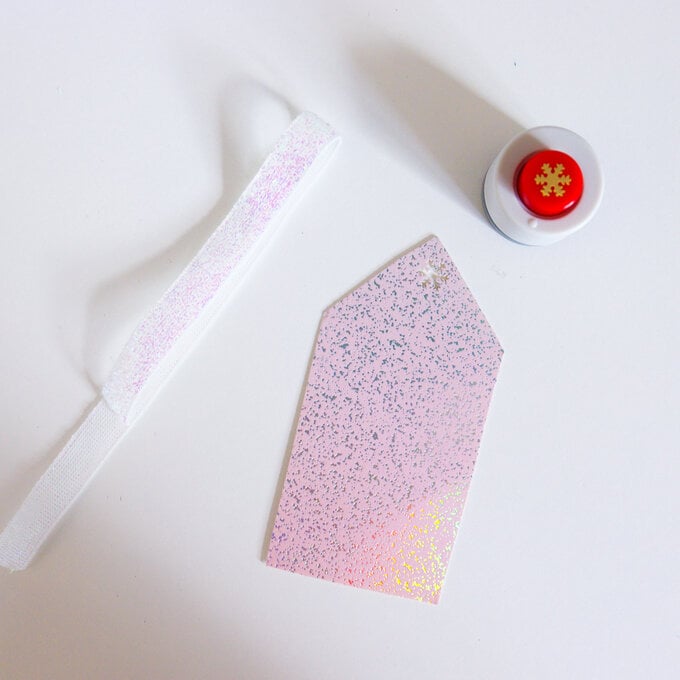
4. Make a tag by cutting a tag shape from a piece card, use a snowflake hole punch to create the hole at the top of the tag. Thread through a length of glitter ribbon and tie a knot.
5. Glue tag to top of the gem then add a snowflake topper to finish. these can now be place on the table ready for guest to open!
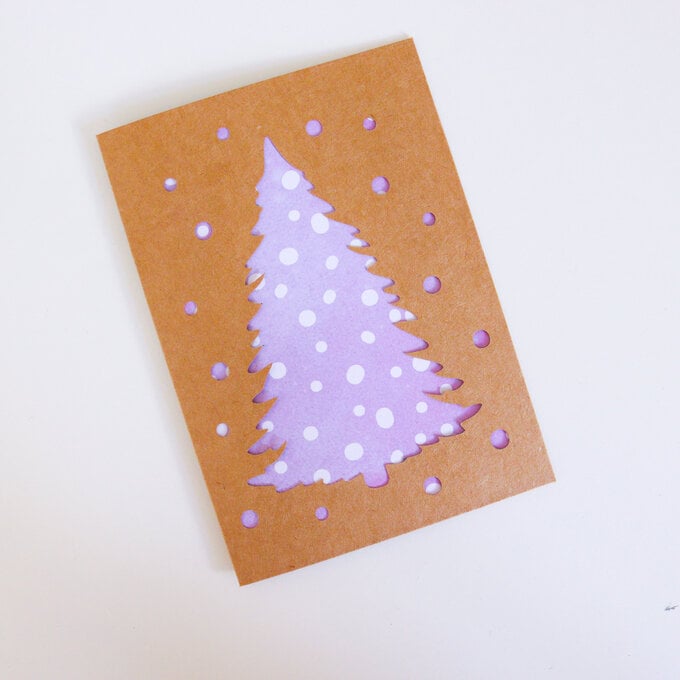
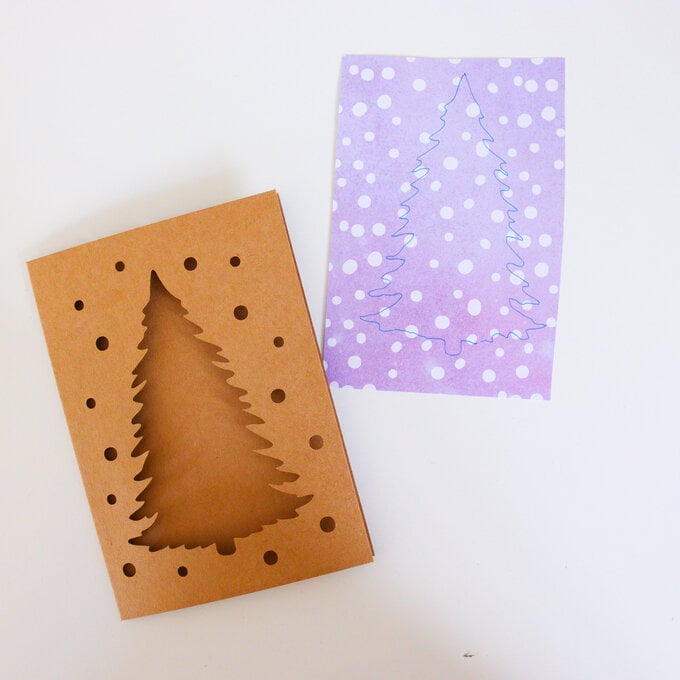
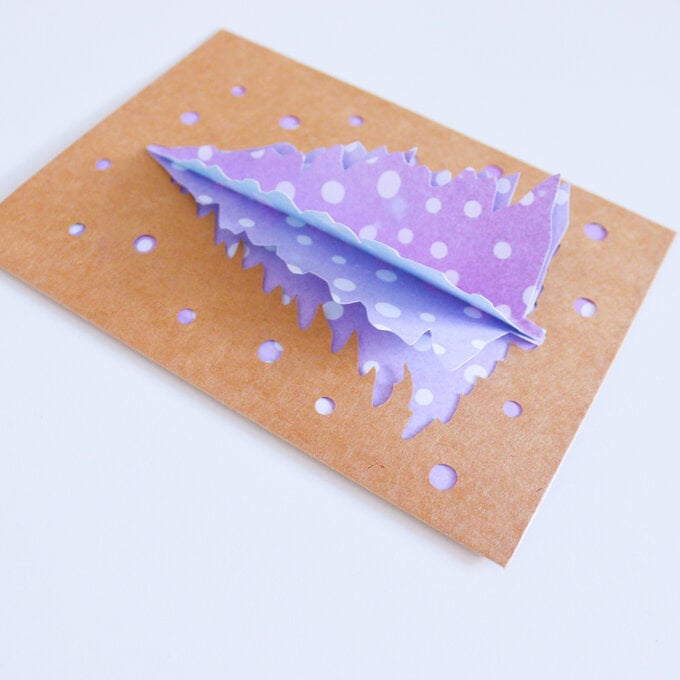
1. Cut a piece of card to fit inside the christmas tree card. Put that piece to one side for now.
2. Draw around the tree shape to create a template, then cut out two trees for each name card.
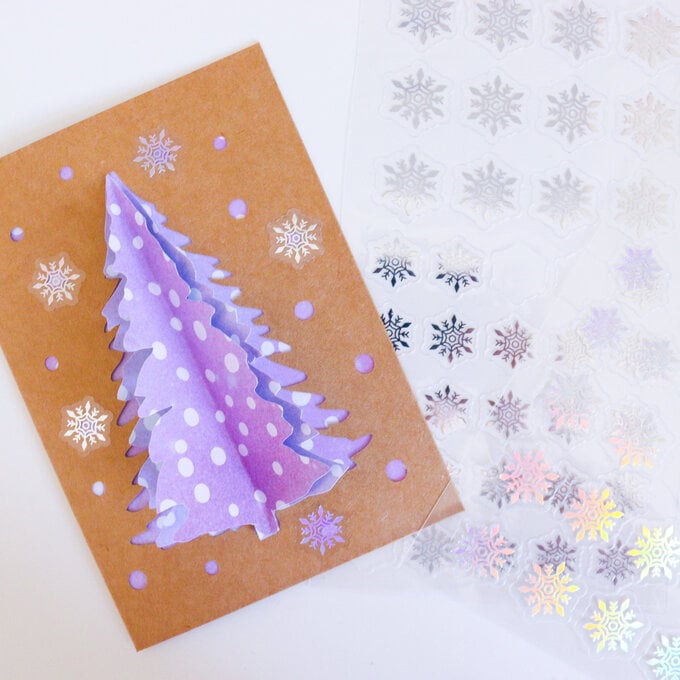
3. Next stick the card sized piece to the side of the card. Then fold the two trees in half and layer them on top of each other to create a 3D tree.
4. Next add the snowflake stickers over some of the card's snowflake holes
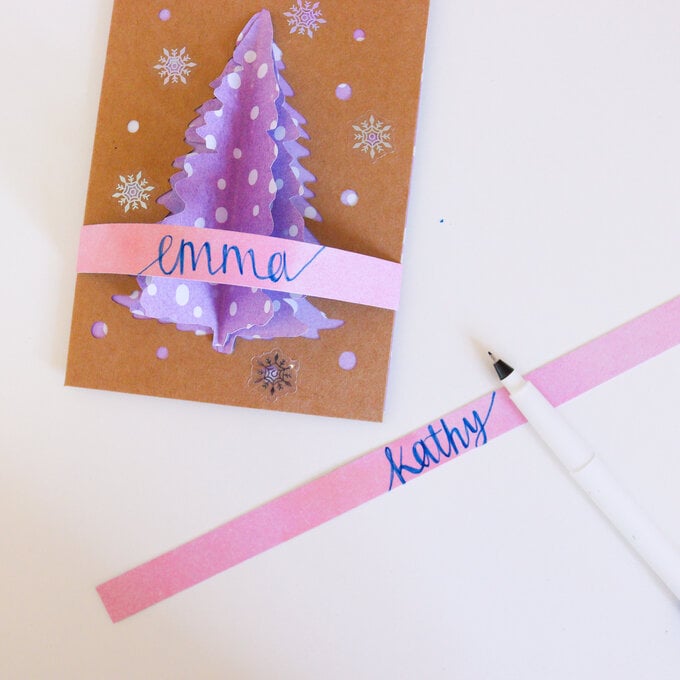
5. Cut a 1.5cm wide strip of pink paper, then add the name to the centre
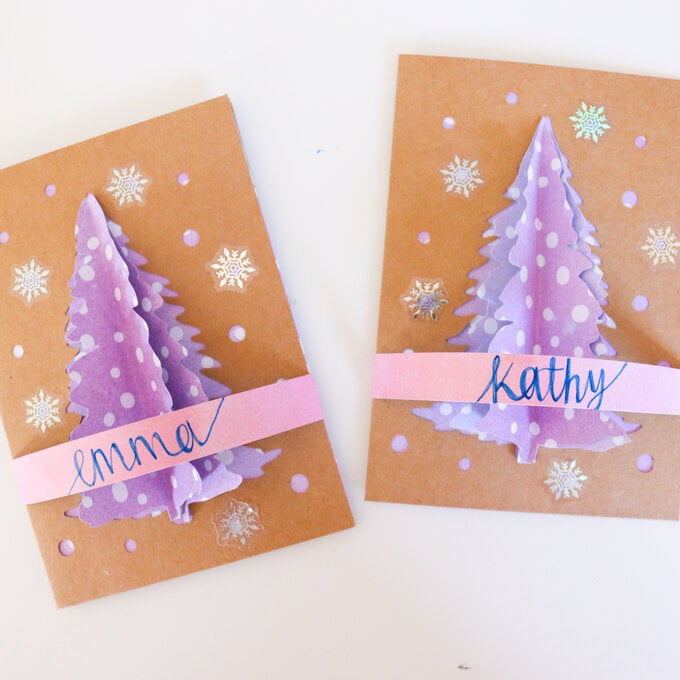
6. Wrap the strip of paper around the card gluing it in pace.
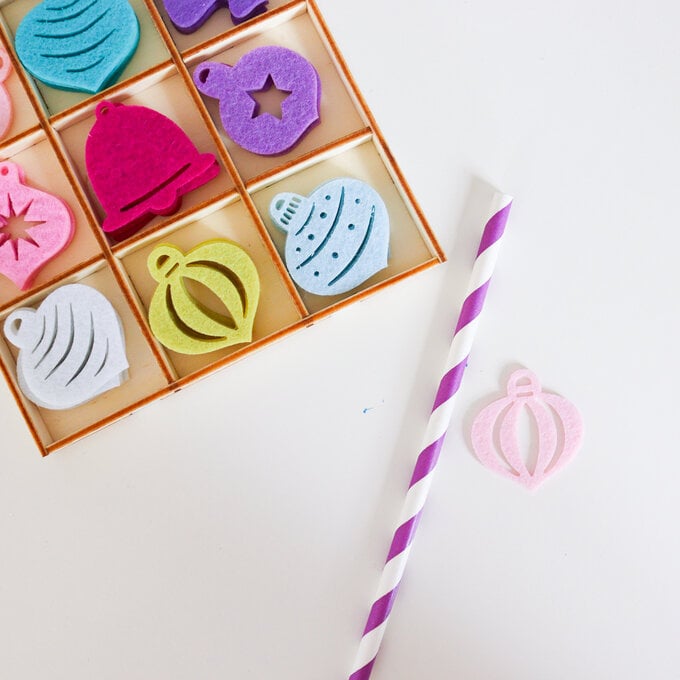
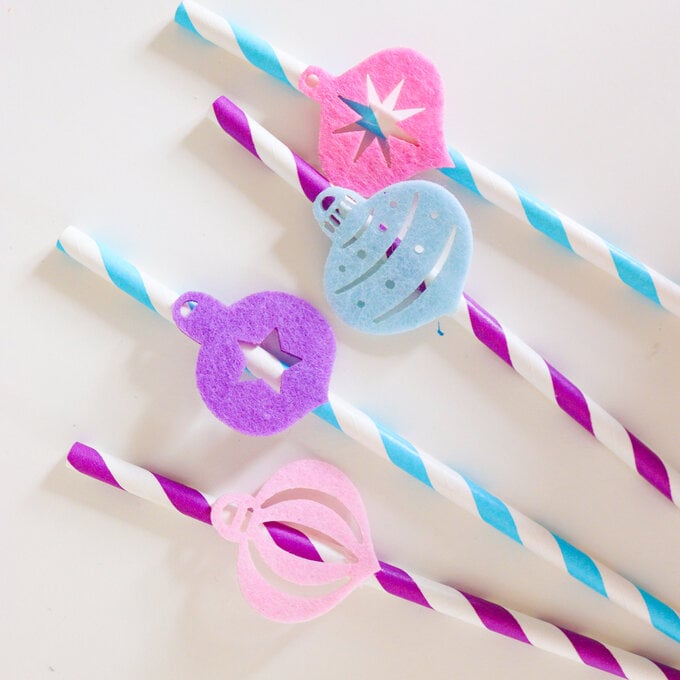
1. Gather supplies and pick the best baubles to match your straws
2. Use a glue gun to add a blob of glue to each bauble then stick it on to the top of the straw leaving enough room for sipping!
