Your Cricut Explore Succulent Wreath
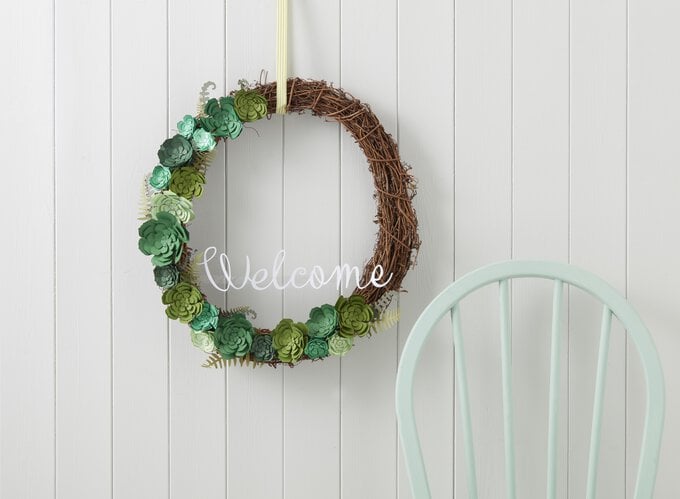
Oh how we do love a succulent! We've grabbed our papercaft supplies to create a welcoming succulent wreath for year-round display. We've kept things simple, and stuck to one type of succulent, however there are lots more designs to be found on Cricut's Design Space, or you could have a go at designing your own…
You will need
Subtotal
Is $ 476.00
Subtotal
Is $ 11.00 , was $ 14.00
Subtotal
Is $ 12.00
Subtotal
Is $ 9.49
Subtotal
Is $ 11.00
Subtotal
Is $ 7.49
Subtotal
Is $ 7.49
How to make
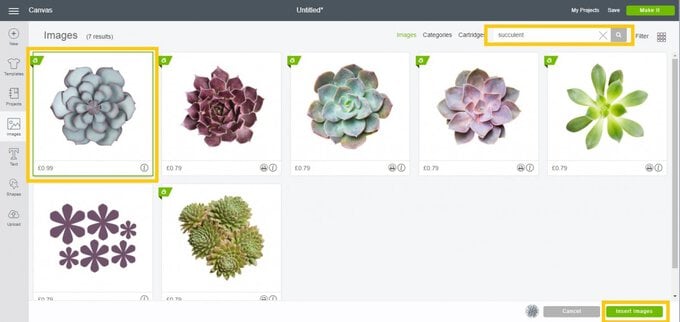
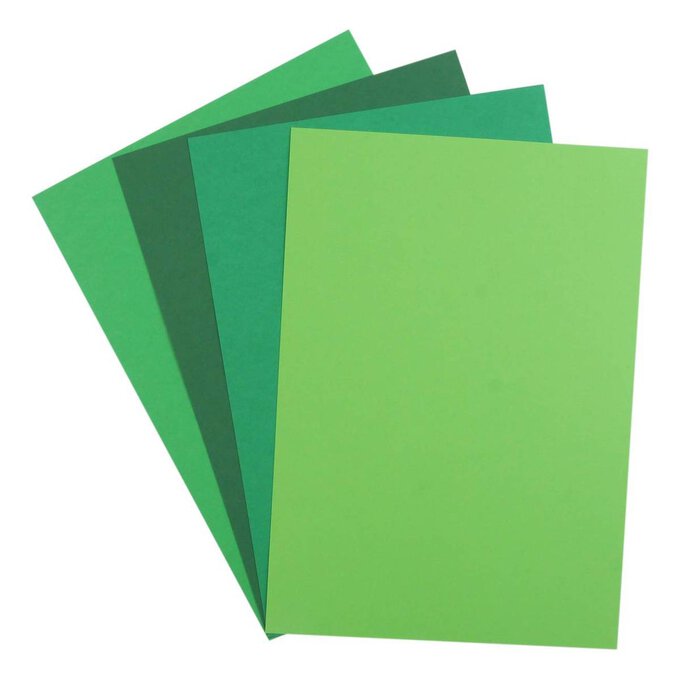
The different layers needed to create the succulent will then appear on your canvas. Start by cutting 15 sets in a variety of different sizes and colours of green cardstock. Make sure to keep each of the sets together after they've been cut to avoid them becoming mixed up.
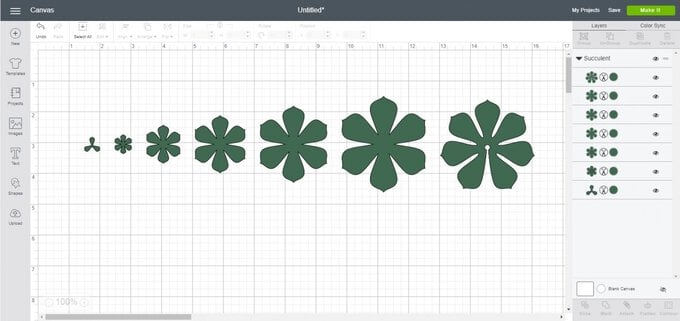
To construct the succulent: take a green ink pad (preferably darker in colour to the cardstock you've used) and run it along the top edge of each leaf section on all seven pieces. Once dry, use a pair of scissors to gently curl each of the leaf sections up. To do this, hold one layer in your left hand, then using the closed blades of a pair of scissors in your right hand, run the blades along the length of the leaf to curl it (ensure that this is done AWAY from you). This curling technique will help to give the succulent shape when it's fully constructed.
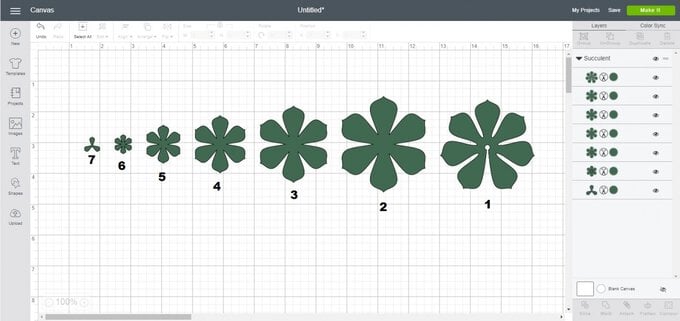
Starting with the slotted succulent layer (1), use a glue gun to apply a small amount of glue to the leaf on the right-hand side of the slot, and secure to the underside of the leaf on the left to form a closed, cupped shape. Add the remaining layers, starting with (2) working your way up to (7) (see image below), to complete the succulent's construction.
Repeat steps three and four to make up the remaining succulent sets cut out in step two.
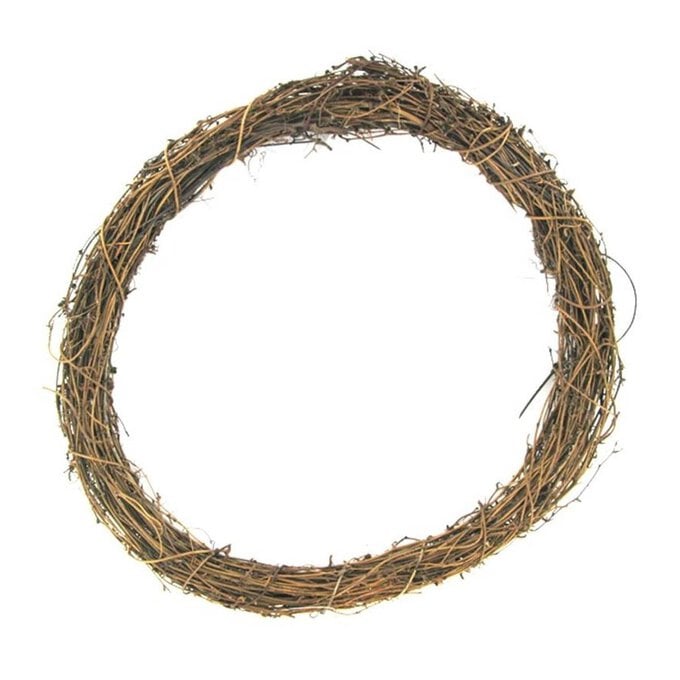
Once all the succulents have been fully constructed, place onto the rattan wreath – we decided to position ours around two thirds of the wreath, but you can do as much as you like. Repeat steps two to four to create any additional succulents you may need.
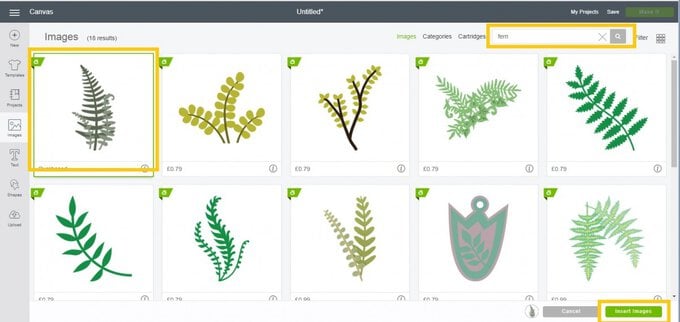
To help fill in the gaps add a few fern sprigs. Start a new Canvas in Design Space, click the “Images” button on the left-hand side of the screen and search for “ferns” in the bar at the top. Select the design highlighted below and “Insert images”.
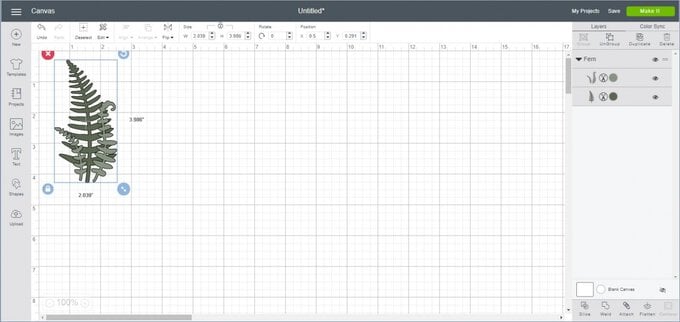
Cut the ferns in various sizes and from different shades of green cardstock to the succulents, slot into your design where necessary.
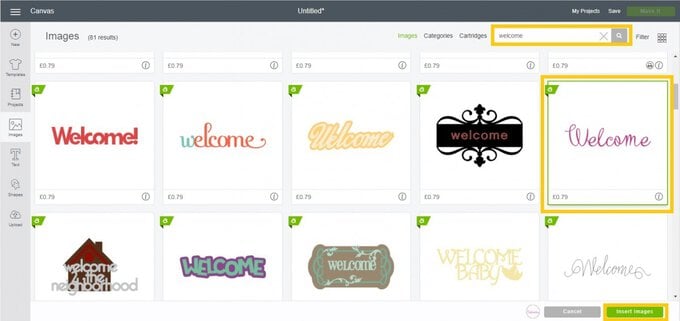
Next it's time to cut out the “Welcome” message. Start a new canvas and select the “Images” button from the toolbar on the left-hand side once more. Search for “Welcome” in the bar at the top of the screen, scroll down until you find the highlighted design below, then click “Insert Images”.
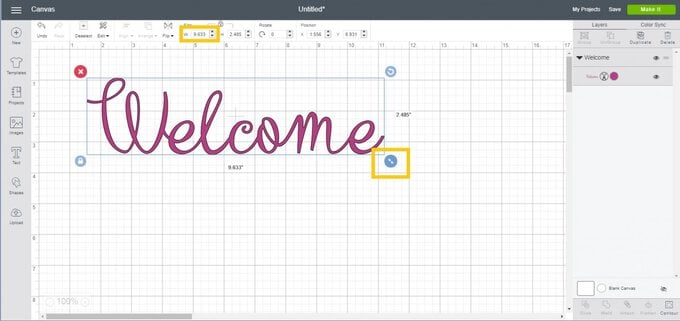
Alter the size of the greeting as desired; we made ours the same width as the inside of the wreath. To re-size, drag the highlighted arrow to the correct size, or type the measurement in inches to the highlighted bar at the top of the canvas (see image below).
Cut the greeting from white cardstock and secure a 1cm wide strip of acetate to the back ensuring there is a 2cm excess at both ends of the greeting. Dependent on the size of the greeting, two strips joined end to end may need to be used.
Once you are happy with the positioning of everything, it's time to secure it all in place! Start with the greeting first, slot the excess acetate at either end of the greeting into the wreath, nestling the acetate between the woven branches. Secure both ends with a blob of glue from a glue gun. Add on the succulents and ferns also using a glue gun.
Once everything is glued in place, secure a length of ribbon or twine to the back of the wreath and hang in pride of place inside your home!
