The Lindsey Newns Christmas Collection
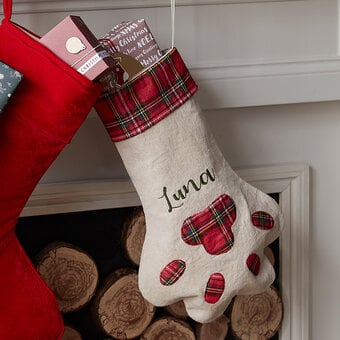
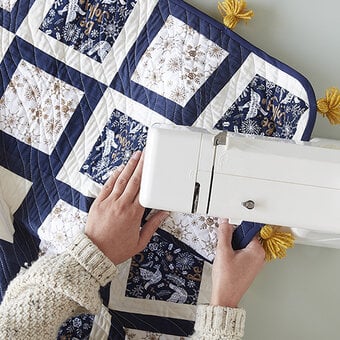
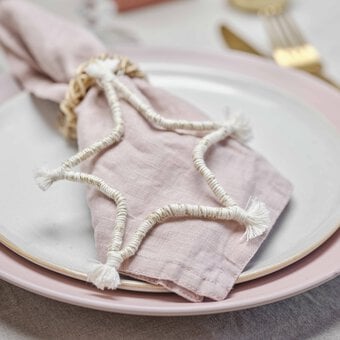
Hobbycraft are proud to present Lindsey Newns Christmas Collection. Lindsey has taken her love for craft and created this amazing collection of items that will bring your Christmas to life. Have fun hooking up oversized baubles or create a pom pom wreath to suit your colour palette. Every item from Lindsey's collection will make your home unique this festive season.
You will need
Subtotal
Is $ 11.00
Subtotal
Is $ 5.49
Subtotal
Is $ 3.49
Out of stock
Subtotal
Is $ 8.49
Subtotal
Is $ 6.49
Subtotal
Is $ 6.49
Subtotal
Is $ 8.49
Subtotal
Is $ 5.49
Subtotal
Is $ 4.49
Subtotal
Is $ 5.49
Out of stock
Subtotal
Is $ 8.49
Subtotal
Is $ 5.49
Out of stock
Subtotal
Is $ 8.49
Subtotal
Is $ 11.00
How to make
Tension
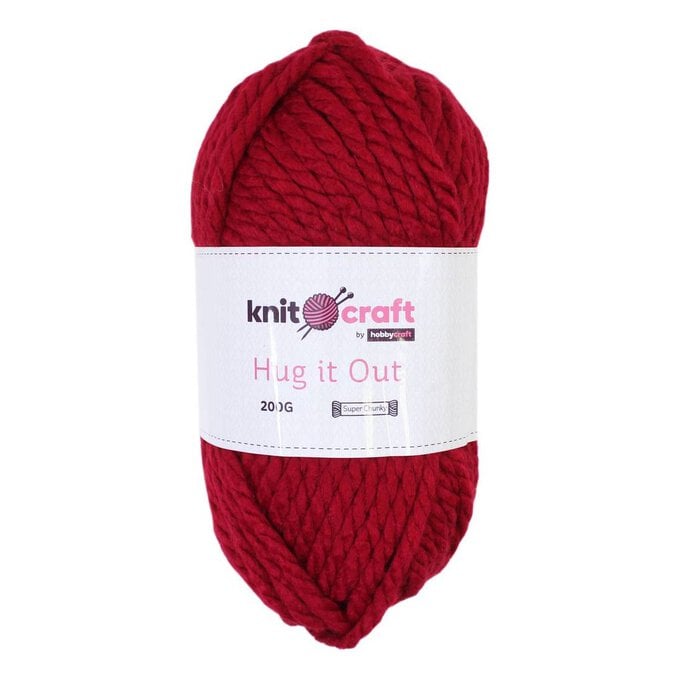
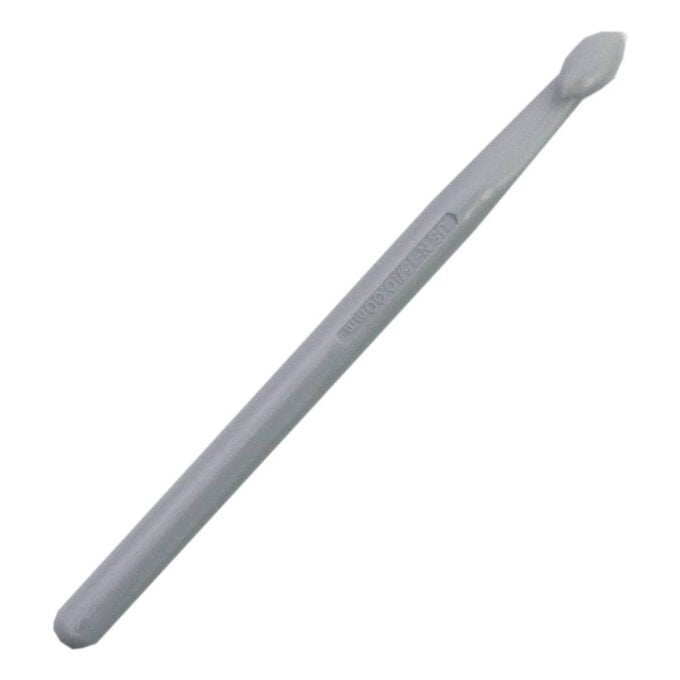
10cm x 10cm (4in x 4in) square: 6 stitches x 6 rows, worked in dc in the round, using Knitcraft Hug it Out and a 10mm hook
Abbreviations
ch chain
blo back loop only
dc double crochet
invdec invisible decrease
inc increase (work 2 stitches in one)
ML magic loop
ss slip stitch
tc treble crochet
Special stitches
Invisible decrease: insert hook into next stitch in the front loop only, and then without yarning over, insert hook into next stitch along in front loop only (3 loops on hook). Yarn over, and pull through 2 front loops on hook (2 loops on hook). Yarn over and draw through remaining loops on hook. Invisible decrease complete.
{insert images 6-8}
Measurements
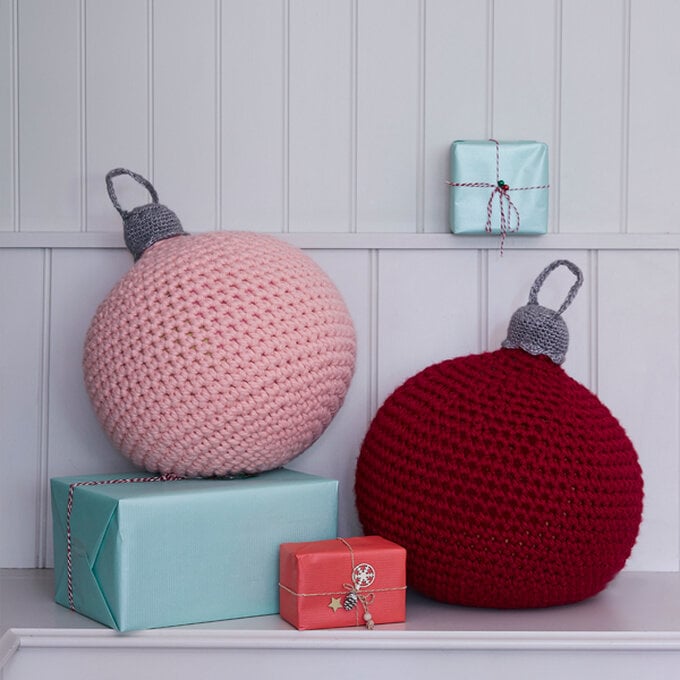
Approx 55cm (H), 115cm (Dia).
Construction
The baubles are made in the round in a continuous Amigurumi-style spiral, and not joined at the end of each round. Use a stitch marker to mark the first stitch of each round to help you keep track. The bauble cap is constructed in the same way.
Pattern starts:
Work the bauble:
Using 10mm hook and Hug it Out Yarn, create a ML
Round 1: 6dc in ML. (6)
Round 2: 2dc in each stitch around. (12)
Round 3: *1dc, inc. Repeat from * until end. (18)
Round 4: *2dc, inc. Repeat from * until end. (24)
Round 5: *3dc, inc. Repeat from * until end. (30)
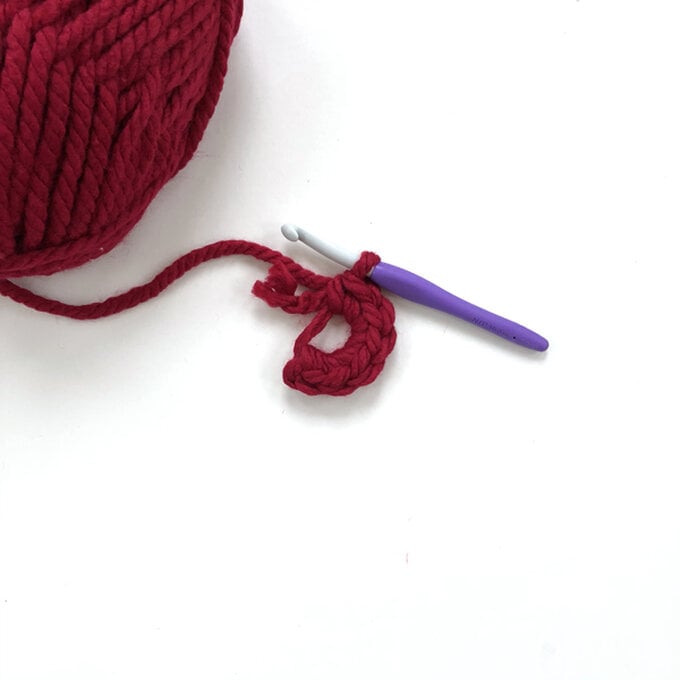
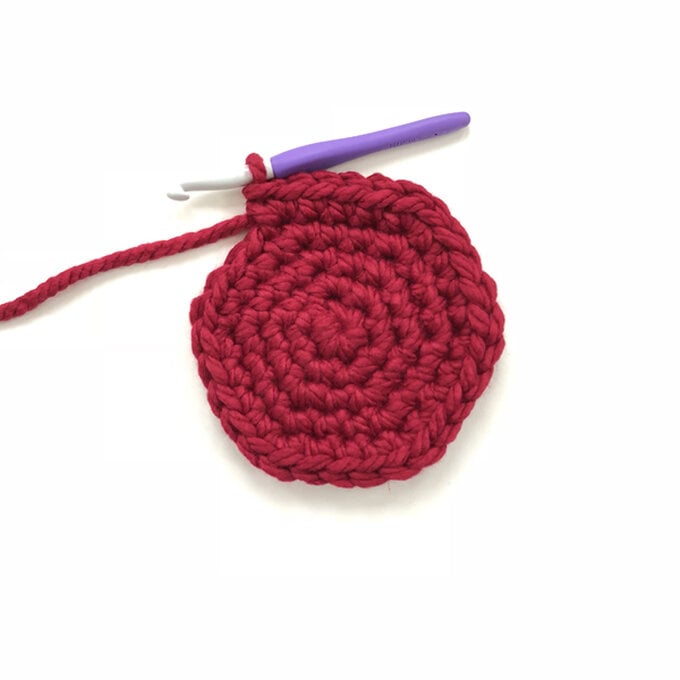
Round 6: *2dc, inc, 2dc. Repeat from * until end. (36)
Round 7: *5dc, inc. Repeat from * until end. (42)
Round 8: *3dc, inc, 3dc. Repeat from * until end. (48)
Round 9: *7dc, inc. Repeat from * until end. (54)
Round 10: *4dc, inc, 4dc. Repeat from * until end. (60)
Round 11: *9dc, inc. Repeat from * until end. (66)
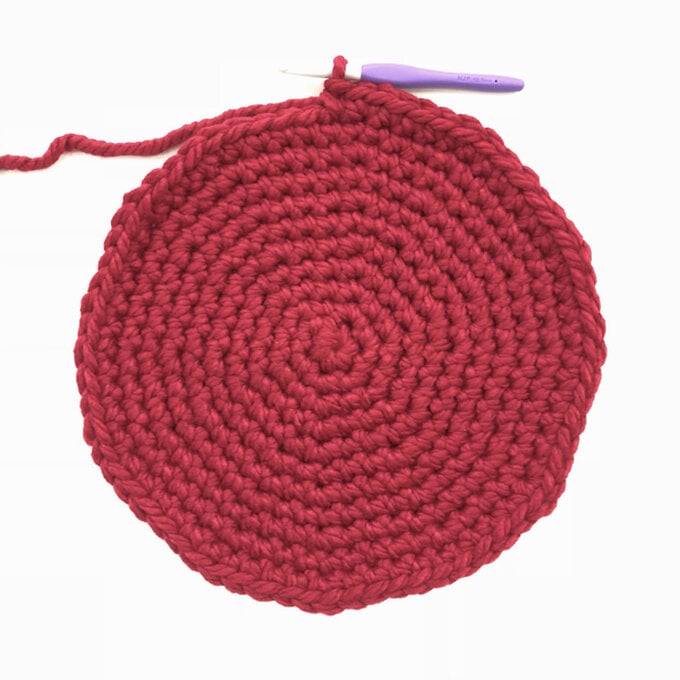
Round 12: Dc in each stitch around. (66)
Rounds 13-22: Repeat round 12. (66)
Round 23: *9dc, invdec. Repeat from * until end. (60)
Round 24: *4dc, invdec, 4dc. Repeat from * until end. (54)
Round 25: *7dc, invdec. Repeat from * until end. (48)
Round 26: *3dc, invdec, 3dc. Repeat from * until end. (42)
Round 27: *5dc, invdec. Repeat from * until end. (36)
Round 28: *2dc, invdec, 2dc. Repeat from * until end. (30)
Round 29: *3dc, invdec. Repeat from * until end. (24)
Round 30: *2dc, invdec. Repeat from * until end. (18)
Round 31: *1dc, invdec. Repeat from * until end. (12)
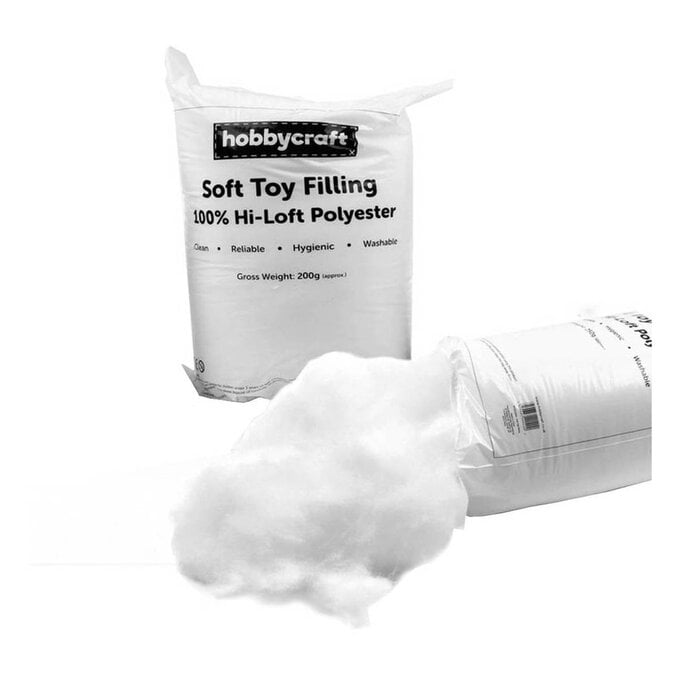
At this stage, fill your bauble with soft toy filling or by inserting and inflating your beach ball – make sure the top of the bauble is not overstuffed to allow you to work the final rounds without stretching them.
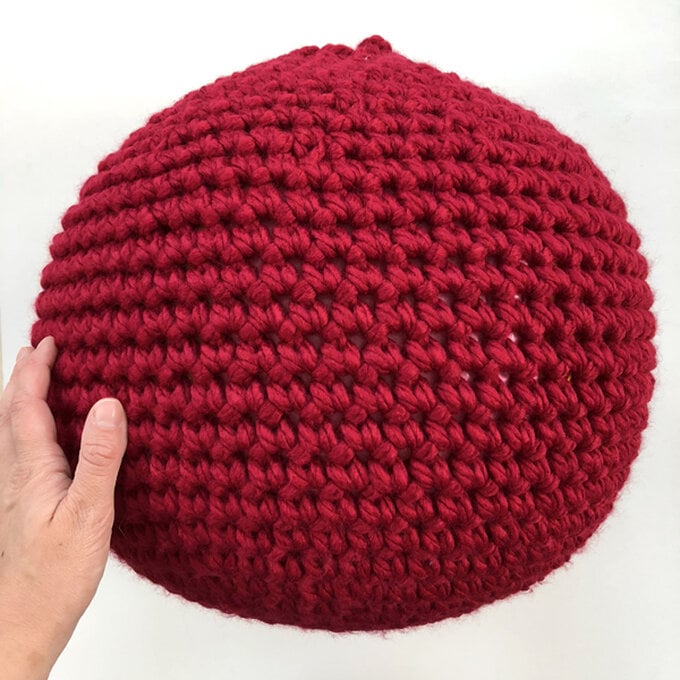
Round 32: Dc blo in each stitch around. (12)
Round 33: Dc in each stitch around. (12)
Round 34-35: Repeat round 33. (12)
Stuff the top of the bauble, or inflate your beach ball to full capacity before closing the top of the bauble.
Round 36: 6 invdec in blo. Fasten off leaving a long tail and sew up any gap in the top of the bauble using a large yarn needle. Weave in any ends. (6)
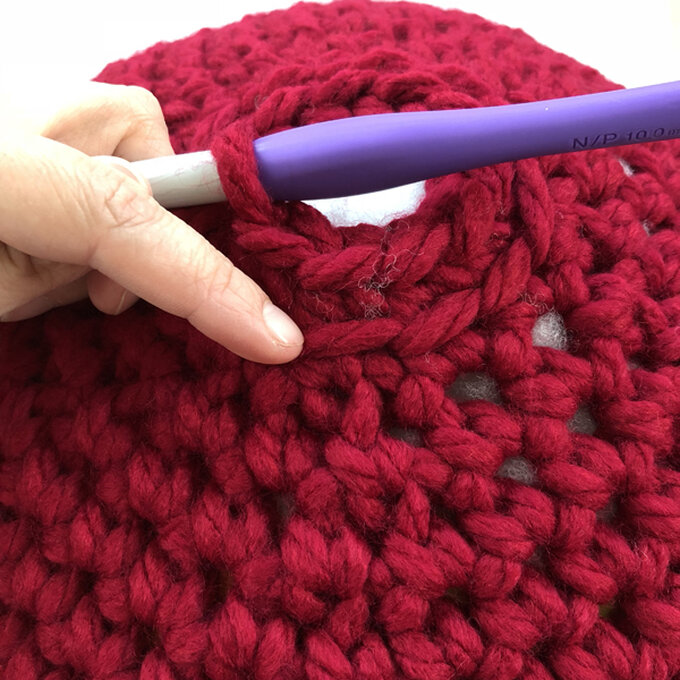
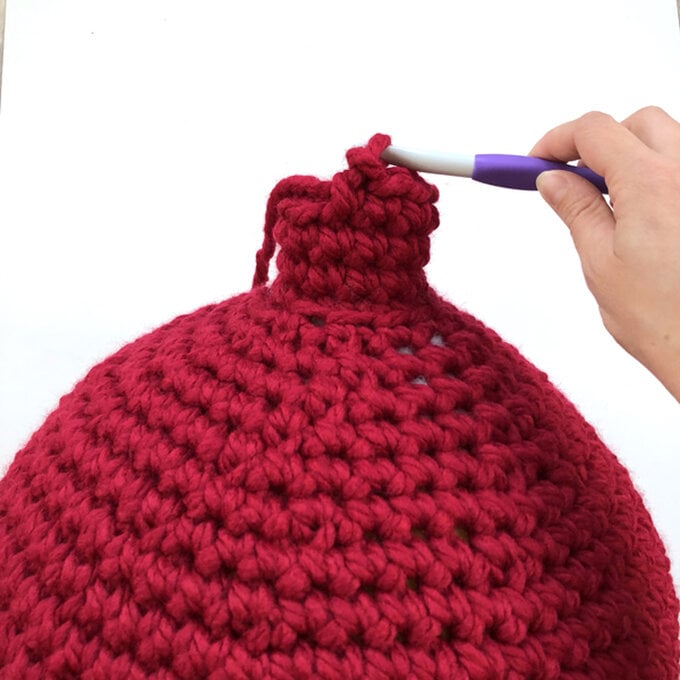
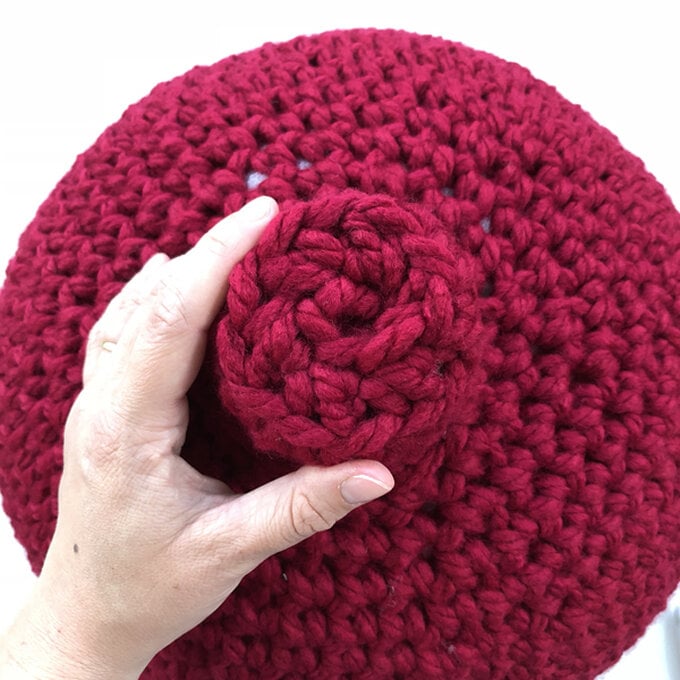
Work the bauble cap:
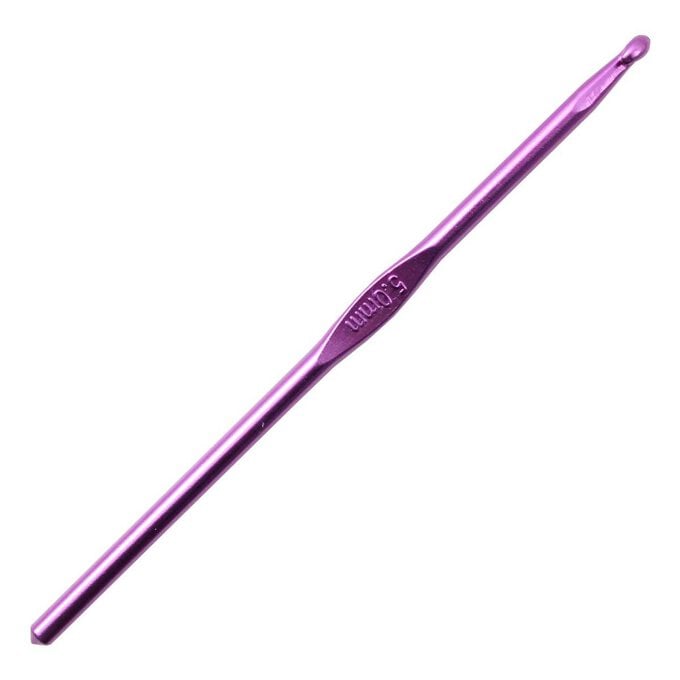
Using a 5mm hook and Knitcraft Shiny Dancer in cobalt, create a ML
Round 1: 6dc in ML
Round 2: 2dc in each stitch around. (12)
Round 3: *1dc, inc. Repeat from * until end. (18)
Round 4: *2dc, inc. Repeat from * until end. (24)
Round 5: *3dc, inc. Repeat from * until end. (30)
Round 6: *4dc, inc. Repeat from * until end. (36)
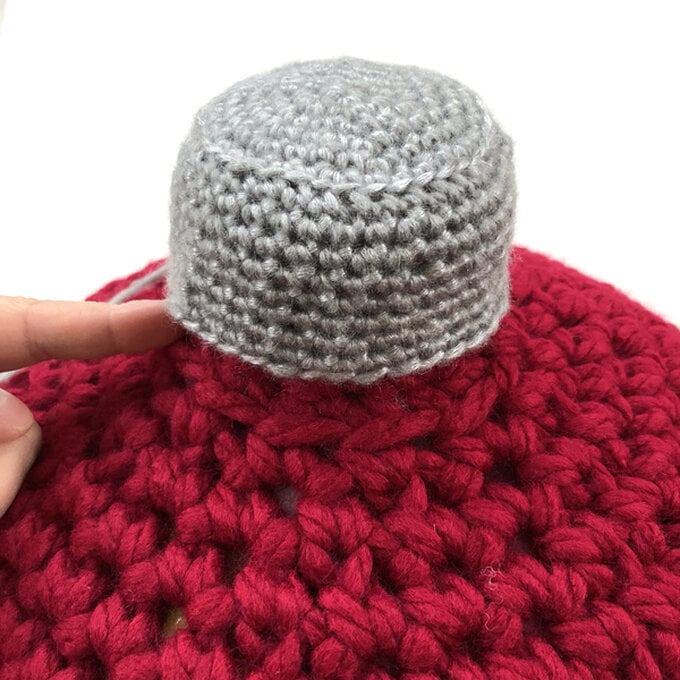
At this stage, the bauble cap should match up with the flat top of your bauble, or be slightly larger.
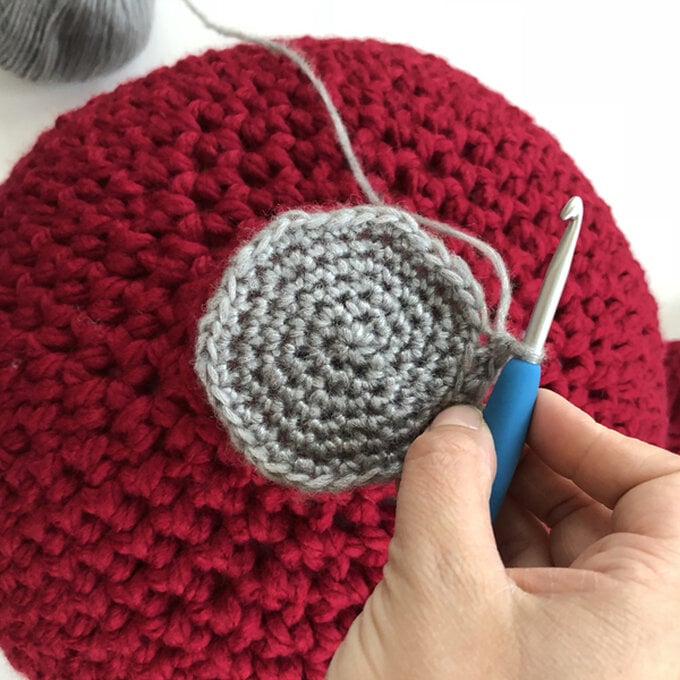
Round 7: Dc blo in each stitch around. (36)
Round 8: Dc in each stitch around. (36)
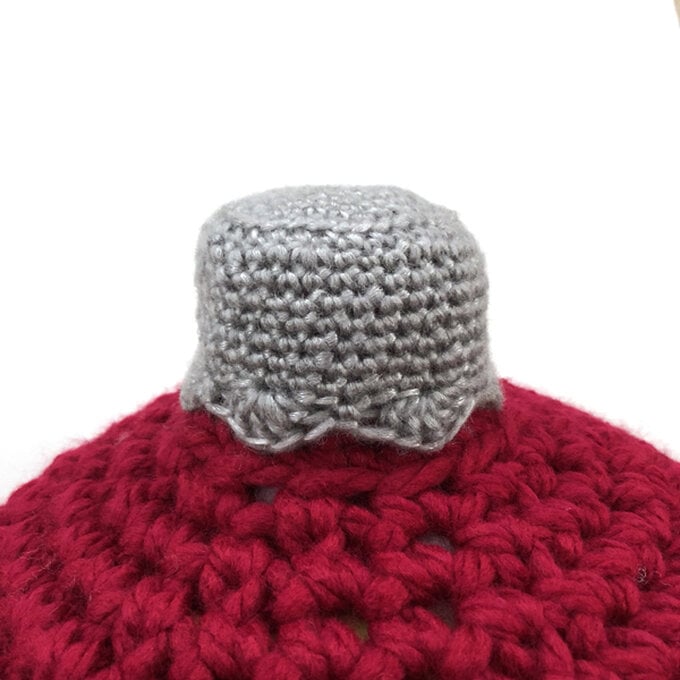
Rounds 9-14: Repeat round 8. (36) Check the cap fits the bauble top.
Round 15: *Dc, skip 2dc, 5tc in one stitch, skip 2. Repeat from * 5 more times. Fasten off leaving a long tail. Place the bauble cap in the top of the bauble and sew securely on at the top and bottom points – be careful not to pull too tightly or you may distort the shape of the bauble cap.
Work the bauble wire:
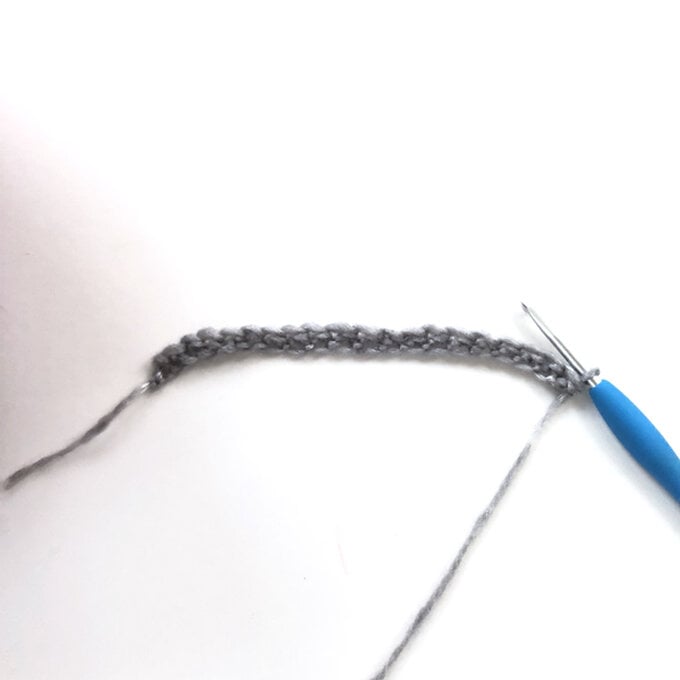
Using a 5mm hook and Knitcraft Shiny Dancer, ch21 leaving a long tail at start.
Row 1: Starting in 2nd ch from hook, 20dc along chain, turn. (20)
Row 2: ch1 (does not count as a stitch), 20dc. Fasten off leaving long tail. (20)
Attach the bauble wire to the top of the bauble cap, sewing the ends very securely across the ends of rows 1-2.
Using a sheet of A3 yellow card held landscape, draw out a holly leaf from the bottom to the top of the paper. Make sure you holly leaf has a long tab or stalk on the bottom, as you will need to fold this over the garland to attach at the end. The Leaf should not be wider than A4 (or half the width of the paper).
Cut the holly leaf out. Fold it in half lengthways, then cut again and choose one half. This will form your template.
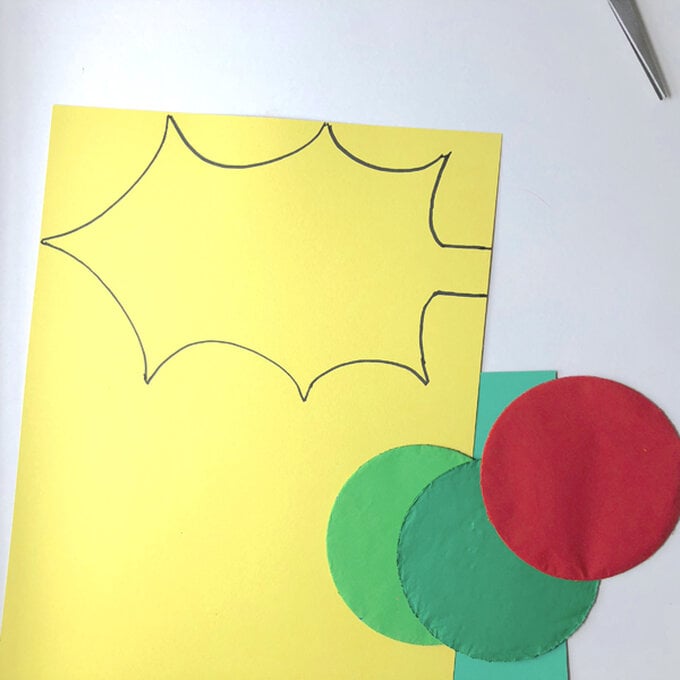
Taking a sheet of the A3 card in green, fold it in half and half again widthways.
Lay you holly leaf template on the folded card, making sure that it fits and that the middle edge of the template is sitting on the folded edge of the green paper.
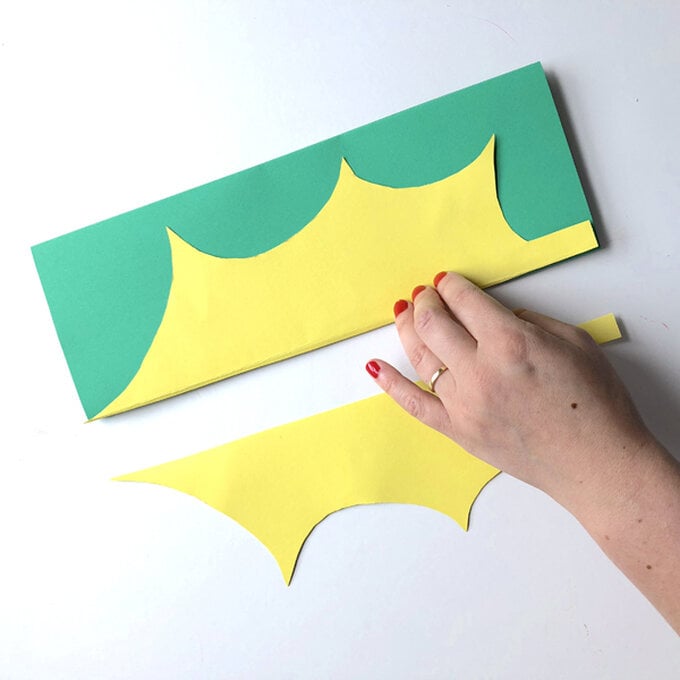
Draw around your template on to the green card, then cut out around the outer edge – do not cut down the middle of the leaf.
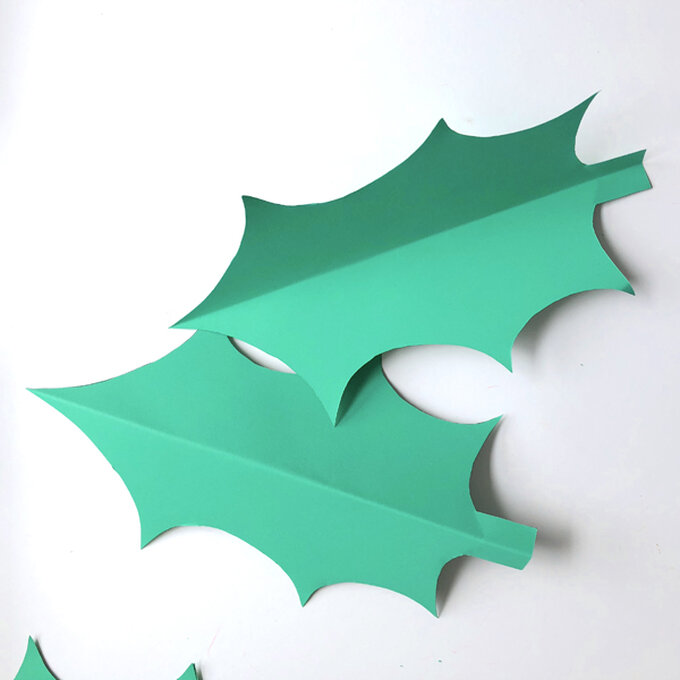
You should now have two holly leaves with a fold down the centre. Repeat until you have 8 leaves.
Save the offcuts from the holly leaves to make mistletoe leaves later.
Take one sheet of A3 red card and fold in half lengthways. Repeat three more times and then unfold. Your paper should now have 7 fold lines running the length of the card.
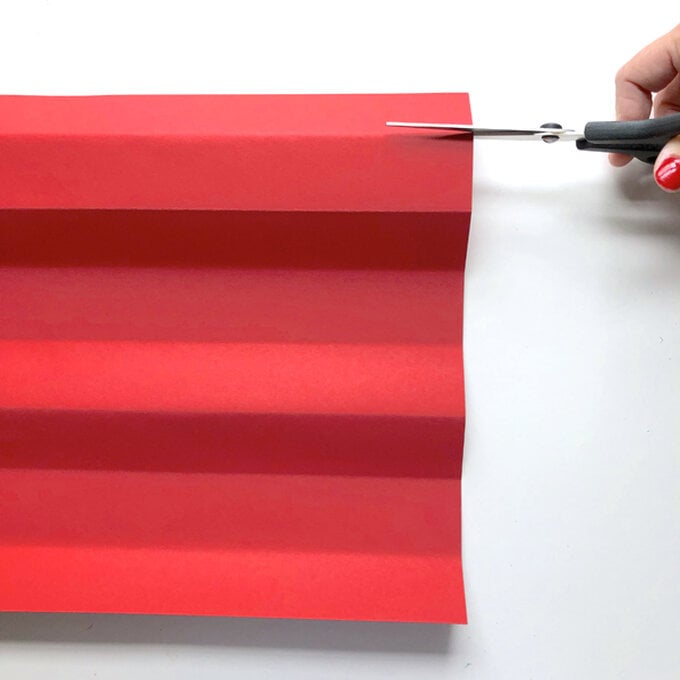
Cut your red card along the fold lines, this will give you 8 long strips.
Take 4 strips. Curve the first one until the two ends meet and overlap by around 2cm, use sticky tape or glue to secure.
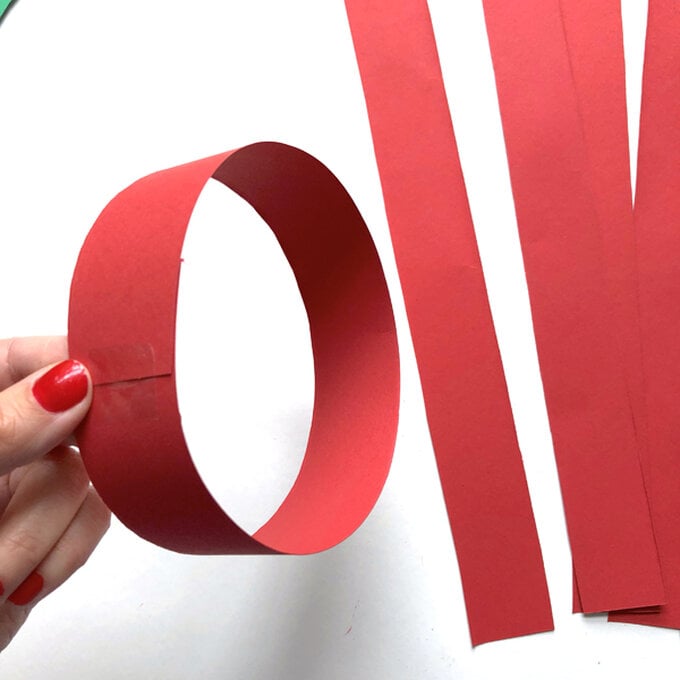
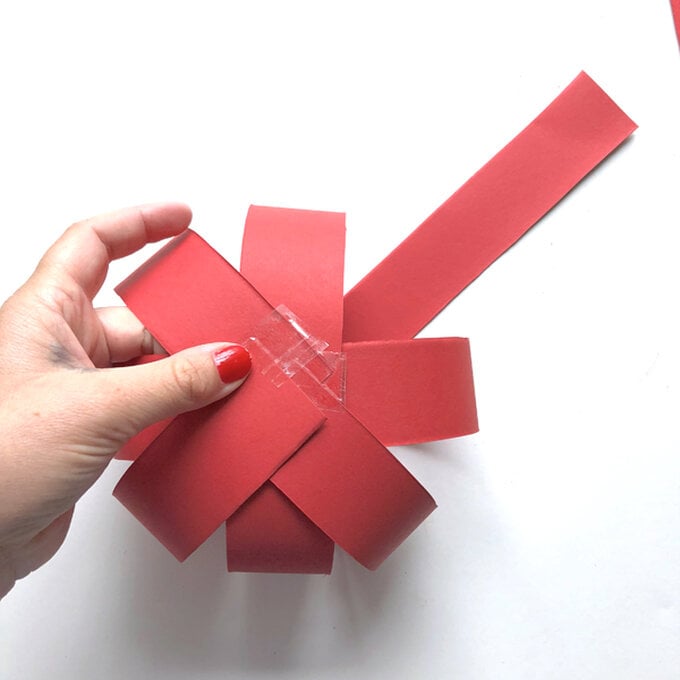
Take a new sheet of red card and repeat steps 1-2.
Take your 8 strips and fold them in half widthways. Cut along these fold lines to give you 16 strips.
Fold the 16 shorter strips in half again, this time lengthways, and then cut each strip in half, leaving 32 strips.
Make 8 smaller berries in the same way you made the larger berry, repeating steps 3-5.
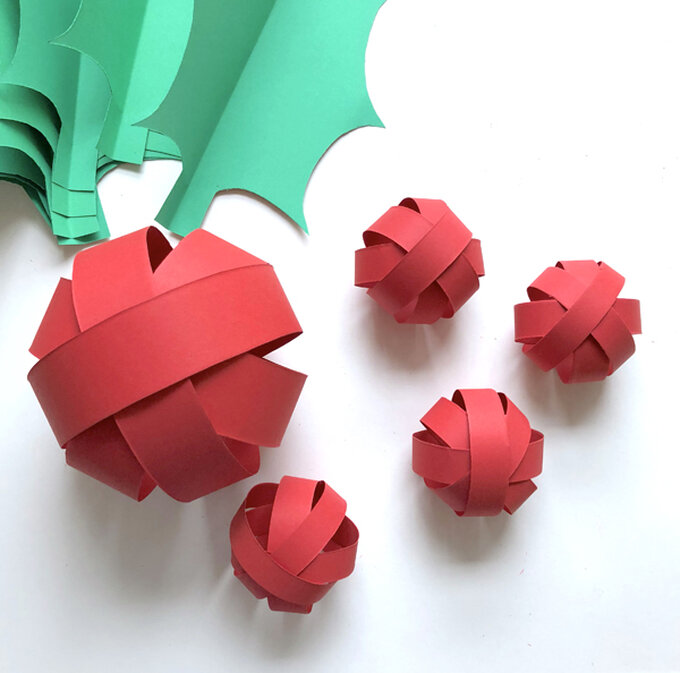
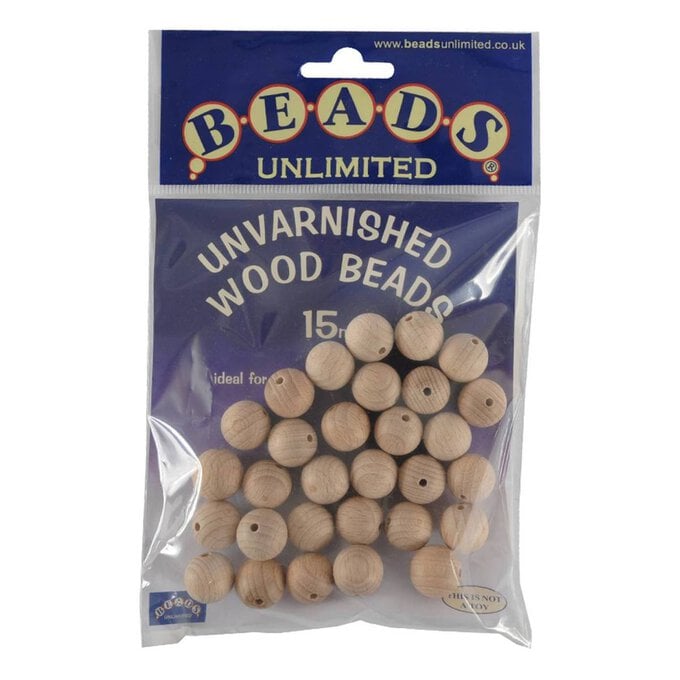
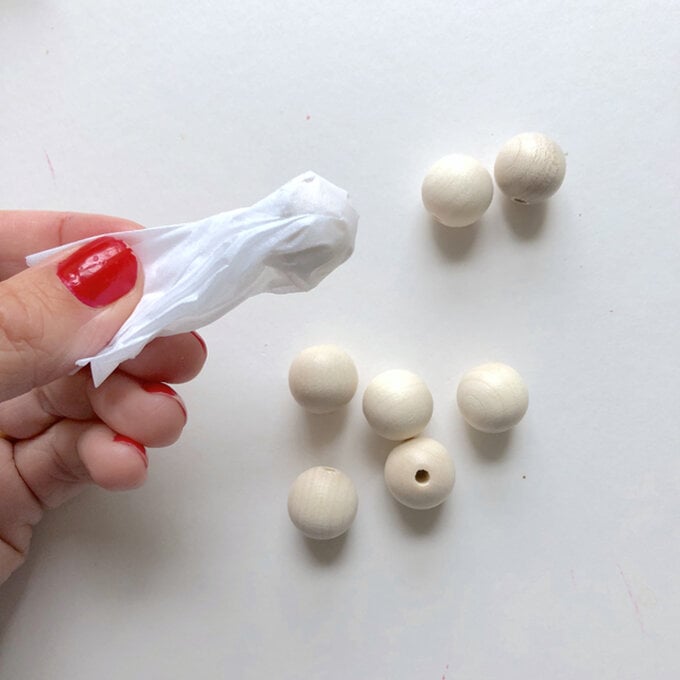
Take 15 wooden beads and 15 white tissue paper circles.
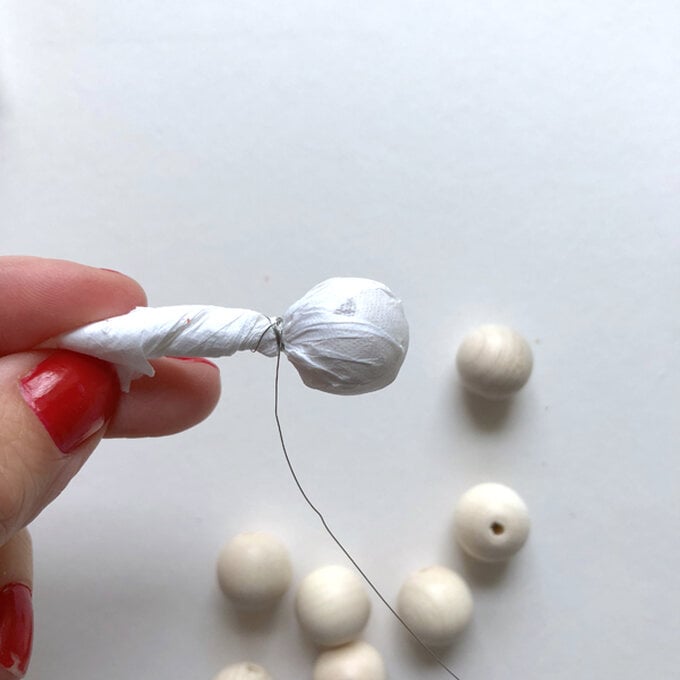
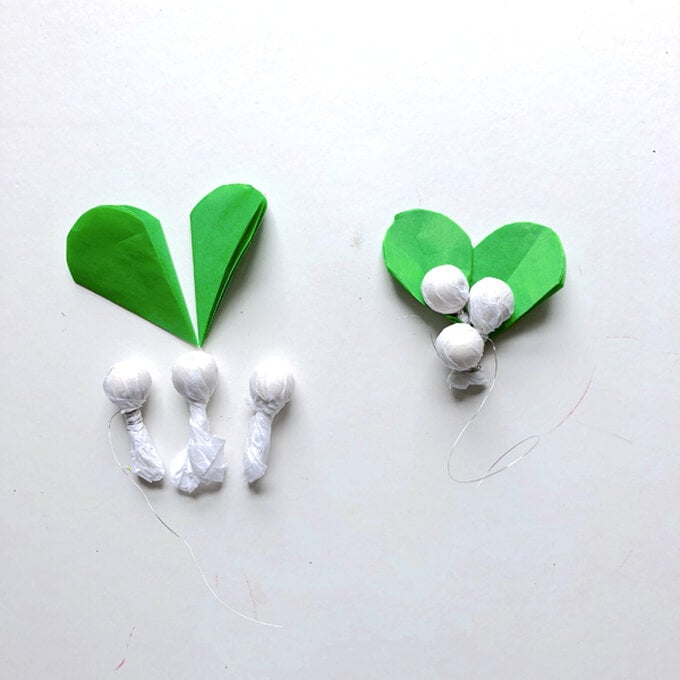
Place a bead into the centre of a paper circle and, holding the bead and paper, gently twist the paper.
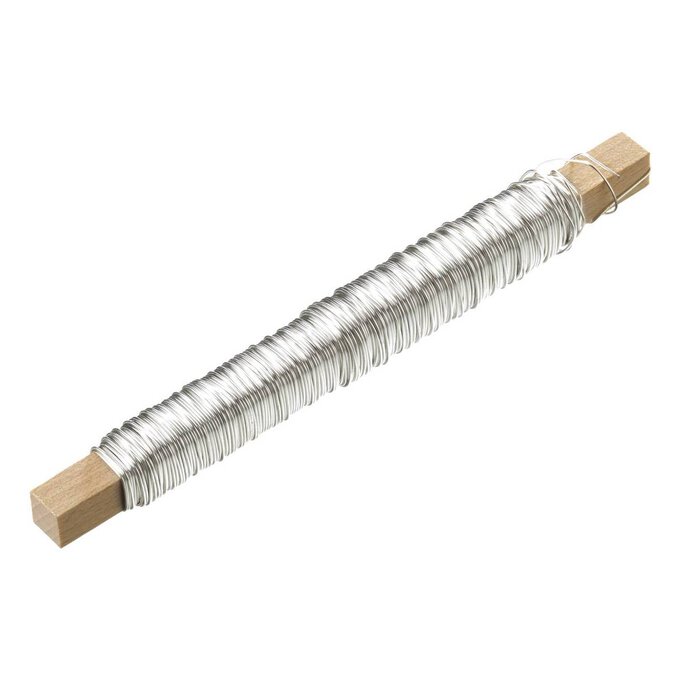
Using a length of florist's wire approx. 15cm long, wrap the tissue just underneath the bead to secure, leave a long tail of the wire to help attach to garland later on
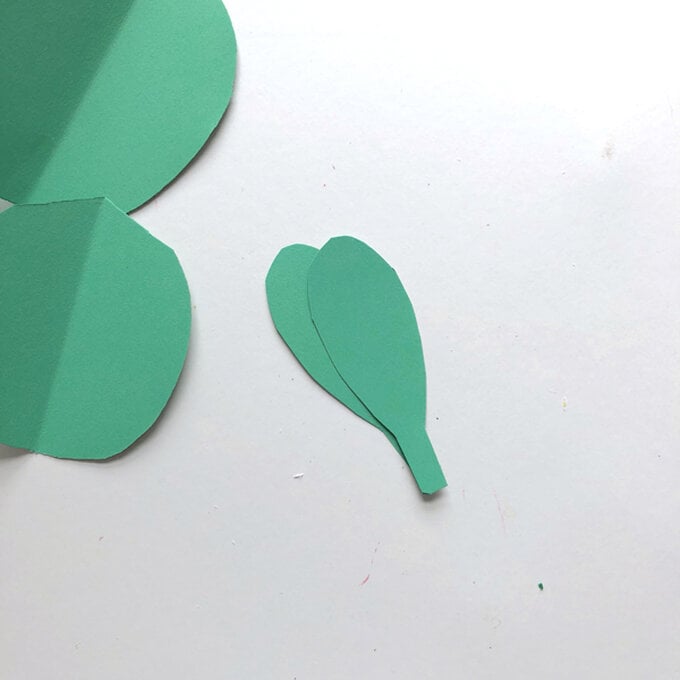
Using the offcuts of the holly leaves, make 15 card mistletoe leaves, each around 7cm tall. Make sure each leaf has a long thin tab or 'stalk' on the end, as this will help attach to the garland later.
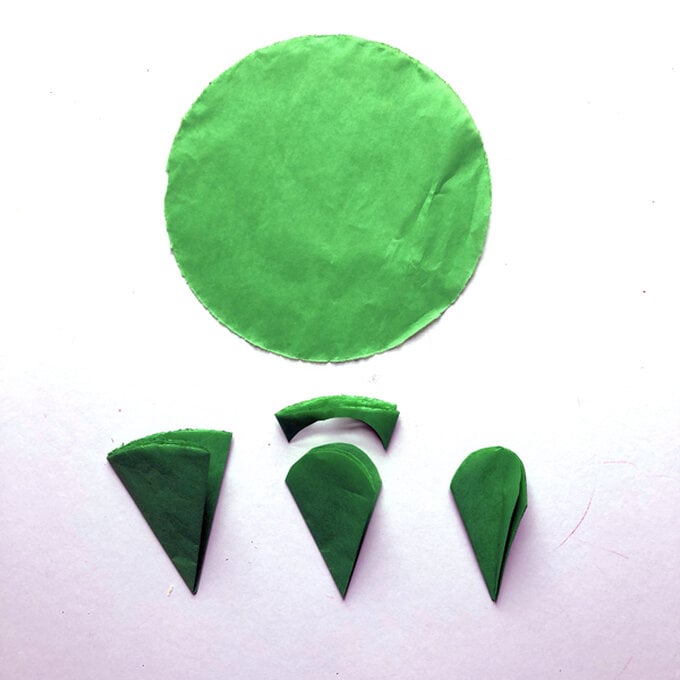
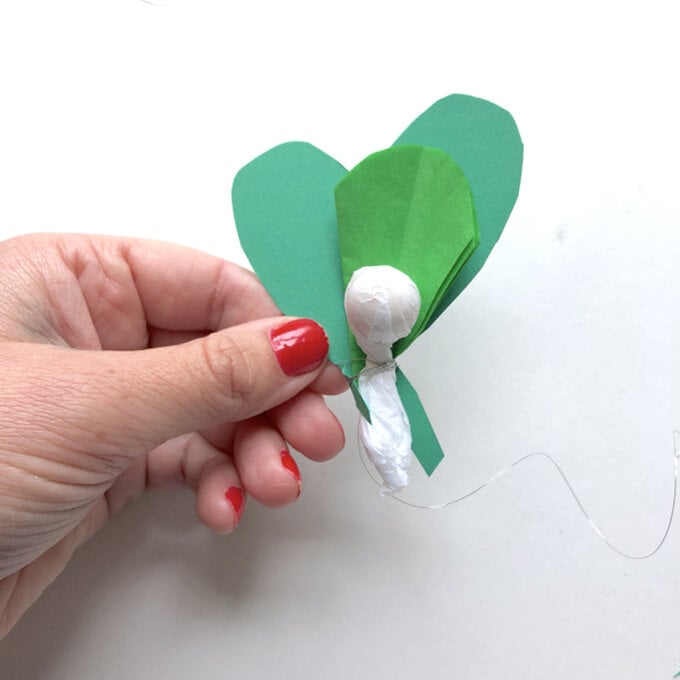
You should now have 15 berries, 15 card leaves and 15 tissue paper leaves to join together. Join in the following way: 3 x groups of 1 berry, 2 tissue leaves and 1 card leaf. 3 x groups of 1 berry, 1 tissue leaf and 2 card leaves. 3 x groups of 3 berries, 2 tissue leaves and 2 card leaves.
Attach the berries to the tissue leaves by overlapping and wrapping with wire, do not trim the tails of wire.
Hold card leaves behind and wrap with wire, making sure the paper stalk/tab on the card leaves hangs down below. Trim the tissue paper underneath the bead until it is 1-2cm.

To make a large card Poinsettia, take an orange sheet of A3 card and lay out landscape. Create a square by folding the bottom left corner up until it meets the top edge of the paper, making sure there is a neat diagonal line running from the top left of the paper to the bottom edge. Trim the excess strip along the right-hand side to turn your rectangle into a square.
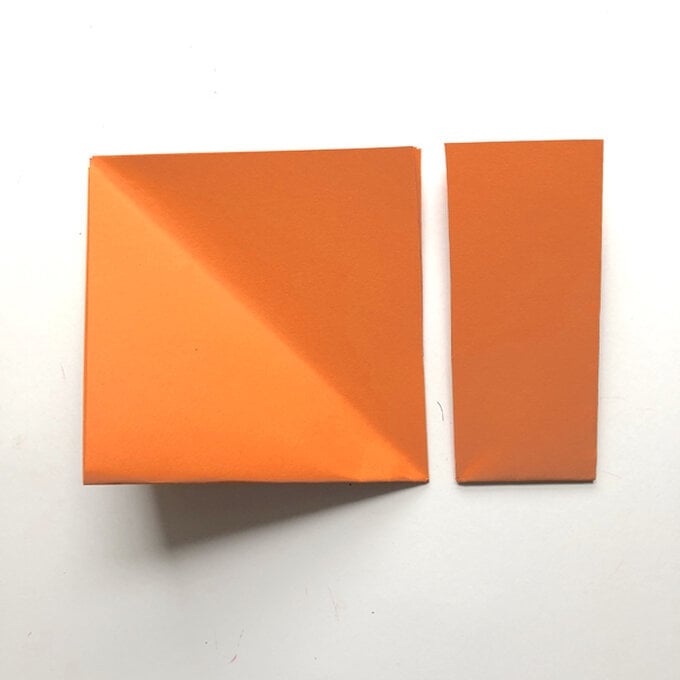
Fold your square in half and in half again, straight edge to straight edge, then cut along these new fold lines to give four smaller squares.
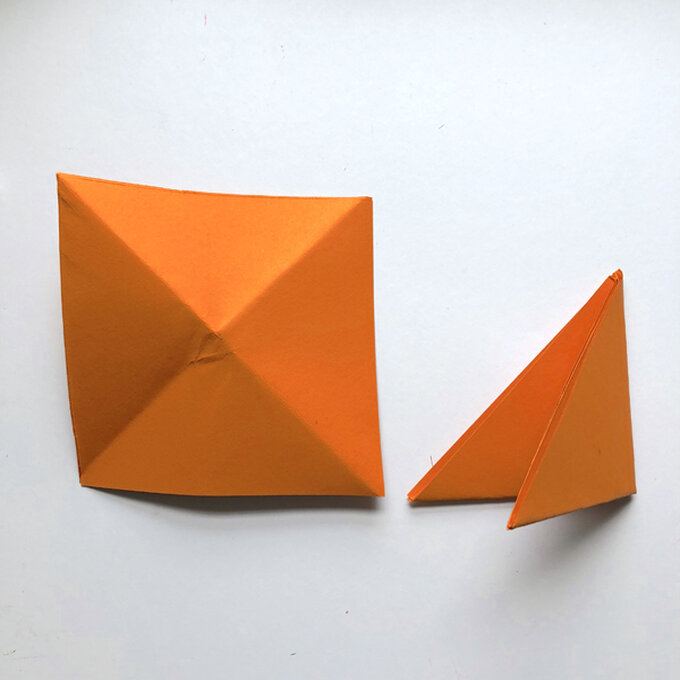
Fold each square in half and in half again along the diagonal.
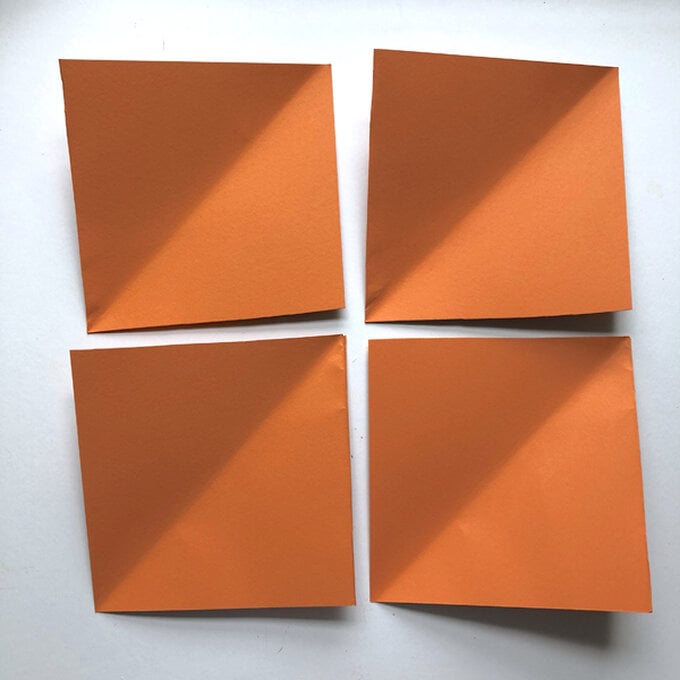

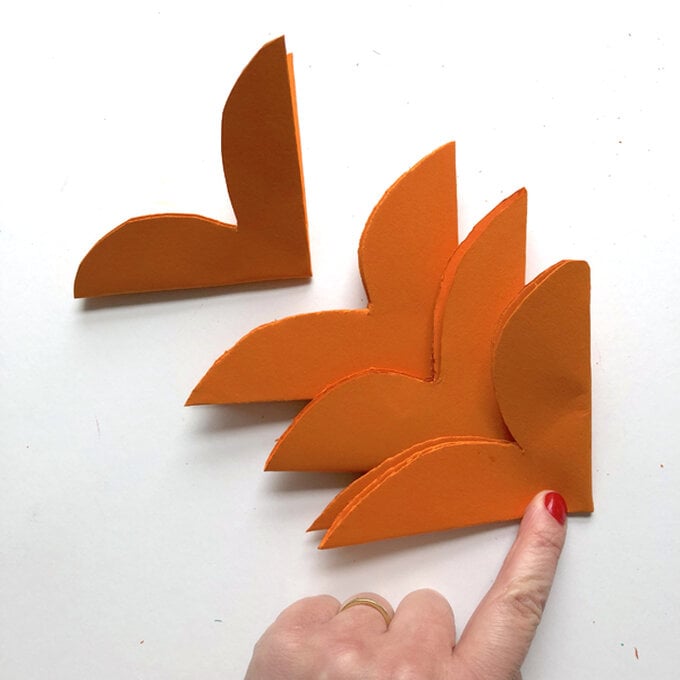
Whilst folded, trim each square into a flying bird shape. Make one of the flying bird shapes smaller than the others
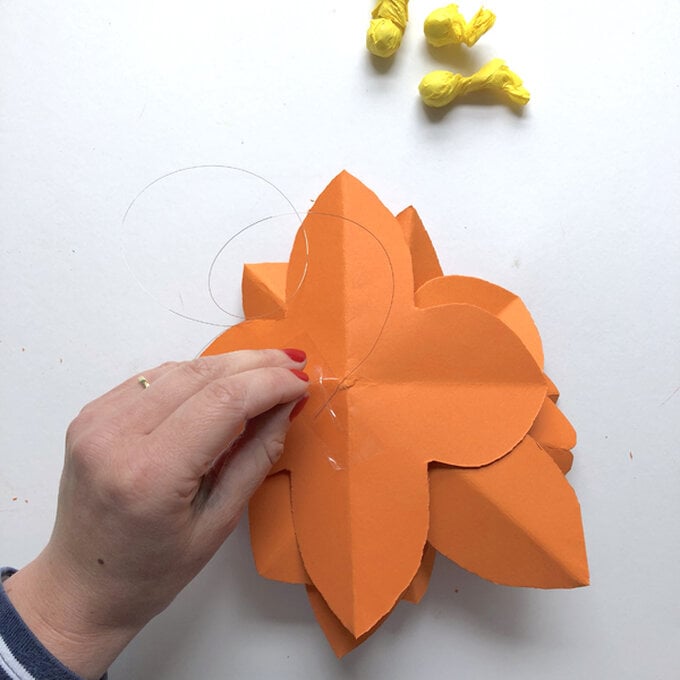
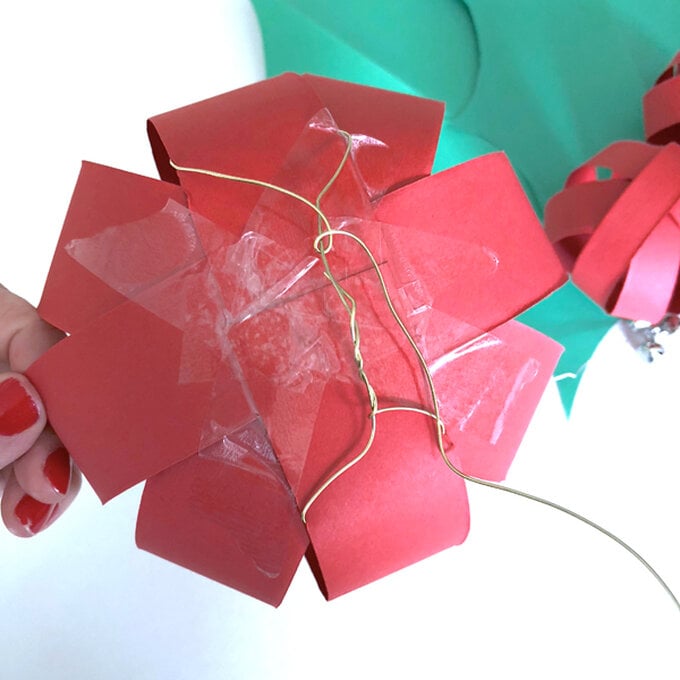
Open out your four shapes, and place on top of each other with the smallest on top, arrange them at slightly different angles to give the impression of petals. Pierce a hole through the centre of each and thread wire through from behind. Use sticky tape on the back of the flower to secure the wire.
Create three berries in the same way you did for the mistletoe, wrapping 3 beads in 3 sheets of yellow tissue paper and securing with wire. Attach to the front of the card flower with the central wire and glue.
Take 5-6 sheets of pink tissue circle stacked on top of each other and fold in half then half again.
Trim the folded circle into a flying bird shape.
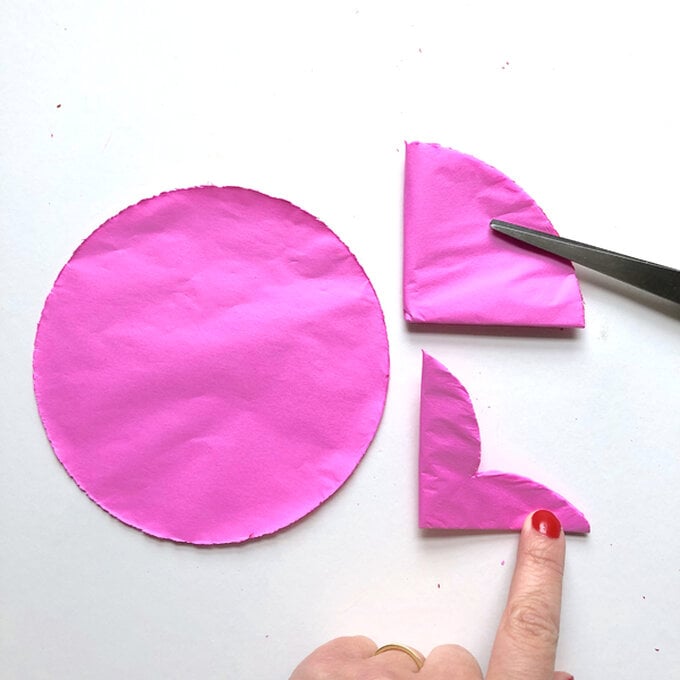
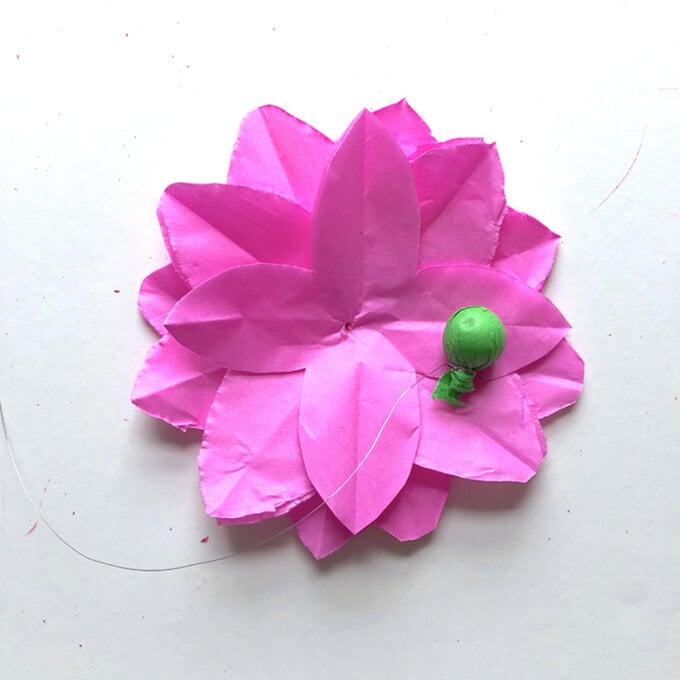
Unfold and fan out your shapes into petals. Attaching using wire threaded through the centres and secured at the back with tape.
Repeat twice more to make 3 flowers. Make 3 berries using green, white and red tissue papers and 3 wooden beads, and attach one each to the pink tissue flowers using the wire in the centre.
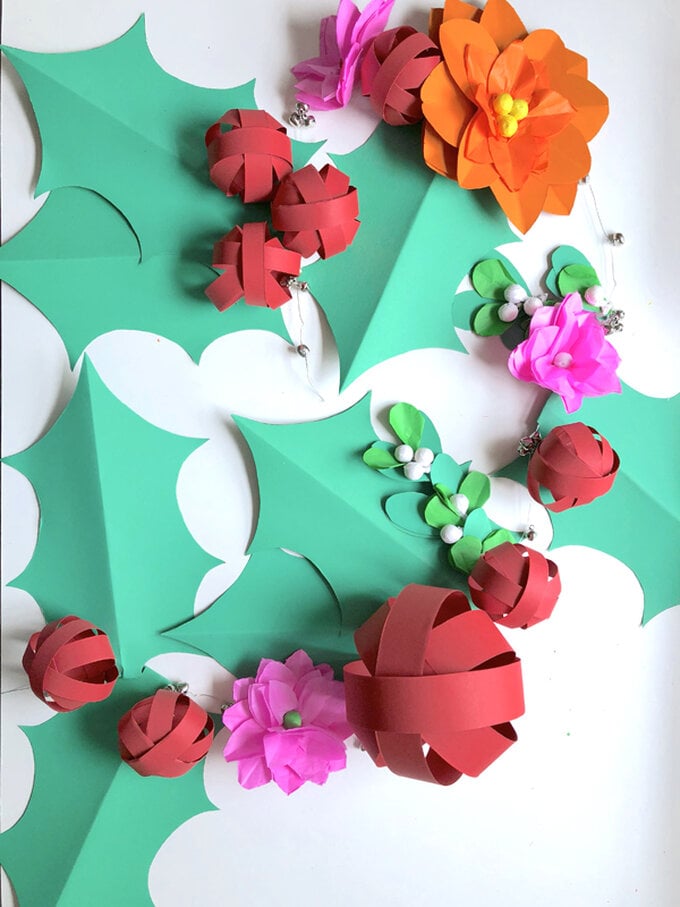
You should now have: 9 holly leaves, 1 large holly berry, 8 small holly berries, 1 card poinsettia, 3 tissue paper poinsettias, 9 mistletoe groups.
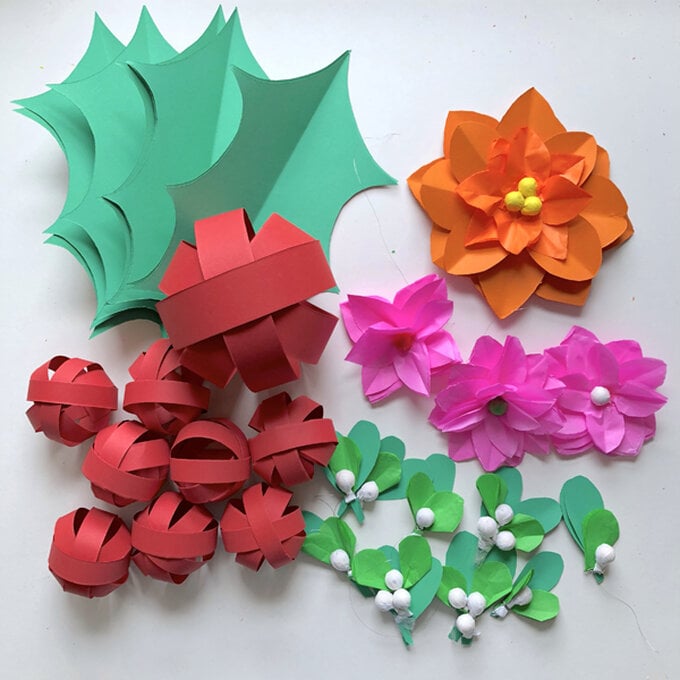
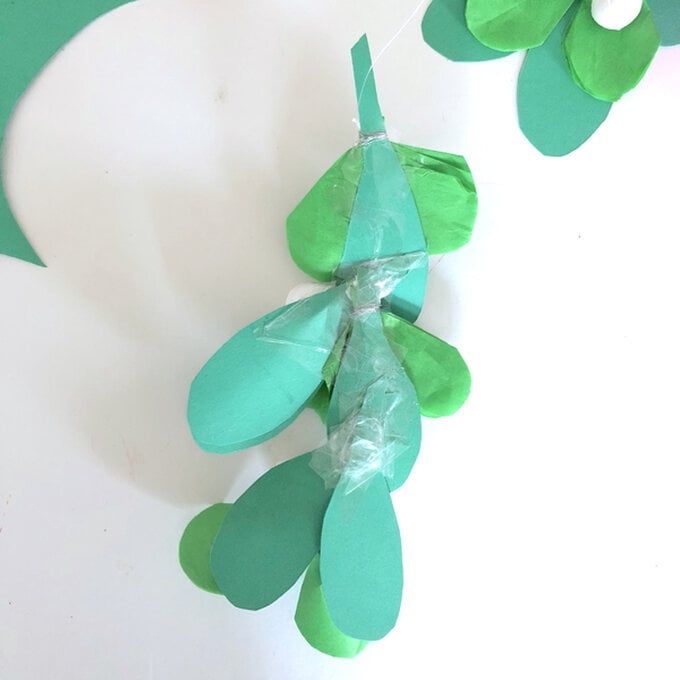
Lay out your bell garland on a long table and place your paper parts to get a feel for the layout you would like.
Attach your holly leaves first, folding the stalk over the wire and securing behind with tape or glue. Attach the berries to the bottom of the leaves using wire.

Tension
10cm x 10cm (4in x 4in) square: 16 stitches x 18 rows, worked in waistcoat stitch in the round with a second yarn carried inside the stitches using In the Zone yarn and a 6mm hook
Abbreviations
3trcl 3 treble cluster
blo back loop only
ch chain
dc double crochet
htc half treble crochet
inc increase (work 2 stitches in one)
ML magic loop
ss slip stitch
ws waistcoat stitch
Yarn A – mint
Yarn B – white
Yarn C – pink
Yarn D – blue
Yarn E – yellow
Special stitches
Waistcoat stitch: worked as double crochet, but your stitches are formed by working into the front V of the stich in the row below, rather than in the top of the stitch as normal.
3 treble cluster: yarn over and insert into stitch, yarn over and pull up a loop, yarn over again and pull though two loops on hook, leaving other loops unworked. Repeat from the beginning two more times until you have 4 loops on hook, yarn over and pull through all loops.
Measurements
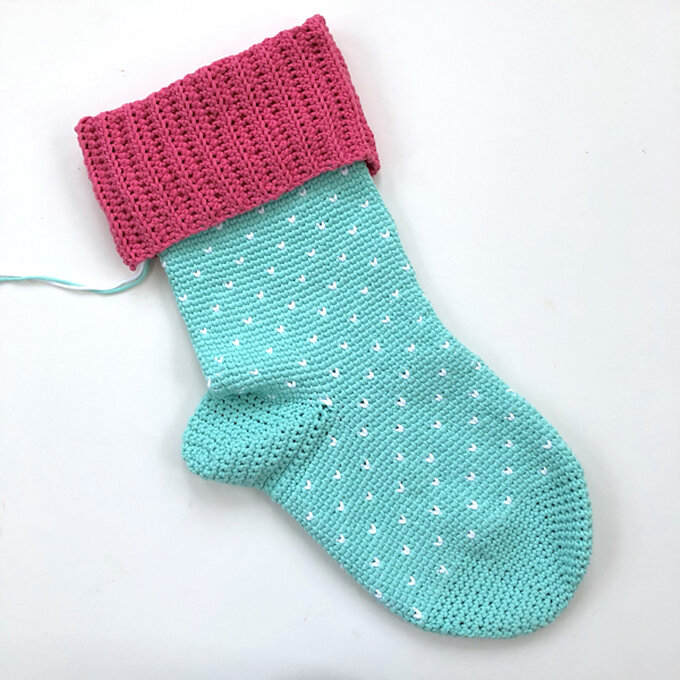
When finished: H: (toe to top of cuff) approx. 55cm (21.5in). W: 20cm (7.5in)
Cuff (unfolded and unjoined): H: 43cm (17in). W: 22cm (8.5in)
Construction
Toe up construction.
Toe, foot and leg are worked in rounds.
The heel is worked in rows.
The cuff is worked in rows and joined to the stocking.
When working in the round, rounds are worked continuously in an Amigurumi-style sprial, and not joined at the end of each round. Use a stitch marker to mark the first stitch of each round to help you keep track.
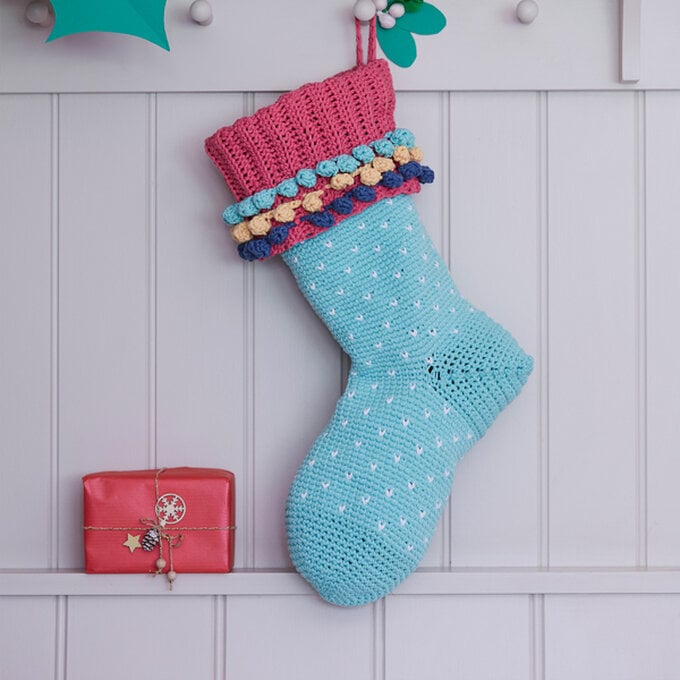
In Yarn A with 6mm hook, create ML
Round 1: 6dc in ML
Round 2: 2dc in each stitch around. (12)
Round 3: *1dc, inc. Repeat from * until end. (18)
Round 4: *2dc, inc. Repeat from * until end. (24)
Round 5: *3dc, inc. Repeat from * until end. (30)
Round 6: *4dc, inc. Repeat from * until end. (36)
Round 7: Dc around. (36)
Round 8: *5dc, inc. Repeat from * until end. (42)
Round 9: Dc around. (42)
Round 10: *6dc, inc. Repeat from * until end. (48)
Round 11: Dc around. (48)
Round 12: *7dc, inc. Repeat from * until end. (54)
Round 13: Dc around. (54)
Round 14: *8dc, inc. Repeat from * until end. (60)
Round 15: Dc around. (60)
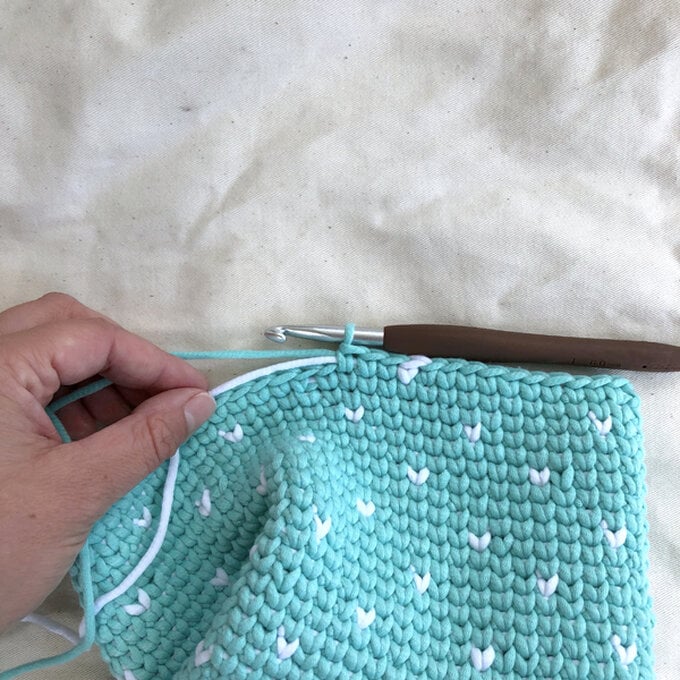
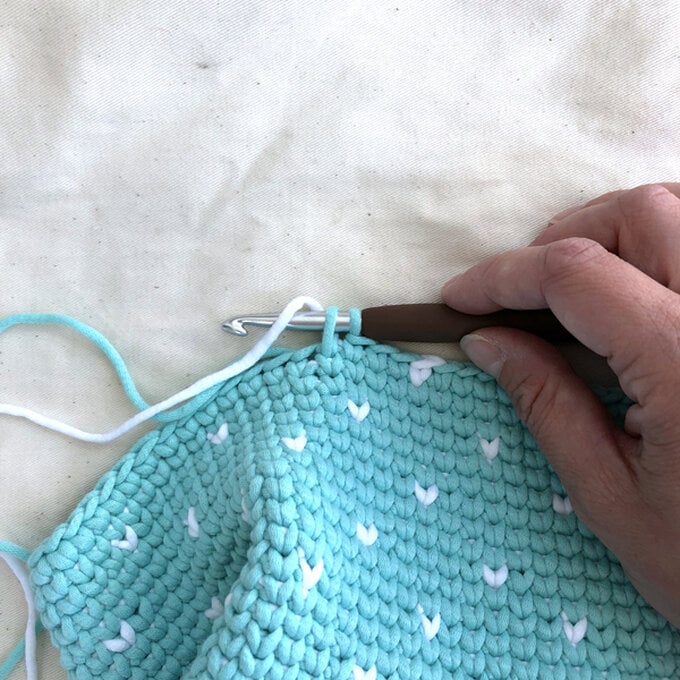
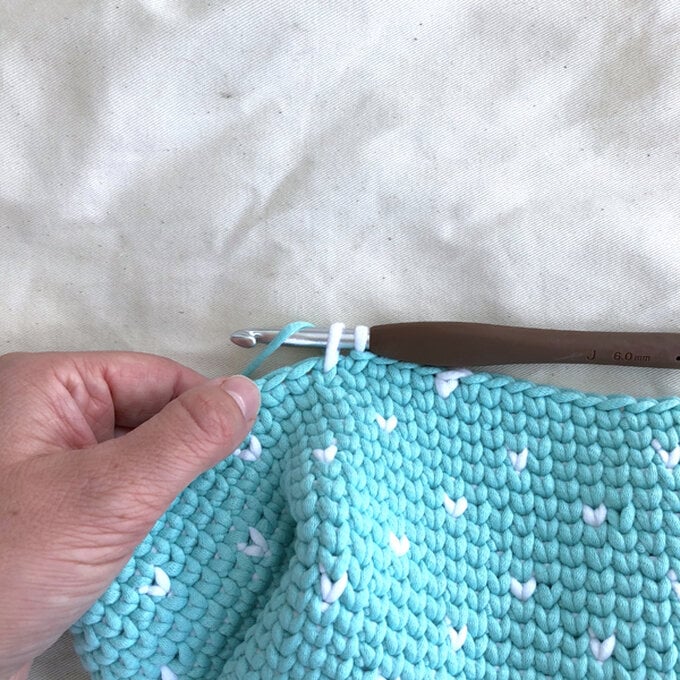
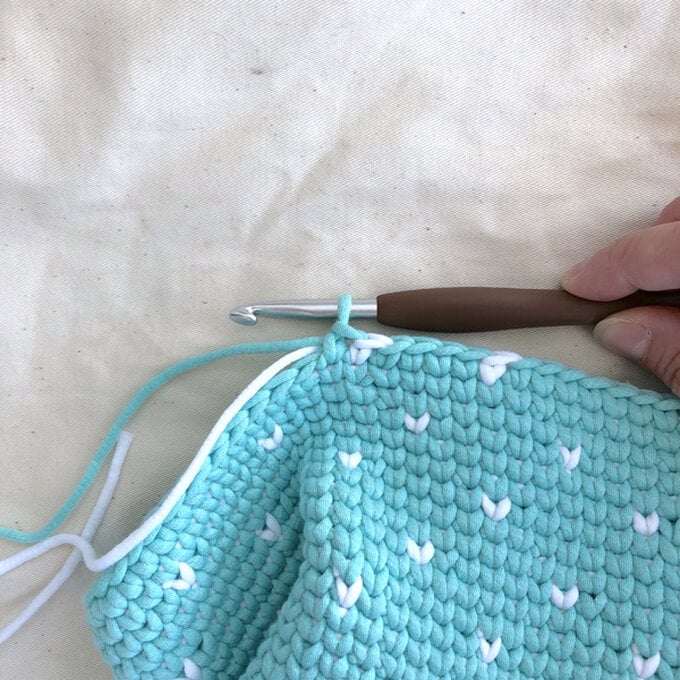
Round 16: Ws in each stitch around. (60)
Round 17: Join in white yarn, and ws in each stitch around, working over the top of the white. (60)
Round 18: *5ws in Yarn A, 1ws in Yarn B. Repeat from * to end. (60)
(See tips section for changing colour, always work over the top of non-dominant yarn.)
Round 19: Ws in each stich around in Yarn A. (60)
Round 20: Ws in each stich around in Yarn A. (60)
Round 21: *2ws in Yarn A, 1ws in Yarn B, 3ws in Yarn A. Repeat from * to end. (60)
Round 22: Ws in each stich around in Yarn A. (60)
Round 23: Ws in each stich around in Yarn A. (60)
Rounds 24-41: Repeat Rounds 18-23. (60)
Round 42: Repeat round 18. (60)
Round 43: Repeat round 19. Fasten off both colours. (60)
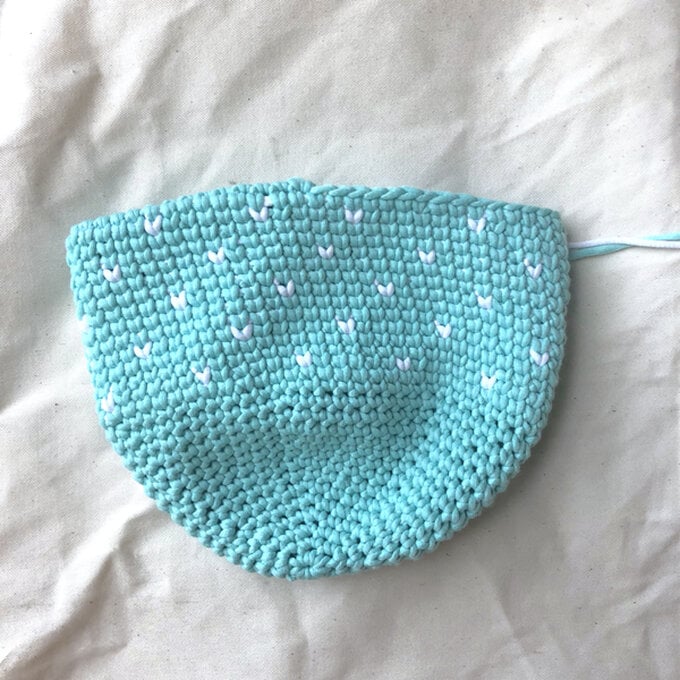
Row 1: Skip 45 stitches of previous rnd, 15dc in top of ws, 15dc in missed stitches round round 43, turn. (30)
Row 2: Ch1 (does not count as a stitch now or throughout), dc in each stitch until 1dc from end, skip 1dc, turn. (29)
Rows 3-14: Repeat row 2.
Row 15: Repeat row 2. (15)
Row 16: Ch1, dc in each stitch, 1dc in side of row below, ss in missed stitch 2 rows below (do not count ss in stitch count). (16)
Rows 17-29: Repeat row 16.
Row 30: Ch1, dc in each stitch, 1dc in side of row below, ss into unworked ws of round 43 (do not count ss in stitch count). (30)

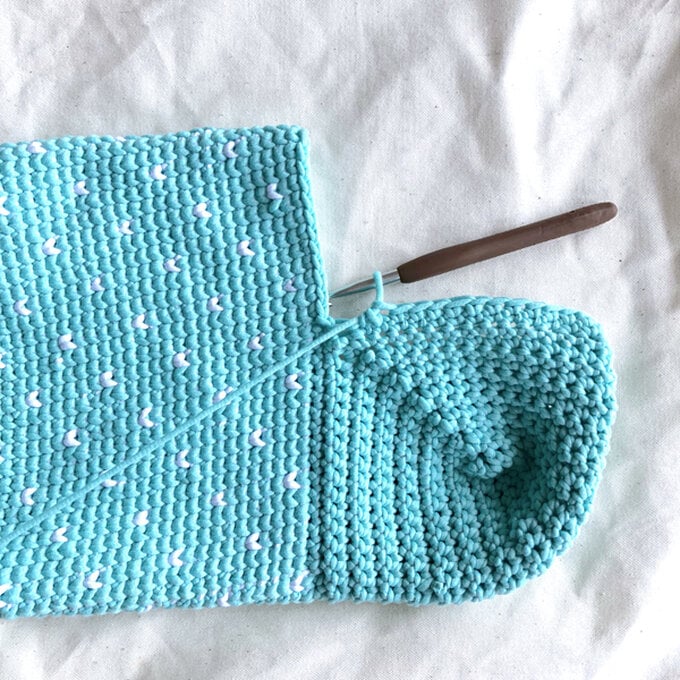
Round 1: In Yarn A working over the top of Yarn B, 30ws in each unworked ws of round 43, 30ws in each dc of heel row 30. Use a stitch marker to mark first stitch of new round. (60)
Round 2: Round 18: *5ws in Yarn A, 1ws in Yarn B. Repeat from * to end. Colour changes should match up with pattern of the colour changes in the toe. (60)
Round 3: Ws in each stich around in Yarn A. (60)
Round 4: Ws in each stich around in Yarn A .(60)
Round 5: *2ws in Yarn A, 1ws in Yarn B, 3ws in Yarn A. Repeat from * to end. (60)
Round 6: Ws in each stich around in Yarn A. (60)
Round 7: Ws in each stich around in Yarn A. (60)
Rounds 8-37: Repeat Rounds 2-7. (60)
Round 38: Repeat round 2. (60)
Round 39-43: Repeat round 3. Fasten off both yarns. (60)
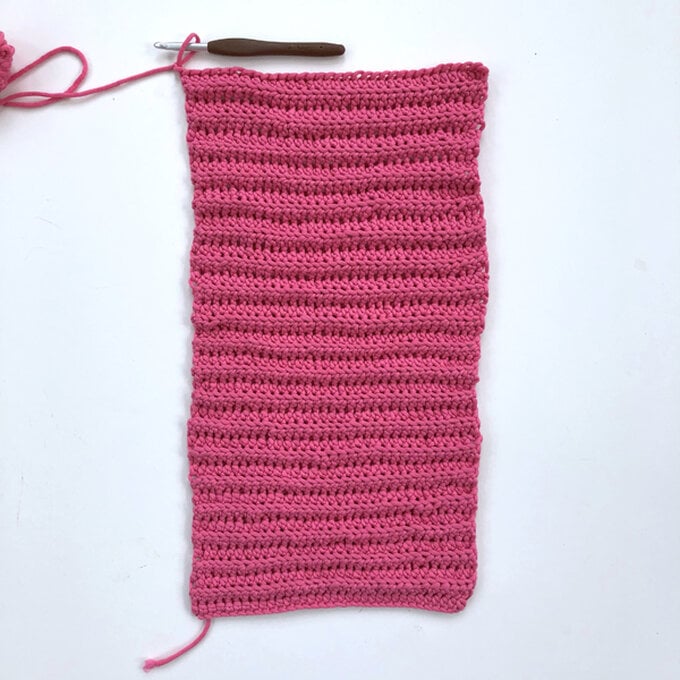
In Yarn C, ch35
Row 1: Htc in 3rd ch from hook and in each ch along, turn. (33)
Row 2: Ch2 (does not count as a stitch now or throughout), htc in BLO in each stitch along, turn. (33)
Rows 3-40: Repeat row 2. (33)
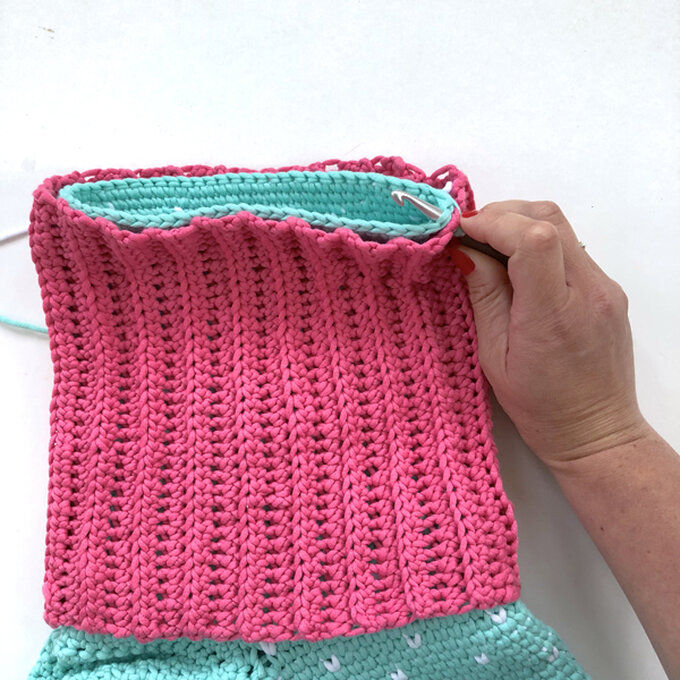
Join Row 40 to starting chain with a row of dc in the blo. Fasten off, the turn the cuff you have created inside out.
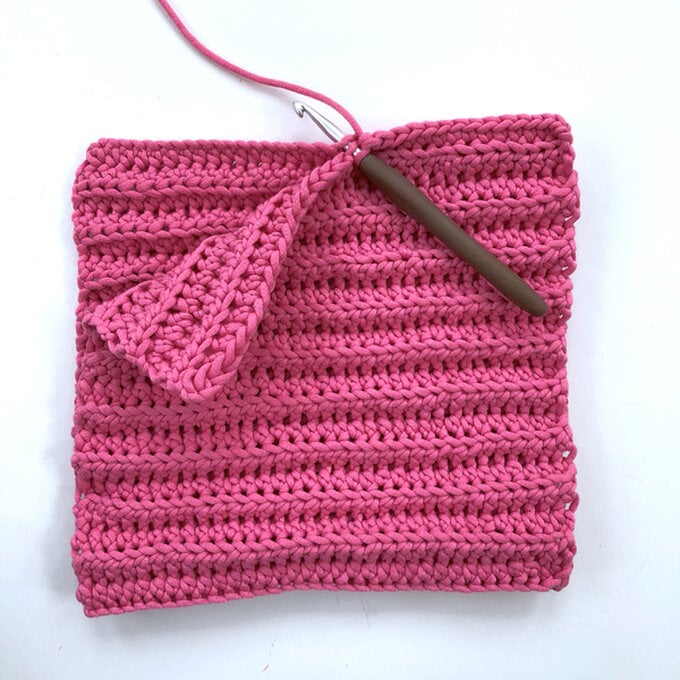
Slide the cuff over the top of the stocking until the top of the stocking matches the height of the cuff opening. In Yarn A, dc around, working into the sides of the rows of the cuff and the tops of the ws round 43. The cuff will be slightly larger and so you may need to ease it round to ensure it is attached evenly.
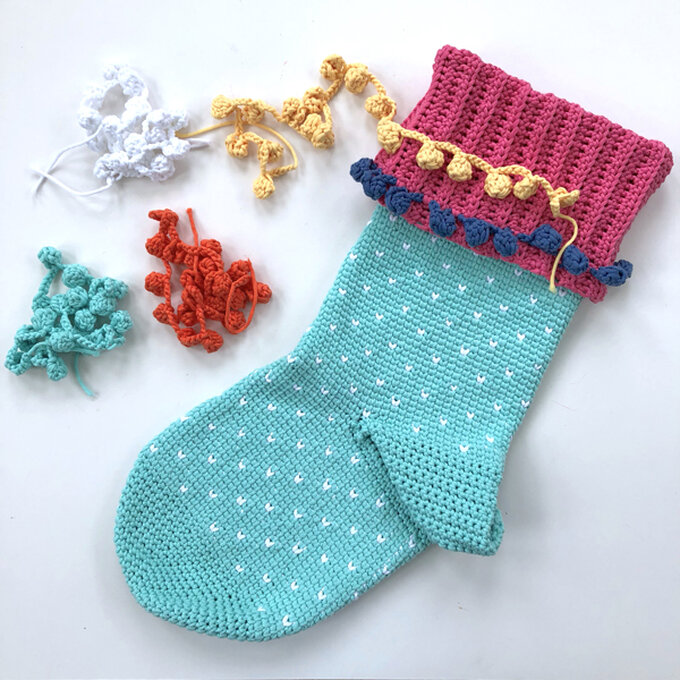
Work one of each in Yarn A, Yarn D and Yarn E, leaving a long yarn tail at the start and end.
Row 1: *Ch 8, 3trcl in third ch from hook, ch3, 3trcl in top of previous 3trcl, ss into the same chain you started the first cluster, pompom formed. Repeat from * until you have 19 pompoms. Chain 5, fasten off.
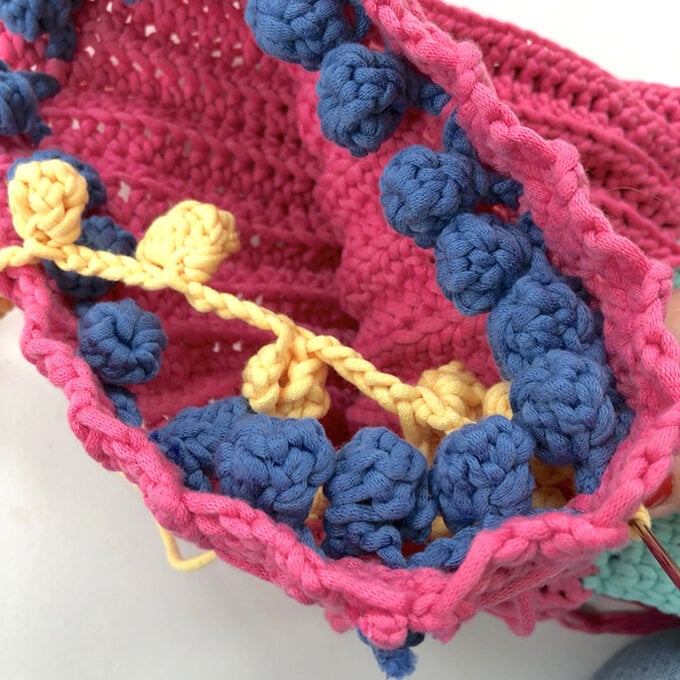
The pompom chain is worked on the wrong side, flip over before you attach to the stocking.
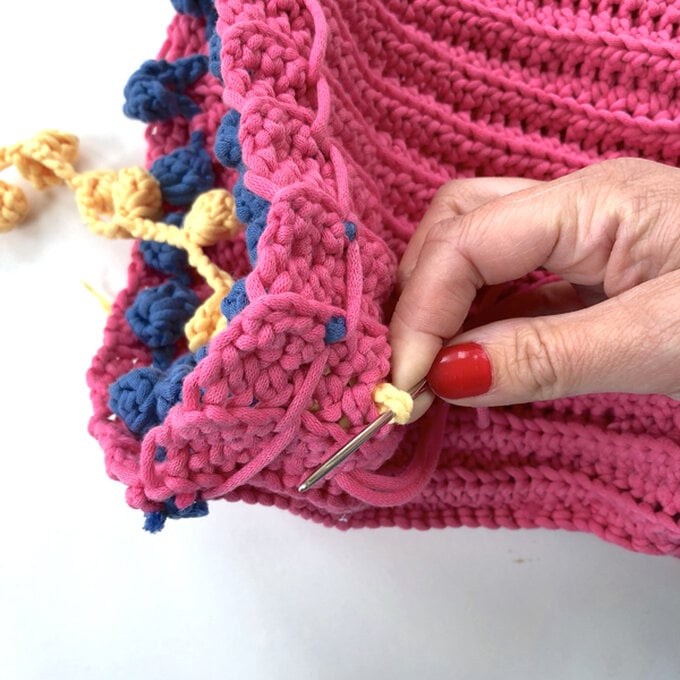
To attach the trim to the stocking, cut off a long length of Yarn C and thread yarn needle. Working from the wrong side of the stocking, hold the pompom trim to the front side, and sew trim to inside of stocking every two rows, leaving a pompom on the front of the work every two rows. I spaced my pompom trim out by three stitches (in height, when piece attached sideways for cuff).
In Yarn C, Ch21
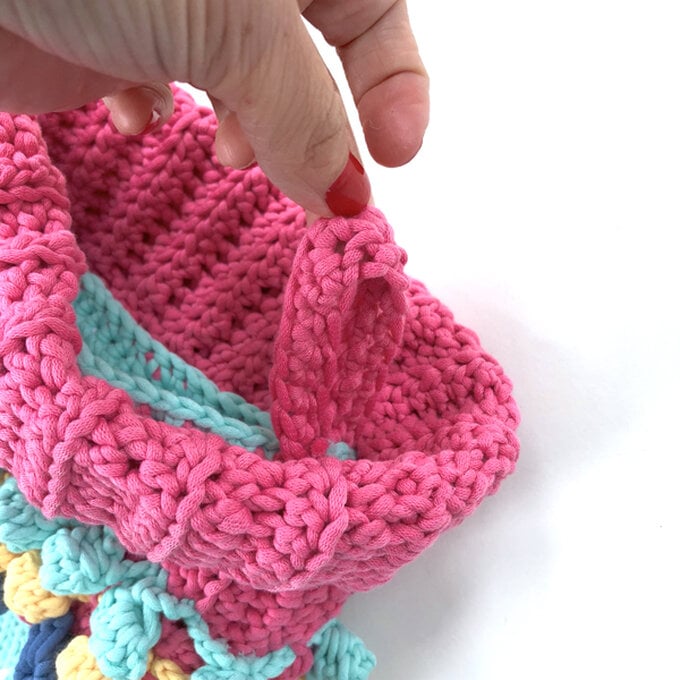
Row 1: dc in second ch from hook and in each ch across, turn. (20)
Row 2: ch1, 20dc. (20)
Attach the loop to the inside of the stocking, where the stocking is joined to the cuff, by sewing with a yarn needle and a length of Yarn C. I placed mine at the side back of the stocking, about the heel.
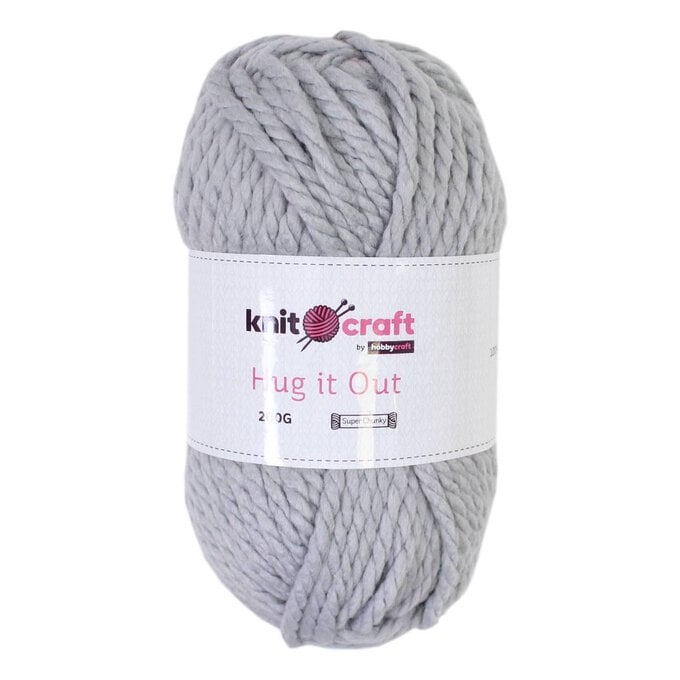
Yarn A – Hug It Out, Steel
Yarn B – Hug It Out, Shell
Yarn C – In the Zone, Mint
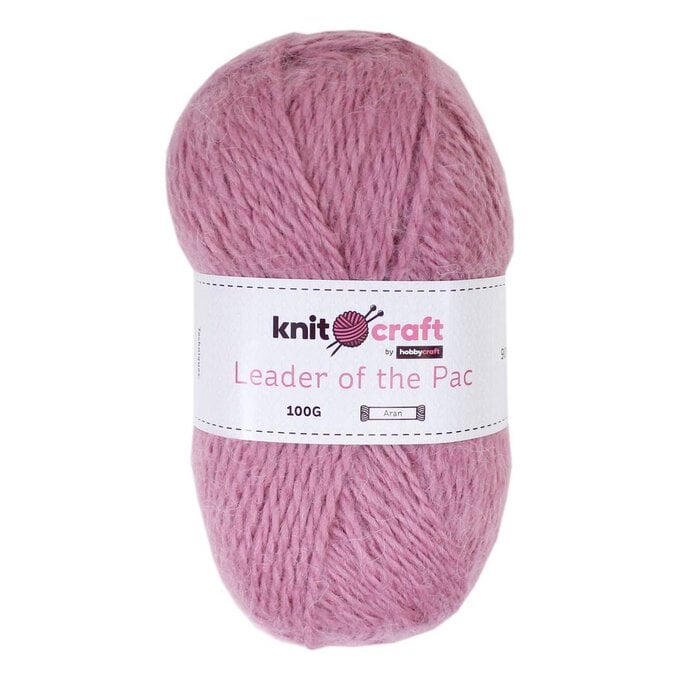
Yarn D – Leader of the Pac, Pink
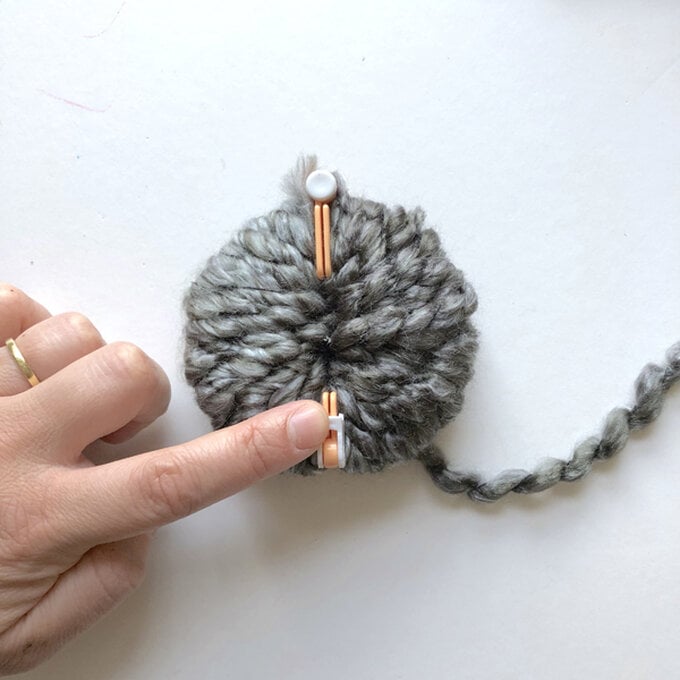
To make a solid pom pom, open the pom pom maker out and begin by wrapping yarn tightly and evenly around one set of arms, be sure to fill the maker up so that the half-moon shape has a nice flat top.
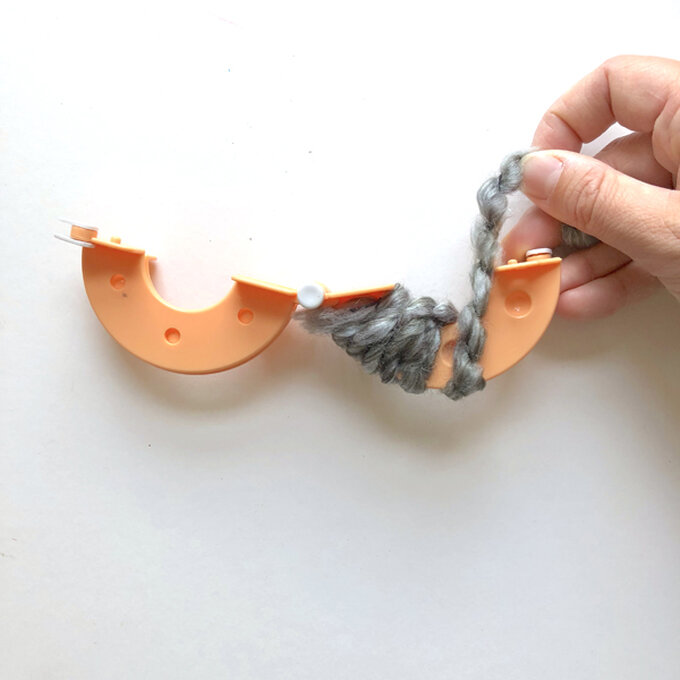
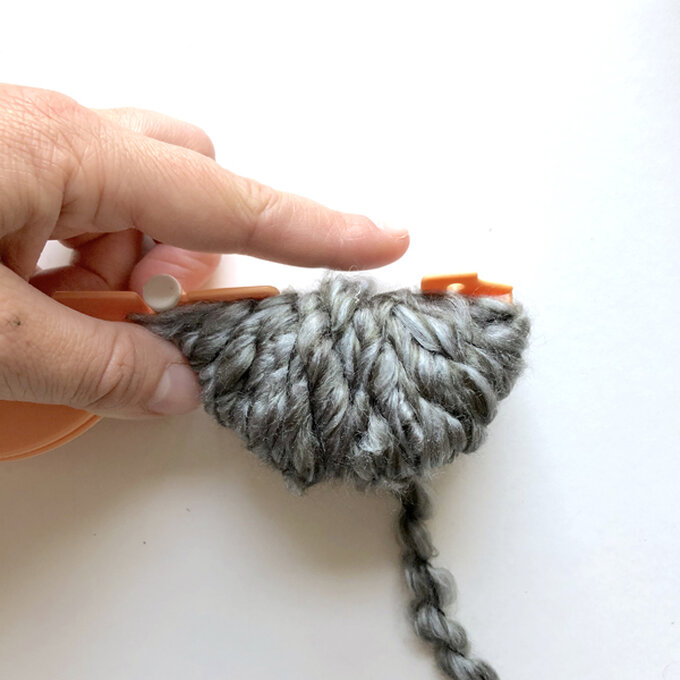
Move to the right-hand arms of the maker, and repeat.
Cut the yarn, and close the pom pom maker, clipping the little white clips down to secure.
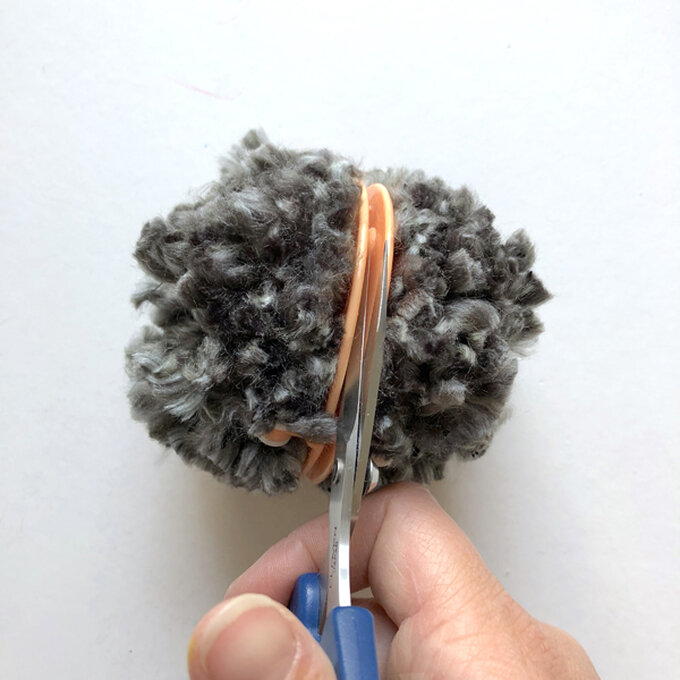
Using a sharp pair of scissors, cut the middle of the pom pom by following the channel round the middle of the pompom.
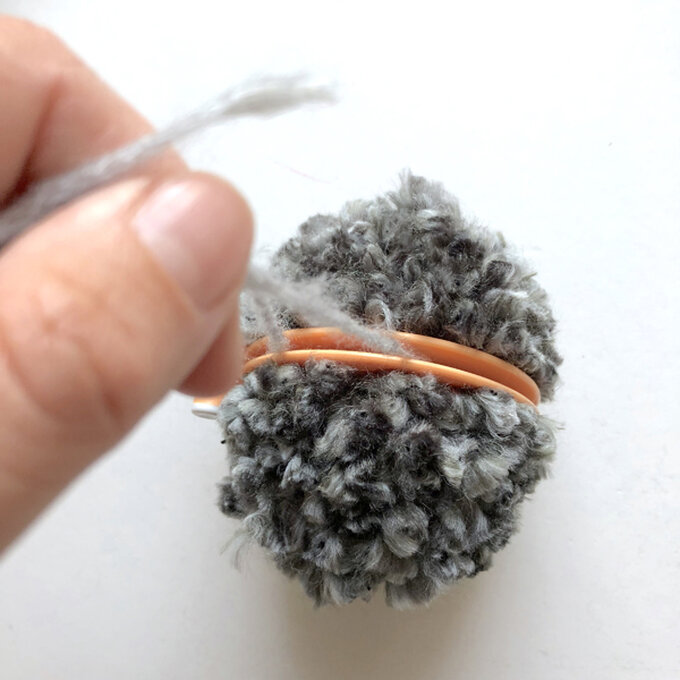
Take a length of yarn approx. 20cm and tie very tightly around the middle several times. Unclip white clips and open up pom pom maker arms to release your pom pom. Trim to shape, leaving the long tail of yarn that you tied the pom pom with to attach it to the wreath later.
Make as solid pom pom, but hold two yarns together while wrapping.
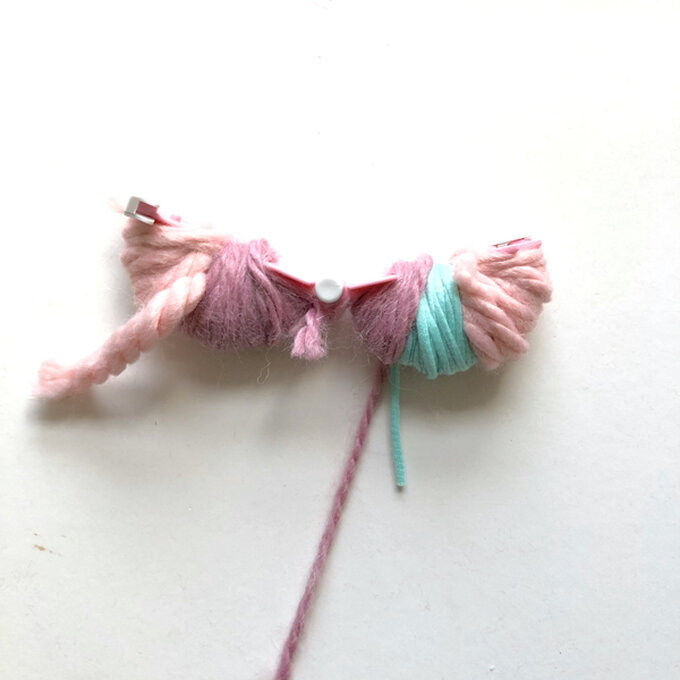
To make a striped pompom, divide each pom pom maker arm up into 2-3 segements and wrap with different yarns.
Using the 7cm (2.8in) pom pom maker, make:
1 x solid in Yarn A
1 x striped in Yarn A and Yarn B
Using the 5.5cm (2.2in) pom pom maker, make:
1 x speckled in Yarn A and Yarn C
1 x speckled in Yarn C and Yarn D
1 x striped in Yarn B, Yarn C and Yarn D
Using the 3.5cm (1.4in) pom pom maker, make:
2 x solid in Yarn B
1 x solid in Yarn A
1 x solid in Yarn C
1 x solid in Yarn D
Take the inner of your embroidery hoop (the part without the metal hinge) and discard the other part.
Attach the pack of sword ferns asymmetrically: using the wire stem to wrap around the hoop place three on one side and two on the other.
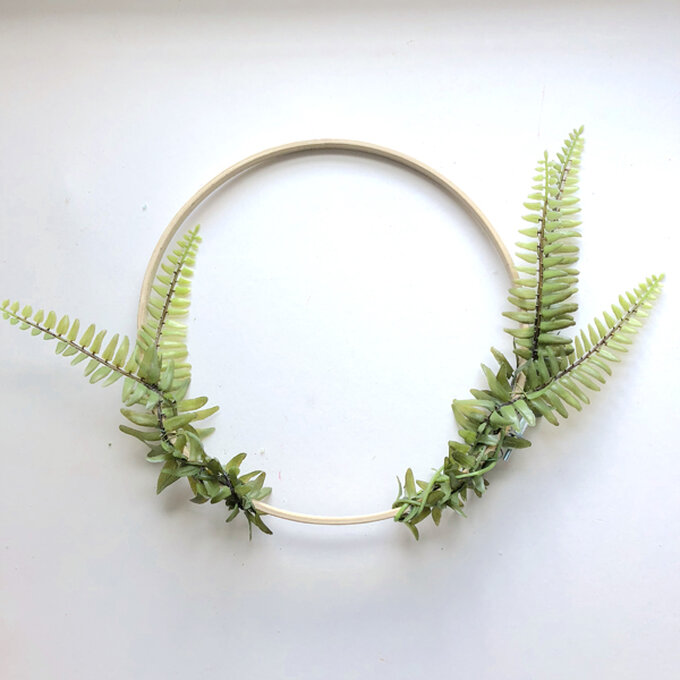
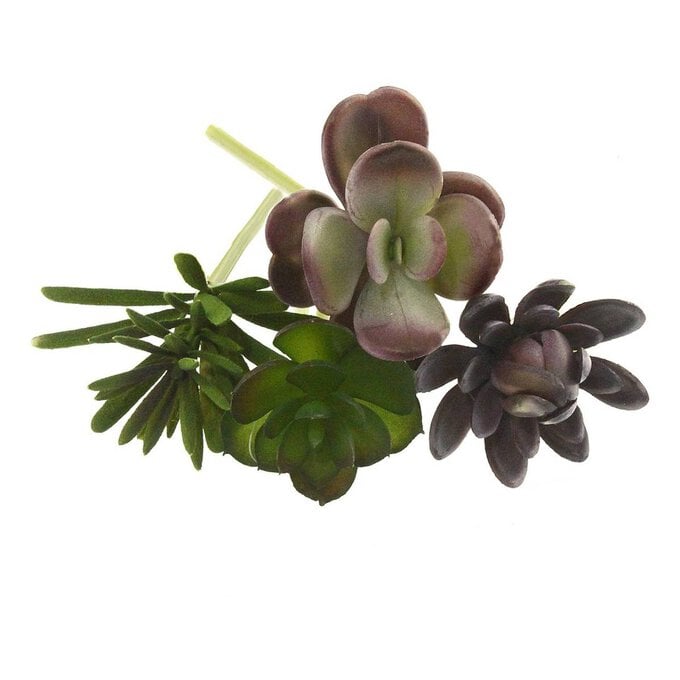
Attach the three succulents to the hoop, as shown in the image, using the wire stems to wrap round and in between the ferns.
Attach the pom poms by tying securely around the embroidery hoop and in between the ferns and succulents, using the image as your placement guide. Tie each pom pom several times until secure, and trim pom pom ties.
