How to Make a Macrame Wall Hanging
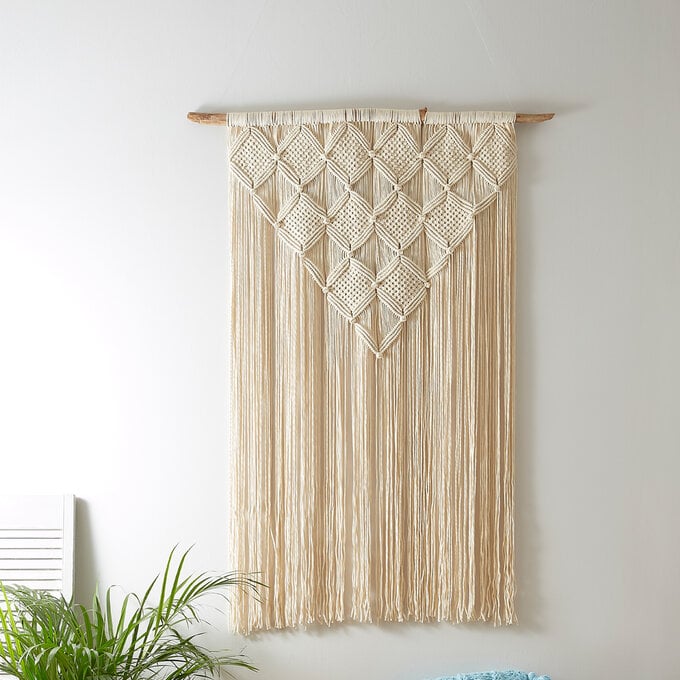
Create a show stopping macrame wall hanging which will look great anywhere in your home. Made from only 3 different knots you will be able to make this wall hanging easily.
Project and instructions by @lostinknit
You will need
Subtotal
Is $130.00
Subtotal
Is $ 36.00 , was $ 48.00
How to Make
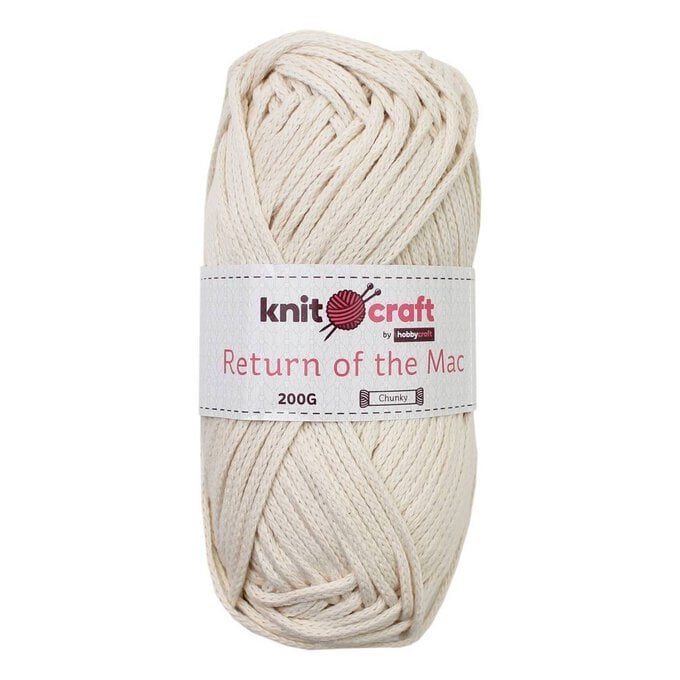
You will also need:
*Scissors
*A foraged stick
A piece of dowel or a stick approx. 1m long.
Knots used in this design:
Lark's head knot
Square knot
Double Half Hitch knot
Berry knot
Cut the following lengths:
34 x 5m
34 x 6.5m
34 x 7.5m
Extra length has been added to allow for different tensions and different lengths of fringing so you should have plenty of yarn for this project without worrying about running out.
Fold each length in half and using the larks head knot, attach to the dowel in the following order - Place the 7.5m lengths in the centre, half of the 6.5m lengths on each side and then half the 5m lengths on each end.
Spilt the strings into 6 groups of 34
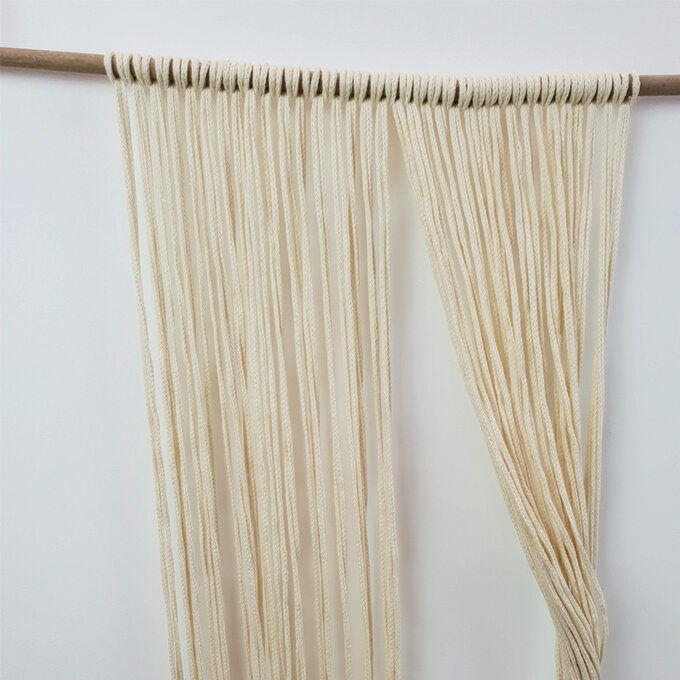
Starting with the first group on the left, using string 17 as a guide, work a diagonal row of double half hitch knots with strings 1- 16.
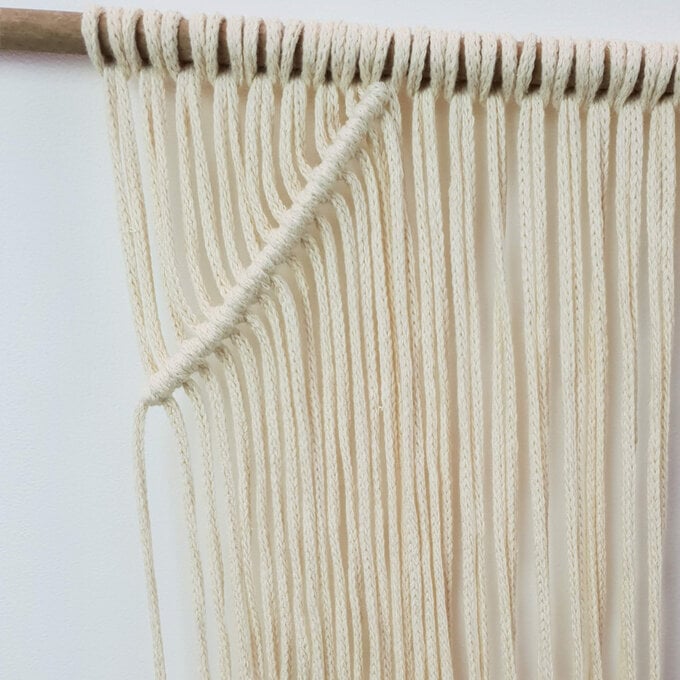
Repeat using string 18 as a guide, mirroring the diagonal row of double half hitch knots.
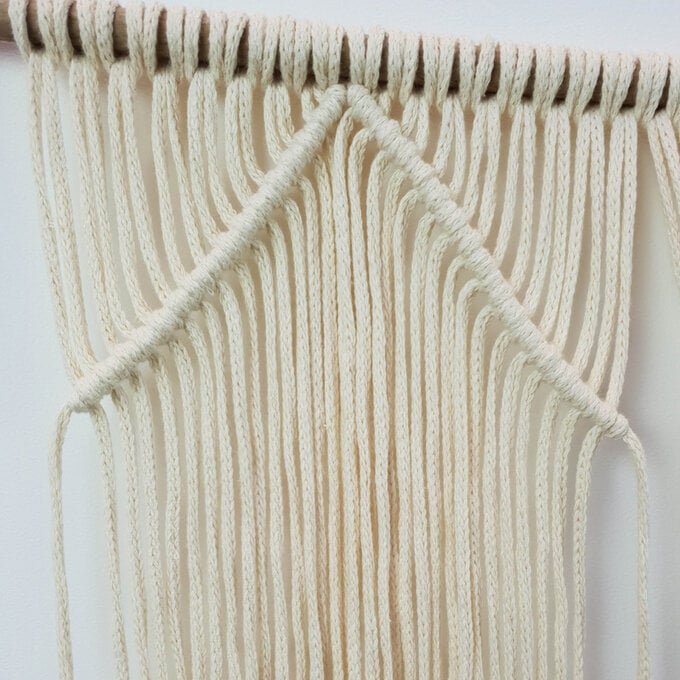
Repeat steps 3 to 5 twice more.
You should now have 3 rows of double half hitch knots.
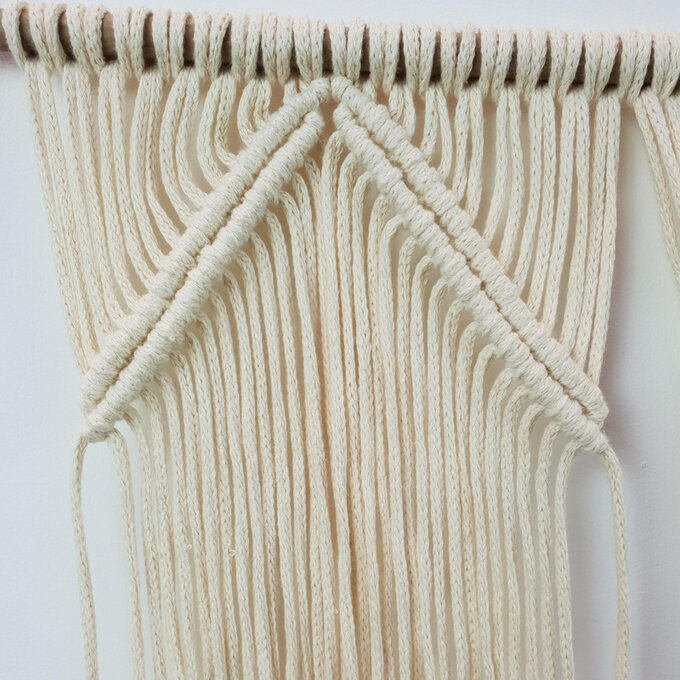
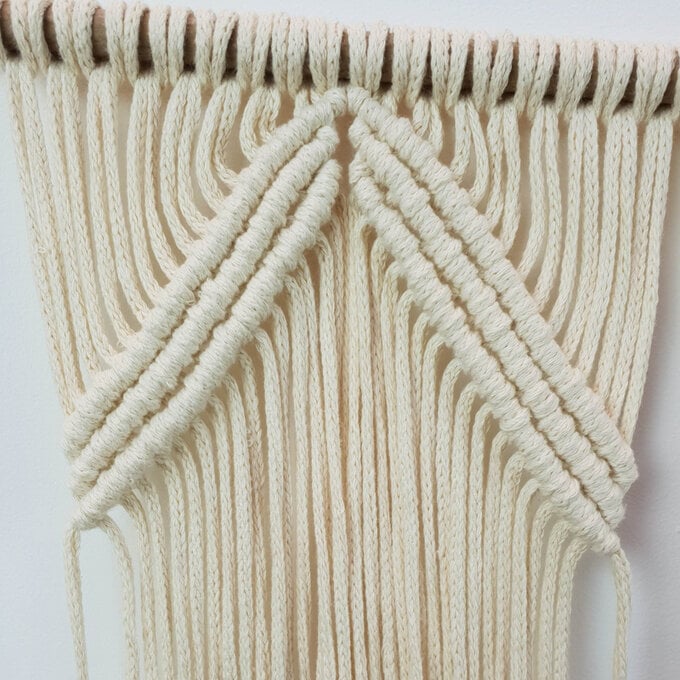
Repeat steps 3 to 5 for each group, making sure that each diagonal row of double half hitch knots are at the same angle.
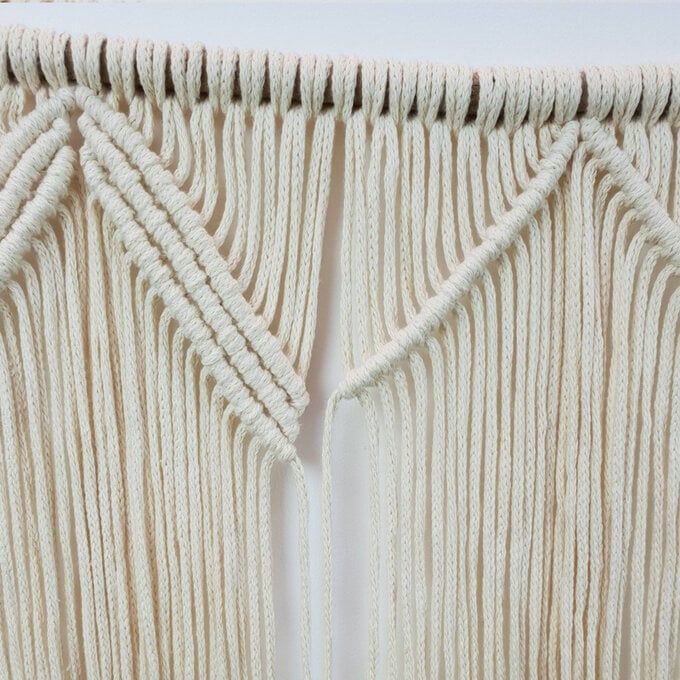
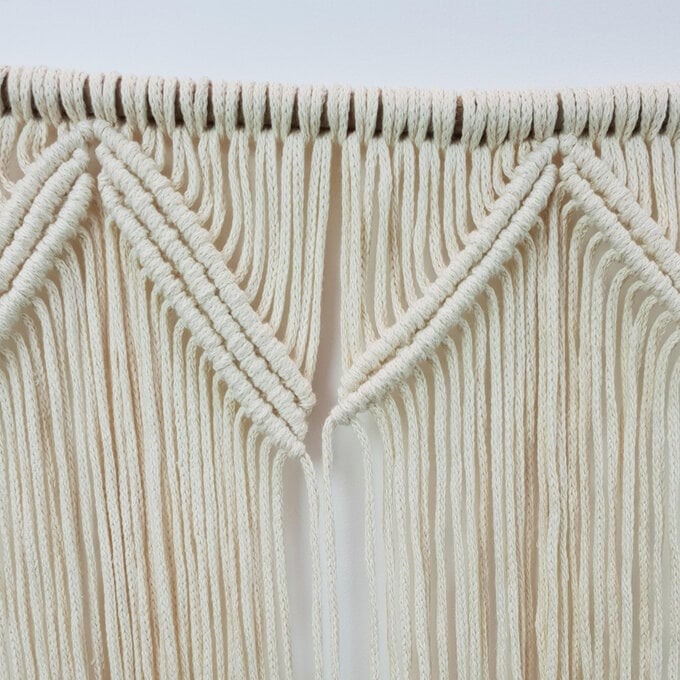
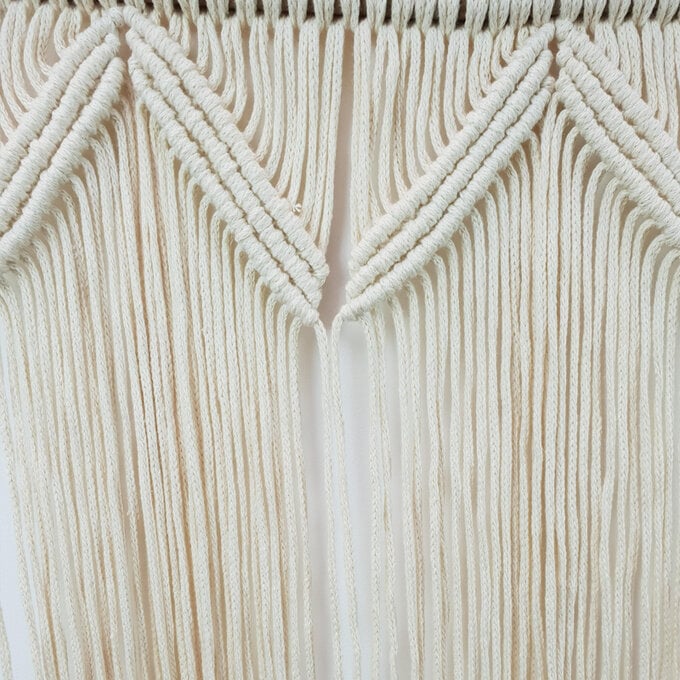
Working each group separately, make a square knot with strings 16-19.
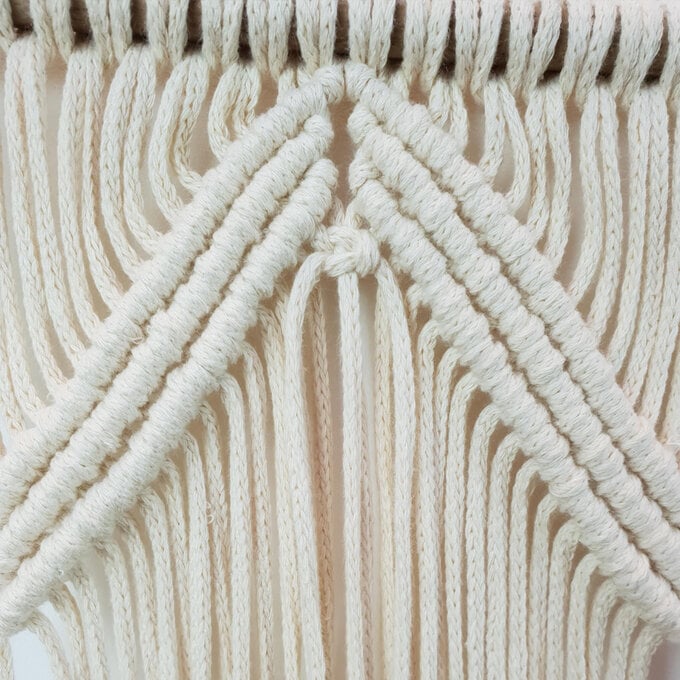
Work alternate square knots until you have worked 8 rows in total. Last row should have 8 square knots.
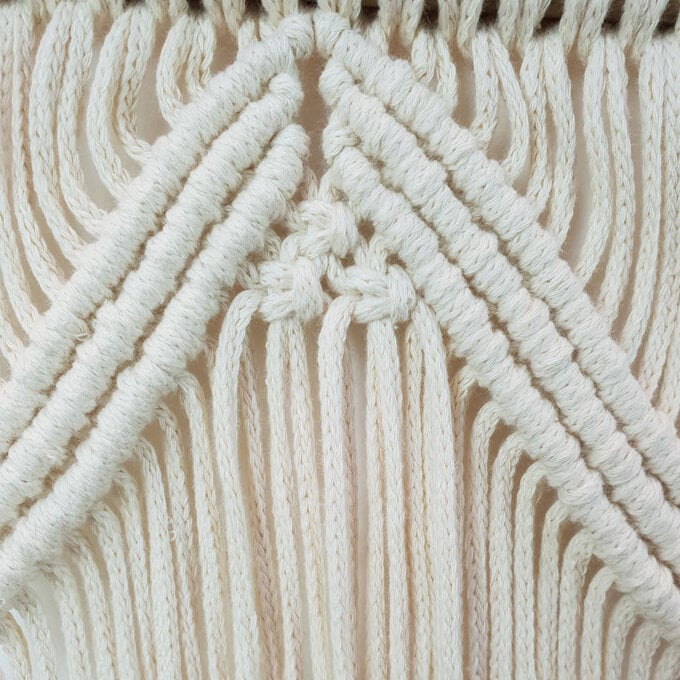
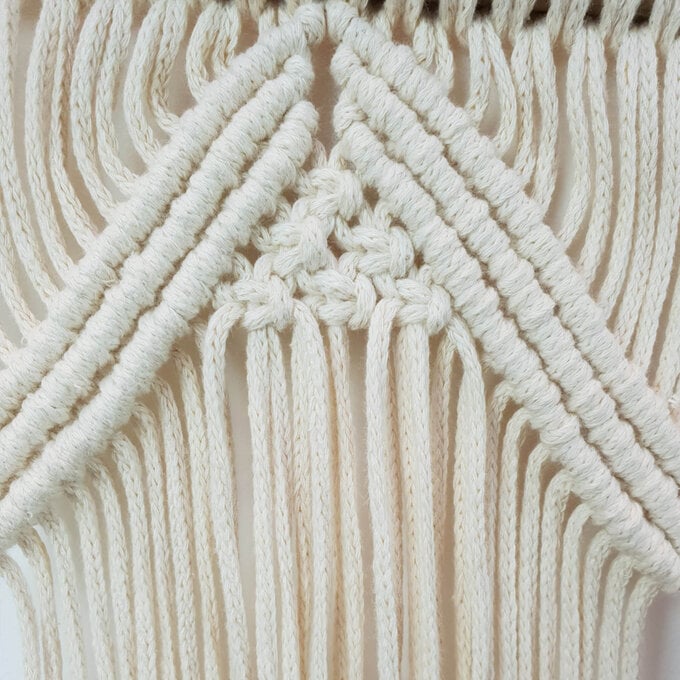
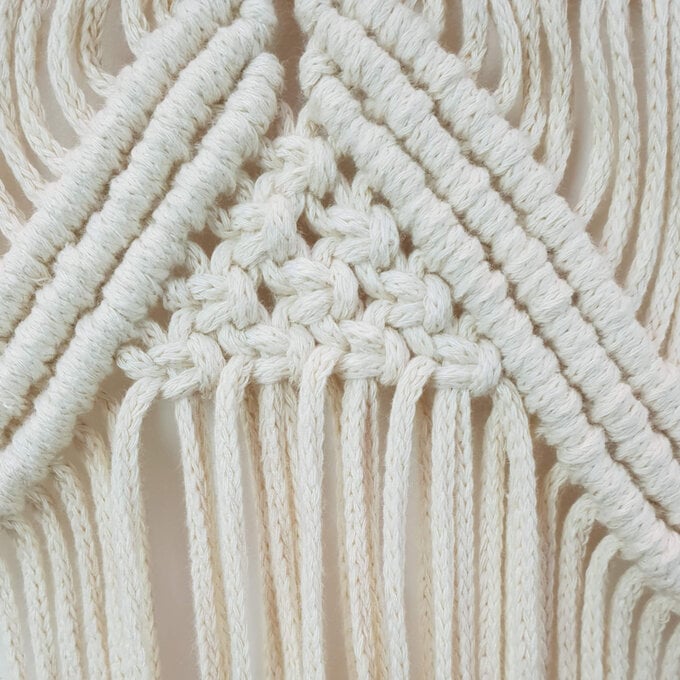
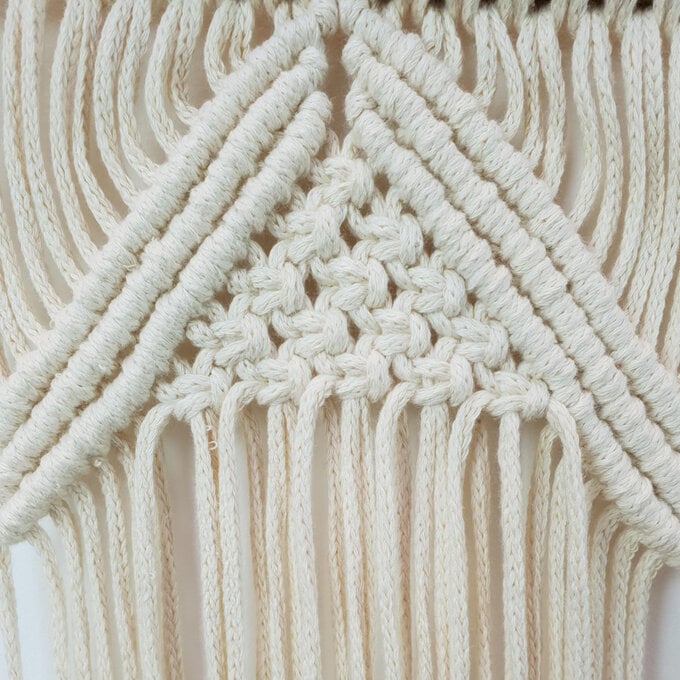
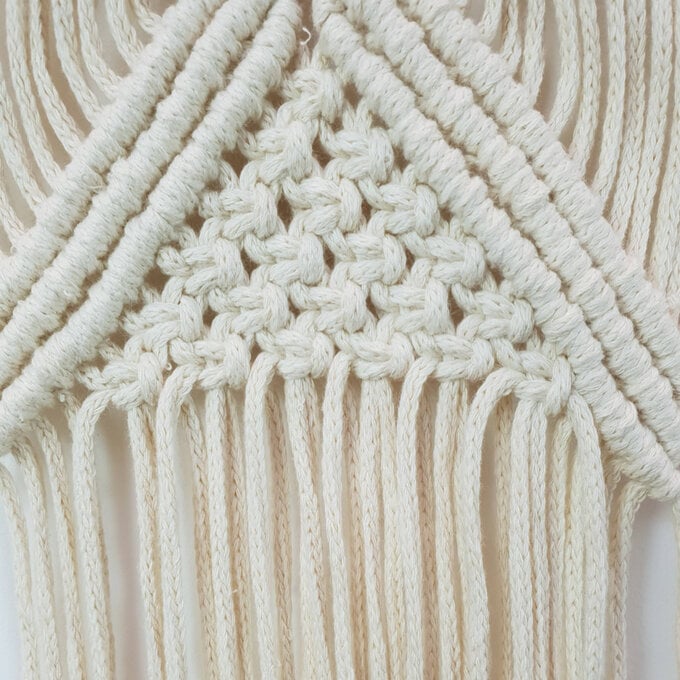
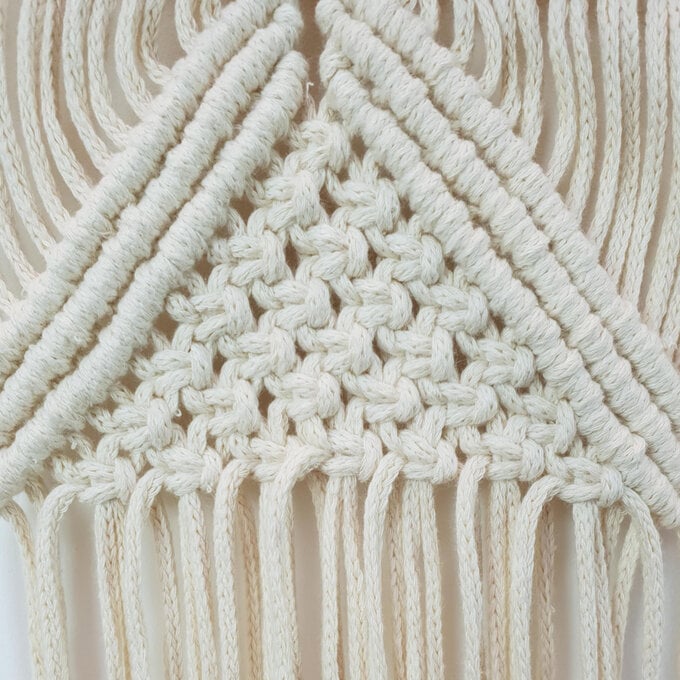
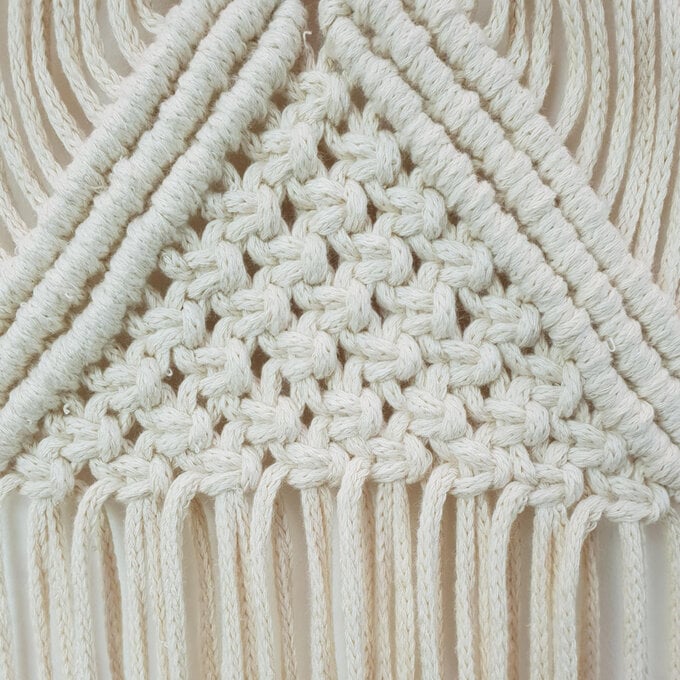
Repeat for each group.
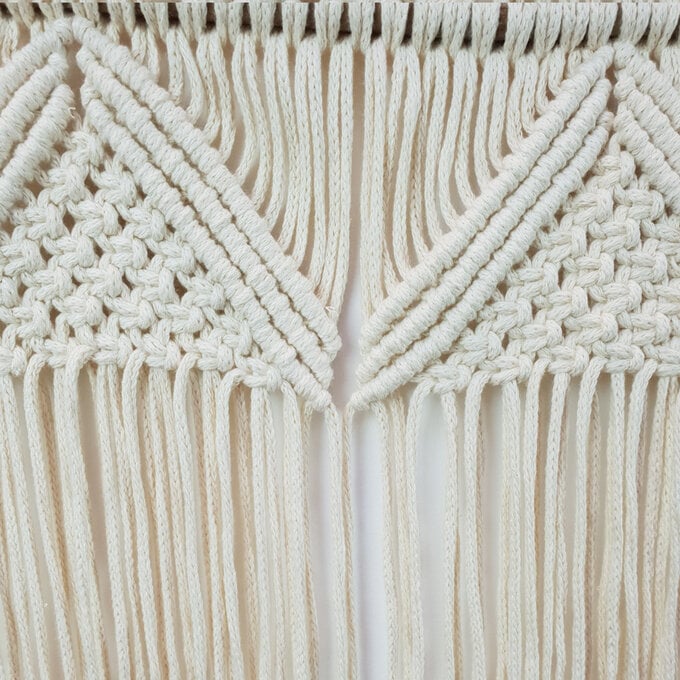
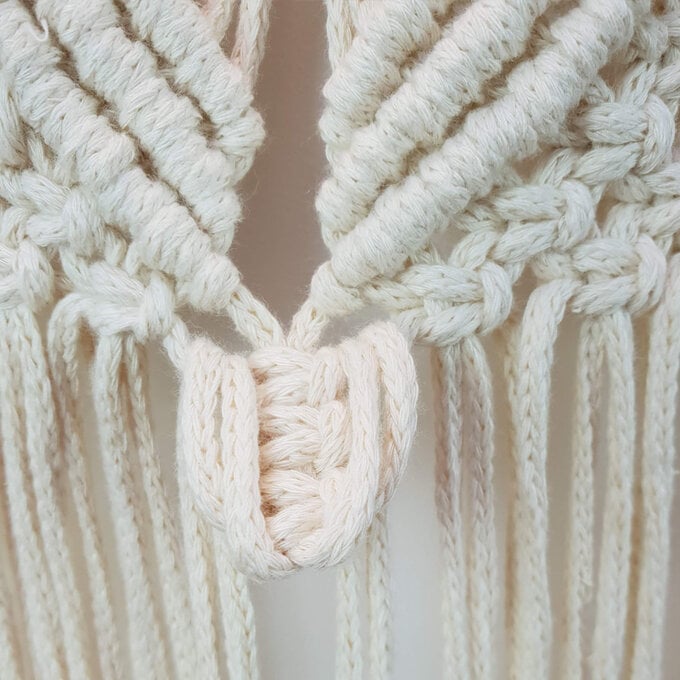
Starting from the left side, create a berry knot using strings 33-34 from group 1 and string 1-2 from group 2.
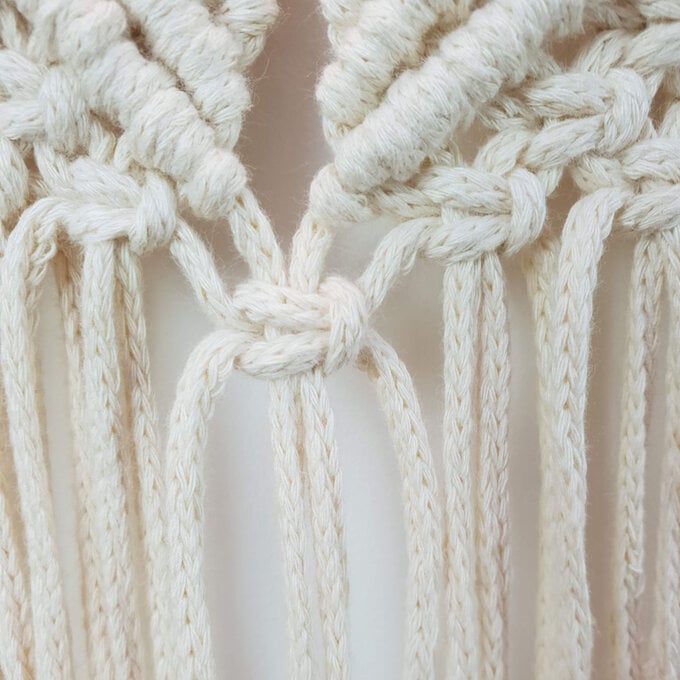
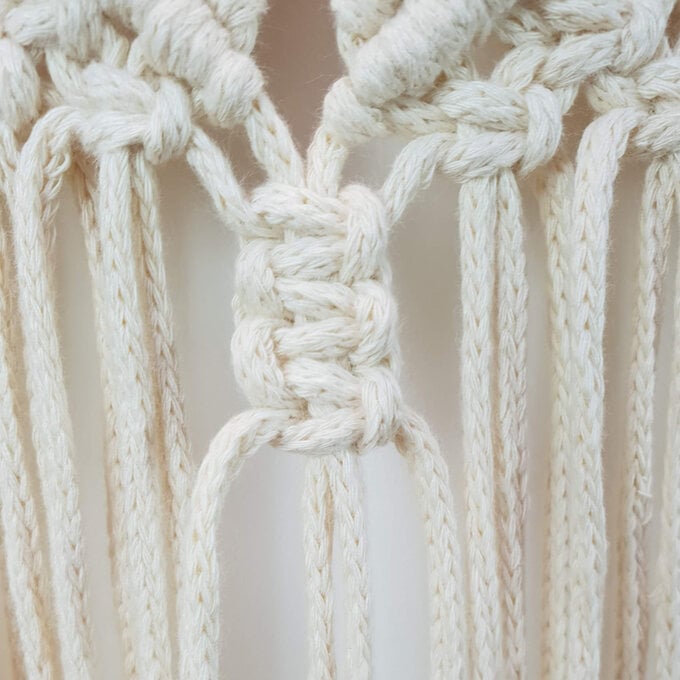
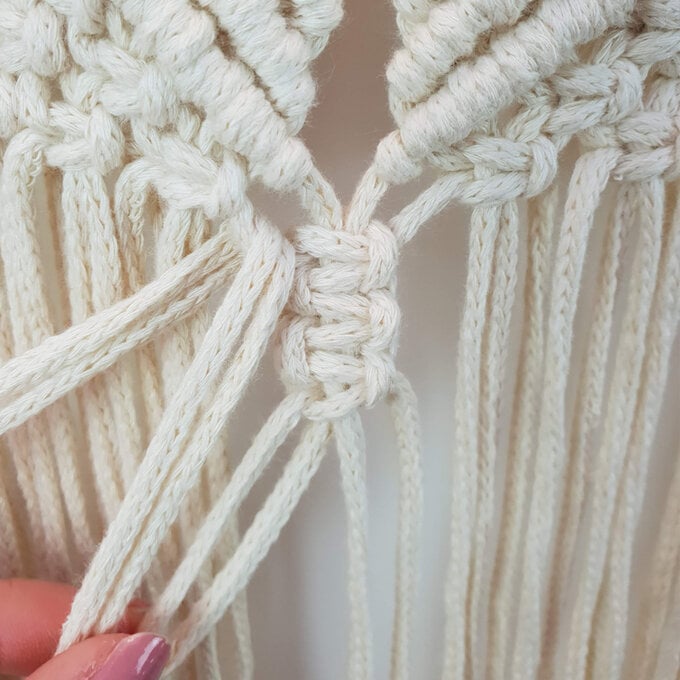
Berry knot
Create a square knot, leaving 1cm gap above.
Create a further 2 square knots below to have a total of 3 square knots in a row.
Using 2 strings on the left, thread them through the gap above the 1st square knot.
Repeat for the 2 strings on the right. Pull the strings through so the square knots flip over and create a bobble.
Secure with a square knot underneath.
Repeat the berry knot in between each group.
String 1-2 from group 1 and string 33-34 from the final group will not be used in this row.
Working each group separately, work 1 row of alternative square knots using strings 4- 31.
Continue working rows of alternative square knots, working 1 less square knot on each row.
Last row should have 1 square knot only.
Repeat for each group.
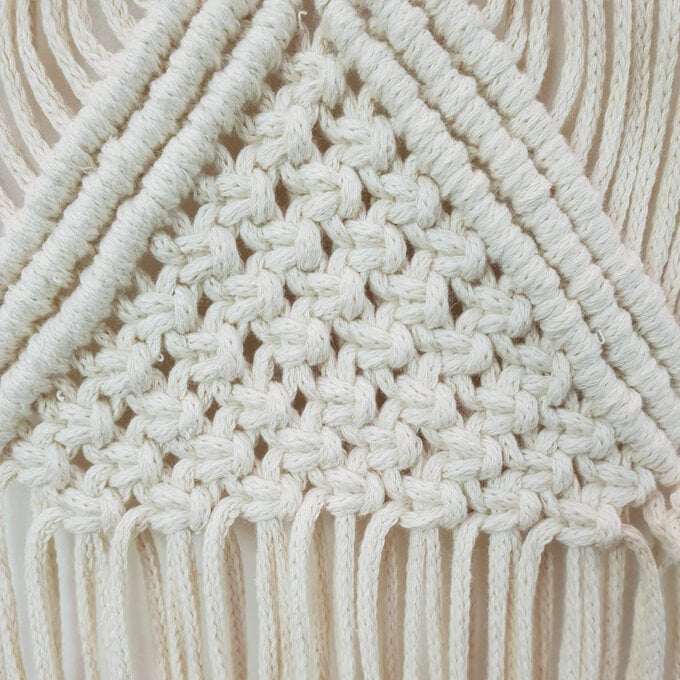
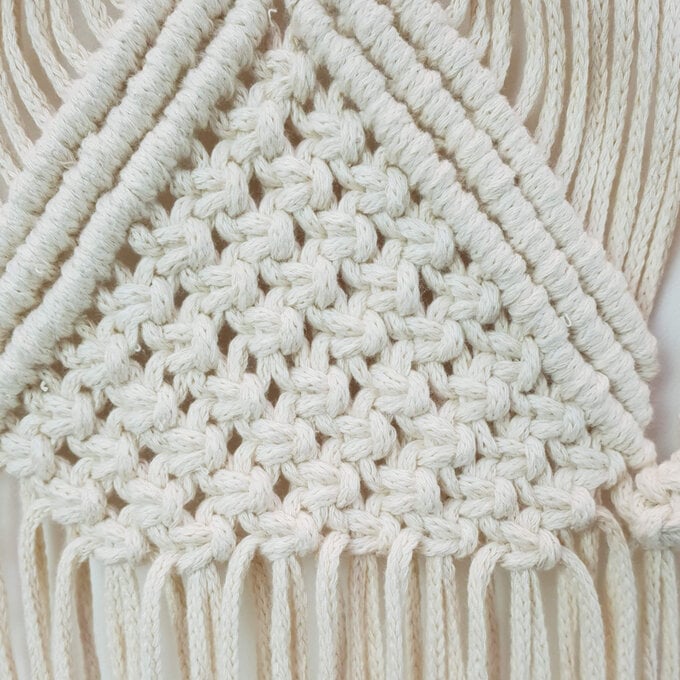
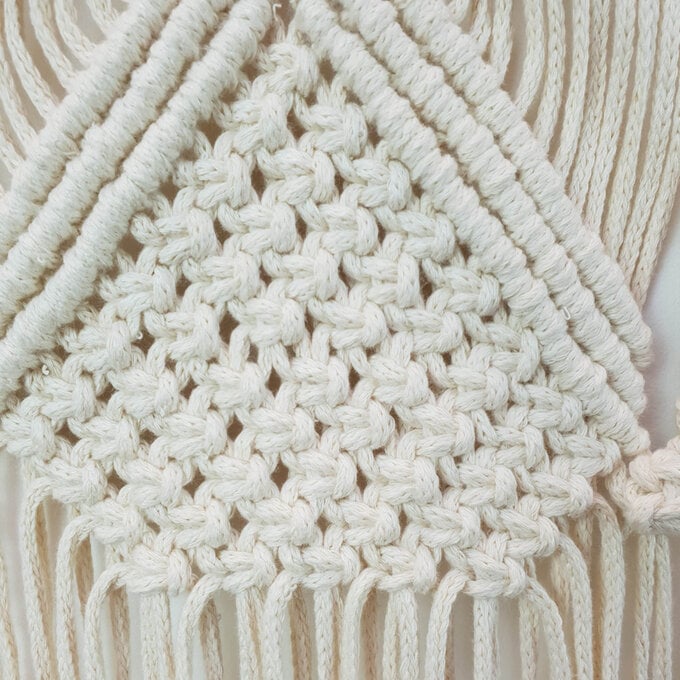
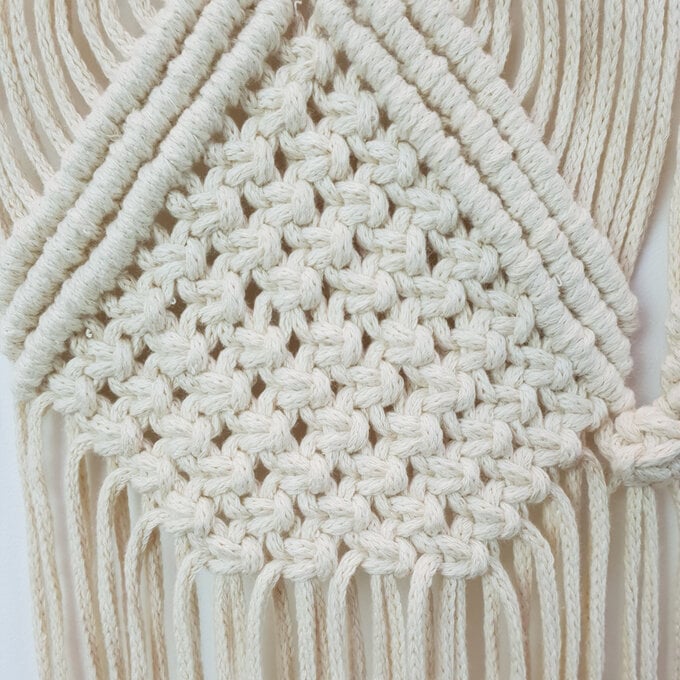
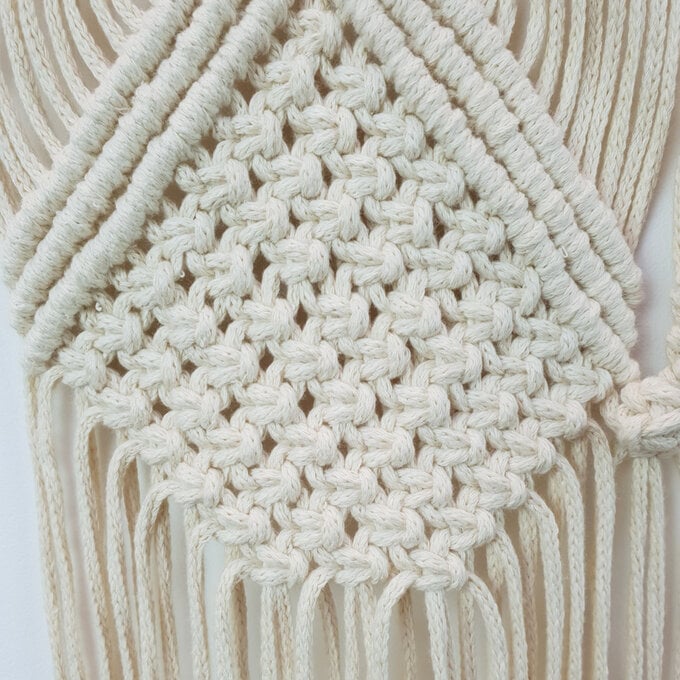
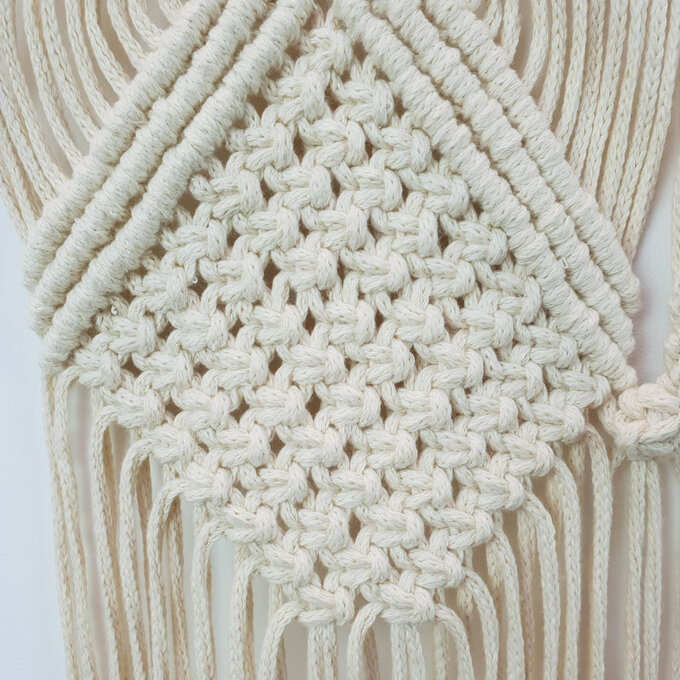
Using string 1 as a guide, work a diagonal row of double half hitch knots using strings 2- 17.
Mirror on the other side. (your guide will be the middle string from the berry knot)
Repeat the above until you have worked 3 rows in total.
Repeat the above for each group. You will now have completed 6 diamonds.
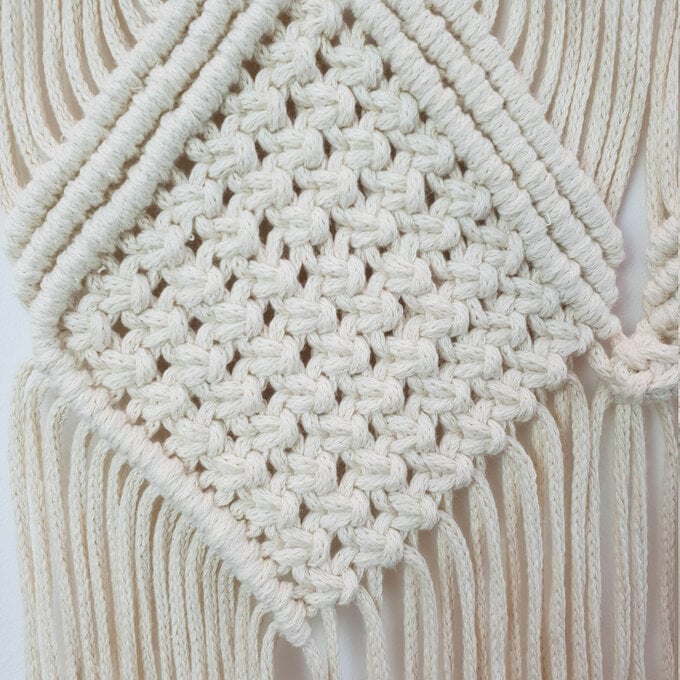
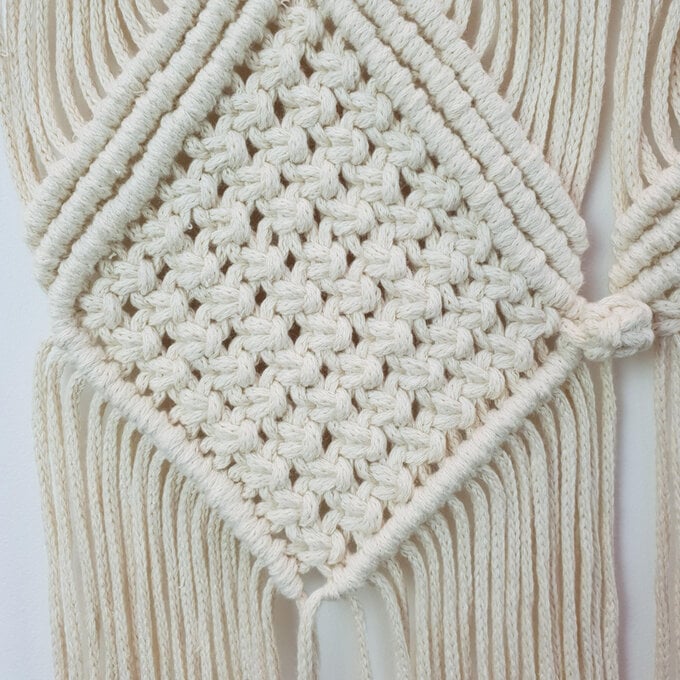
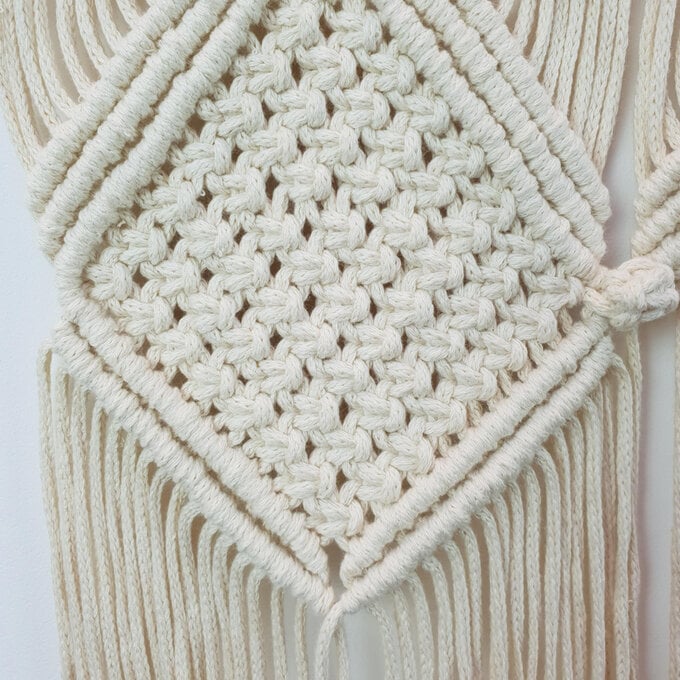
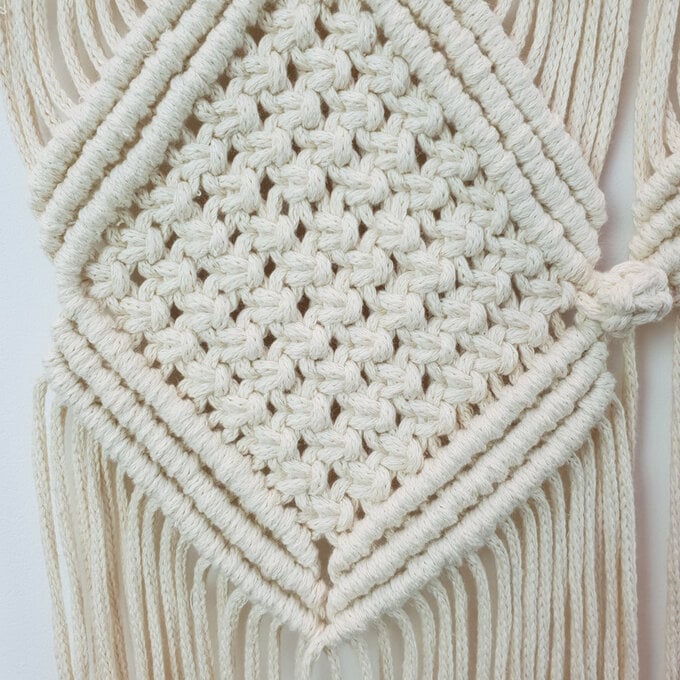
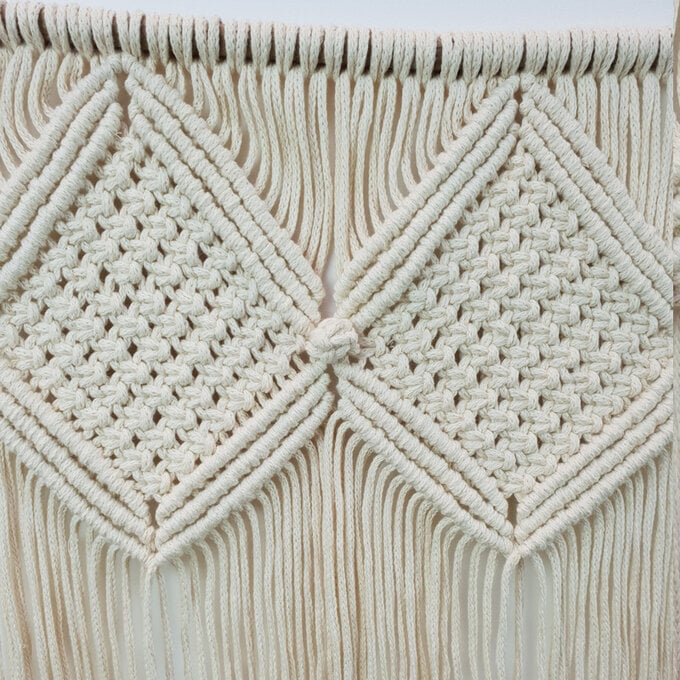
Using strings 16-19 create a berry knot.
Repeat for each group.
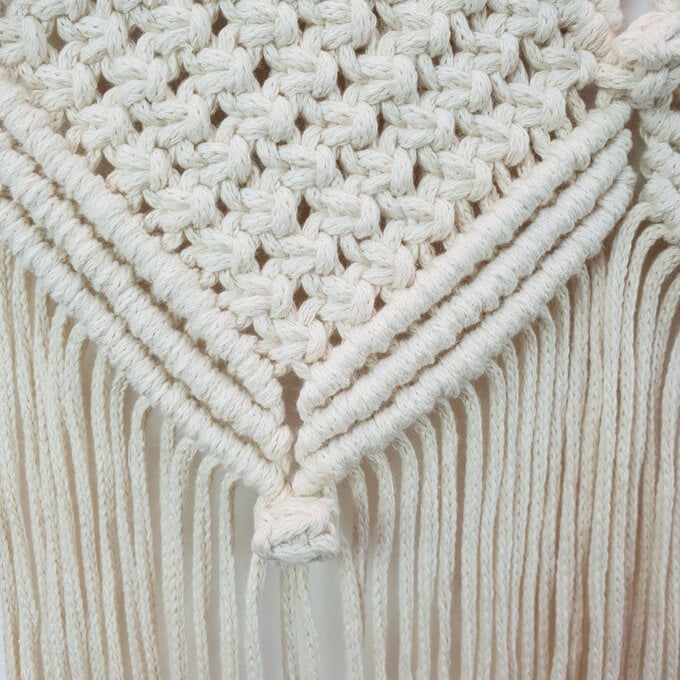
Take first and last 17 strings and section them off- these will not be worked going forward. You will now have 5 groups of 34 strings.
*Using string 1, work a diagonal line of double half hitch knots using strings 2- 17.
Repeat on other side, using string 34 as the guide.
Repeat from * until you have worked a total of 3 double half hitch rows.
Repeat for each group – you should have a total of 5 empty diamonds.
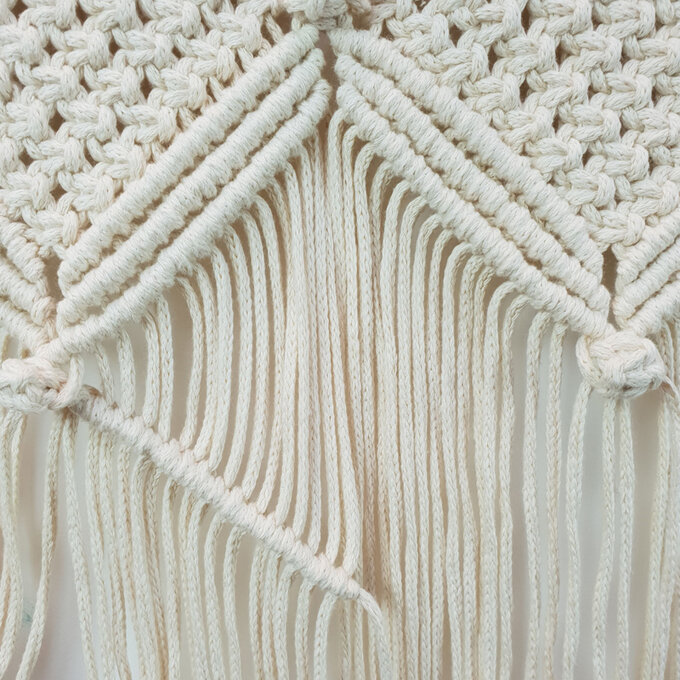
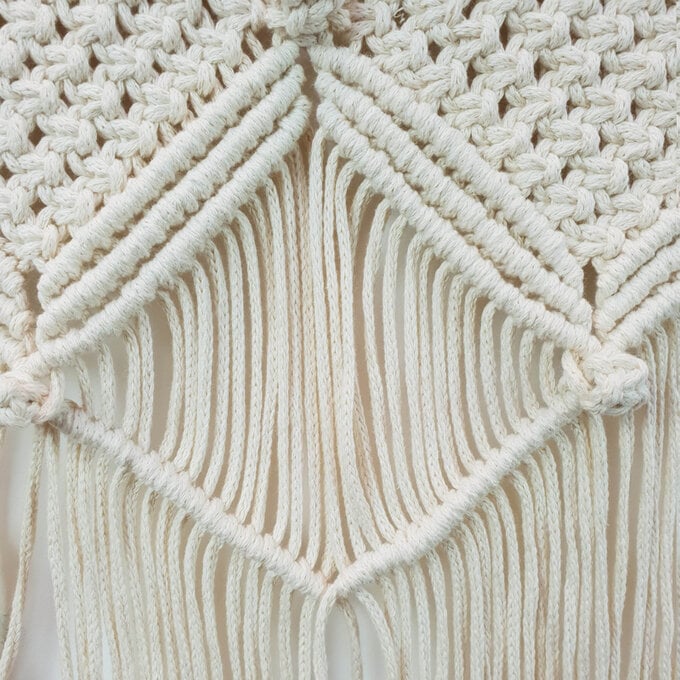
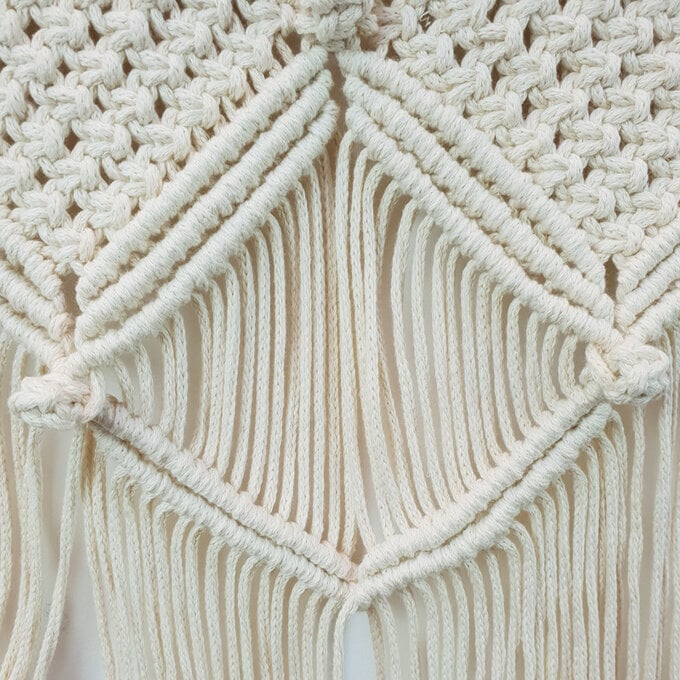
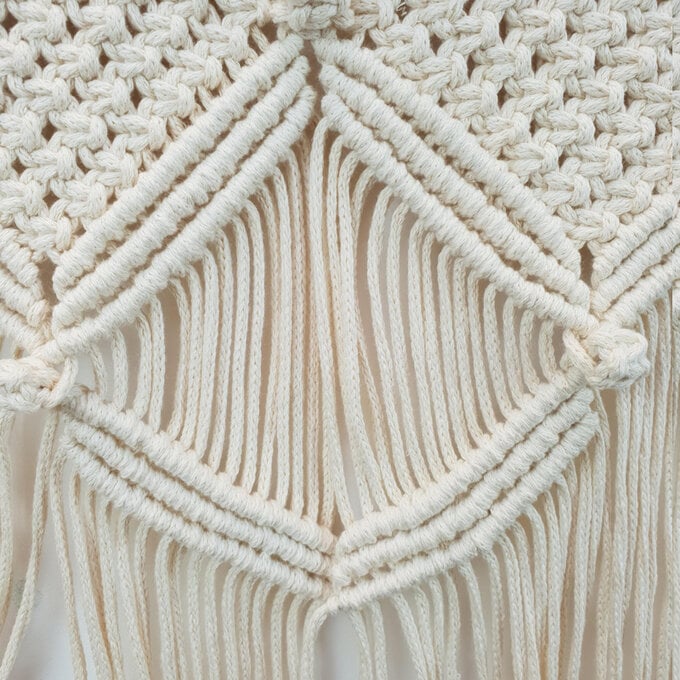
Now you will begin to work the next row of square knot diamonds.
Take first and last 17 strings and section them off. You will now have 4 groups of 34 strings.
Using strings 16-19 work a square knot. (this will be at the top of the diamond that you just created.
Continue to work alternative square knots until you have worked 8 rows.
Return 2 strings from the groups that have been sectioned off from either side.
Create a berry knot at the point of each empty diamond. You should use the strings previously used as guides and 1 string on each side of these.
Section off the 2 strings that were readded on each side, these will not be used going forward.
Repeat steps 11 -12 to complete the solid diamonds.
Continue to section off 17 strings at each side and work alternate empty and solid diamonds with berry knots at each point until 1 diamond remains.
Finish with a berry knot in the centre.
Cut the strings to your desired length. Extra length has been included for you to create a floor length backdrop or trime to suit your space like the image below.
