How to Crochet Amigurumi Leeks
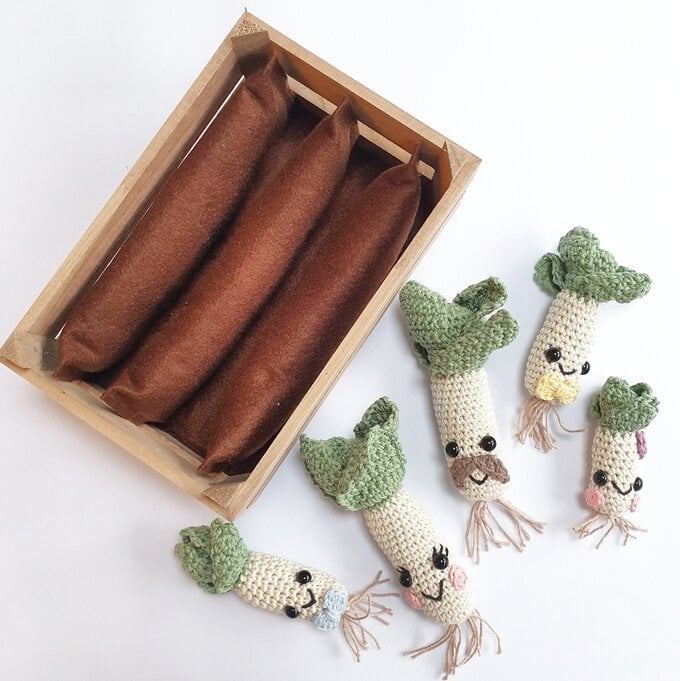
The Leek family are set to bring the vegetable patch to life, just in time for St David's Day!
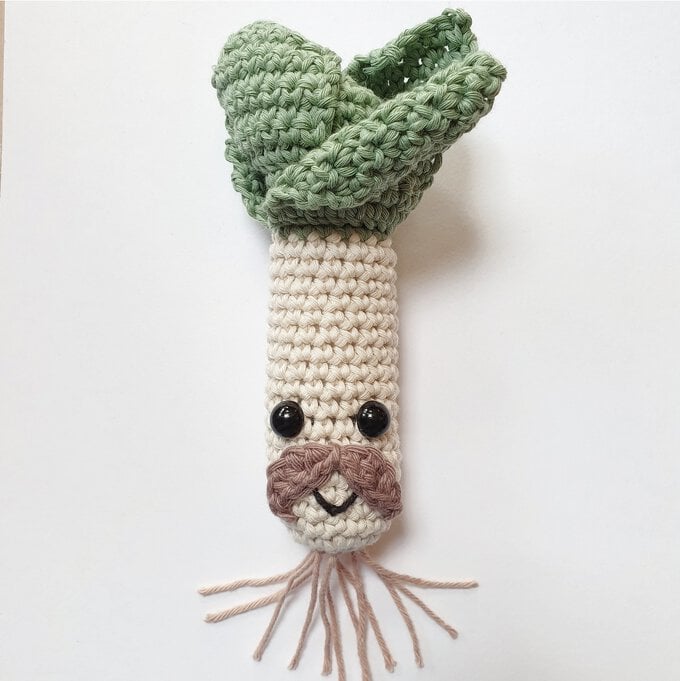
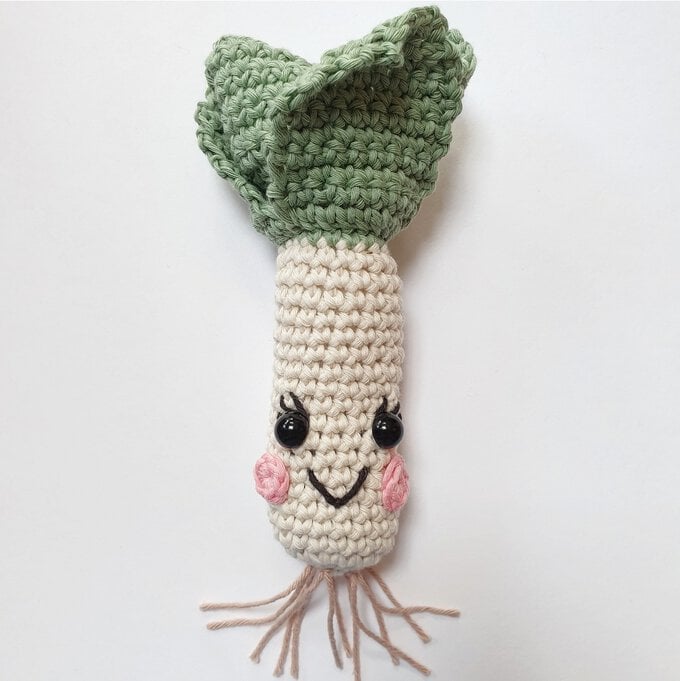
Meet Mr and Mrs Leek, proud parents to the Leek Twins and Baby Leek. They're the Posh and Becks of the place – they've got all the carrots wishing they could grow a moustache like Mr Leek, and all the onions wishing they could be as tall as Mrs Leek. Meanwhile, the little Leeks love to cause mischief and mayhem but they're cute enough to get away with it.
You'll love getting in on the fun, so what are you waiting for? Leek, comment, share.
Pattern designed by Natalie from @Sewing_the_Seeds_of_love.
You will need
Subtotal
Is $ 5.49
Subtotal
Is $ 14.00
Subtotal
Is $ 9.49
Subtotal
Is $ 1.49
Subtotal
Is $ 5.49
Out of stock
Subtotal
Is $ 5.49
Subtotal
Is $ 6.49
Subtotal
Is $ 8.49
Subtotal
Is $ 11.00
You Will Need
* A Crochet Hook 3.5mm
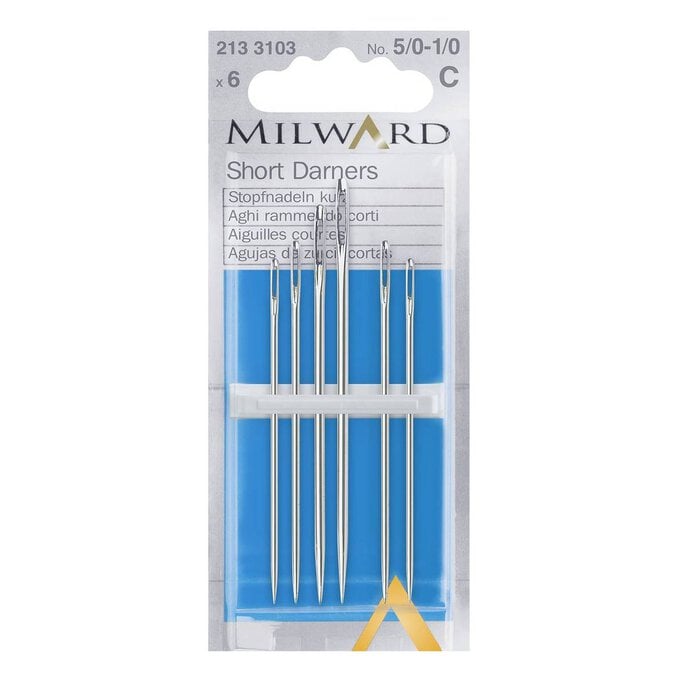
* Short Darner Needles
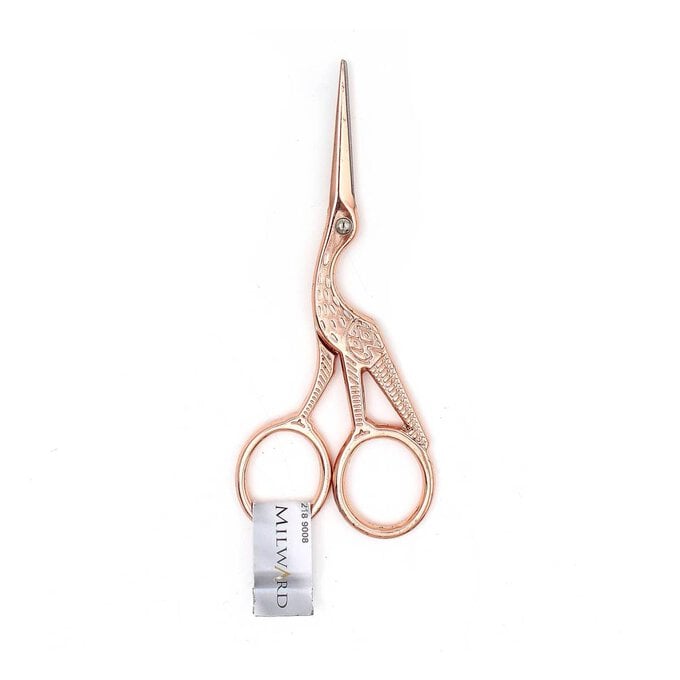
* Embroidery Scissors
* Toy Filling
* A Mini Hot Melt Glue Gun
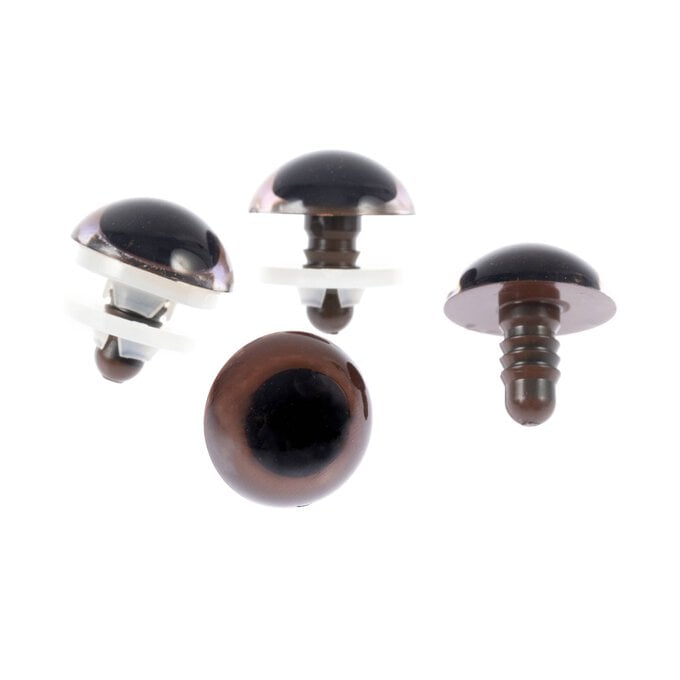
* Toy Safety Eyes
* A Mini Wooden Crate 24cm x 16cm x 10cm
* Cocoa Polyester Felt Sheet A4
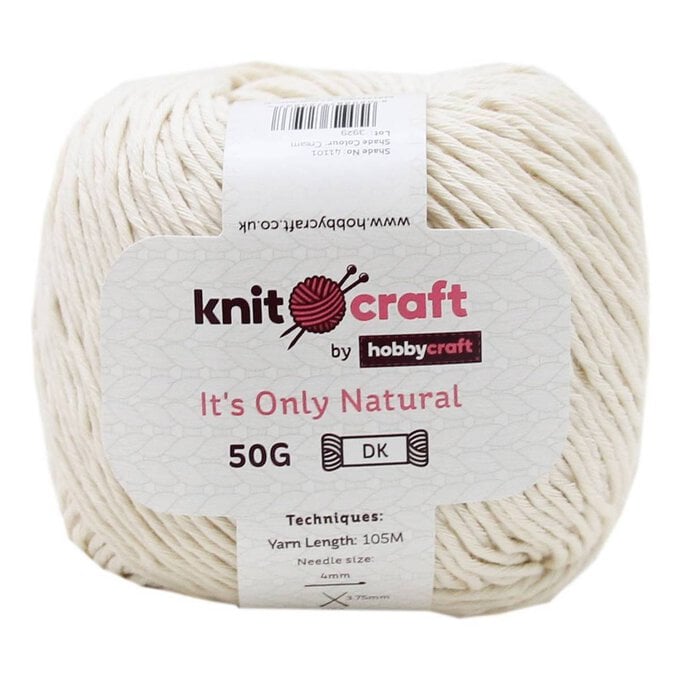
* Knitcraft It's Only Natural Light DK Yarn in Cream, Yellow, Cornflower, Pink, Purple & Sage
* Tiny Friends Yarn in Beige & Brown
Note: A suitable alternatives to our Rico yarn would be our Tiny Friends range
How to make
This pattern uses UK terminology throughout.
Abbreviations
Mc Magic circle
Slst Slip stitch
Ch Chain stitch
Sp Space
Dc Double crochet
St Stitch
Tr Treble
BL Back Loop
Fl Front Loop
Tension
Work an even tension throughout.
Finished sizes:
Mr & Mrs Leek, approximately 15cm x 5cm
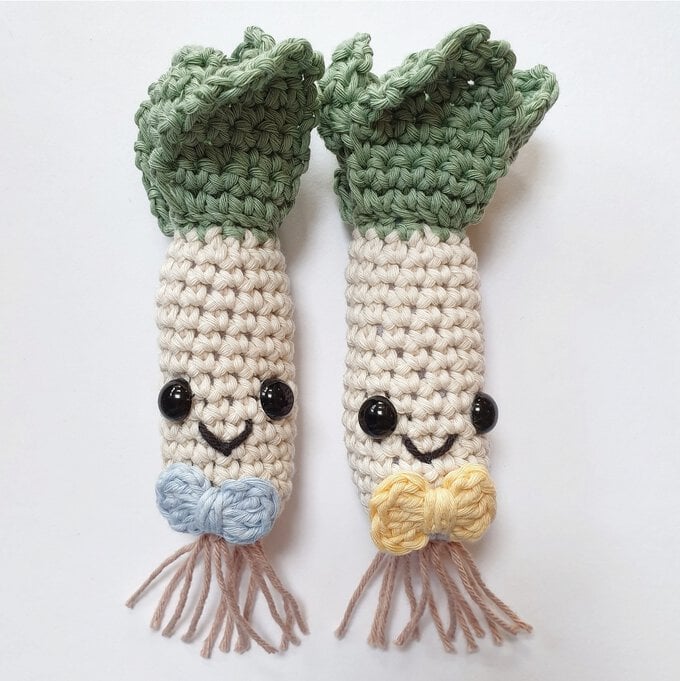
The Leek Twins, approximately 12cm x 4cm
Baby Leek, approximately 10cm x 4cm
Body
Using Knitcraft It's Only Natural in Cream
Mc
R1. Work 6dc in mc. (6dc)
R2. [inc] 6times. (12dc)
R3. [1dc, inc] 6times. (18dc)
Start to stuff with fibre filling.
R4-20. Work 1dc in each st around. (18dc)
Insert safety eyes between R10 and R11, 4sts apart.
Fasten off Cream, cc to Sage.
R21. Work 1dc in each st around. (18dc)
R22. Working in the BLs, work 1dc in each st around. (18dc)
R23-24. Work 1dc in each st around. (18dc)
R25. Working in the BLs, work 1dc in each st around. (18dc)
R26-28. Work 1dc in each st around. (18dc)
R29. [1dc, dec] 6times. (12dc)
R30. [dec] 6times. (6dc)
Fasten off and sew shut.
Leaf (make x2 small and x2 large)
You will sew the 2 large leaves to the FLs of R22 (front and back of the leek) and the 2 small leaves to the FLs of R25 (on each side of the leek).
Small
Ch10, but leave a long tail so you can stitch the leaf to the FLs.
R1. 1dc in the 2nd ch from hook, 1dc in each st, turn. (9dc)
R2-6. Ch1, 1dc in each st to the end, turn. (9dc)
R7. Ch1, dec, 5dc, dec, turn. (7dc)
R8. Ch1, dec, 3dc, dec, turn. (5dc)
R9. Ch1, 1dc in each st to the end. (5dc)
Large
Ch10, but leave a long tail so you can stitch the leaf to the FLs.
R1. 1dc in the 2nd ch from hook, 1dc in each st, turn. (9dc)
R2-8. Ch1, 1dc in each st to the end, turn. (9dc)
R9. Ch1, dec, 5dc, dec, turn. (7dc)
R10. Ch1, dec, 3dc, dec, turn. (5dc)
R11. Ch1, 1dc in each st to the end. (5dc)
Body
Using Knitcraft It's Only Natural in Cream
Mc
R1. Work 6dc in mc. (6dc)
R2. [inc] 6times. (12dc)
R3. [3dc, inc] 3times. (15dc)
Start to stuff with fibre filling.
R4-16. Work 1dc in each st around (15dc)
Insert safety eyes between R8 and R9, 4sts apart.
Fasten off Cream, cc to Sage
R17. [3dc, dec] 3times. (12dc)
R18. Working in the BLs, work 1dc in each st around (12dc)
R19-20. Work 1dc in each st around (12dc)
R21. Working in the BLs, work 1dc in each st around (12dc)
R22-23. Work 1dc in each st around (12dc)
R24. [dec] 6times (6dc)
Fasten off and sew shut.
Leaf (make x2 small and x2 large)
You will sew the 2 large leaves to the FLs of R18 (front and back of the leek) and the 2 small leaves to the FLs of R21 (on each side of the leek).
Small
Ch7, but leave a long tail so you can stitch the leaf to the FLs.
R1. 1dc in the 2nd ch from hook, 1dc in each st, turn. (6dc)
R2-4. Ch1, 1dc in each st to the end, turn. (6dc)
R5. Ch1, dec, 2dc, dec, turn. (4dc)
R6. Ch1, dec, dec, turn. (2dc)
Large
Ch7, but leave a long tail so you can stitch the leaf to the FLs.
R1. 1dc in the 2nd ch from hook, 1dc in each st, turn. (6dc)
R2-6. Ch1, 1dc in each st to the end, turn. (6dc)
R7. Ch1, dec, 2dc, dec, turn. (4dc)
R8. Ch1, dec, dec, turn. (2dc)
Body
Using Knitcraft It's Only Natual in Cream
Mc
R1. Work 6dc in mc. (6dc)
R2. [1dc, inc] 3times. (9dc)
R3. [2dc, inc] 3times. (12dc)
Start to stuff with fibre filling.
R4-10. Work 1dc in each st around (12dc)
Insert safety eyes between R6 and R7, 4sts apart.
Fasten off Cream, cc to Sage
R11. Work 1dc in each st around. (12dc)
R12. Working in the BLs, work 1dc in each st around (12dc)
R13. Work 1dc in each st around (12dc)
R14. Working in the BLs, work 1dc in each st around (12dc)
R15. Work 1dc in each st around (12dc)
R16. [dec] 6times (6dc)
Fasten off and sew shut.
Leaf (make x2 small and x2 large)
You will sew the 2 large leaves to the FLs of R12 (front and back of the leek) and the 2 small leaves to the FLs of R14 (on each side of the leek).
Small
Ch7, but leave a long tail so you can stitch the leaf to the FLs.
R1. 1dc in the 2nd ch from hook, 1dc in each st, turn. (6dc)
R2. Ch1, 1dc in each st to the end, turn. (6dc)
R3. Ch1, dec, 2dc, dec, turn. (4dc)
R4. Ch1, dec, dec, turn. (2dc)
Large
Ch7, but leave a long tail so you can stitch the leaf to the FLs.
R1. 1dc in the 2nd ch from hook, 1dc in each st, turn. (6dc)
R2-3. Ch1, 1dc in each st to the end, turn. (6dc)
R4. Ch1, dec, 2dc, dec, turn. (4dc)
R5. Ch1, dec, dec, turn. (2dc)
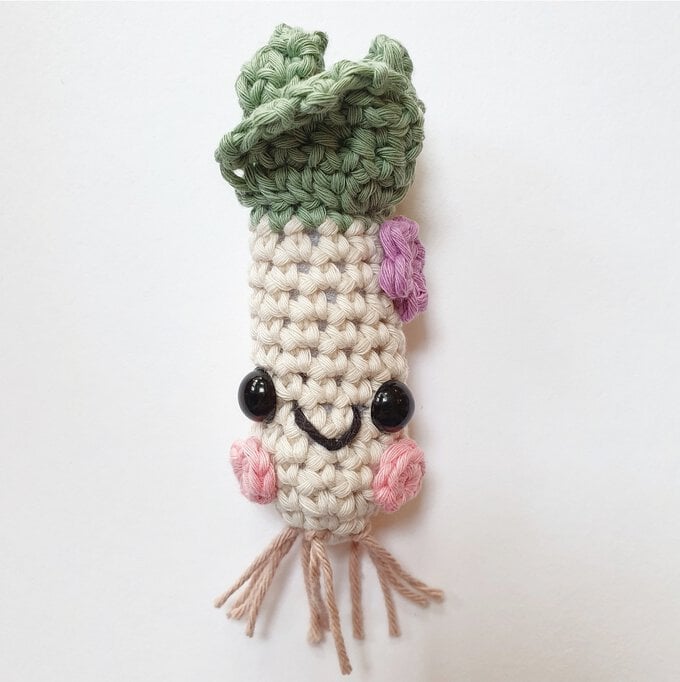
Cheeks (make 4)
Using Knitcraft It's Only Natural in Pink
Mc
R1. Work 6dc in mc.(6dc)
Fasten off leaving a long tail to sew to Mrs Leek and Baby Leeks face.
Mustache
Using Ricorumi in Wood
Ch12
R1. Slst in to the 2nd ch from hook, dec, tr, dc, slst, dc, tr, dec, slst.
Fasten off leaving a long tail to sew to the Mr Leeks face.
Bow tie (make 2)
Make one using Knitcraft It's Only Natural in Cornflower and one in Yellow
Mc
R1. *Ch2, 3tr in mc, ch2, slst in mc, repeat from * once more.
Fasten off leaving a long tail to wrap yarn around the middle of the bow tie 4 times and then sew one bow tie to each of The Leek Twins at the bottom centre.
Flower
Using Knitcraft It's Only Natural in Purple
Mc
R1. Work [slst, tr, into the mc] 5times, slst in to the 1st.
Fasten off leaving a long tail to sew to the head of Baby Leek.
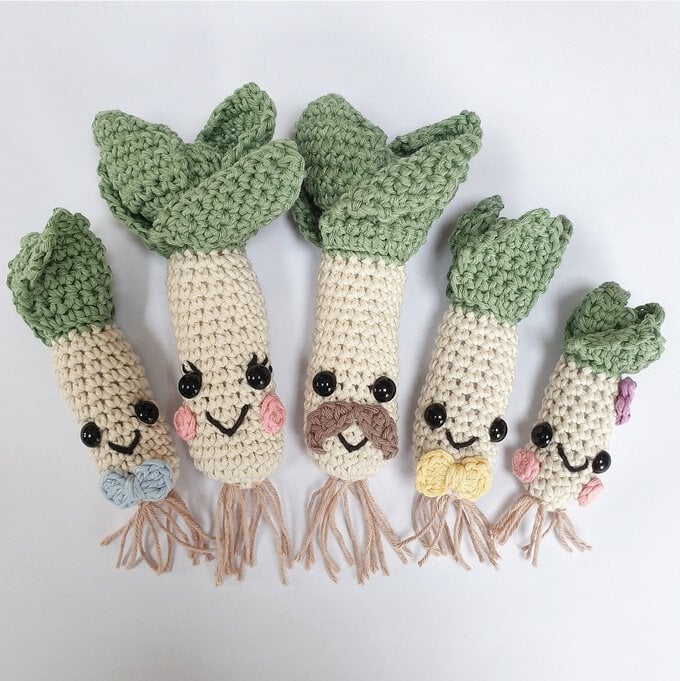
Cut x 6 10cm lengths of Ricorumi in Beige for each leek, fold each length in half and work a Larks Head Knot on the bottom of each Leek. Cut to desired length.
Finish by embroidering a simple mouth on each of the leeks using Black.
(Make 3)
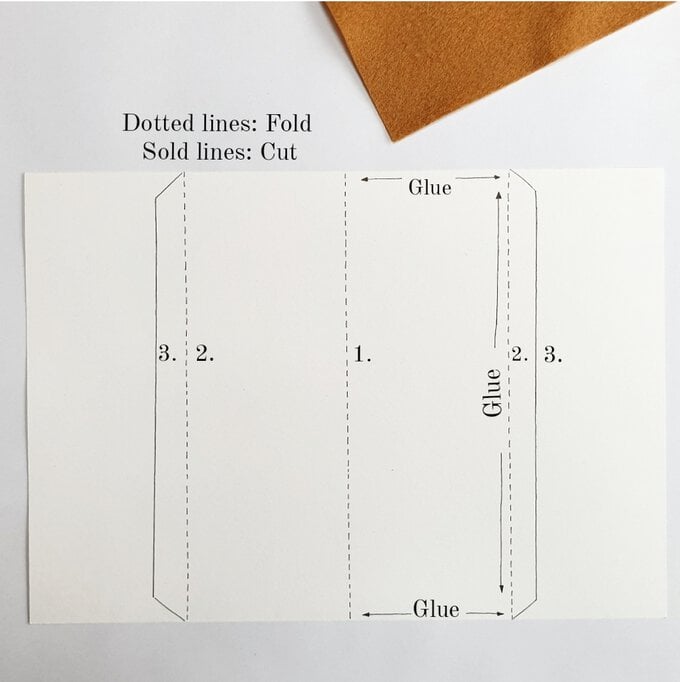
Follow the diagram, fold the A4 sheet of felt in half (1.) and fold in half again (2.) Cut (3.) 2cm from the 2nd fold. Glue the rectangle where indicated whilst lightly stuffing. You will end up with a rectangular 'pillow' with 2 flaps. You will use these flaps to glue in place at the bottom of your crate.
Glue all 3 'pillows' in place equally spaced apart.
