Skip to Content (Press Enter) Skip to Footer (Press Enter)

How to Crochet An Amigurumi Snail

Level
Intermediate
Time
1/2 day
Budget
10 - 30

The third week of Amigurumi April has been designed by the amazing Irene Strange. Meet Roman and Lettie, the fun loving best friends who can't wait to explore everyday! You will have a great time hooking up your own version and dont forget to share your makes with amigurumiapril

You will need

Is $ 9.49

Quantity: 1

Subtotal

Is $ 9.49

Is $ 5.49

Quantity: 1

Subtotal

Is $ 5.49

Is $ 7.49

Buy 3 Soft Toy Filling for £12
Quantity: 1

Subtotal

Is $ 7.49

Is $ 7.49

3 for 2 on WI Yarn
Quantity: 1

Subtotal

Is $ 7.49

Out of stock

Is $ 6.49

3 for 2 on WI Yarn
Quantity: 1

Subtotal

Is $ 6.49

Is $ 6.49

3 for 2 on WI Yarn
Quantity: 1

Subtotal

Is $ 6.49

Is $ 4.49

Quantity: 1

Subtotal

Is $ 4.49

Is $ 3.49

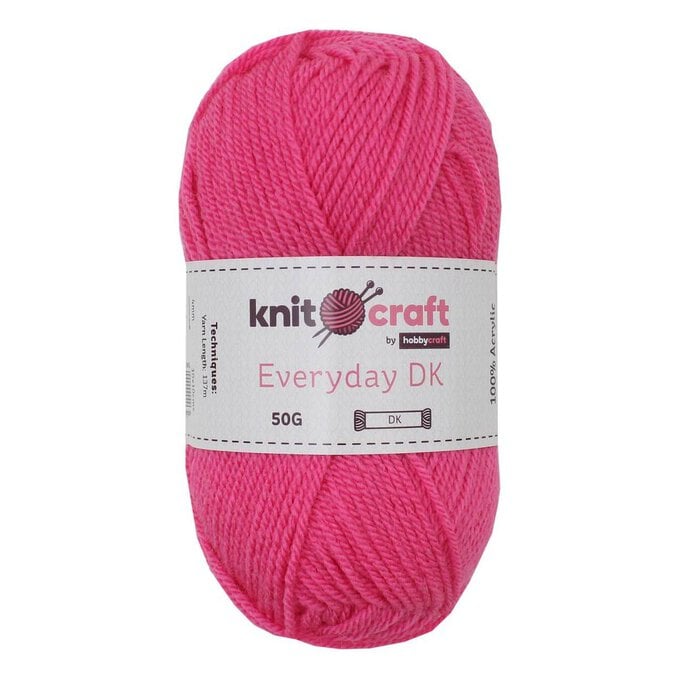
3 for 2 on selected Knitcraft Everyday DK
Quantity: 1

Subtotal

Is $ 3.49

You’ve viewed 2 of 8 products

You’ve viewed 4 of 8 products

Total:

How to make


Abbreviations

Please note this pattern is written in US crochet terms. The pieces are worked amigurumi-style in the round, in a continuous spiral.


Terms used:

sc = single crochet = UK double crochet

ch = chain stitch

magic ring = adjustable ring to start the crochet

Eyes: Step-1

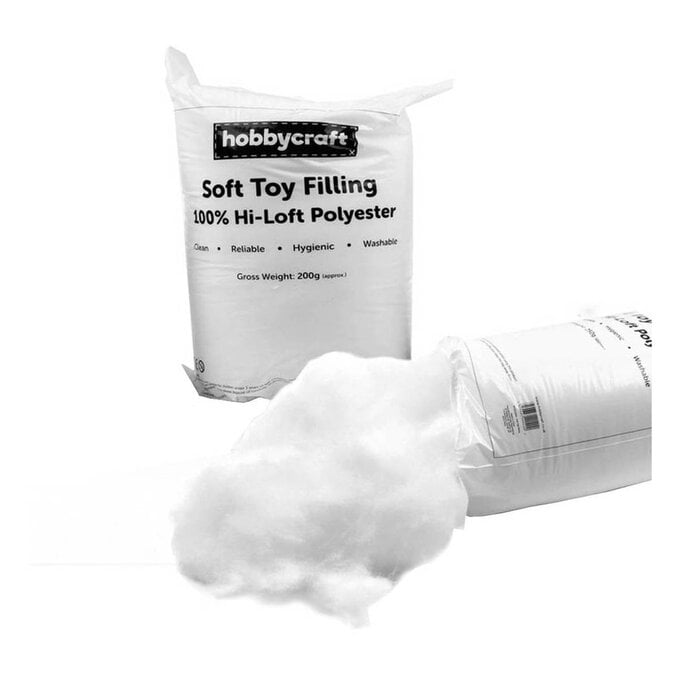
Make 2 in Olive, put in eyes and stuffing as you go.

Rnd 1: Start 6 sc in a magic ring [6] Rnd 2: inc 6 times [12] Rnd 3 – 5: sc in all 12 st [12] Add safety eyes between Rnd 3 and 4. Rnd 6: dec 6 times [6] Add stuffing

Step-2
Rnd 7 – 10: sc in all 6 st [6] Fasten off, leave a tail for sewing. Add some more stuffing.
Body Step-1

Make in Olive, stuff half-way, then top up. Make a chain for 7 stitches, start 2nd ch from hook. Work in the round without joining chains.

Step-2
Rnd 1: sc in next 6 chains, turn work, sc in next 6 chains on the other side of the starting chain [12] Rnd 2: 3sc in next st, sc in next 4 st, 3sc in next 2 st, sc in next 4 st, 3sc in next st [20] Rnd 3: sc in next st, 3sc in next st, sc in next 6 st, 3sc in next st, sc in next 2 st, 3sc in next st, sc in next 6 st, 3sc in next st, sc in next st [28]
Step-3

Rnd 4: sc in next st, 3sc in next st, sc in next 10 st, 3sc in next st, sc in next 2 st, 3sc in next st, sc in next 10 st, 3sc in next st, sc in next st [36] Rnd 5 – 18: sc in all 36 st [36] 14 rounds in total Rnd 19: sc in next 28 st, inc in next 2 st, sc in next 6 st [38]

Step-4

Rnd 20: sc in next 28 st, inc in next st, sc in next 2 st, inc in next st, sc in next 6 st [40] Rnd 21: sc in next 28 st, inc in next st, sc in next 4 st, inc in next st, sc in next 6 st [42] Rnd 22: sc in next 28 st, inc in next st, sc in next 6 st, inc in next st, sc in next 6 st [44]

Step-5

Rnd 23: sc in next 28 st, inc in next st, sc in next 8 st, inc in next st, sc in next 6 st [46] Rnd 24: sc in all 46 st [46] Rnd 25: sc in next 28 st, dec, sc in next 8 st, dec, sc in next 6 st [44]

Step-6

Rnd 26: sc in next 28 st, dec, sc in next 6 st, dec, sc in next 6 st [42] Rnd 27: sc in next 28 st, dec, sc in next 4 st, dec, sc in next 6 st [40] Rnd 28: sc in next 28 st, dec, sc in next 2 st, dec, sc in next 6 st [38]

Step-7

Rnd 29: sc in next 28 st, 2 dec, sc in next 6 st [36] Rnd 30: sc in next 28 st, dec, sc in next 6 st [35] Rnd 31: sc in next 27 st, dec, sc in next 6 st [34]

Step-8

Rnd 32: sc in next 27 st, dec, sc in next 5 st [33] Rnd 33: sc in next 26 st, dec, sc in next 5 st [32] Rnd 34: sc in next 26 st, dec, sc in next 4 st [31]

Step-9

Rnd 35: sc in next 25 st, dec, sc in next 4 st [30] Rnd 36: sc in next 25 st, dec, sc in next 3 st [29] Rnd 37: sc in next 24 st, dec, sc in next 3 st [28]

Step-10

Rnd 38: sc in next 24 st, dec, sc in next 2 st [27] Rnd 39: sc in next 23 st, dec, sc in next 2 st [26] Rnd 40: sc in next 23 st, dec, sc in next 1 st [25]

Step-11

Rnd 41: sc in next 22 st, dec, sc in next 1 st [24] Rnd 42: sc in next 22 st, dec [23] – decreasing by 1 every round from now on Rnd 43: sc in next 21 st, dec [22]

Step-12

Rnd 44: sc in next 20 st, dec [21] Rnd 45: sc in next 19 st, dec [20] Rnd 46: sc in next 18 st, dec [19] Rnd 47: sc in next 17 st, dec [18] – Add toy stuffing

Step-13

Rnd 48: sc in next 16 st, dec [17] Rnd 49: sc in next 15 st, dec [16] Rnd 50: sc in next 14 st, dec [15]

Step-14

Rnd 51: sc in next 13 st, dec [14] Rnd 52: sc in next 12 st, dec [13] Rnd 53: sc in next 11 st, dec [12] Rnd 54: sc in next 10 st, dec [11]

Step-15

Rnd 55: sc in next 9 st, dec [10] Rnd 56: sc in next 8 st, dec [9] – Top up toy stuffing Rnd 57: sc in next 7 st, dec [8]

Step-20

Rnd 58: sc in next 6 st, dec [7] Rnd 59: sc in next 5 st, dec [6]

Step-21
Rnd 58: sc in next 6 st, dec [7] Rnd 59: sc in next 5 st, dec [6]
Step-22
Fasten off and sew up the tip. Sew the eye stalks onto the top of the body.
Step-23
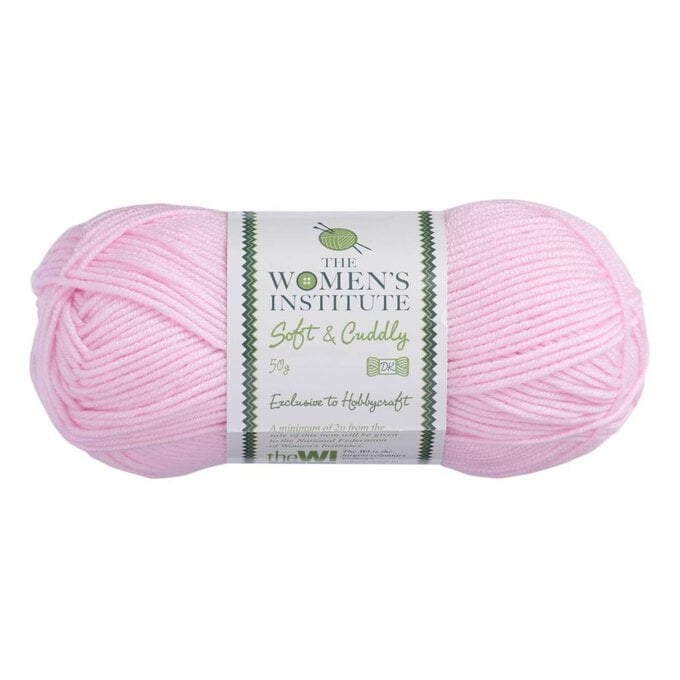
Shell: Start in Bright Pink, shell is made by increasing by 1 stitch every round, alternating wider Bright Pink stripes with short Pale Pink ones.
Step-24
Rnd 1: Start 6 sc in a magic ring [6] Rnd 2: sc in all 6 st [6] Rnd 3: inc, sc in next 5 st [7]
Step-25
Rnd 4: inc, sc in next 6 st [8] Rnd 5: Change colour to Pale Pink, inc, sc in next 7 st [9] Rnd 6: inc, sc in next 8 st [10]
Step-26
Rnd 7: Change to Bright Pink, inc, sc in next 9 st [11] Rnd 8: inc, sc in next 10 st [12] Rnd 9: inc, sc in next 11 st [13]
Step-27
Rnd 10: inc, sc in next 12 st [14] Rnd 11: Change to Pale Pink, inc, sc in next 13 st [15] Rnd 12: inc, sc in next 14 st [16]
Step-28
Rnd 13: Change to Bright Pink, inc, sc in next 15 st [17] Rnd 14: inc, sc in next 16 st [18] Rnd 15: inc, sc in next 17 st [19]
Step-29
Rnd 16: inc, sc in next 18 st [20] Rnd 17: Change to Pale Pink, inc, sc in next 19 st [21] Rnd 18: inc, sc in next 20 st [22]
Step-30
Rnd 19: Change to Bright Pink, inc, sc in next 21 st [23] Rnd 20: inc, sc in next 22 st [24] Rnd 21: inc, sc in next 23 st [25]
Step-31
Rnd 22: inc, sc in next 24 st [26] Rnd 23: inc, sc in next 25 st [27] Rnd 24: Change to Pale Pink, inc, sc in next 26 st [28]
Step-32
Rnd 25: inc, sc in next 27 st [29] Rnd 26: Change to Bright Pink, inc, sc in next 28 st [30] Rnd 27: inc, sc in next 29 st [31]
Step-33
Rnd 28: inc, sc in next 30 st [32] Rnd 29: inc, sc in next 31 st [33] Rnd 30: inc, sc in next 32 st [34]
Step-34
Rnd 31 – 32: Change to Pale Pink, sc in all 34 st [34] Rnd 33 – 34: Change to Bright Pink, sc in all 34 st [34] Rnd 35: inc, sc in next 33 st [35]
Step-35
Rnd 36 – 37: sc in all 35 st [35] Rnd 38 – 39: Change to Pale Pink, sc in all 35 st [35]
Step-36
Rnd 40 – 41: Change to Bright Pink, sc in all 35 st [35] Rnd 42: inc, sc in next 34 st [36] Rnd 43 – 46: sc in all 36 st [36]
Step-37
Rnd 47: Change to Pale Pink, inc, sc in next 35 st [37] Rnd 48: inc, sc in next 36 st [38] Rnd 49 – 52: Change to Bright Pink, sc in all 38 [38]
Step-38
Rnd 53: inc, sc in next 37 st [39] Rnd 54: inc, sc in next 38 st [40] Rnd 55: inc, sc in next 39 st [41]
Step-39
Rnd 56: inc, sc in next 40 st [42] Rnd 57: inc, sc in next 41 st [43] Rnd 58: inc, sc in next 42 st [44]
Step-40
Rnd 59: inc, sc in next 43 st [45] Rnd 60: inc, sc in next 44 st [46] Rnd 61: inc, sc in next 45 st [47]
Step-41
Rnd 62: inc, sc in next 46 st [48] Rnd 63 – 64: sc in all 48 st [48] Rnd 65: dec 24 times [24] Rnd 66: dec 12 times [12]
Step-42
Fasten off.
Finishing Up: Step-1

Add a bit of stuffing to the shell, then twist it up into a shell-like roll and stitch into shape with Bright Pink yarn. Then add as much stuffing as fits in!
Step-2
After this, sew the shell onto the back of the snail. Embroider a cheeky smile to finish your new friend!
  • bvseo_sdk, dw_cartridge, 18.2.0, p_sdk_3.2.0
  • CLOUD, getReviews, 5ms
  • reviews, product
  • bvseo-msg: Unsuccessful GET. status = 'ERROR', msg = 'Not Found.'; Unsuccessful GET. status = 'ERROR', msg = 'Not Found.';

Related Products

Top