How to Decorate Wooden Letters
Paint them, cover them in fabric, sprinkle in glitter, or wrap in ribbon, there are lots of crafty ways you can decorate wooden letters. Create headings, name plates, signs, décor for special occasions and home decorations!
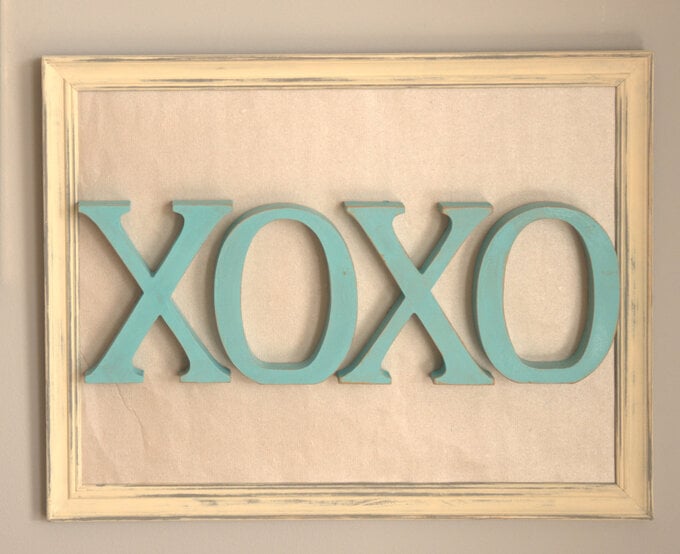
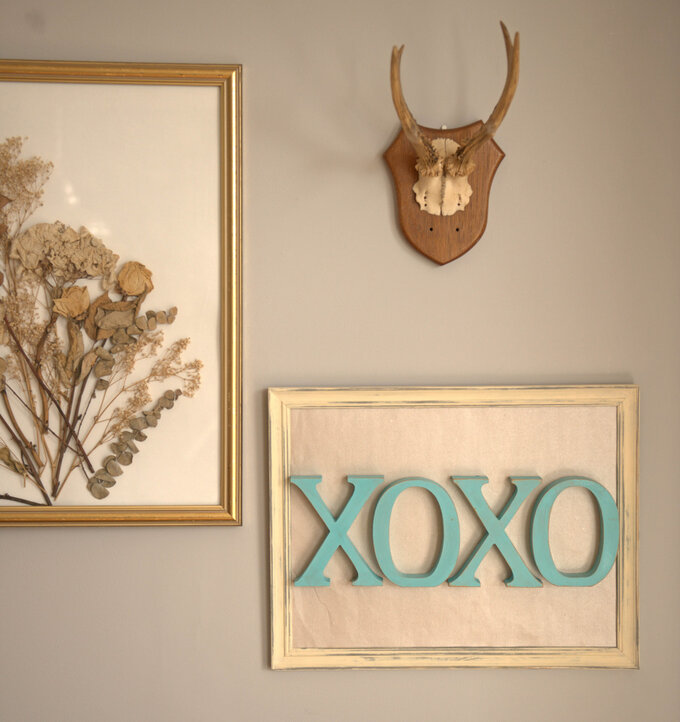
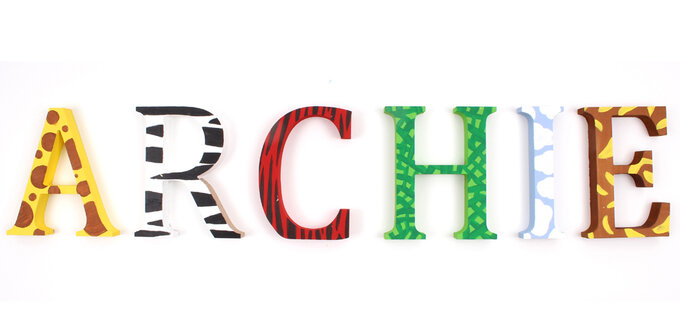
I had an old frame that has been in need of a face lift for some time, so I decided to give it a spruce up with some craft paint and then sanded it for a shabby chic look, and I've also used craft acrylic paint to decorate some wooden letters for my nephews bedroom . . .
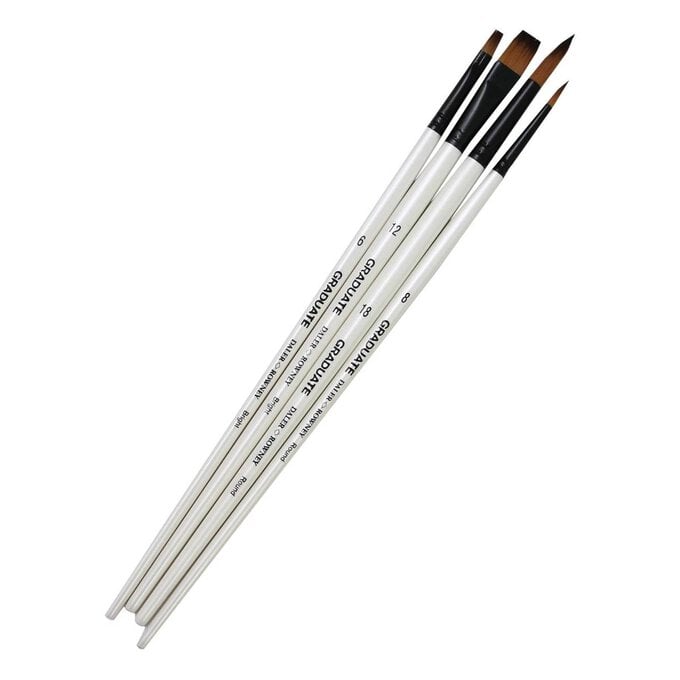
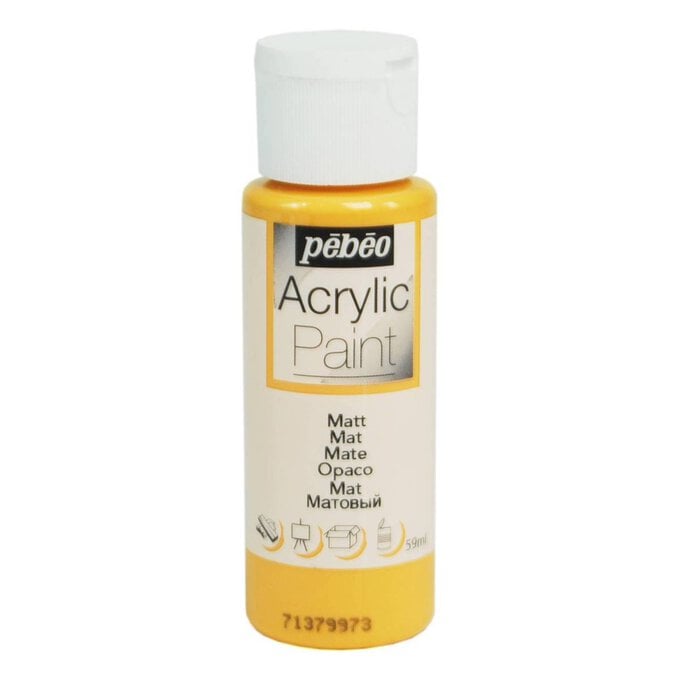
You will need
Subtotal
Is $ 17.00
Subtotal
Is $ 5.49
Subtotal
Is $ 8.49
How to make
1. Start by roughly sketching out your design on the letter in pencil first. I went for an animal/nature theme for my letters, but the possibilities are endless when it comes to designing your own letters.
2. Go over your design using craft acrylic. Make sure the first coat is completely dry before applying the next one, and then leave to dry.
1. Start by painting your frame white and leave to dry.
2. Meanwhile paint your letters with a layer of gold paint. Once dry, paint them turquoise and leave to set.
3. Take your dried frame and start to sandpaper off the white paint to reveal the grey underneath to add a shabby chic look.
4. Repeat the process with the letters until you get the desired effect.
5. Take your chosen patterned paper and cut to size, then display in the frame – remove the glass.
6. With your glue gun apply glue to the back of the letters and position in place.
7. Leave to dry and then display!
