How to Embroider a Cushion for Christmas
Add a personal touch to your holiday décor with our step-by-step guide on embroidering a festive cushion for Christmas.
This project features a charming 'Joyeux Noel' message that will make a beautiful and welcoming addition to your sofa.
Perfect for bringing some holiday cheer into your home, this handcrafted cushion can be cherished and used year after year.
Project and instructions by Shikira Alleyne
You will need
Subtotal
Is $ 14.00
Subtotal
Is $ 14.00
Subtotal
Is $ 5.49
Subtotal
Is $ 5.49
Subtotal
Is $ 13.00
You Will Need
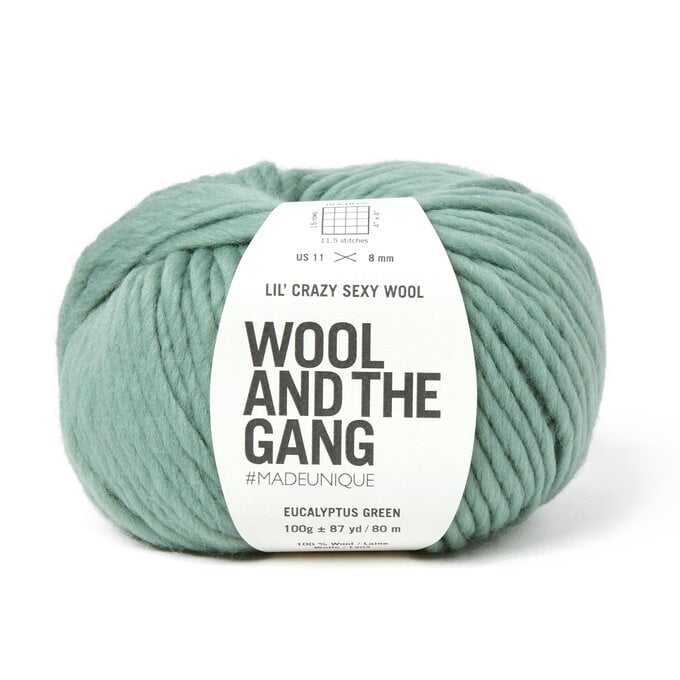
* Wool And the Gang Eucalyptus Green Lil’ Crazy Sexy Wool
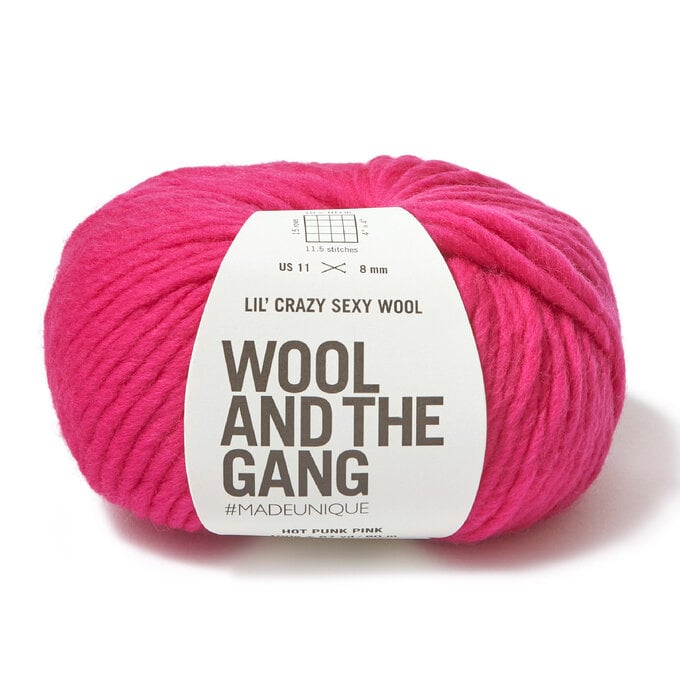
* Wool And the Gang Hot Punk Pink Lil’ Crazy Sexy Wool
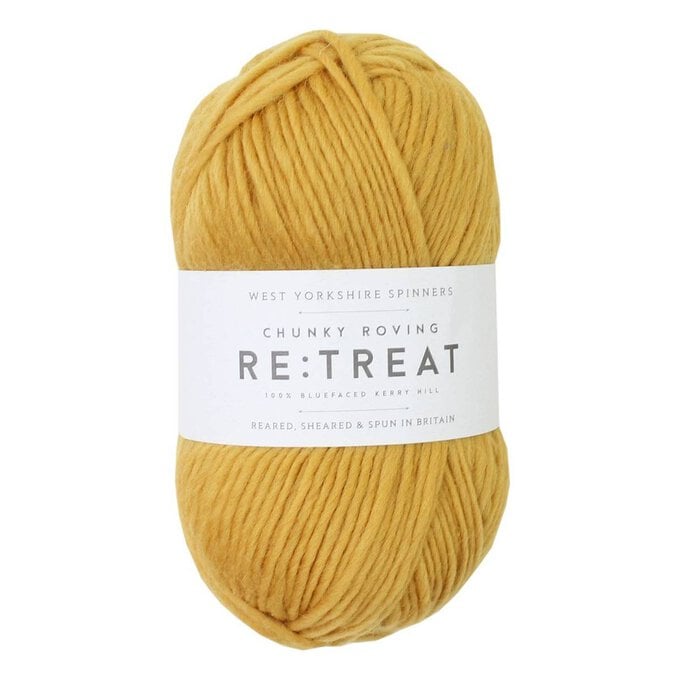
* West Yorkshire Spinners Mellow Retreat Yarn
* Woman’s Institute Dusky Pink Soft and Chunky Yarn
* Woman’s Institute Steel Blue Soft and Chunky Yarn
* Hemline Tapestry Needles Size 18-22 5 pack
* Clara Cotton Velvet Square Cushion 55cm x 55cm Ink (Blue)
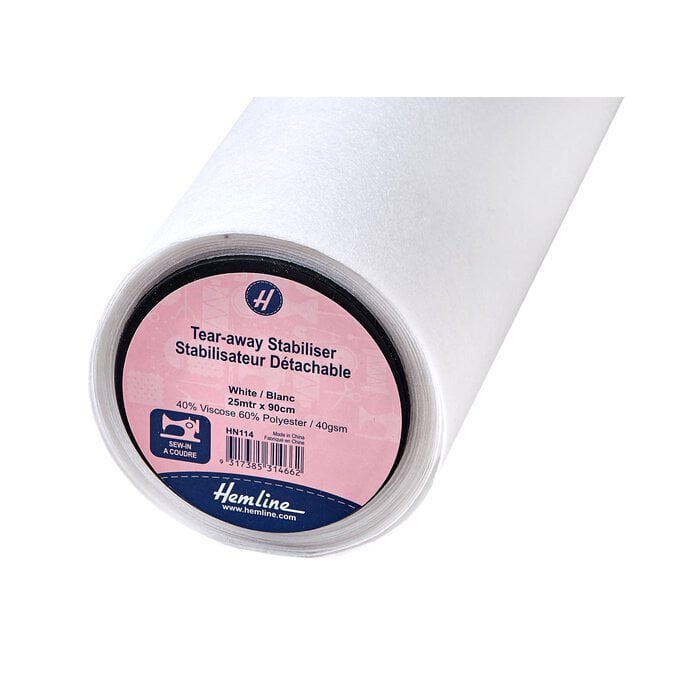
* Tear Away Embroidery Stabiliser
* Heat Erasable fabric Pen
* Needle Threader
* Craft knife/Scissors
* Cutting Mat
* Ruler
* Sewing pins
* A Tweezer
How to make
Print out the template and cut along the lines using a scissors or craft knife as directed. Do not resize the printout.
Match all the letters together like a puzzle. Use masking tape to stick all the pages together.
Now you have a large template.


Lay a piece of tear away stabiliser over the template and trace out the letters using a fine erasable fabric pen.

Lay the traced tear away sheet in your chosen position on the cushion and pin to hold it in place.
Tip: Start with the letters which are furthest away from the opening of cushion and work your way towards the opening. This is to prevent any puckering of the fabric and prevents movement of the letters as you stitch them.

Begin by using Woman’s Institute Dusky Pink yarn and a back stitch to stitch around the lines of letter N in Noel.
Once complete, use Wool and The Gang Hot Punk Pink and Eucalyptus Green to stitch letters O and E using a random split stitch.
Tip: Split the Wool and The Gang Lil’ Crazy Sexy Wool yarn into 2 strands to make it easier to stitch with. You can also remove some parts of the tear away stabiliser from around the stitched letters just to check all is going well underneath.

Switch yarns to West Yorkshire Spinners Mellow Yarn. Again, stitch using a split stitch however, this time stitch in rows to makes a liner pattern as pictured.

At this point you may need to realign the tear away sheet just to make sure the fabric is still laying flat underneath. Re-pin the sheet if needed around the top letters.
Use Woman’s Institute Steel Blue Soft yarn and stitch with a back stitch to fill in the letter X completely.
Switch yarns to West Yorkshire Spinners Mellow Yarn and stitch around the letter U with a stem stitch focusing on the outline only.

For the letter E, use Wool and The Gang Hot Punk Pink yarn and stitch with a back stitch to fill the letter.

Use Wool and The Gang Eucalyptus Green yarn to stitch the letter Y again using a back stitch, but making sure that all the stitches are lined up together to make a different texture. See picture.
Stitch the outline of the letter O with a back stitch using Woman’s Institute Steel Blue Soft yarn.

For the final letter J, use West Yorkshire Spinners Mellow Yarn and stitch around the outline with a back stitch. Follow on by satin stitching the letter to fill. Leave only a small amount of the outline so it can be seen.

Once all of the letters have been stitched it is now time to remove the tear away stabiliser by really carefully tearing the fibres away from the stitches. Place the Inner cushion into the stitched cushion cover and enjoy!
Tip: It is useful to use a tweezer to remove any bits that have not been torn away easily.


