How to Make a Concertina Card
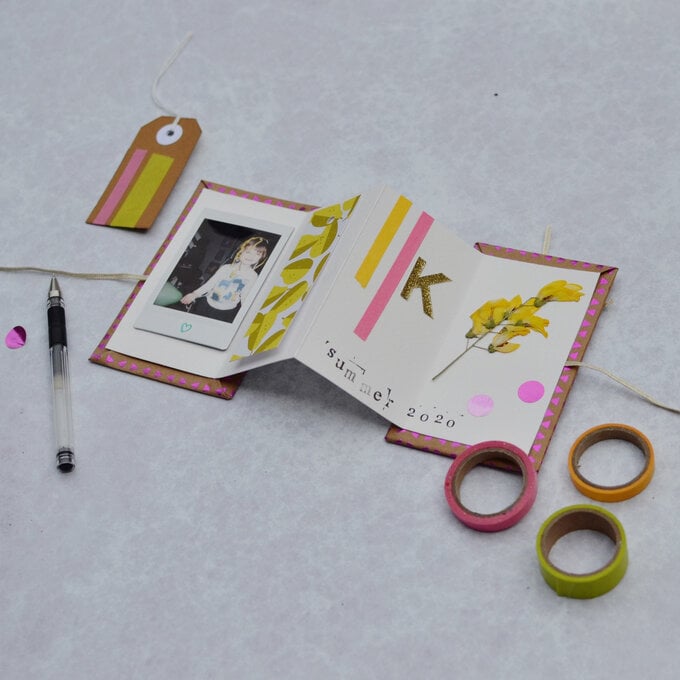
The simplest form of book binding, these concertina cards can be used for so many different occasions. Decorate the inside with photos, song lyrics, stamps, tickets and more, making a mini scrapbook keepsake that's perfect for gifting to a loved one. Your designs can be spread across the concertina card, ready to be unfolded whenever you want to revisit the memory!
You will need
Subtotal
Is $ 4.49
Subtotal
Is $ 3.49
Subtotal
Is $ 15.00 , was $ 20.00
How to make
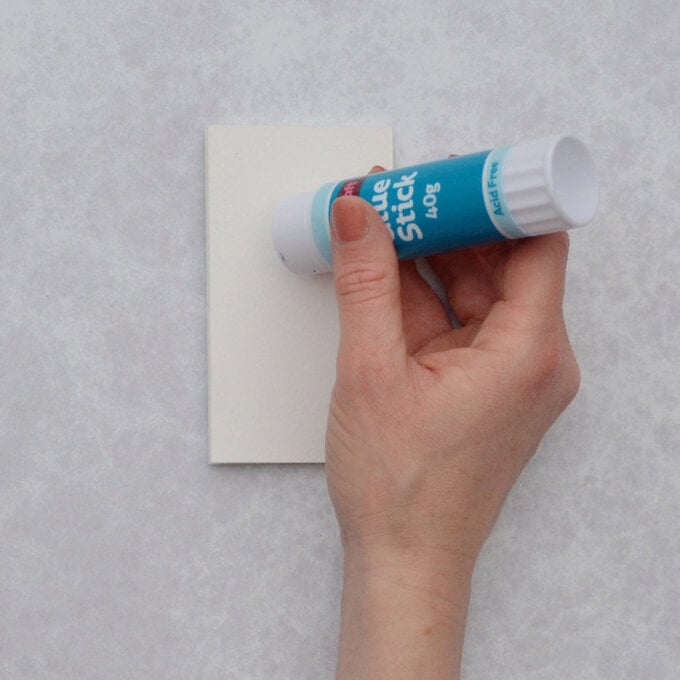
Lay the wrapping paper face down on the work surface. Place the card in the centre of each piece.
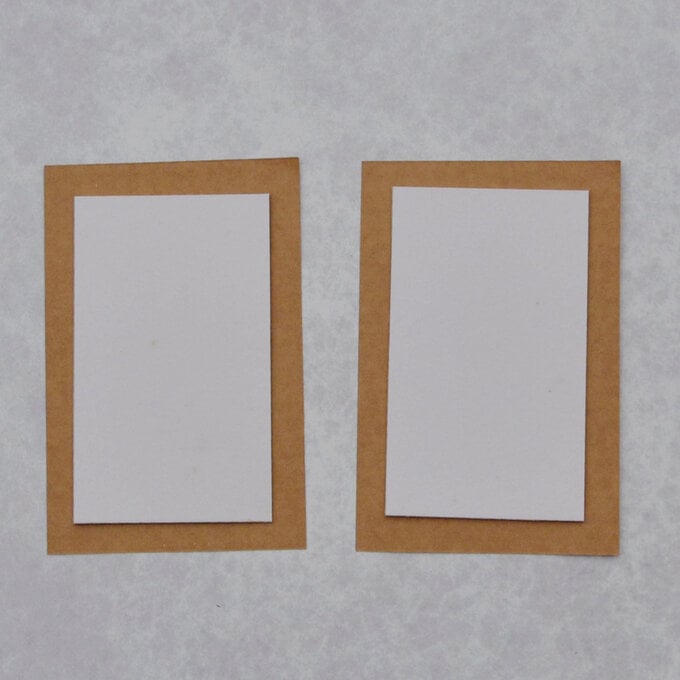
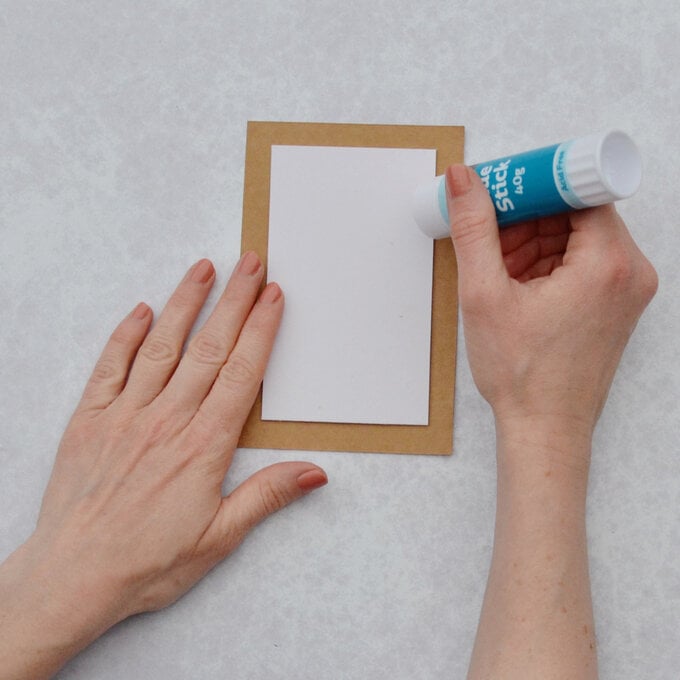
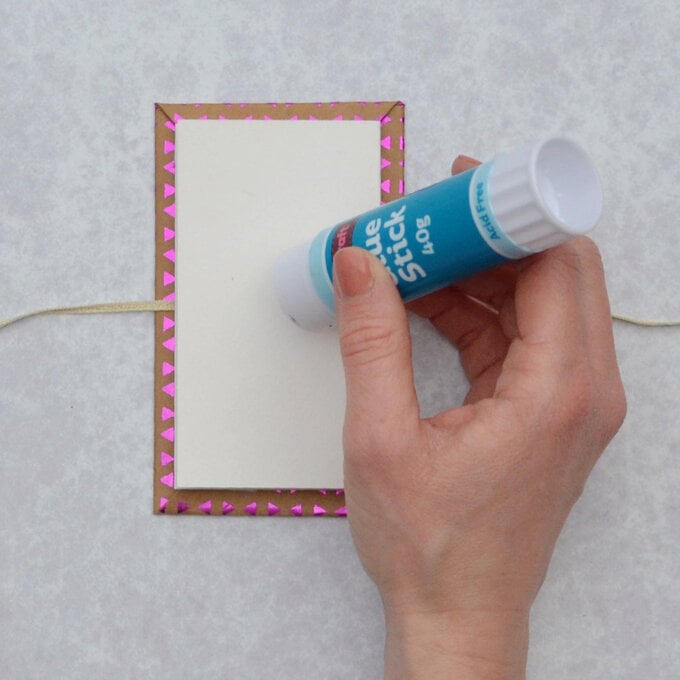
Spread glue over the edges of the wrapping paper. Turn the two long edges over on the card and pull them over to give a clean crisp edge.
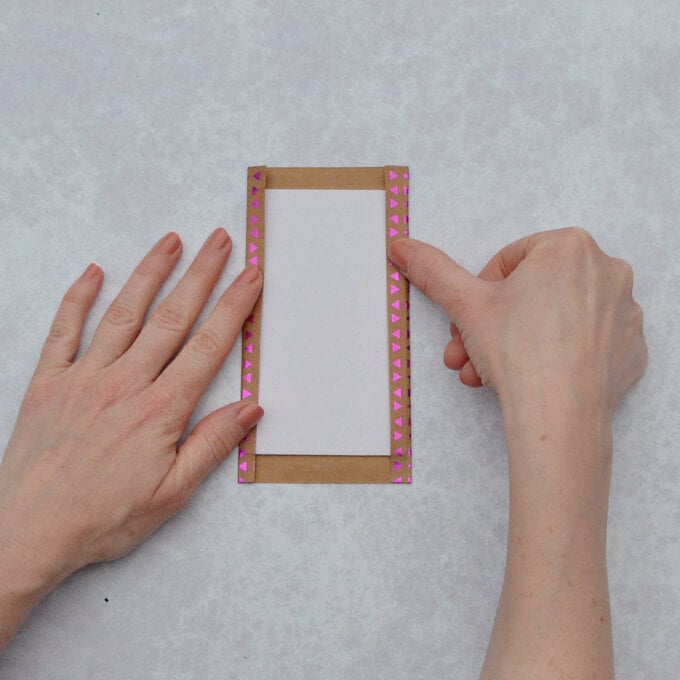
Mitre the top and bottom edges, then turn them over onto the card and continue to make these turnings smooth, clean and crisp. These are now the front and back covers.
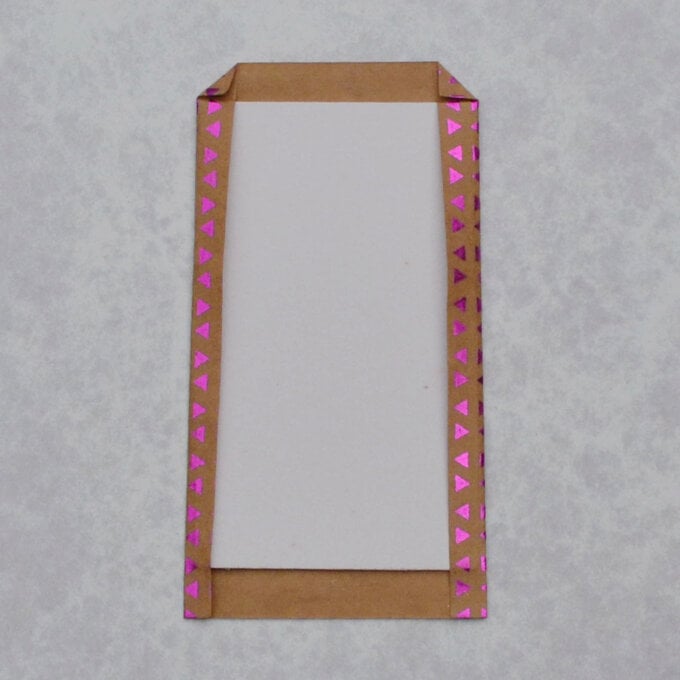
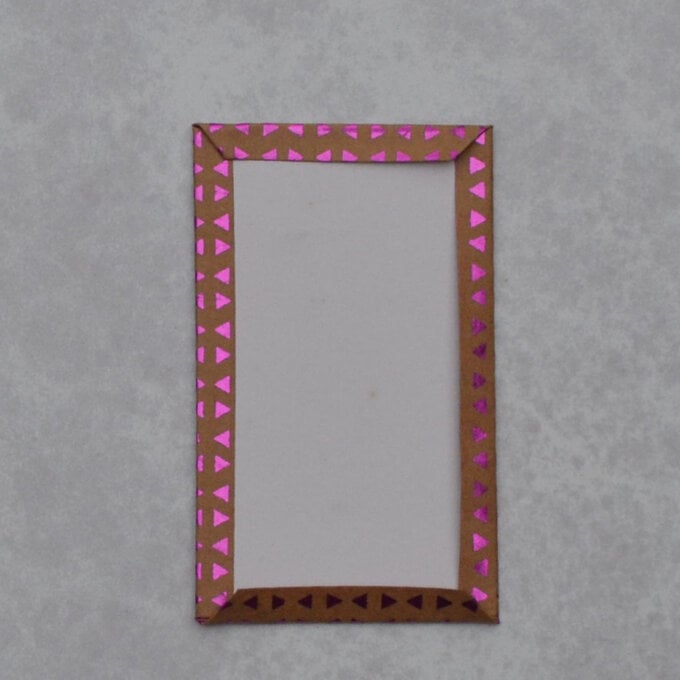
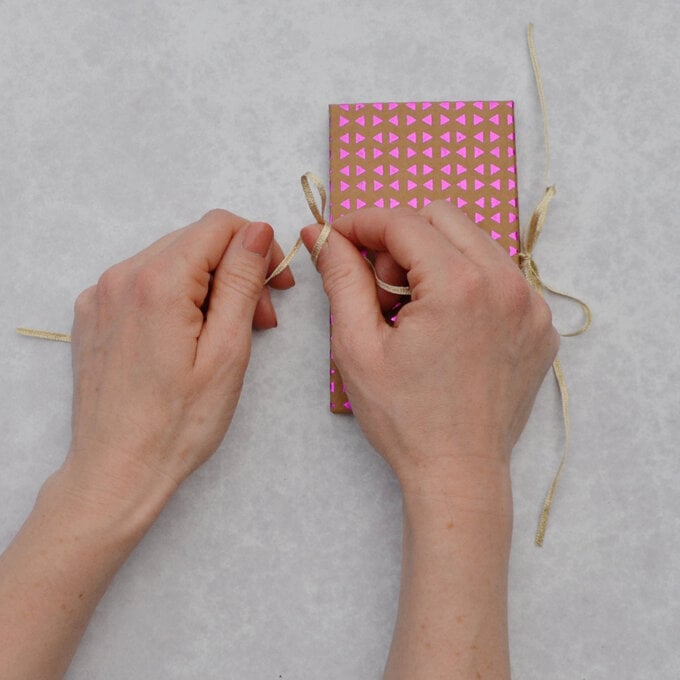
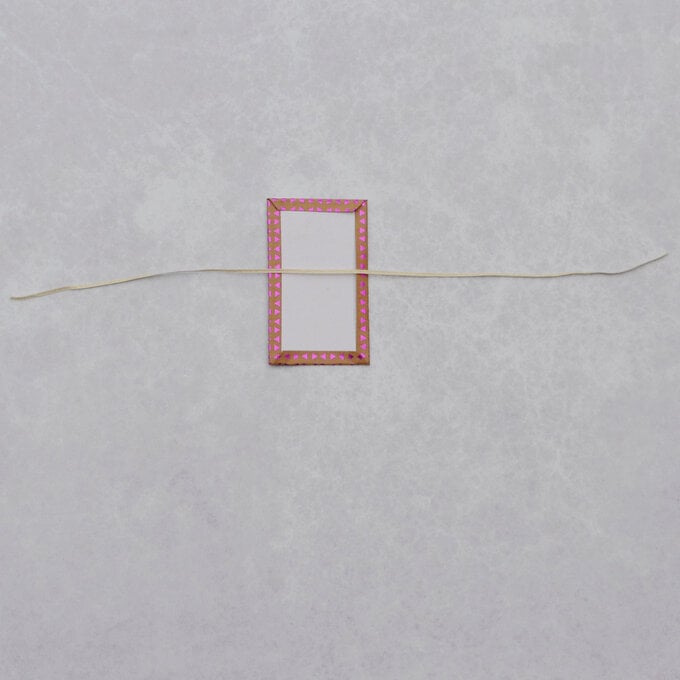
Put a smear of glue in the centre of each cover and stick the ribbon centrally onto each one.
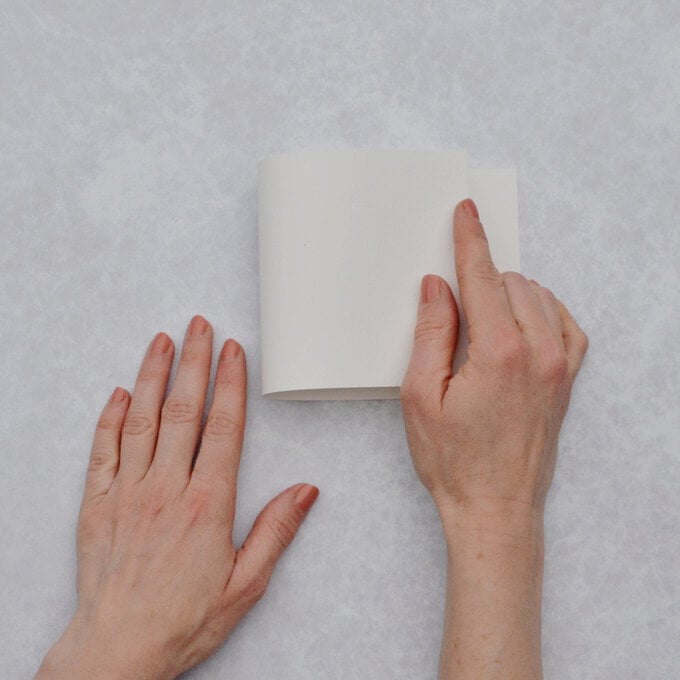
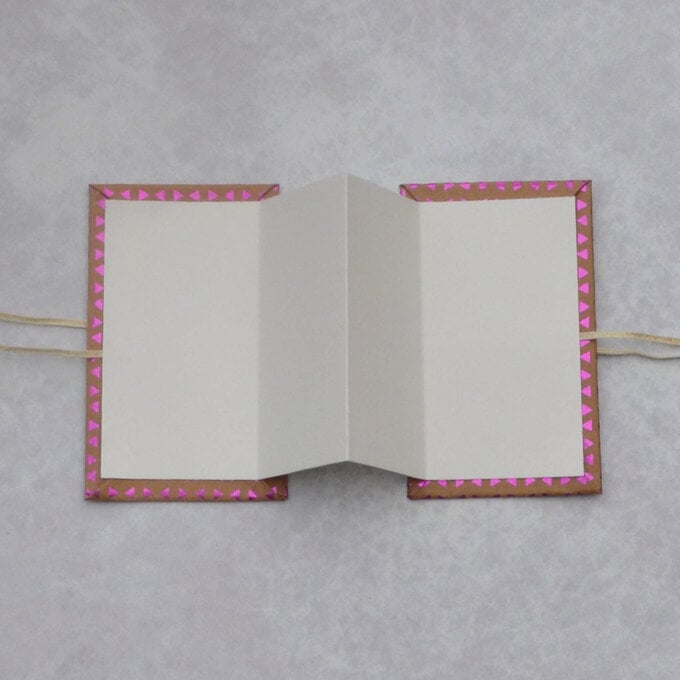
Take the strip of paper and carefully bring the edges together to fold in half to make a crease. This forms the concertina when opened out.
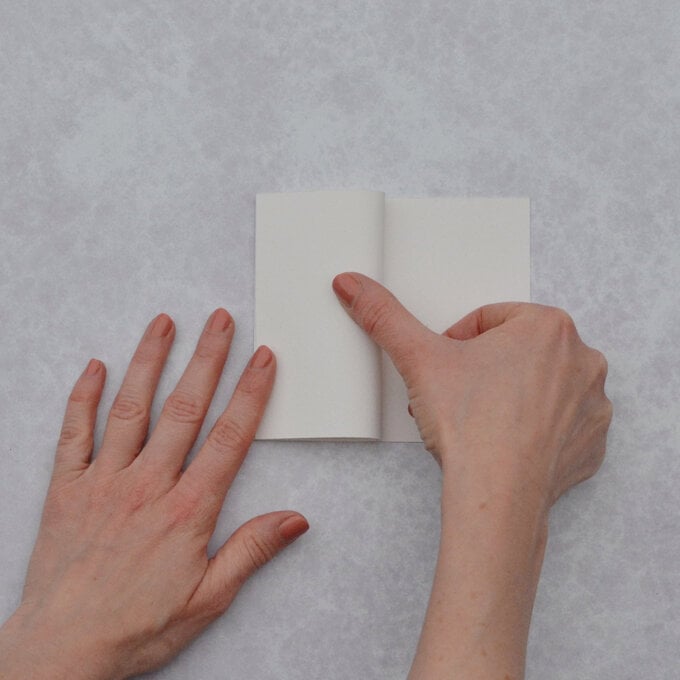
Now bring the short edges back to the fold and carefully make a crease. This forms the concertina when opened out.
Now spread glue over the back of Section A and place this centrally over the wrong side of one of the cover pieces. Do the same with Section B and place centrally over the cover piece. You've completed the basic card, now decorate in whichever way you choose!
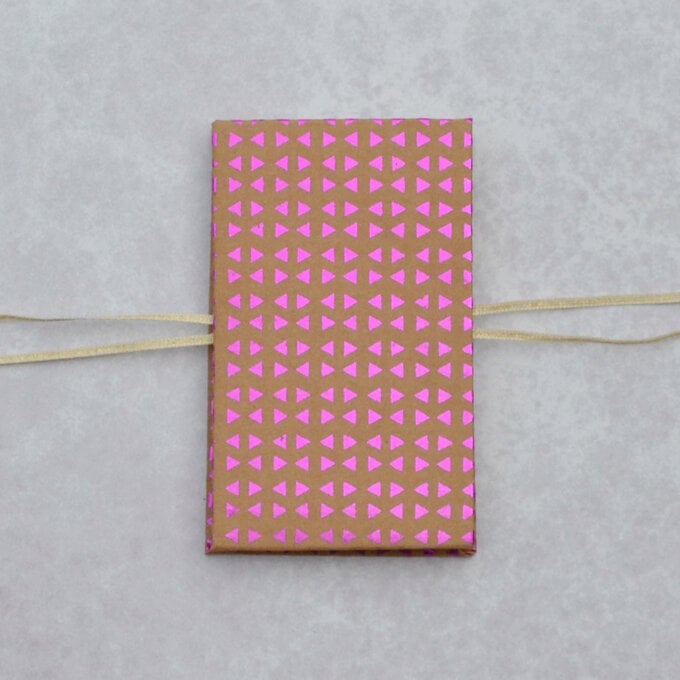
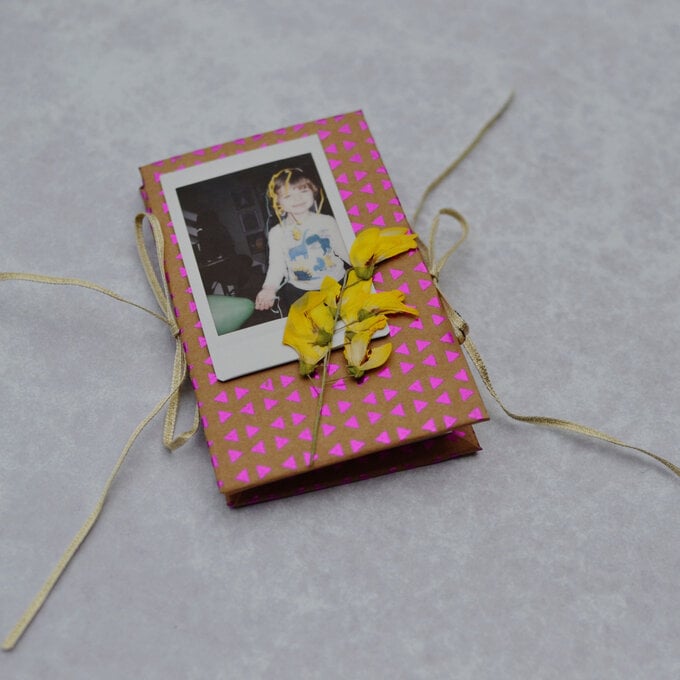
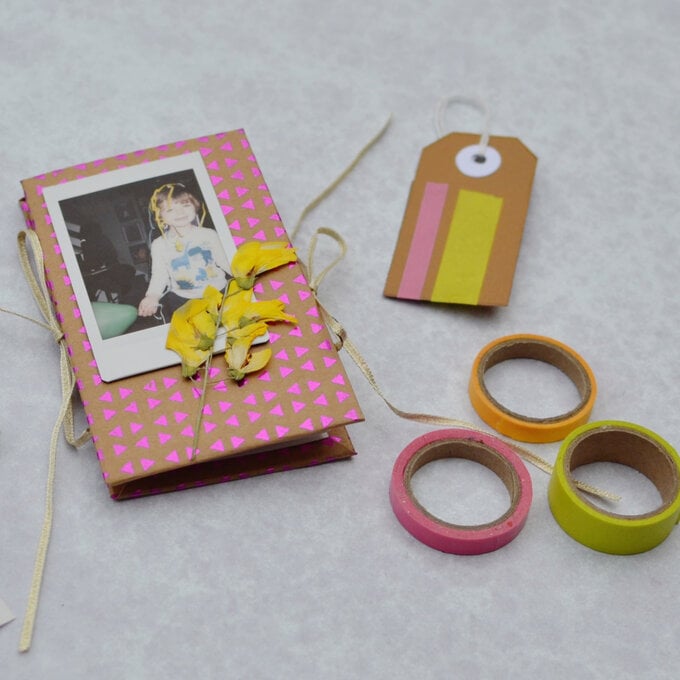
Once you have decorated your card, you can close it and tie the ribbons to fasten. If you wanted to, you could decorate the front also.
