Skip to Content (Press Enter) Skip to Footer (Press Enter)

How to Make a Heat Embossed Bee Card

Level
Beginner
Time
1/2 day
Budget
10 - 30
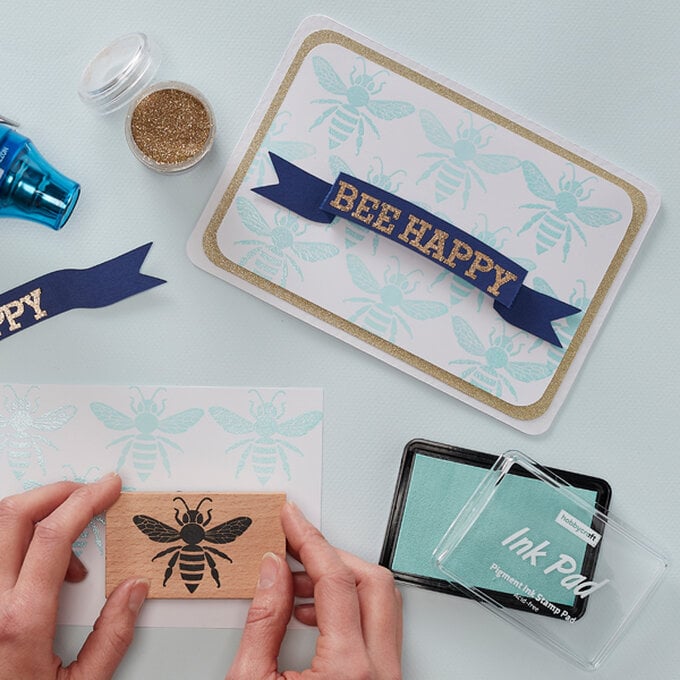
Heat embossing is the perfect way to add dimension and texture to just about any form of papercraft project, this could be in the form of a sentiment, a drawing, or a stamped image. Here we've used a mixture of clear and gold embossing powders, along with wooden stamps, to create an adorable everyday notelet perfect for any occasion.

You will need

Is $ 9.49

Quantity: 1

Subtotal

Is $ 9.49

Total:
Step-1
To make your own card blank fold an A4 sheet of white hammered card in half from along the long side. Trim to 19.5(W) x 13.5(H)cm, and round each of the corners with a craft punch.
Step-2
Trim a sheet of Champagne glitter card to 18.5(W) x 12.5(H)cm and once more round each of the corners. Set aside for later.
Step-3
Cut a panel of smooth white cardstock to 17.5(W) x 11.5(H)cm, and round each of the corners with a craft punch.
Step-4
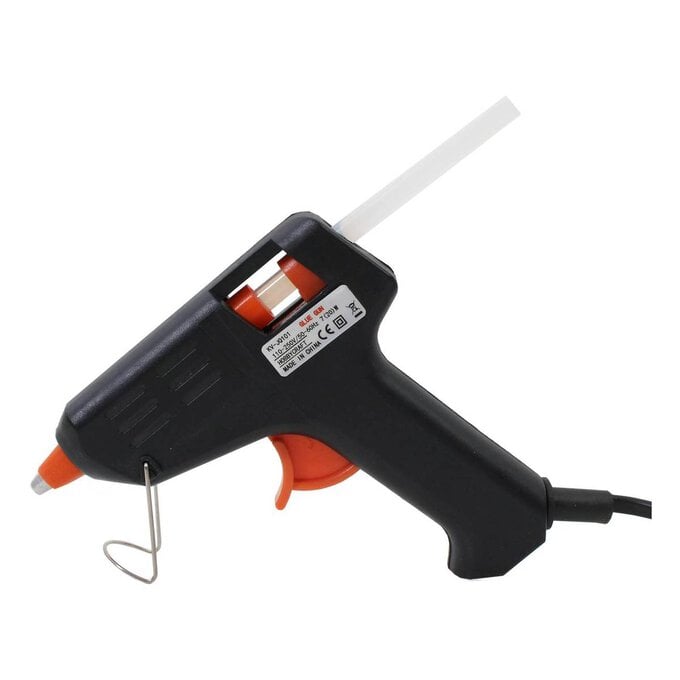
Start to stamp the first row of three bees, apply clear embossing powder to the bees on the right and left, leaving the middle bee without powder. Carefully tap off the excess powder so as not to get any powder on the middle bee, set the powder with a heat tool. Once set, start stamping the second row. Once the second row is complete, apply clear embossing powder to the middle bee and heat emboss. Repeat the same process for the third ad final row heat embossing the first and third bee.
Step-5
Take a sheet of dark blue cardstock from the Cape Cod pack and transfer the banner template onto it. Cut along the solid lines and score along the dash marks.
Step-6
Stamp the “BEE HAPPY” greeting using the wooden alphabet set and watermark ink. Apply tinsel gold powder,remove the excess, and then set with a heat tool, making sure to move the heat tool over the top of the greeting to avoid scorching the paper.
Step-7
To complete the card, secure the glitter card to the card blank made in step one with double-sided tape. Apply foam, cut to size, to the reverse of the heat embossed panel, then secure centrally on top of the glitter card. Adhere the banner with 3D foam pads at both ends, leaving the middle section raised.
bee-card.jpg?sw=680&q=85
  • bvseo_sdk, dw_cartridge, 18.2.0, p_sdk_3.2.0
  • CLOUD, getReviews, 6ms
  • reviews, product
  • bvseo-msg: Unsuccessful GET. status = 'ERROR', msg = 'Not Found.'; Unsuccessful GET. status = 'ERROR', msg = 'Not Found.';

Related Products

Top