How to Make a Macrame Star Wreath
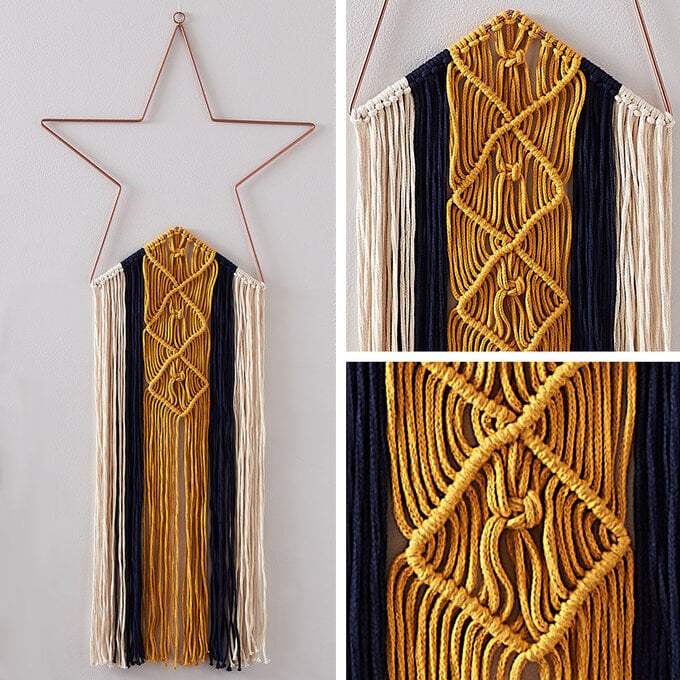
Want to give macrame a go? These macrame stars are the perfect project for a beginner and will look great in your home. Find out all about the basic knots on our Get Started in Macramé guide and you'll be all set to style your star wreath in no time.
This is a fantastic way to personalise festive décor in creative, colourful ways! Here are three fantastic ideas for transforming your stars – including stripes and rainbows.
You will need
Subtotal
Is $ 13.00
Subtotal
Is $ 13.00
Subtotal
Is $ 13.00
Subtotal
Is $ 13.00
How to make
You will also need:
*Scissors
*Other macrame yarn colours (for the rainbow design)
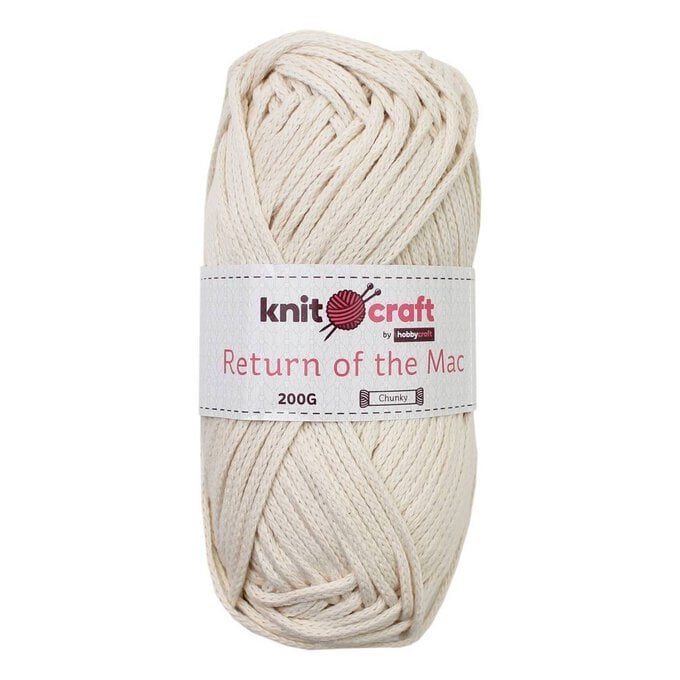
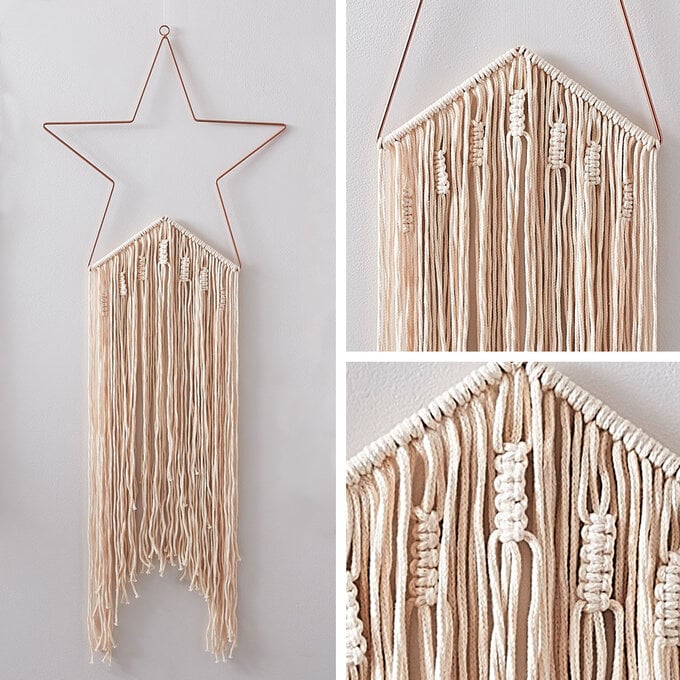
1. Begin by cutting 44 lengths of Ecru yarn at 1.6m each.
2. Fold each length of string in half and attach onto the bottom section of the star using the Larks head knot.
3. Using strings 7 to 10 create a column of 5 square knots starting approx. 5cm from larks head knot.
4. Repeat for strings 19 to 22, 31 to 34, 43 to 46, 55 to 58, 67 to 70, 79 to 82.
5. Keep the tassels long but cut lengths to match the shape of the star.
1. Cut the following lengths:
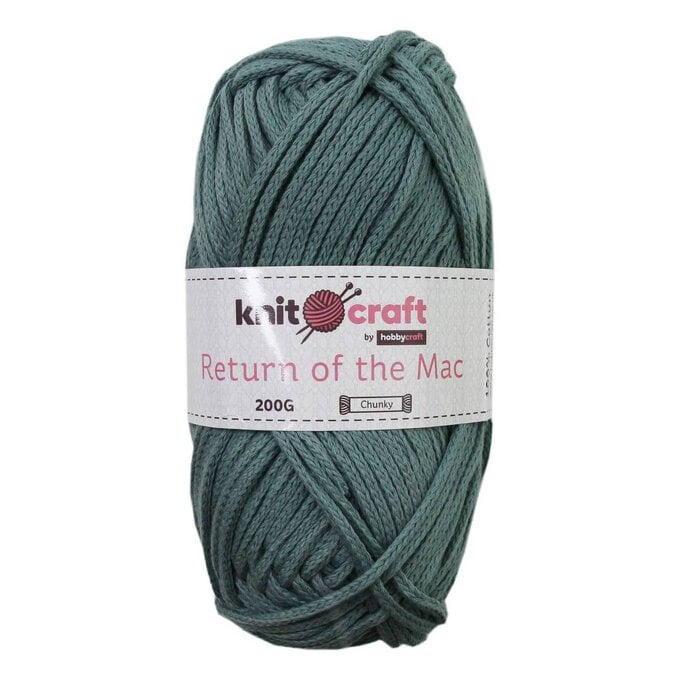
Sage – 8x 2m
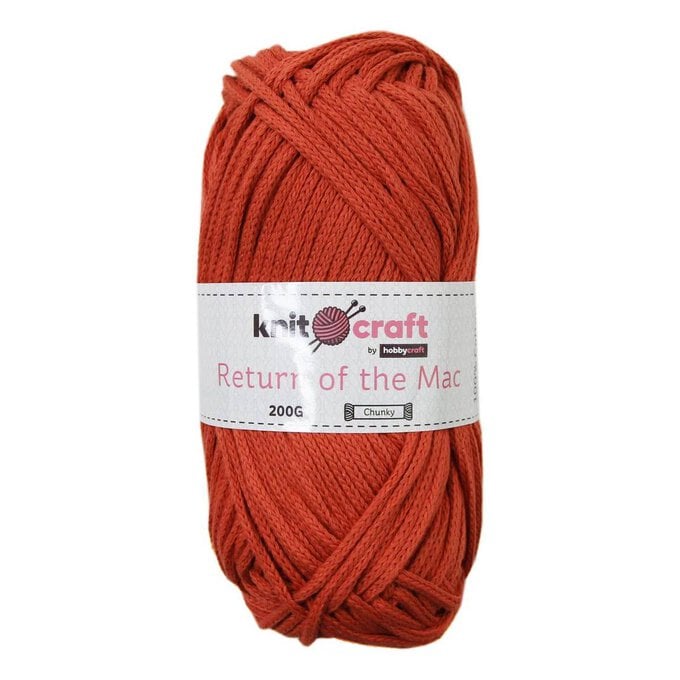
Terracotta – 8x 2m
Linen – 8x 2m
Mustard – 8x 2m
Ecru – 6x 2m
2. Attach lengths onto bottom of star in the following order using the Larks head knot:
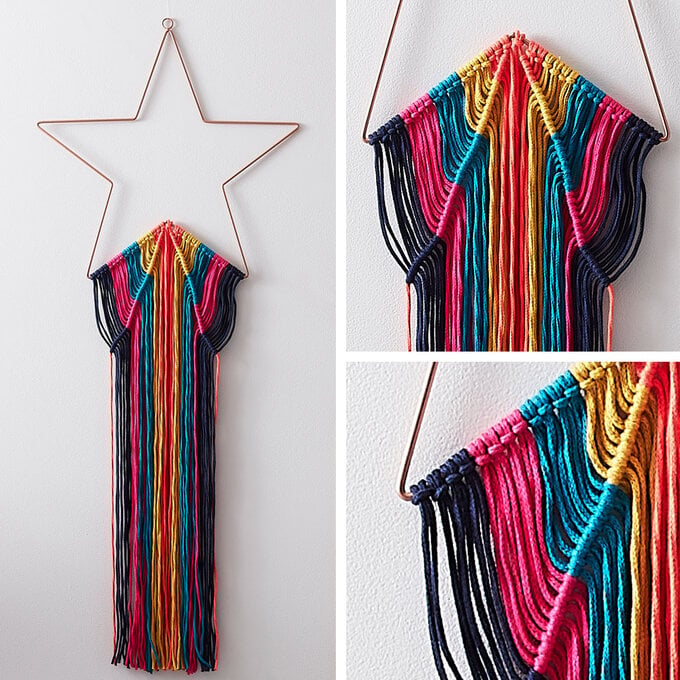
4x navy, 4 x pink, 4 x turquoise, 4 x mustard, 6 x shrimp, 4 x mustard, 4 x turquoise, 4 x pink, 4x navy.
Make sure there are equal amounts of lengths on each bottom part of star.
3. Using centre string on left side as a guide, work half hitch knots in a diagonal line.
4. Repeat on other side making sure the guides match on each side.
5. Cut strings to desired length.
1. Cut the following lengths:
Ecru – 16x 2m
Sage – 12x 2m
Mustard – 12x 3m
2. Attach lengths onto bottom of star in the following order using the Larks Head knot:
8 x ecru, 6 x navy, 12 x mustard, 6 x navy, 8 x ecru.
3. Set the ecru and navy strings aside as you will now just be working with the mustard strings.
4. Using centre 8 strings create a square knot approx 2cm down from the copper star.
5. Using string 1 as a guide, create a diagonal line of half hitch knots using strings 2 to 12.
6. Take the last string as a guide and work a diagonal line of half hitch knots using all strings, making sure the knots join together in the centre to make a 'V' shape. (this is the bottom of the first diamond).
7. Take the original guide (string 1) continue the line of half hitch knots to match the other side.
8. Create a square knot using centre 8 strings, making sure it is in line with the ends of the half hitch knots.
9. Continue working diagonal lines of half hitch knots to create 2.5 diamonds in total.
10. Cut all strings level across the bottom at your desired length.
