How to Make a Stencilled New Home Card
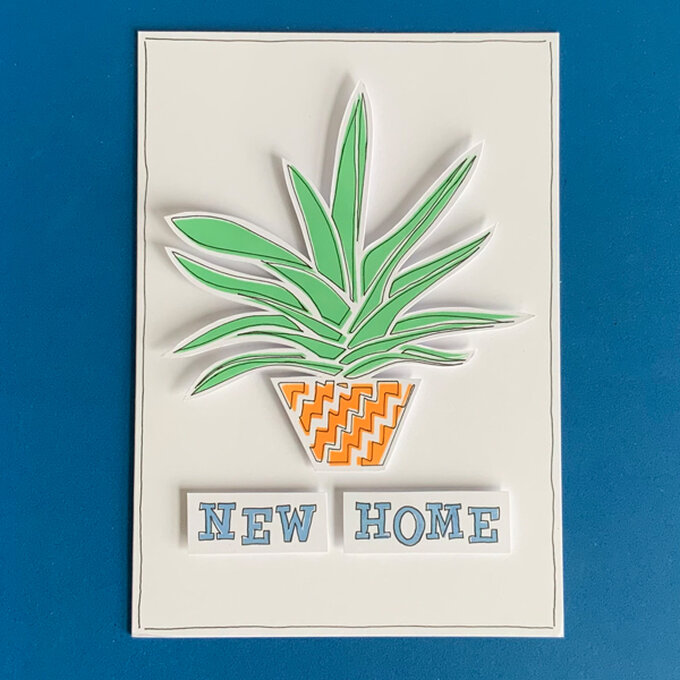
What better way to wish someone a happy moving in day than with a personalised card!
Using Hobbycraft's new stencils, you can create a touching gift that is sure to impress.
We chose a cool plant design in this project, but there are plenty of patterns and shapes that you can add to your card to give it that personal touch.
Project and instructions by Sue Smith
You will need
Subtotal
Is $ 9.49
Out of stock
Subtotal
Is $ 7.49
Subtotal
Is $ 20.00
How to make
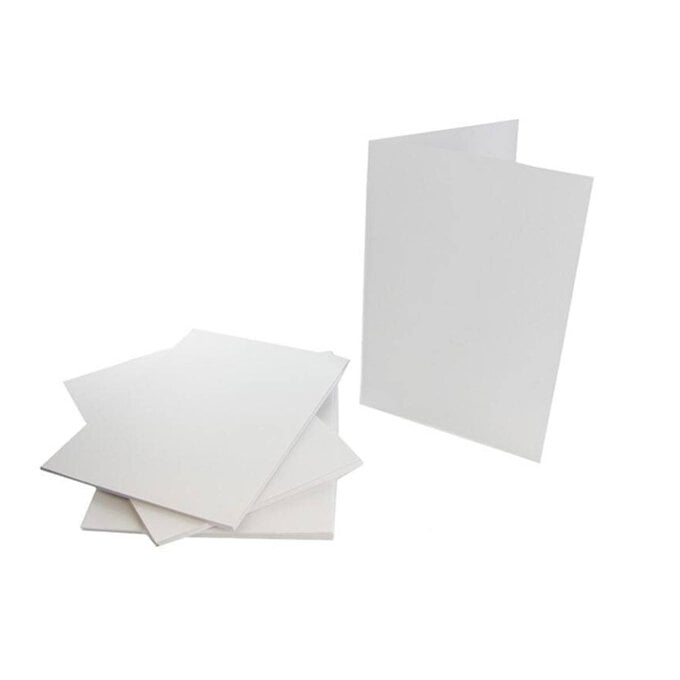
* White Cards and Envelopes A5 10 Pack
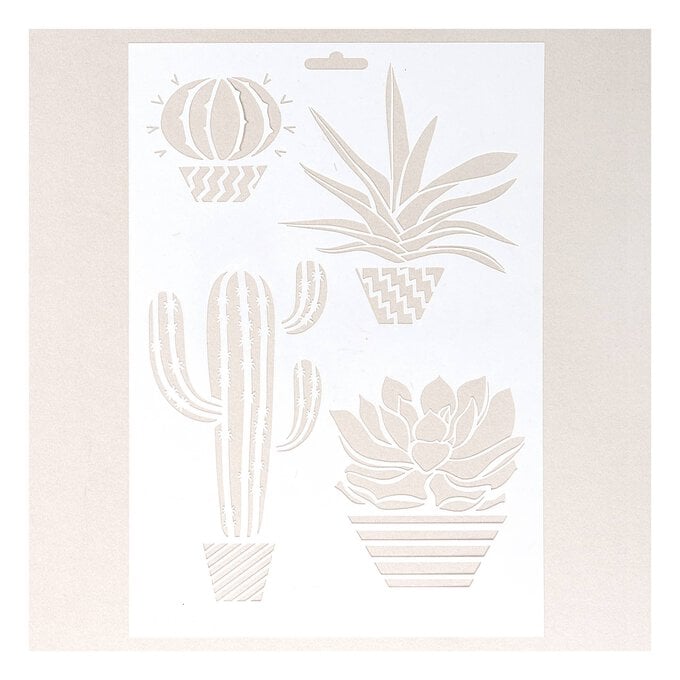
* Mixed Media Stencil (House Plants)
* Hobbycraft Orange Ink Pad
* Hobbycraft Jade Ink Pad
* Hobbycraft Pale Blue Ink Pad
* Hobbycraft Bold Wooden Alphabet Stamp Set
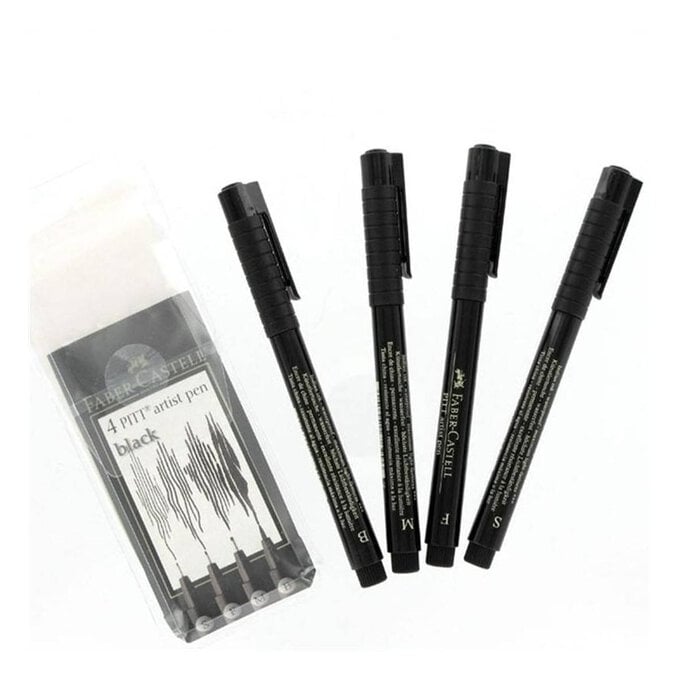
* Faber-Castell PITT Artists’ Black Fine Pen Set
* Adhesive Foam Pads 7mm x 7mm
* Spare White Card
* Ink Blender and Sponge Pads
* Craft Tape
* Scissors / Craft Knife

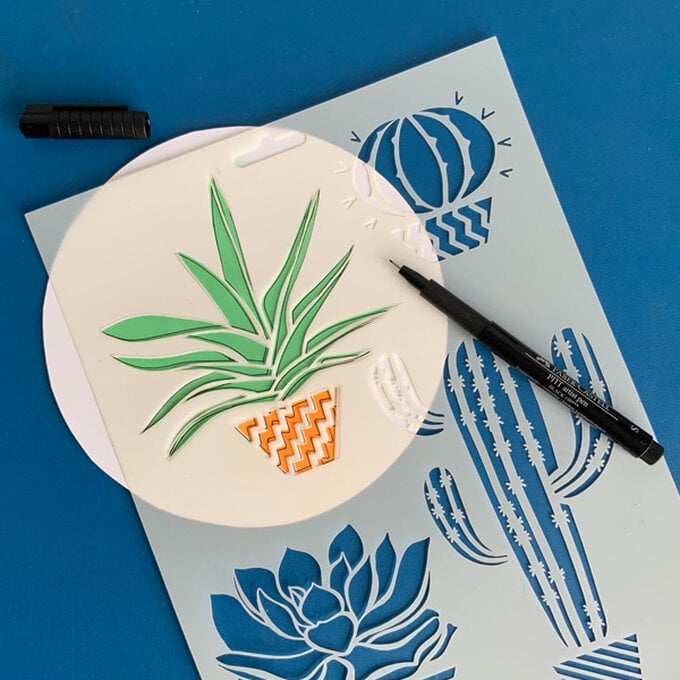
Start by positioning the house plant stencil onto a piece of spare white card.
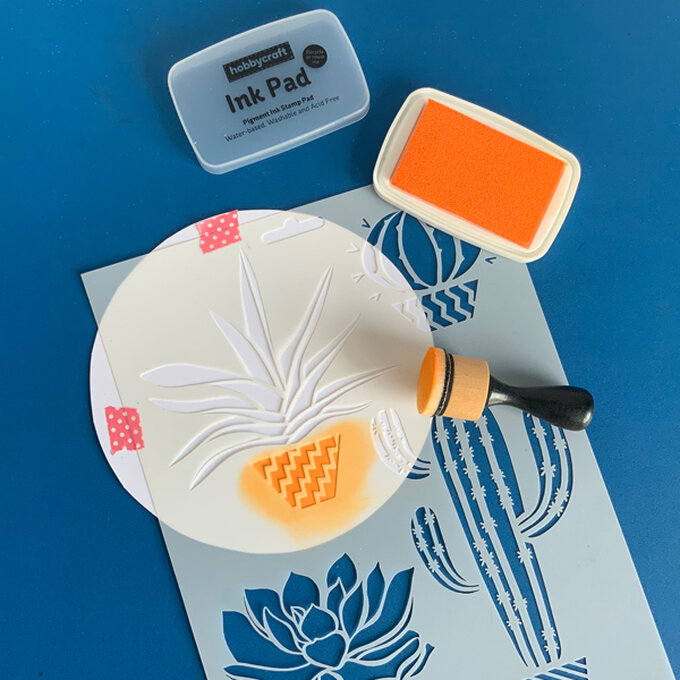
Use the orange ink pad to colour the plant pot using a blending tool and sponge pad.
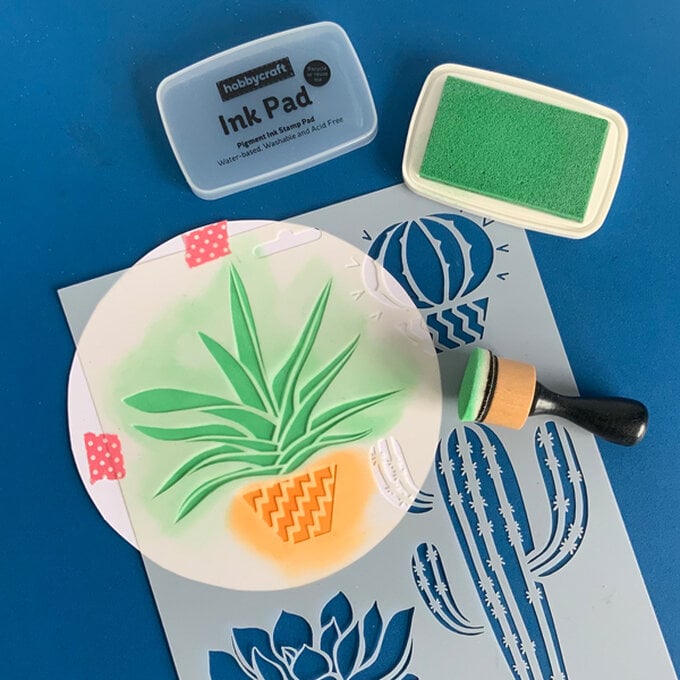
Next, use the jade coloured ink to apply colour over all the leaves of the house plant stencil.
Allow to dry, and clean the stencil well.
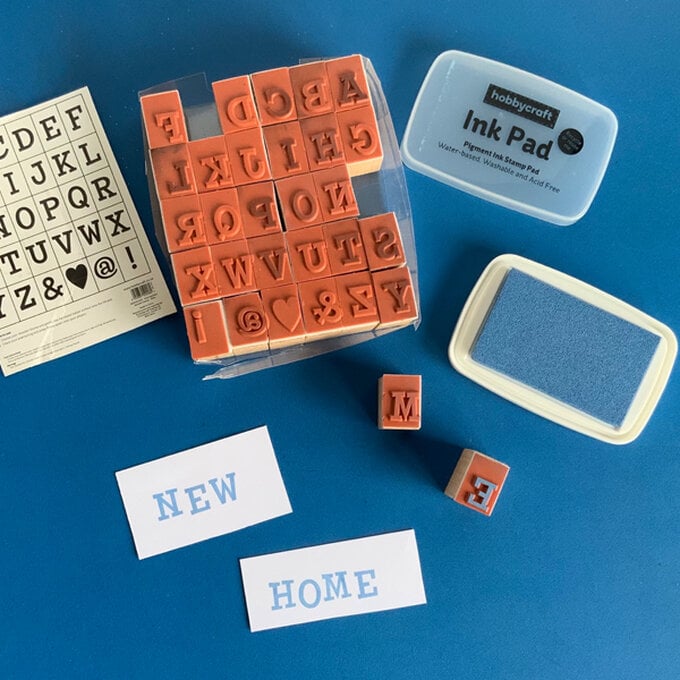
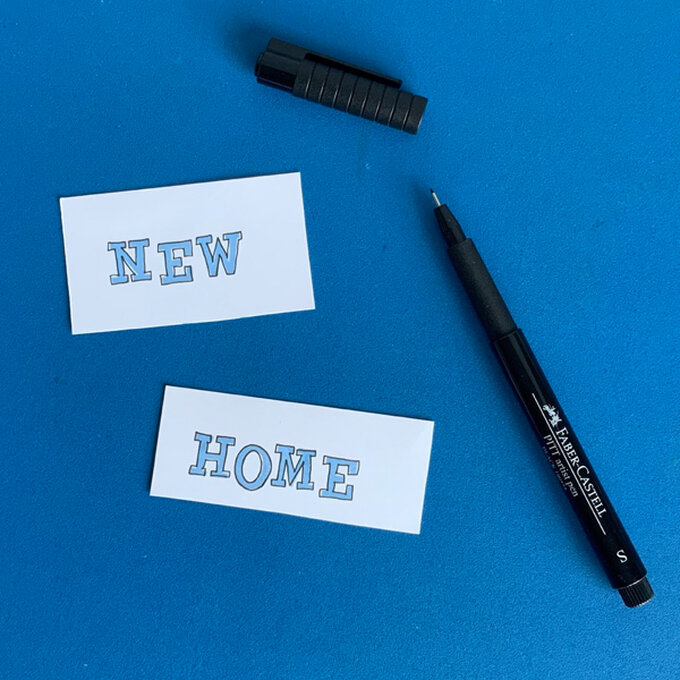
Use the alphabet stamps with pale blue ink to stamp a ‘New Home’ caption onto some spare white card.
Allow it to dry.
Next, re-position the house plant stencil slightly offset to the inked areas. Use the S (small) black PITT artist pen to outline the stencil areas.
Re-position the stencil for each separate stencil shape, and leaf.
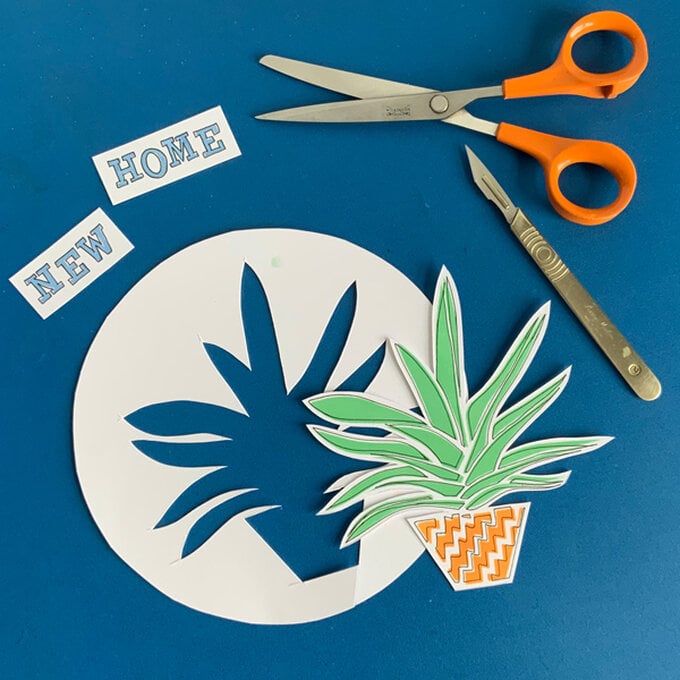
Cut out the plant design leaving a thin white border around the edge of your plant.
Then, trim the caption words into neat banners.
Hand draw a black border onto the front of the card blank.
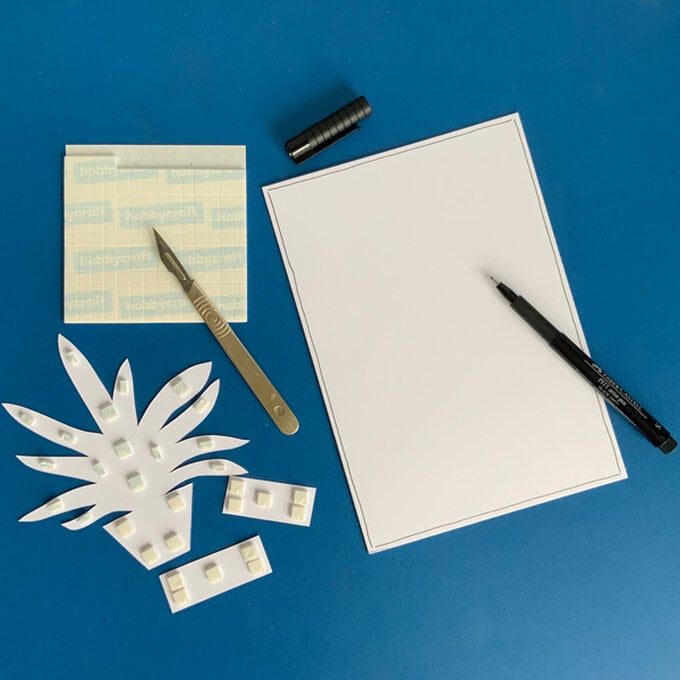
Add foam pads to the reverse of the plant design and caption banners.
