How to Make Punch Needle Christmas Decorations
Create some modern punch needle Christmas decorations this year using this increasingly popular craft. The designs include 'joy', mistletoe and a fluffy snowman, using different punch needle stitches that are great for helping beginners master the technique.
The templates can be reduced or enlarged, so why not experiment with different sizes?
Project and instructions by @CarolineJanesCreative
You will need
Subtotal
Is $ 9.49
Subtotal
Is $ 26.00
Subtotal
Is $ 26.00
Subtotal
Is $ 1.49
Subtotal
Is $ 1.49
Subtotal
Is $ 3.49
Out of stock
Subtotal
Is $ 6.49
Subtotal
Is $ 8.49
Subtotal
Is $ 8.49
Out of stock
Subtotal
Is $ 7.49
How to make
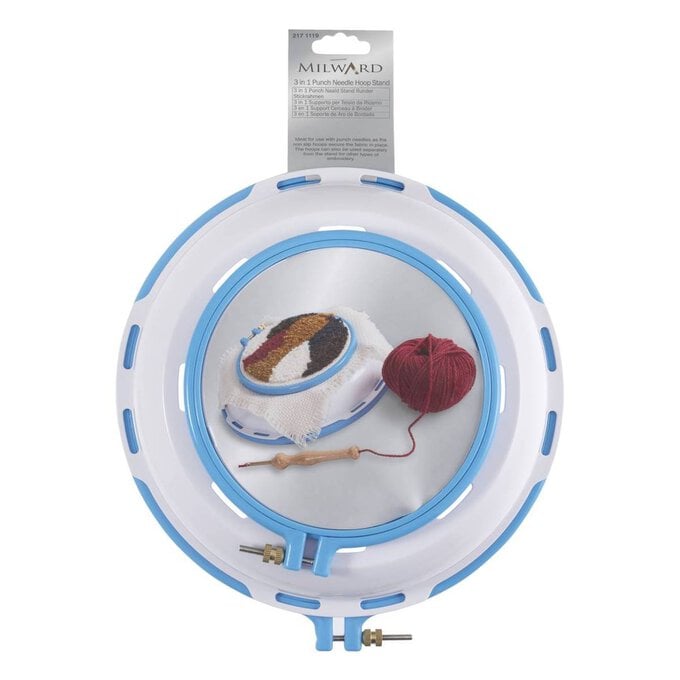
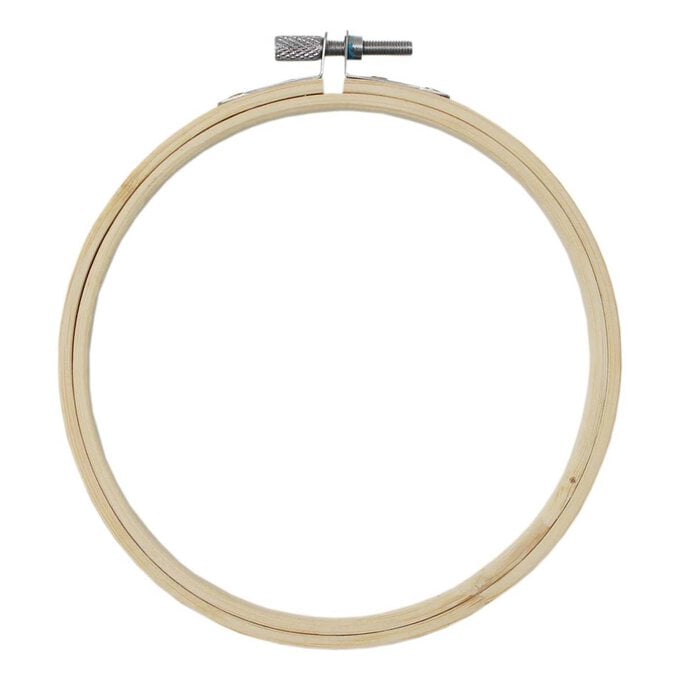
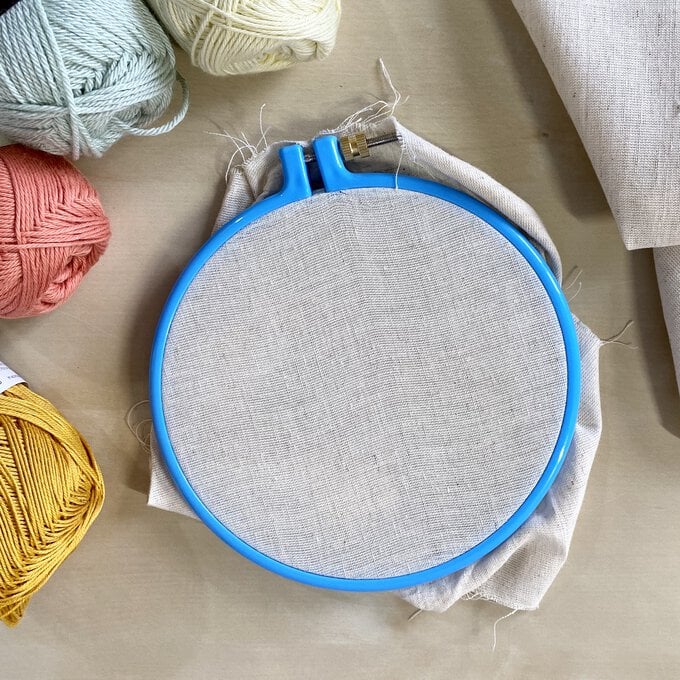
Download the templates and press the linen from the fat quarter. Stretch a cut section of the fabric in the 6” part of the gripper hoop, ensuring it is 'drum tight'.
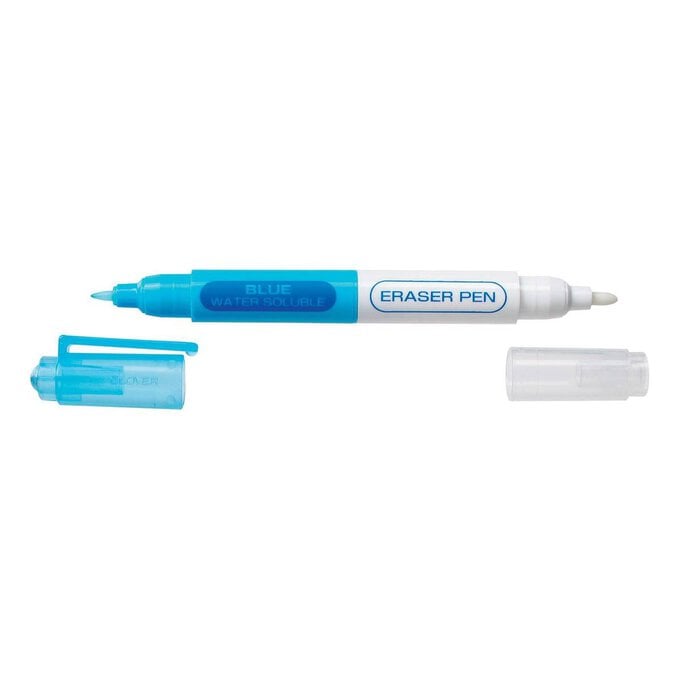
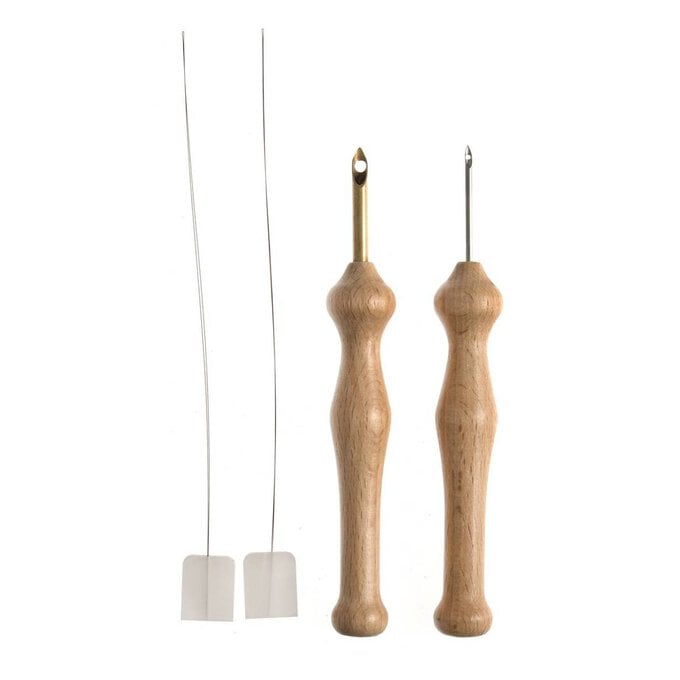
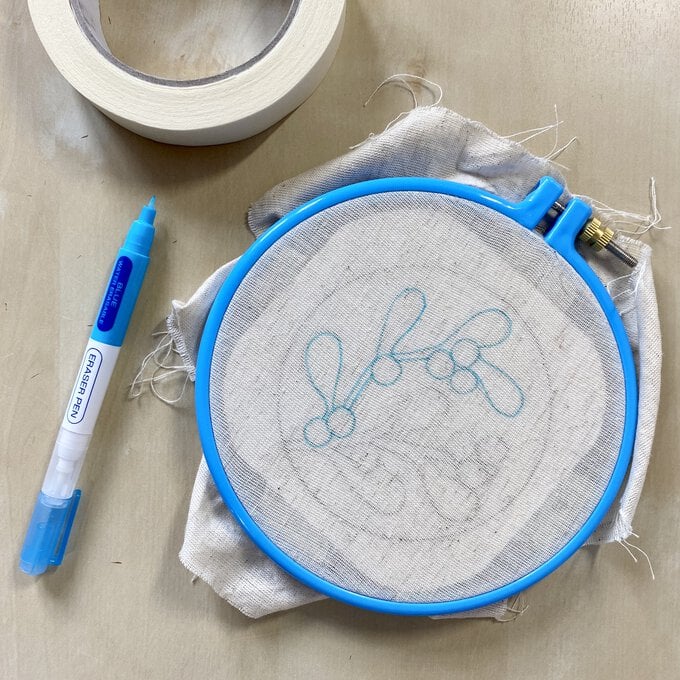
Attach the mistletoe template to the back of the fabric using masking tape. Place the frame in front of a light source such as a window or a light box. Trace the design using the erasable fabric marker. Thread the fine needle using the threader.
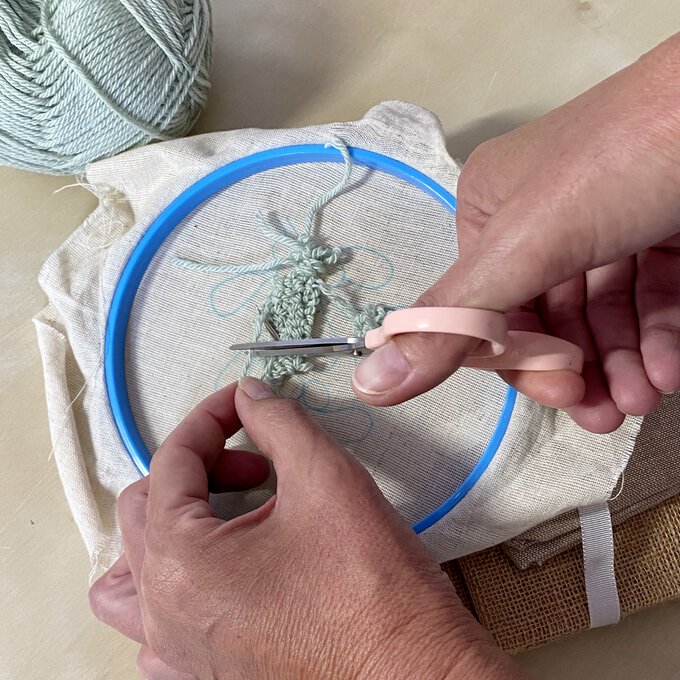
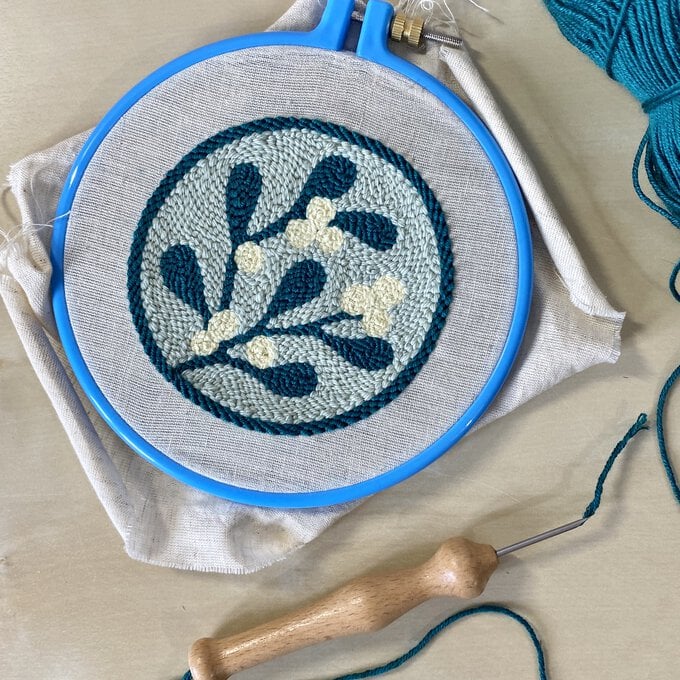
For the mistletoe, you are punching from the front, therefore creating flat stitches. To create a neat finish, you need to ensure all yarn tails are on the back. When you push your needle through for the first stitch, gently pull the yarn tail through to the back. When you complete a section and need to change colour, gently pinch, then snip the yarn and pull your needle back through to the front.
Begin by punching the green background, followed by the dark green leaves and finish with the berries. Push the needle all the way into the fabric, bring it up and out slightly, then glide it across to create a short stitch, before pushing the needle back in. Repeat this process to fill the spaces. To change direction, keep the needle in the fabric and turn it in the direction you wish to carry on punching. Ensure your stitches are consistent, therefore creating a neat finish.
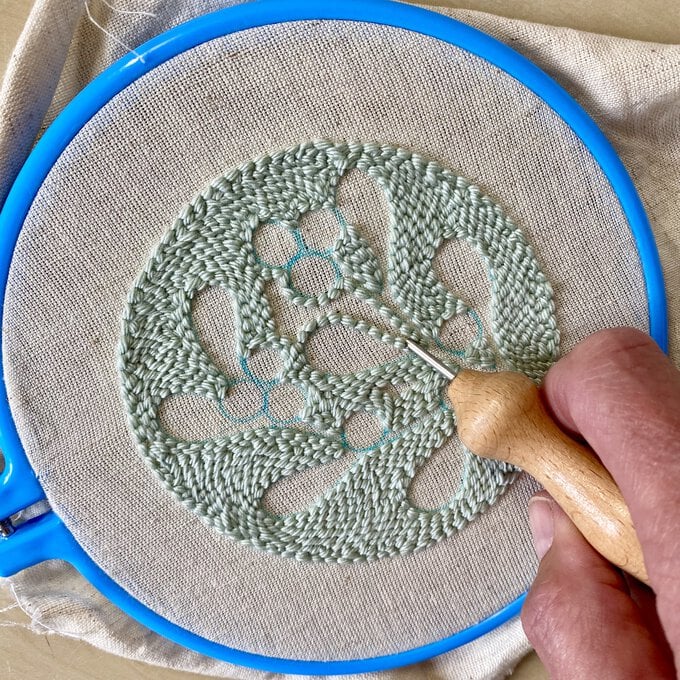
To create a border, punch a further three rows around the circle in dark green.
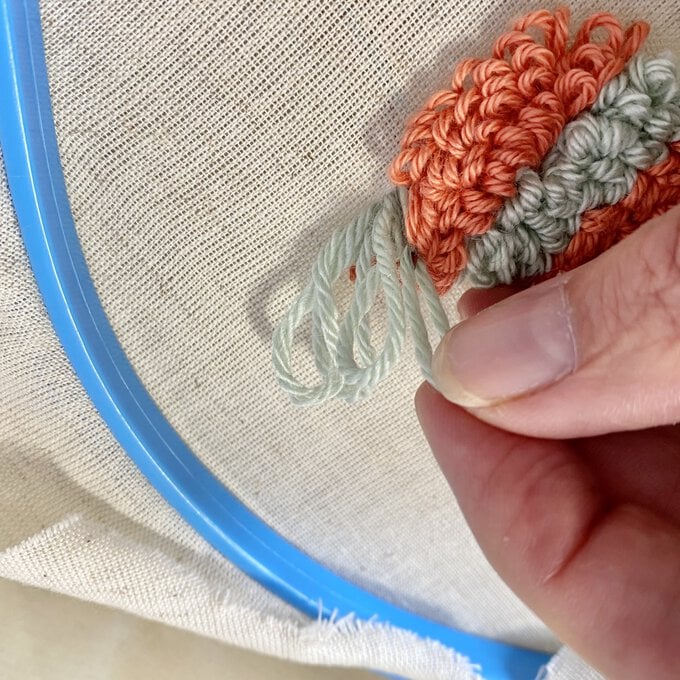
For the snowman, stretch a cut section of your fabric in the 9” hoop and trace the template as in Step 2. This time, you are punching from the back, therefore creating looped stitches on the front. To ensure all yarn tails are kept on the back, when you move to a new section or colour, hold the yarn on the loop side, gradually pull the needle out and cut a short tail. Begin by punching the hat, then the nose, the head, scarf, buttons and the rest of the body. Once complete, add the eyes and mouth with a couple of embroidery stitches.
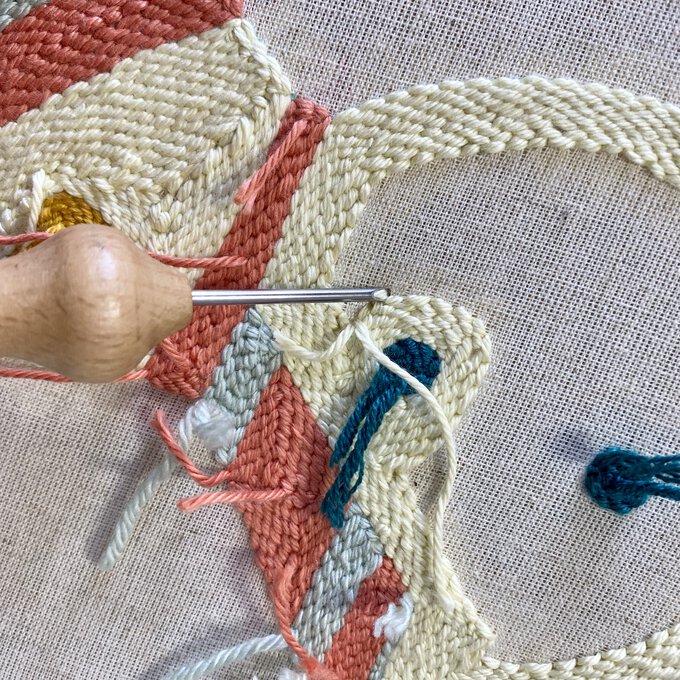
To create the fringe on the snowman's scarf, push your needle through as you would with an ordinary stitch, but pinch the yarn to keep the length long whilst bringing your needle back through for the next stitch. Repeat for each stitch of the fringe. From the front, trim the long stitches to a consistent length. Neaten any uneven loops between colours by gently separating them with the tip of your empty needle.
For both the mistletoe and the snowman, remove the fabric from the hoops. Trim the foundation fabric to 1-2 inches. Press the reverse side of each punched section using a medium heat iron and a damp cloth. Then, press the foundation fabric towards the centre on the back of each decoration. Using the original templates, cut the back sections out of the felt. Attach a length of ribbon by either stitching or gluing it in place.
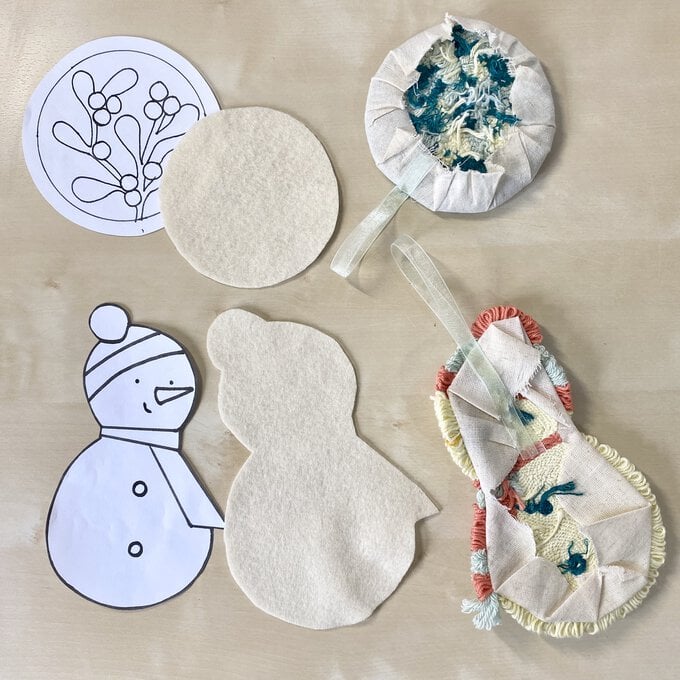
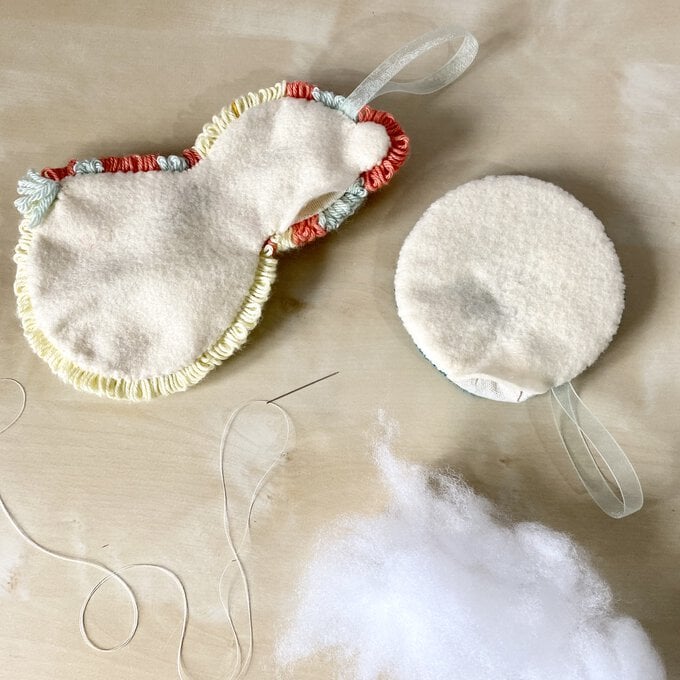
Hand stitch the backing fabric onto the mistletoe and snowman, leaving a small gap. Stuff each decoration and stitch the gap.
For the 'joy' decoration, follow Steps 1 and 2. As you will be creating both flat and tufted stitches, ensure you can see the design from both sides. Begin by punching dark green flat stitches from the front into the small sections in the middle of the letters. Ensure your yarn tails are on the back as in Step 3.
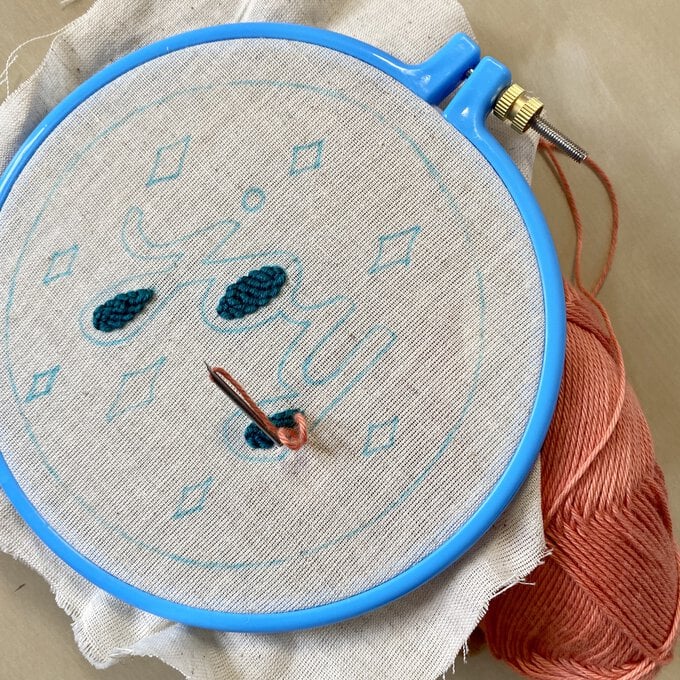
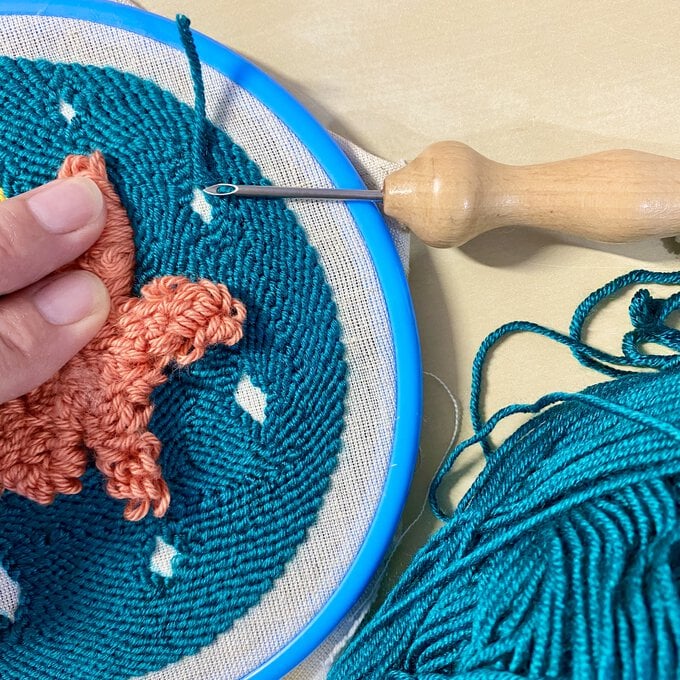
Turn your hoop over and punch the wording, therefore creating looped stitches on the front. Try not to catch the existing punched green stitches.
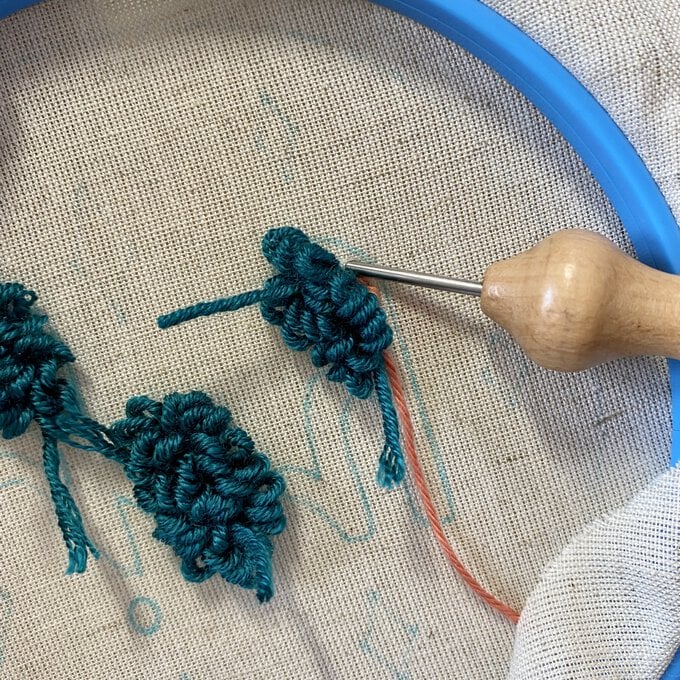
Once the word is complete it will be difficult to read, but this will be trimmed later.
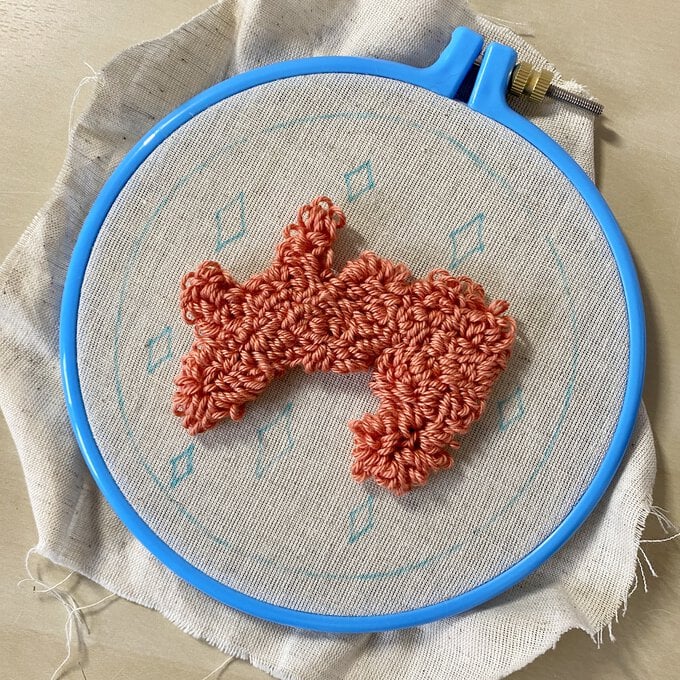
Turn your hoop back to the front side. Gently pull back the looped stitches with your fingers and continue punching the dark green flat stitches, firstly around the lettering and then the rest of the background. Punch the stars and an optional border of three rows, as with the mistletoe.
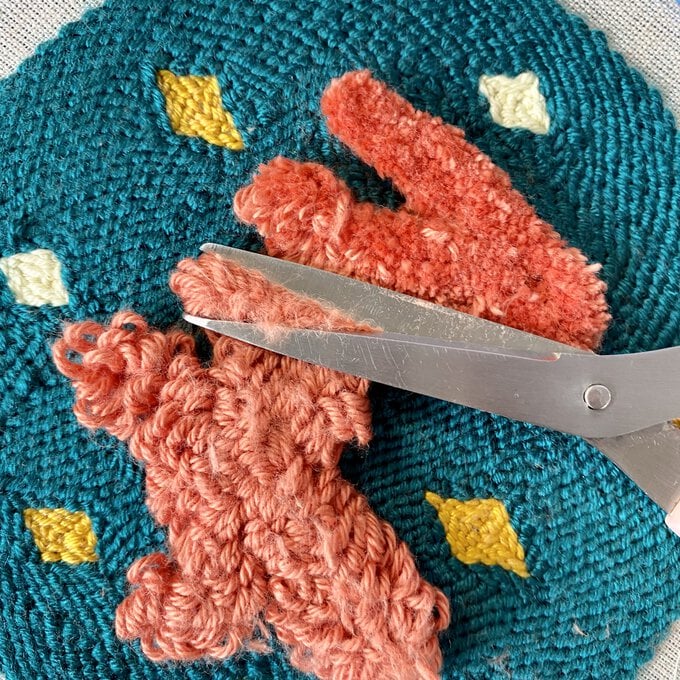
Gradually trim the looped stitches of the lettering to an even height, until the word is clearly legible.
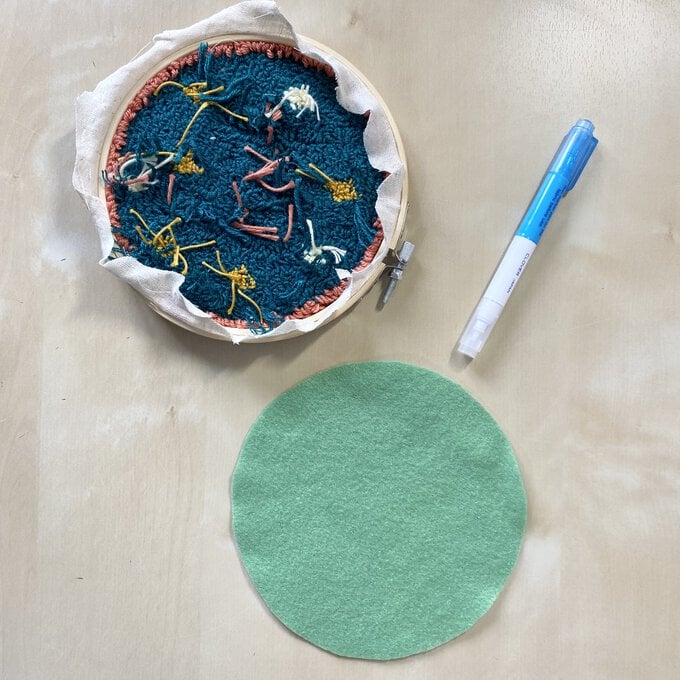
Using the inside ring of the embroidery hoop, draw and cut a circle from the green felt for the backing. Mount the finished decoration in the embroidery hoop. Cut any long ends on the back and trim the foundation fabric. Glue or stitch the felt to the back and add a piece of ribbon around the screw of the hoop.
