How to Sew a Hanging Wall Organiser
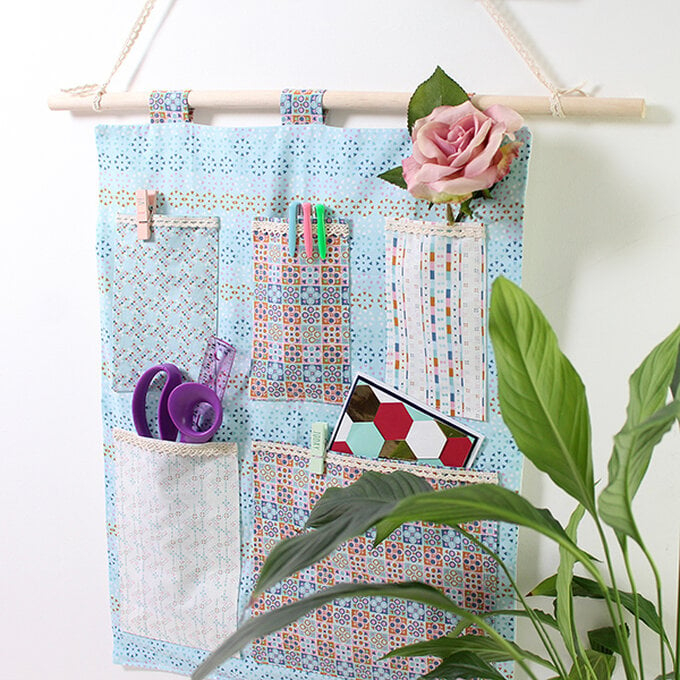
Learn how to make this fantastically practical hanging wall organiser, designed and created by our Haberdashery expert, Kathi! Perfect for organising those little bits and pieces in your craft room!
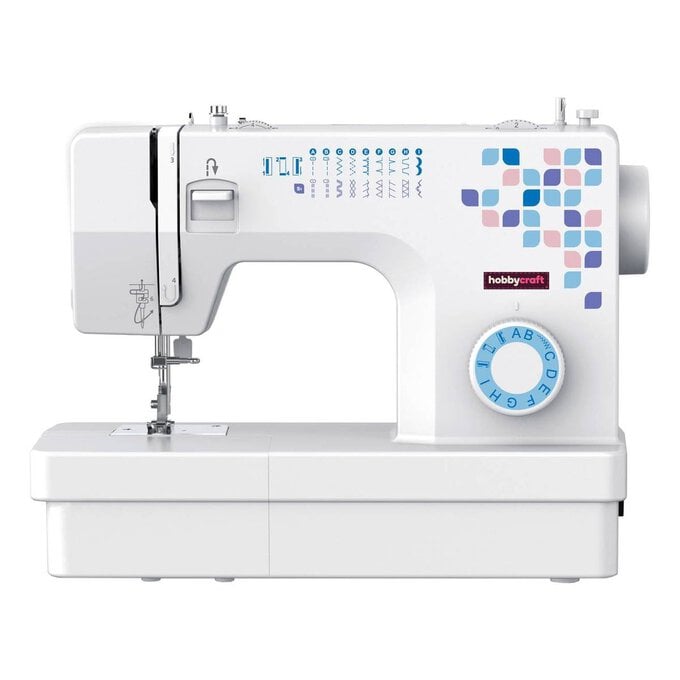
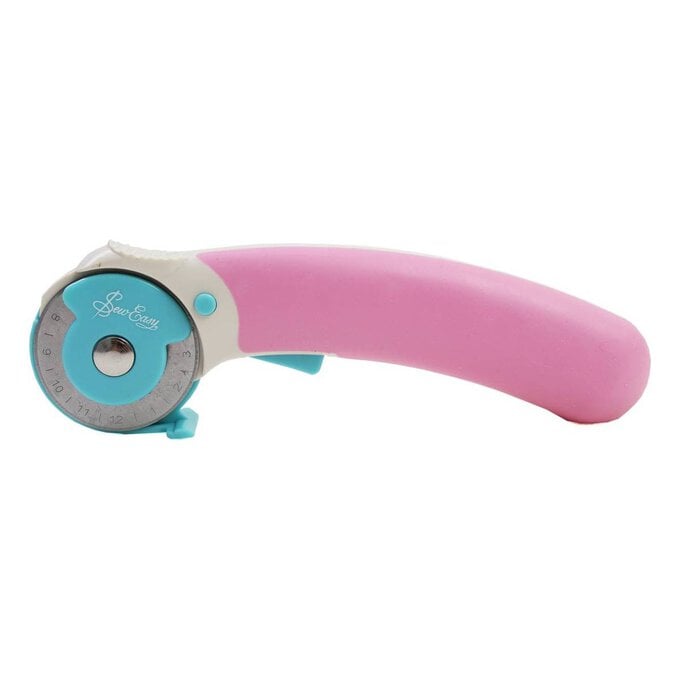
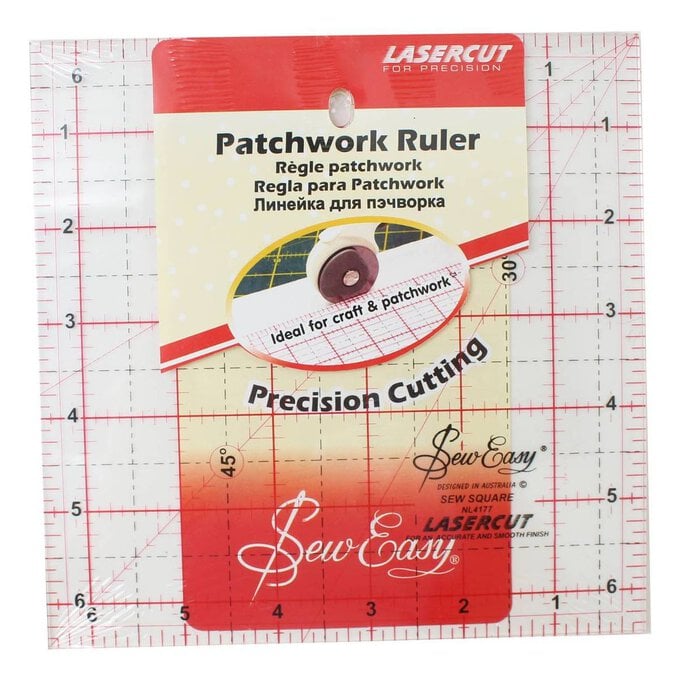
You will need
Subtotal
Is $ 131.00
Subtotal
Is $ 23.00
Subtotal
Is $ 27.00
Subtotal
Is $ 33.00
Subtotal
Is $ 23.00
Subtotal
Is $ 7.49
Subtotal
Is $ 7.49
How to make
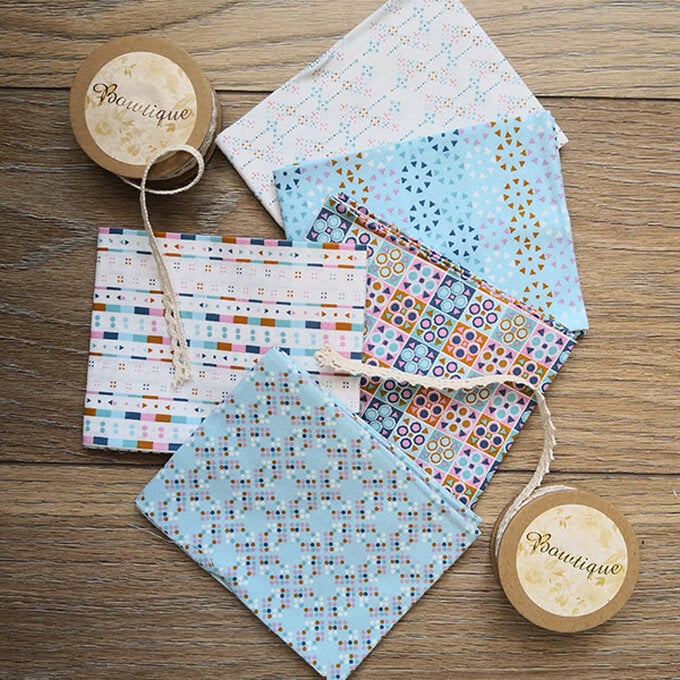
Wash and iron your fat quarter pack and white cotton fabric. Pick which design you would like to use for the background.
Measure and cut a piece of white cotton fabric to match the size of the fat quarter you have picked for the background.
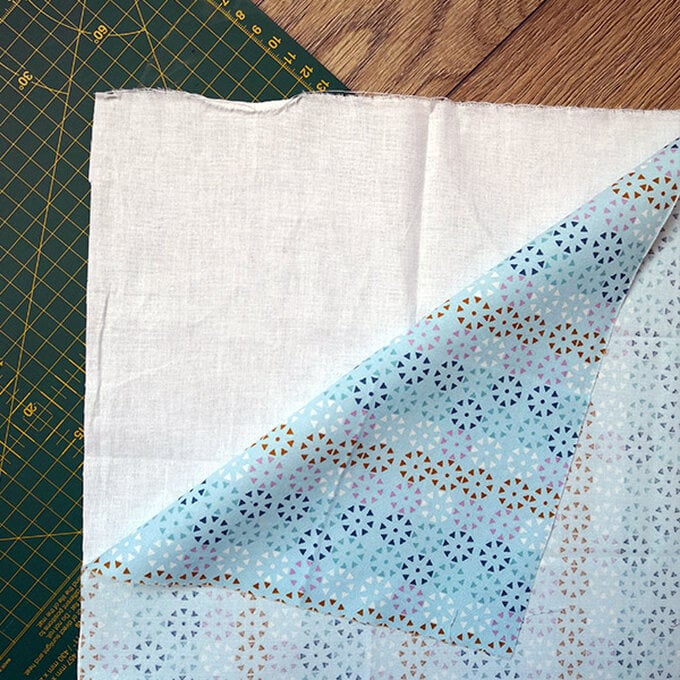
Take the fat quarters you would like to make your pockets out of. Cut the following from your selection of fabrics:
Bottom right pocket – 26cm x 30cm
Bottom left pocket – 26cm x 20cm
Top pockets x 3 – 30cm x 14cm
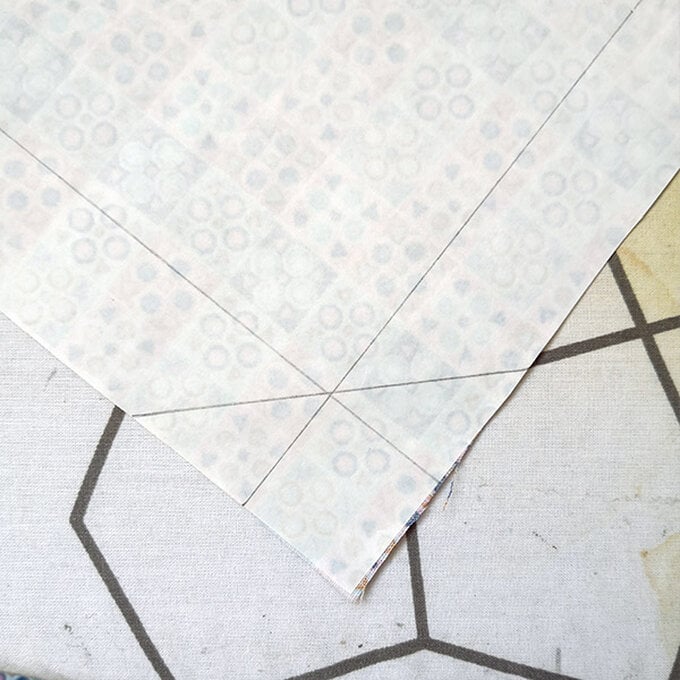
Iron on a piece of HeatNBond to each fabric rectangle. Before peeling off the paper backing mark on your seam allowance, 1cm from the top and 3cm on each of the other sides with a diagonal across the two bottom corners. (see image for a guide).
Fold and press these lines into place, unfold and peel off the backing.
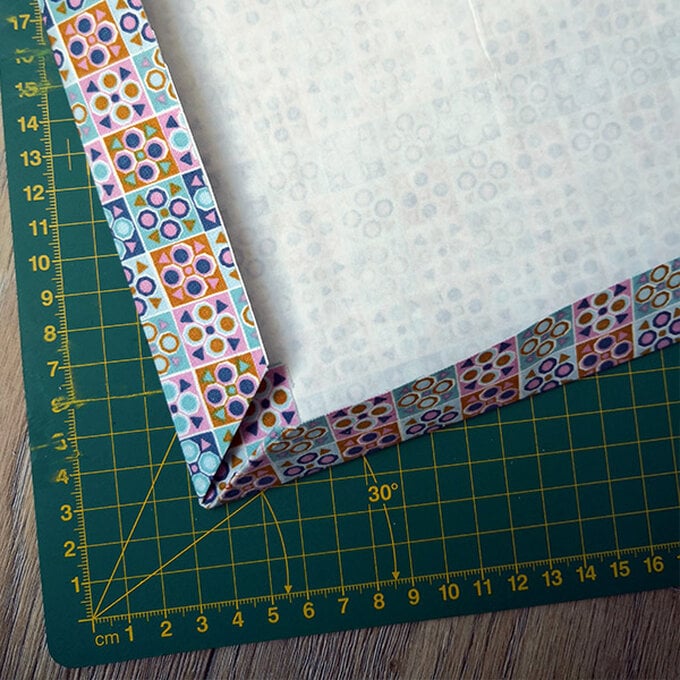
Stick down 1cm from the top and sew on a piece of ribbon. Repeat for all 5 pockets.
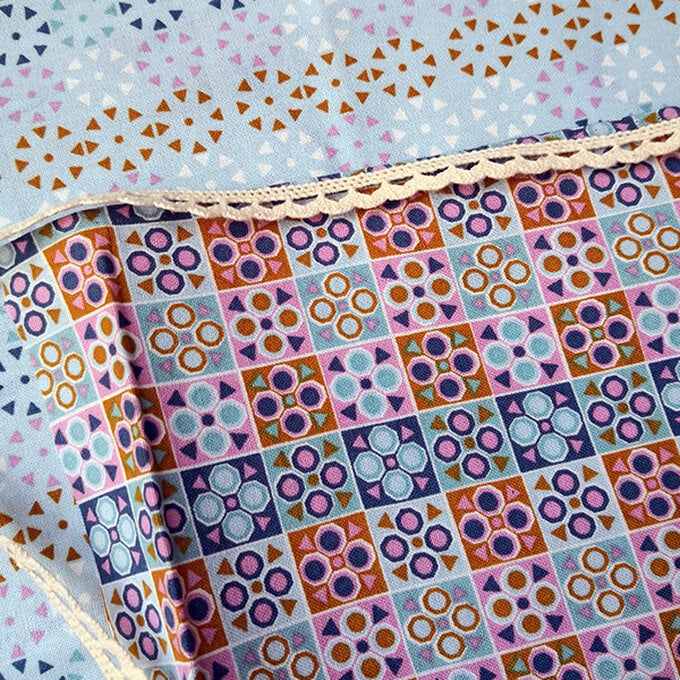
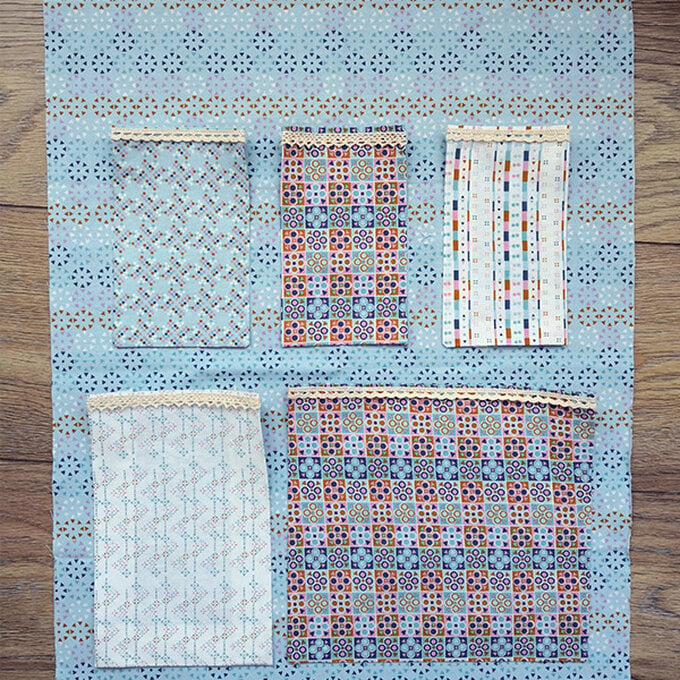
Place the pockets onto the background fabric, making sure they are an equal distance apart.
Stitch each of the pockets down.
Take the piece of white cotton and interface the wrong side of the fabric.
Next, create the three hanging tabs. Cut three 10 x 6cm rectangles from one of the fat quarters.
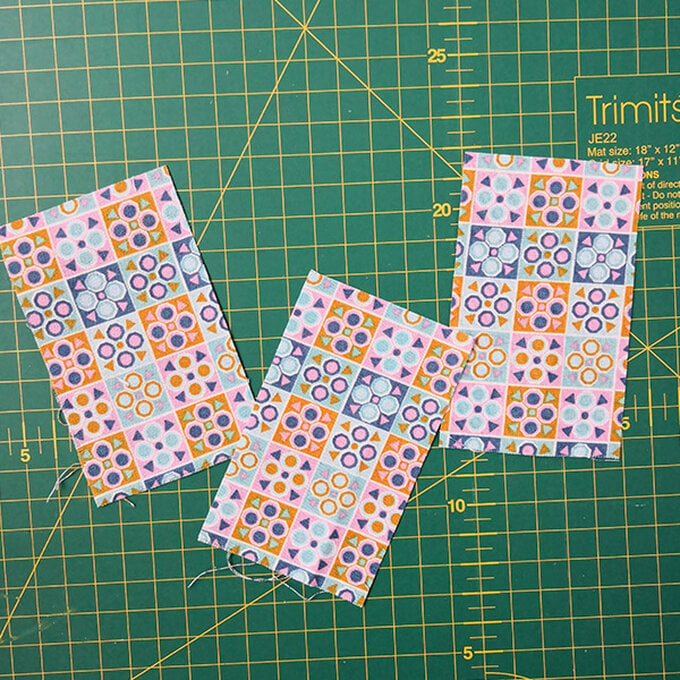
Fold over 1cm on each of the long edges and top stitch
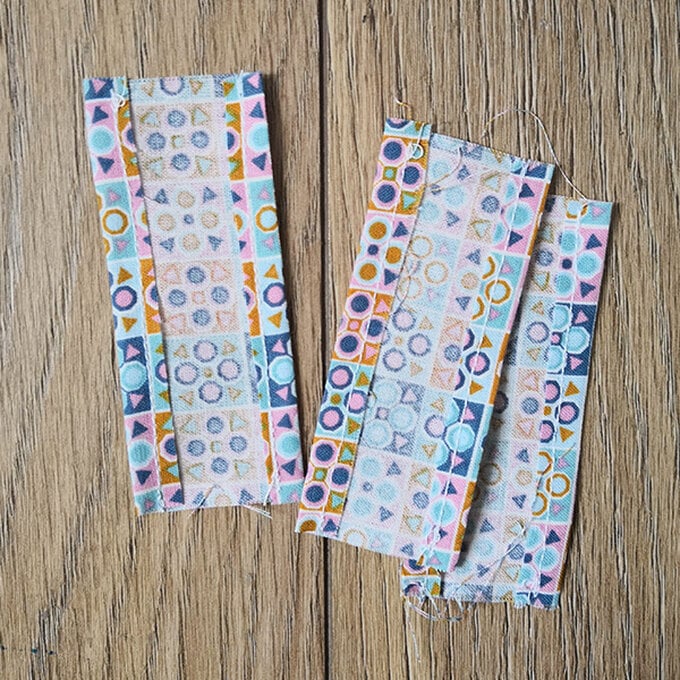
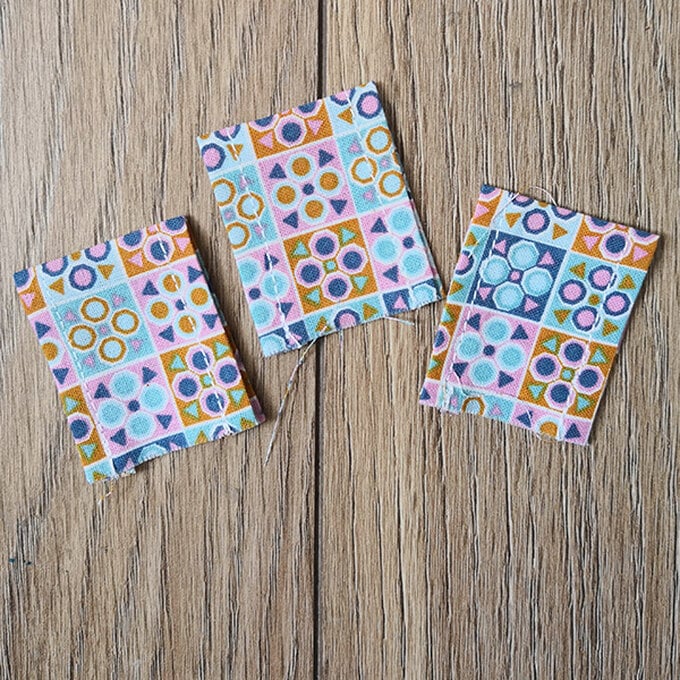
Fold the tabs in half and press.
Place the backing fabric (white interfaced cotton) and the front right sides together.
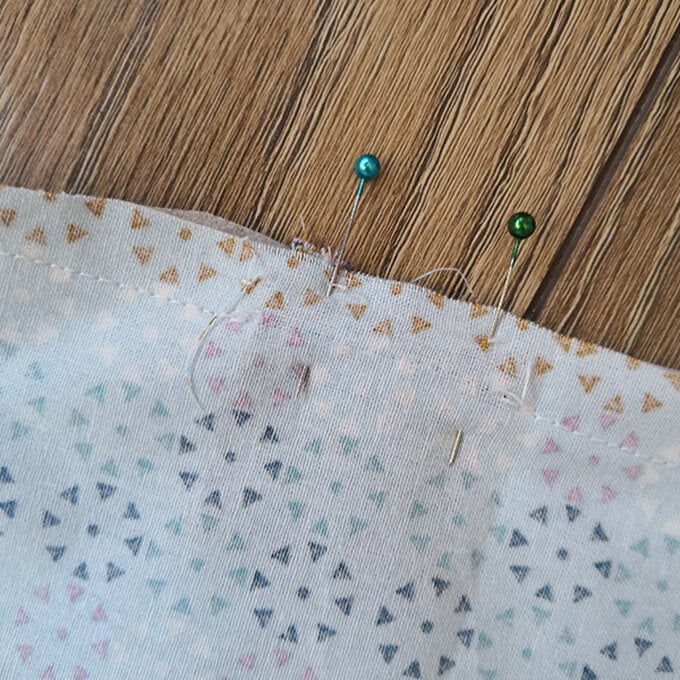
Pin the top of the two pieces together, sandwiching in the hanging tabs.
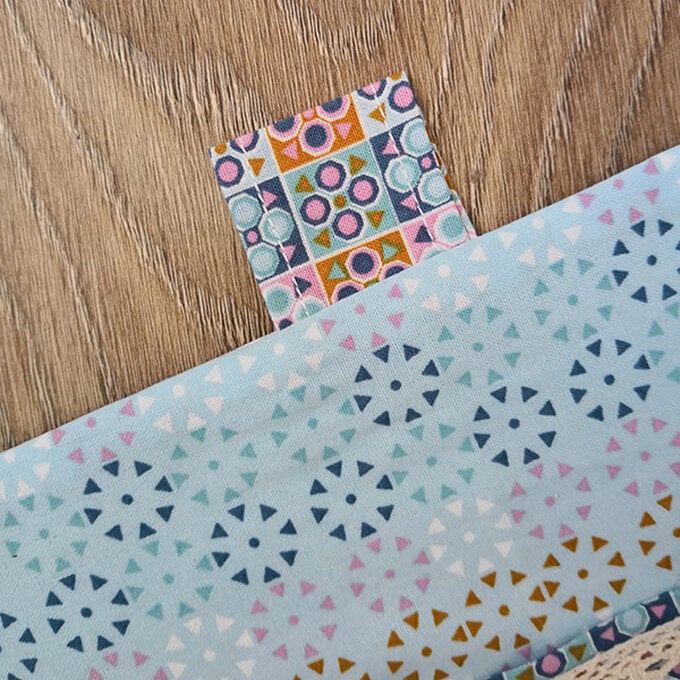
Stitch around the piece, leaving a gap at the bottom to be able to turn through. Snip the corners and turn through, using a chopstick to make the corners point.
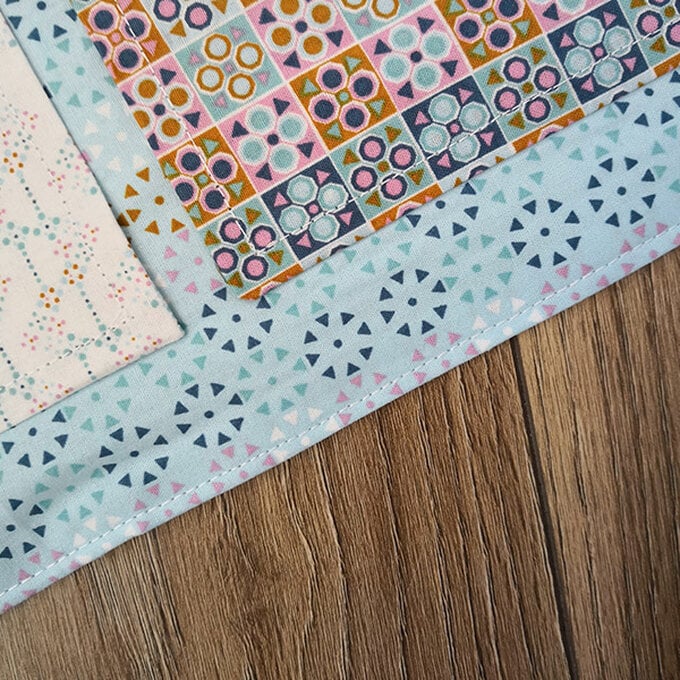
Top stitch across the bottom of the wall hanging, closing up the gap you left.
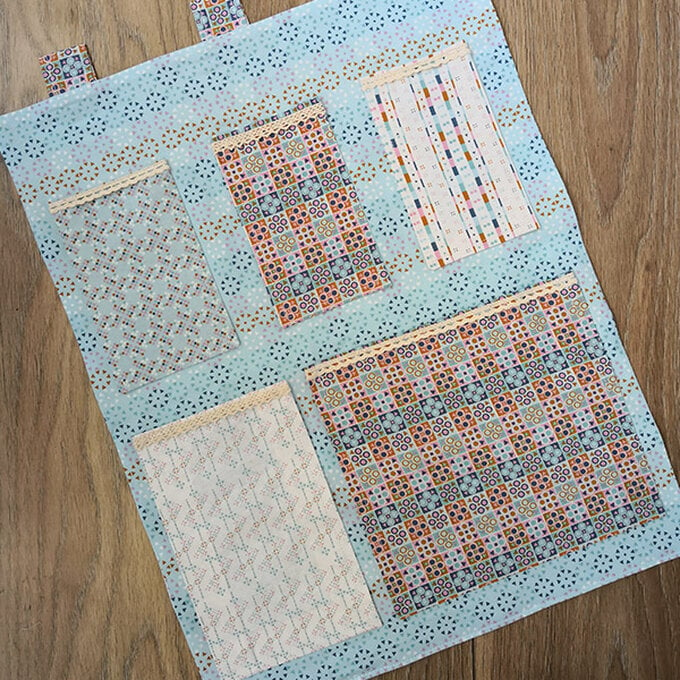
Cut your dowel rod to the length of the wall hanging and thread through.
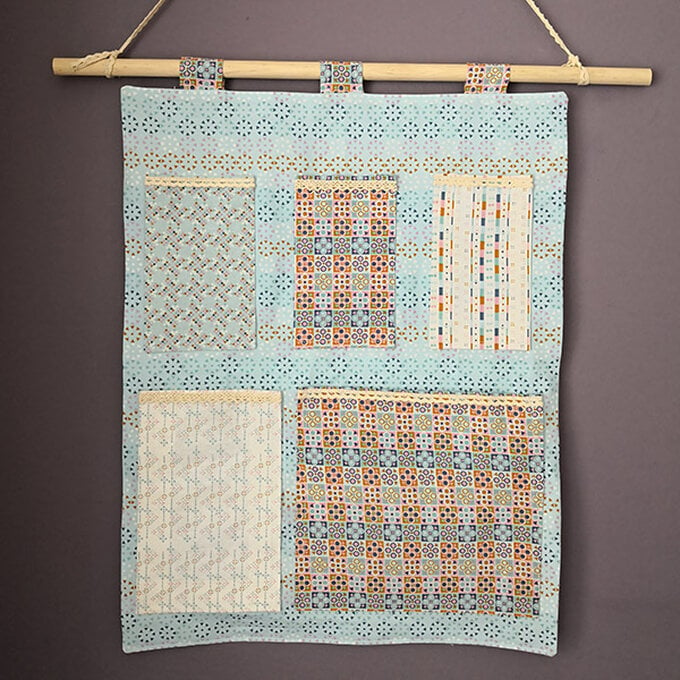
Cut a piece of the ribbon you used earlier and tie to each side of the dowel rod so that your piece can hang.
