How to Make a Paddington Bear Costume
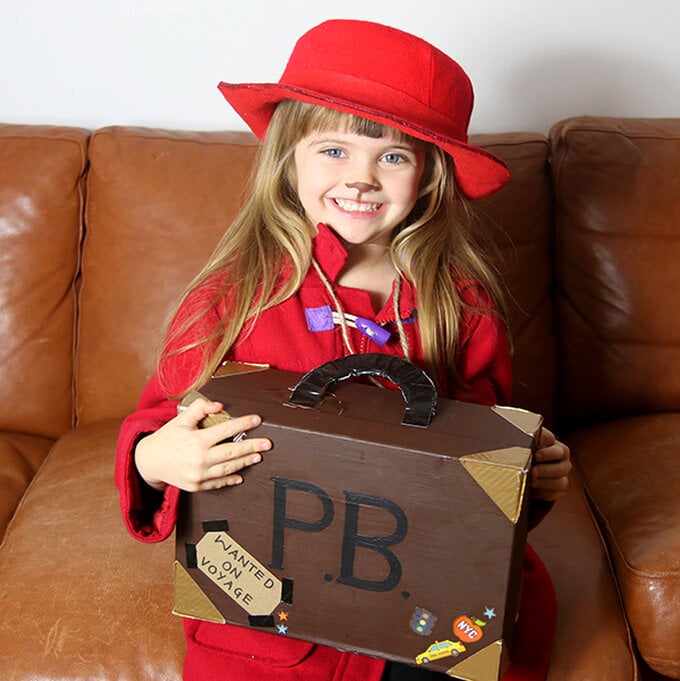
Loveable Paddington Bear is a classic character to dress up as on World Book Day. Our simple tutorial will show you how to make his iconic P.B. suitcase, red hat and luggage label to hang around his neck. To complete Paddington's look pair with a duffel coat, yellow wellies and a marmalade sandwich or two!
Project by Little Button Diaries
You will need
Subtotal
Is $ 6.49
Subtotal
Is $ 6.49
Subtotal
Is $ 3.49
Subtotal
Is $ 5.49
Subtotal
Is $ 3.49
Out of stock
Subtotal
Is $ 7.49
Subtotal
Is $ 7.49
You Will Need
* Shoe Box
* Cardboard
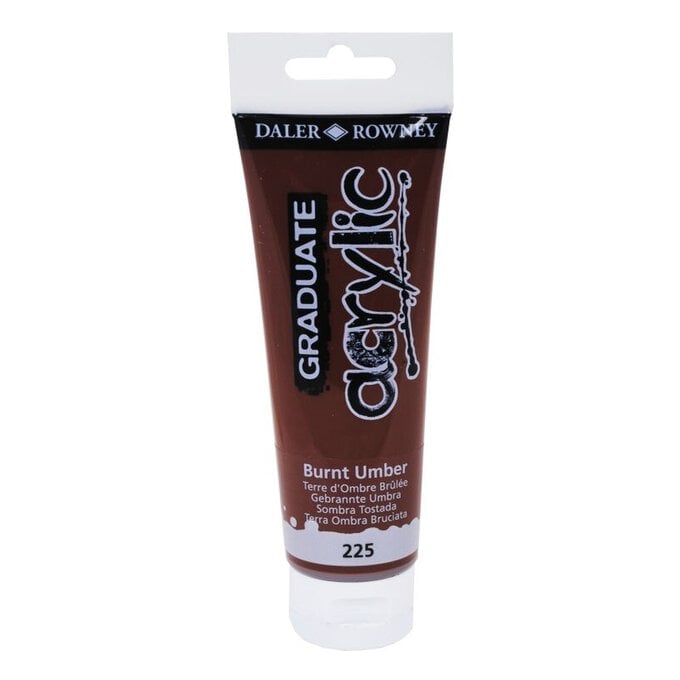
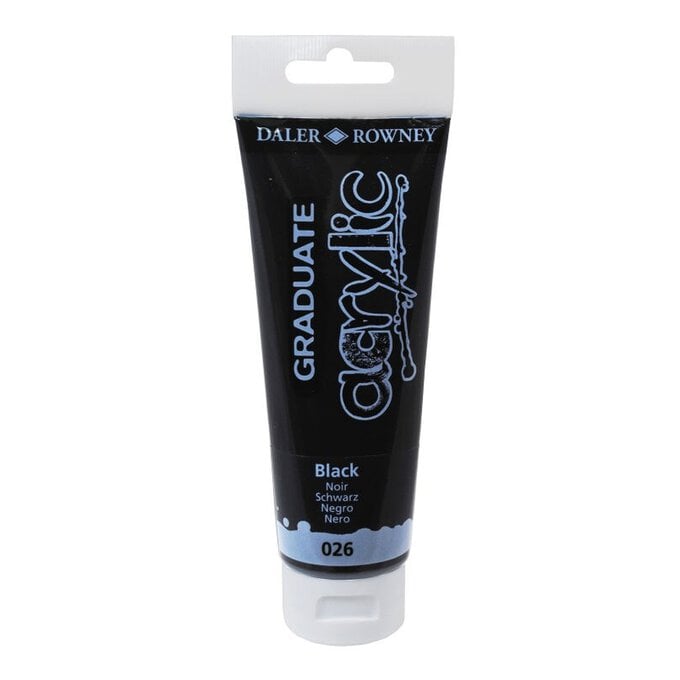
* Acrylic Paint - Brown, Black
* Scissors
* Glue
* Paintbrush
* Pencil
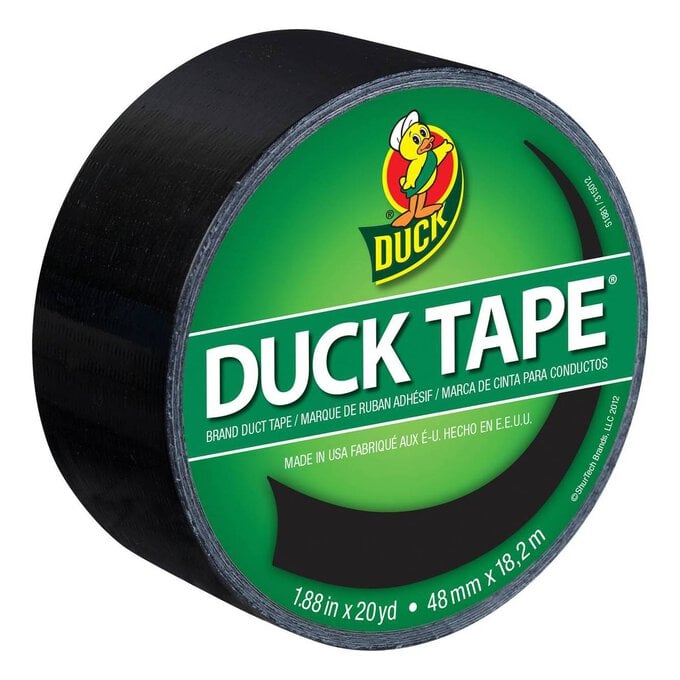
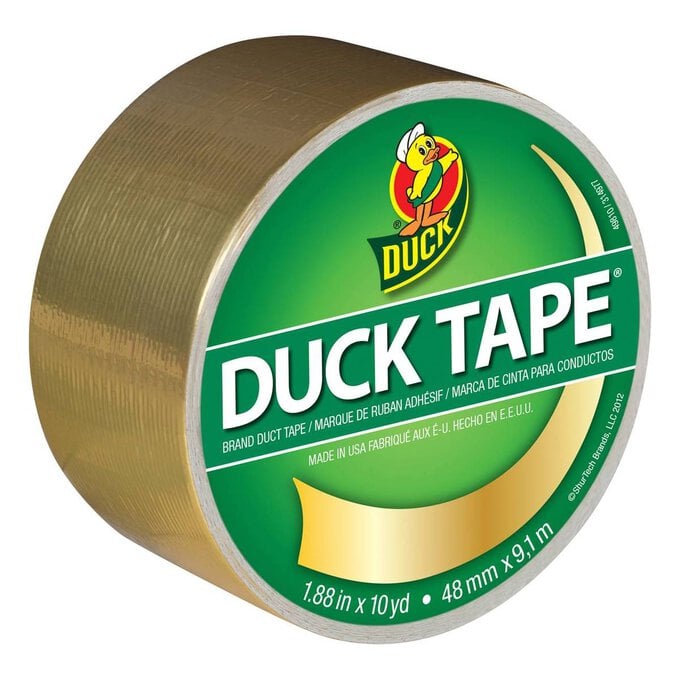
* Duck Tape - Black, Gold
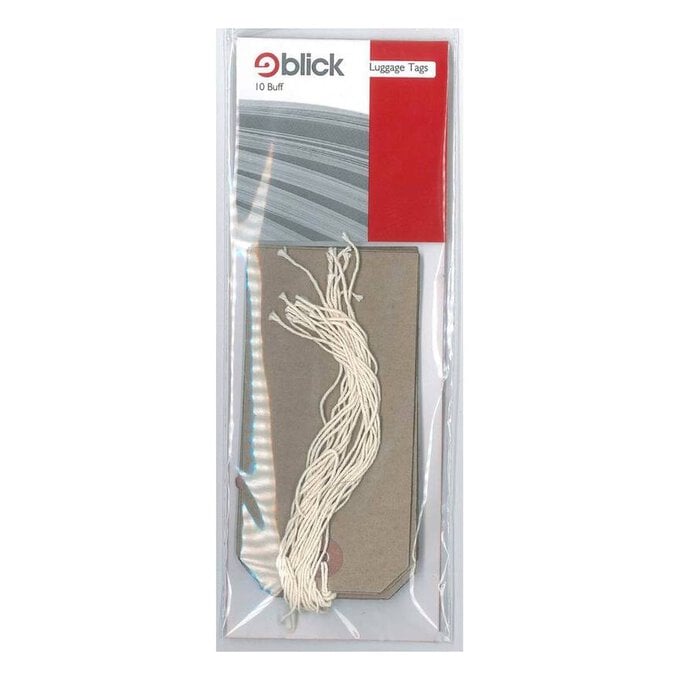
* Luggage Label
* String
* Black Marker Pen
* Bonnet Hat
* A4 Felt Sheet - 3x Red
How To Make
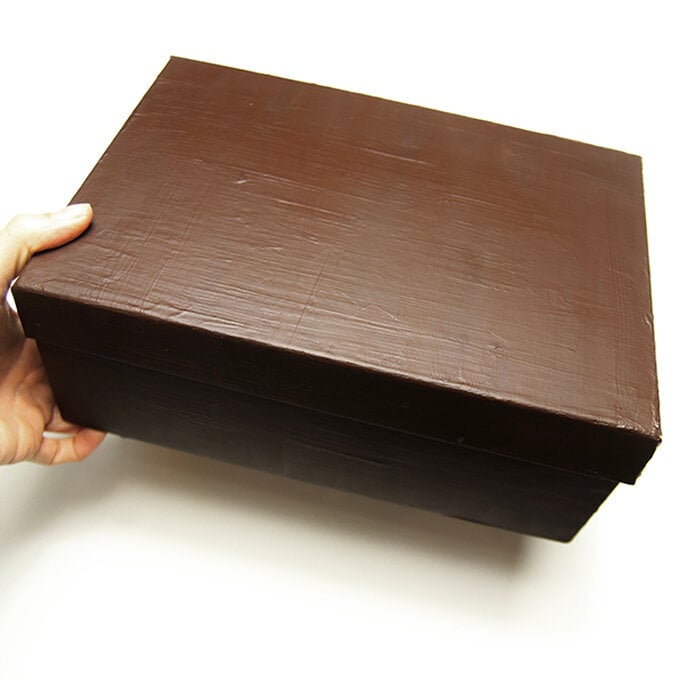
Begin by painting the inside and outside of the shoe box brown and leave to dry.
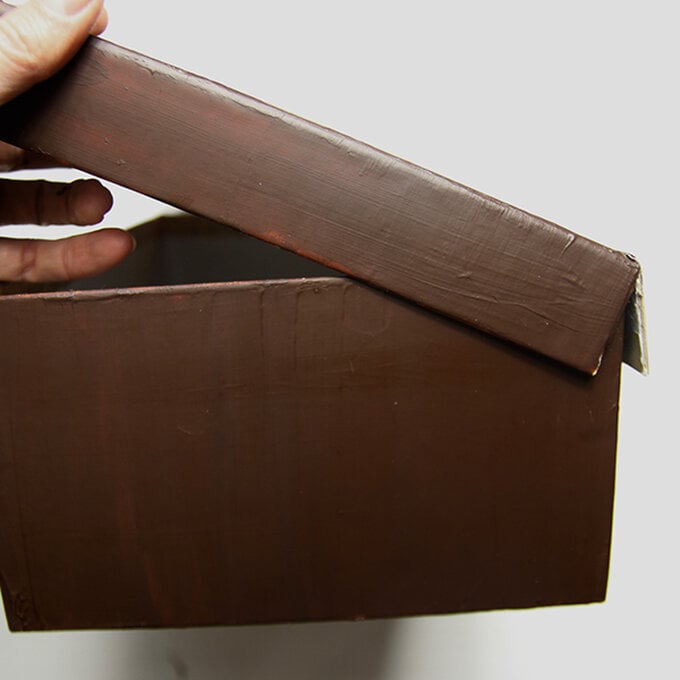
Cut open two corners on one of the long sides of the lid to create a hinged flap. Glue this onto the box to make the opening for the suitcase.
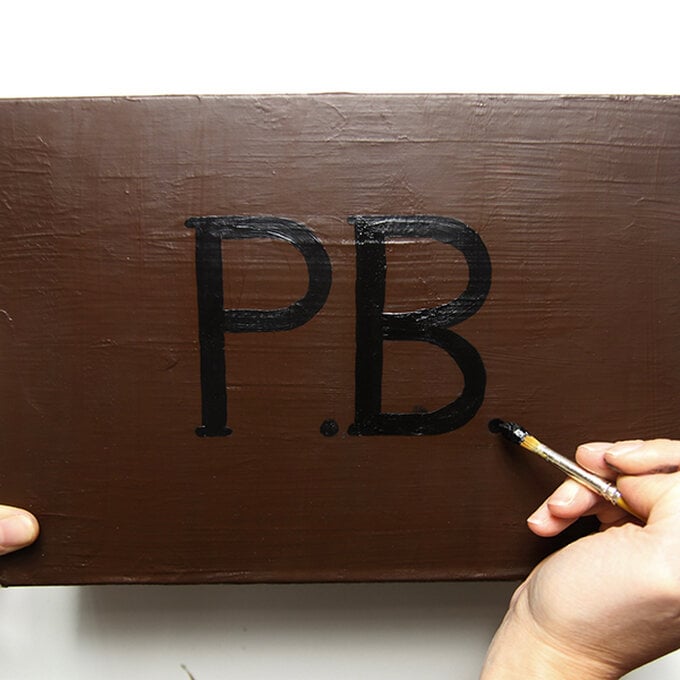
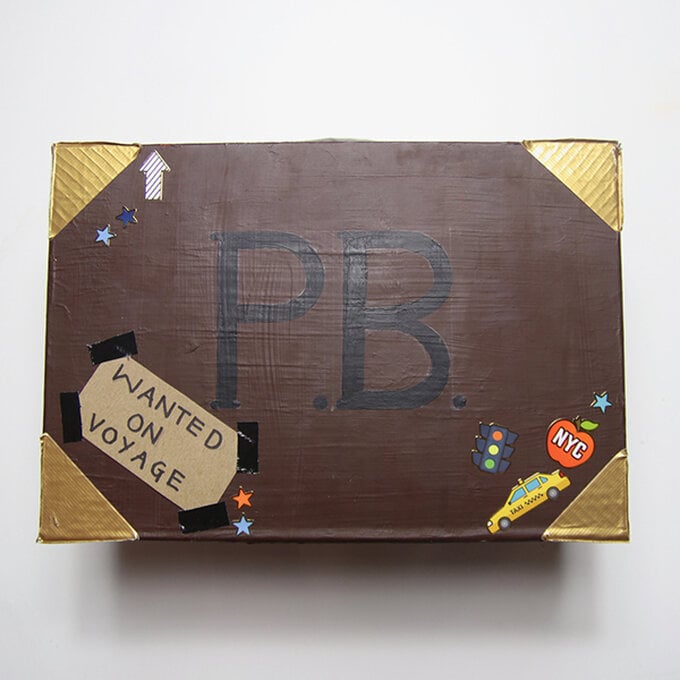
Mark in pencil the initials P.B. on the front of the box and use black paint to fill in the letters.
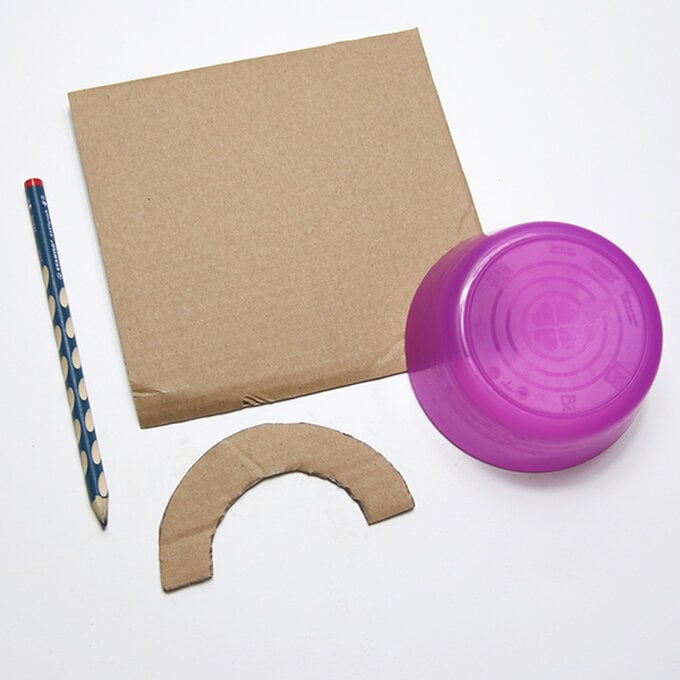
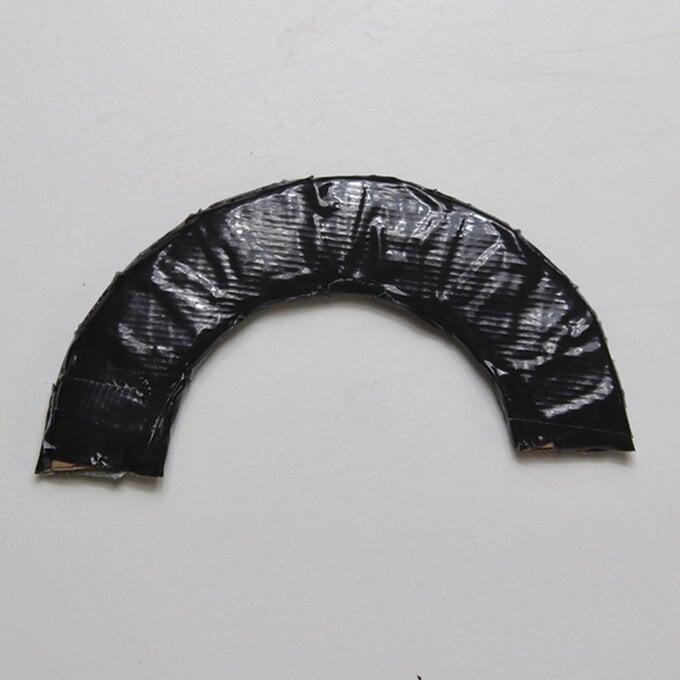
Draw a semi-circle handle shape onto corrugated card and cut this out. A small bowl makes a good template. Repeat so you have two and glue these together.
Cover the sides, front and back of the handle in black Duck Tape and trim off any excess with scissors.
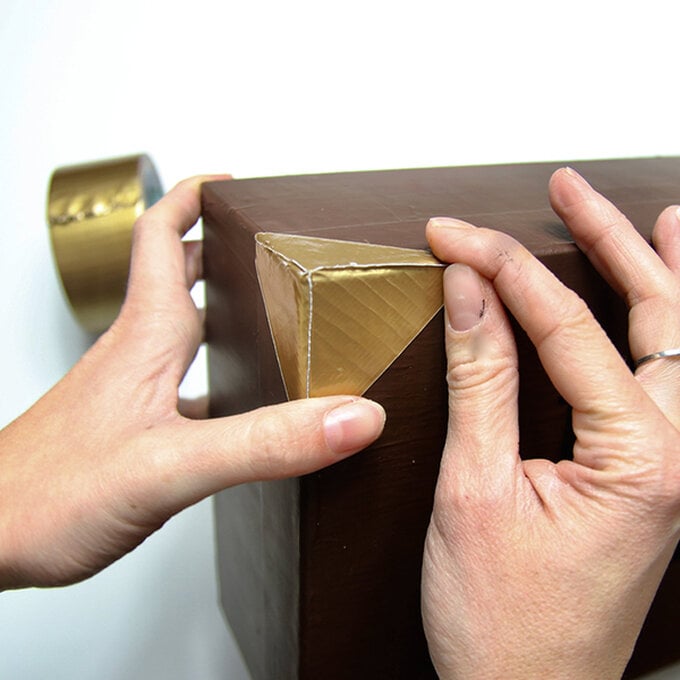
To make the gilded edges of the suitcase, take a strip of gold Duck Tape and place it over a corner on the box. Fold the two sides down so that they meet, then press together. Trim the excess tape off, then repeat for the remaining corners on the suitcase.
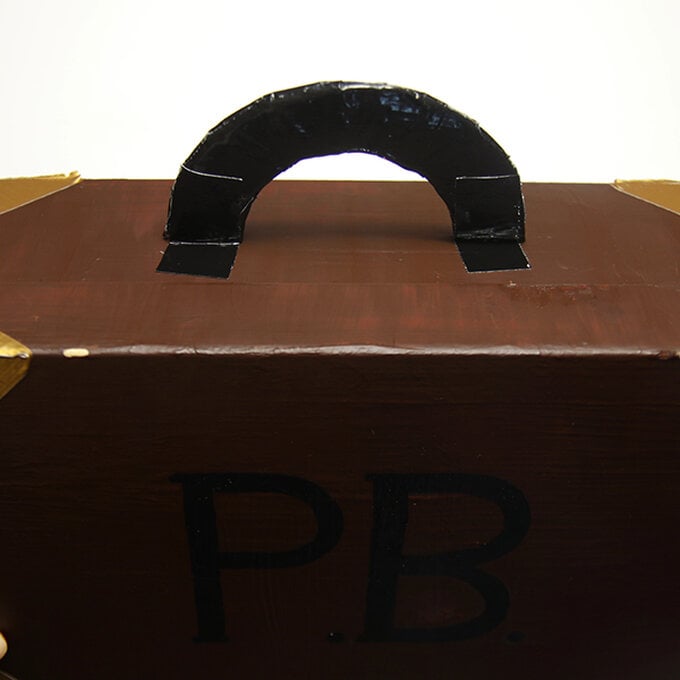
Place the handle centrally on top of the suitcase and attach with small pieces of Duck Tape.
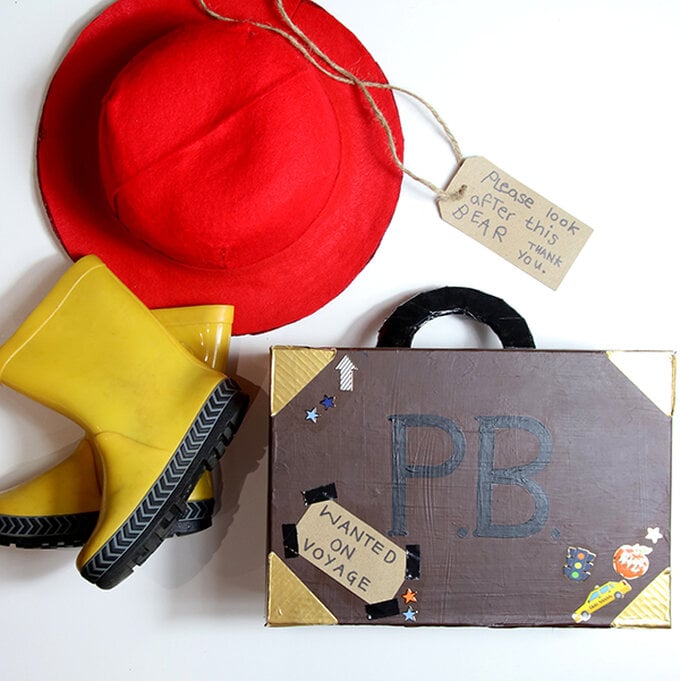
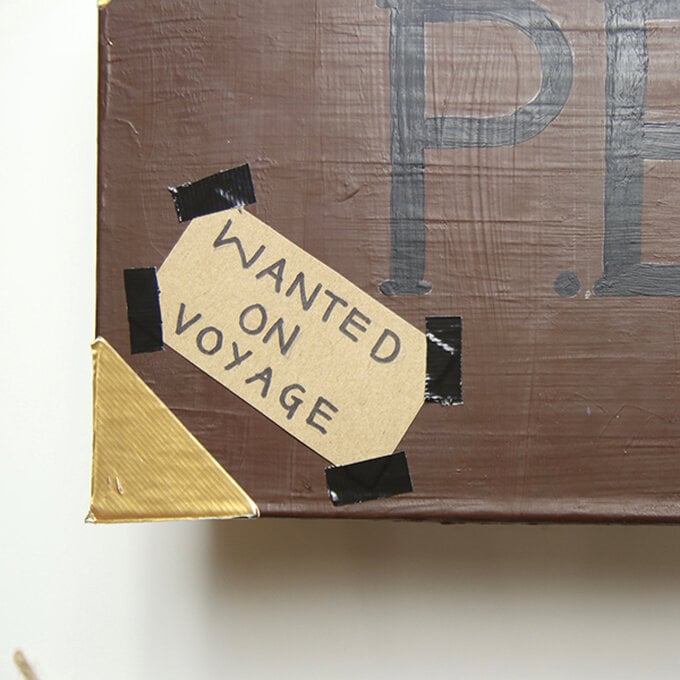
Trim a luggage label so that it is a bit smaller and write 'Wanted On Voyage' on it in black pen. Use tiny bits of black Duck Tape to stick down each corner of the label onto the suitcase. Finish by adding travel stickers.
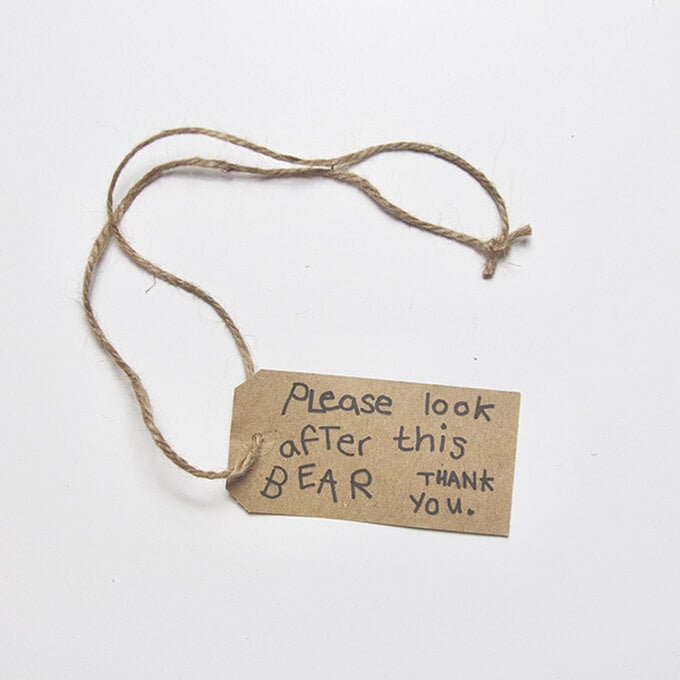
Write 'please look after this bear. Thank you' in black pen on another luggage label. Thread on a long piece of string so that it can hang loosely around the neck.
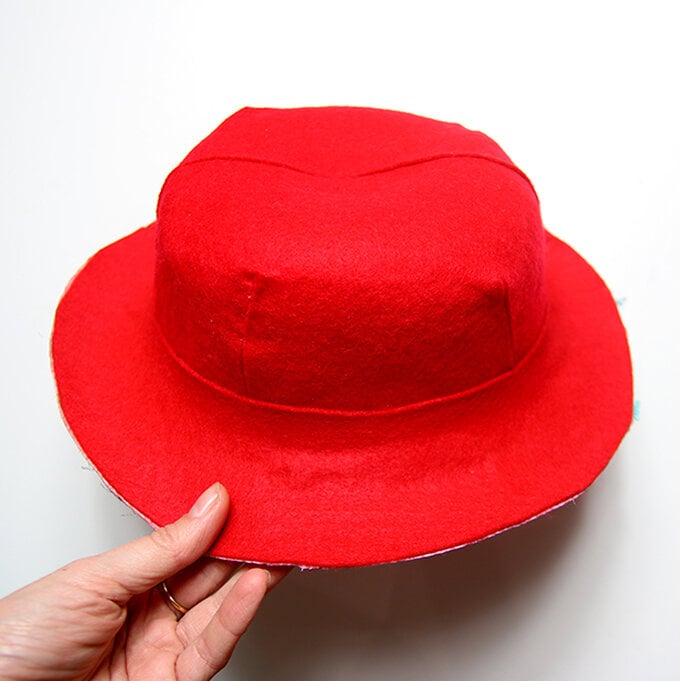
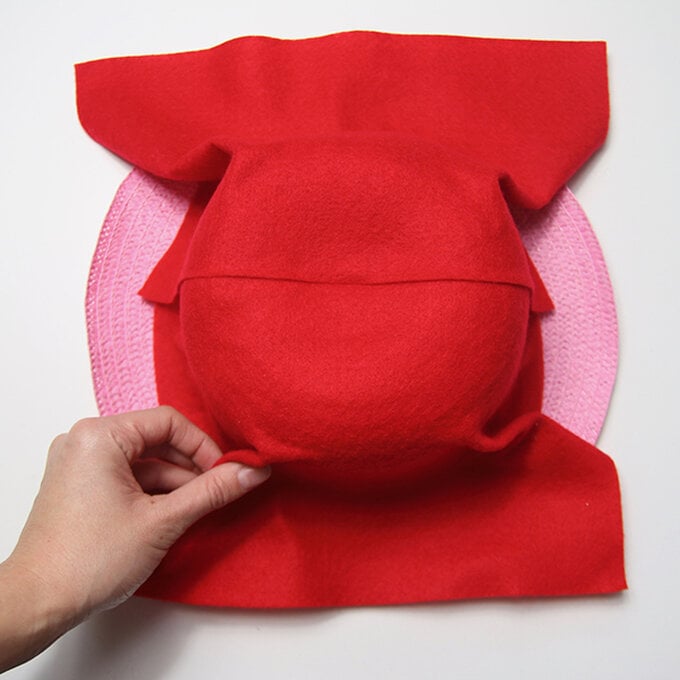
For the hat, glue a piece of felt over half of the hat and press down. Press the folds of the felt in and repeat for the other half. Leave the glue to dry – you can use masking tape if you need to.
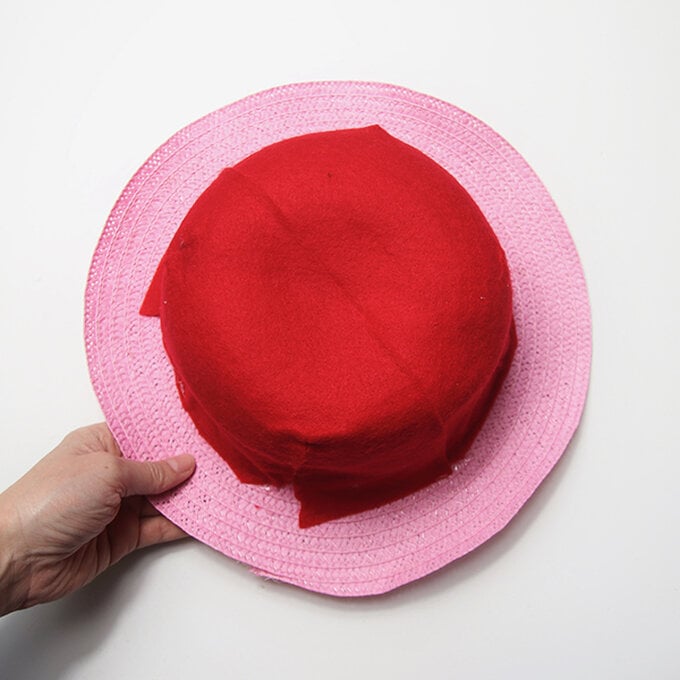
Trim off the folded sections of felt to create a nice smooth finish. Trim the felt all the way around the base and glue down any loose ends.
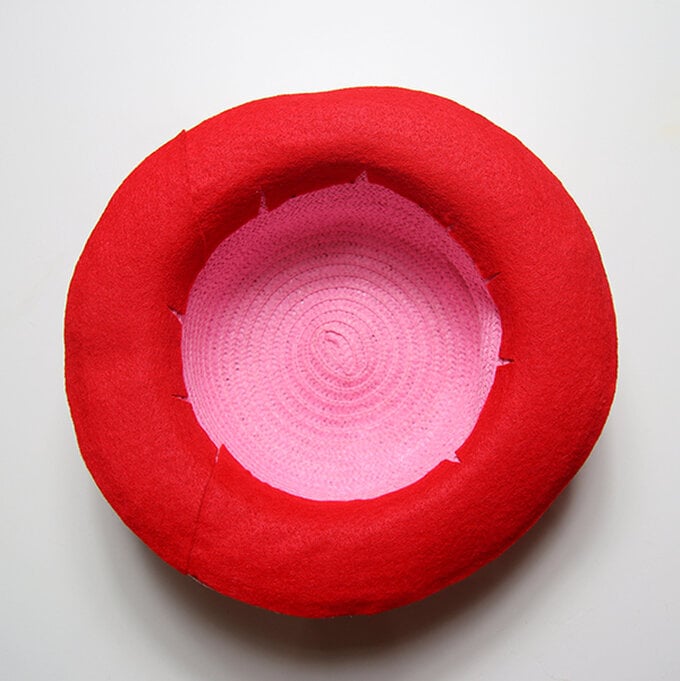
For the rim, place a piece of felt under the hat, draw around it and cut out. Measure the rim of the hat and add an extra 2cm. Use a ruler to mark this measurement at points around the curve on the felt, then cut out. Glue it onto the hat. Repeat to make another piece to fill in the gap.
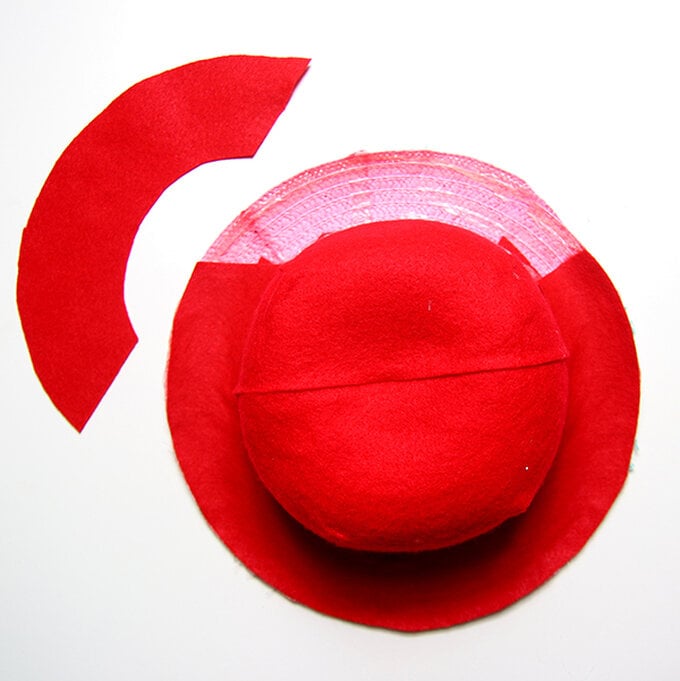
Repeat for underneath the rim of the hat. If the felt starts to feel taught you can cut little snips into it to form tabs. Glue these down.
