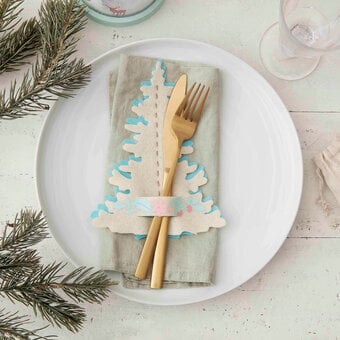
How to Make Macrame Christmas Trees
Fall in love with the magic of macramé this Christmas. This quick and easy project uses only two types of knots and will make adorable hanging macramé trees, perfect for brightening up your festive décor.
The macramé Christmas decorations are a great way to embrace contemporary style as you enjoy your holiday traditions.
Project and instructions by Lindsey Newns.
Discover more projects by this maker:
How to Crochet Mistletoe Triangles
How to Make Wrapped Letters with Yarn
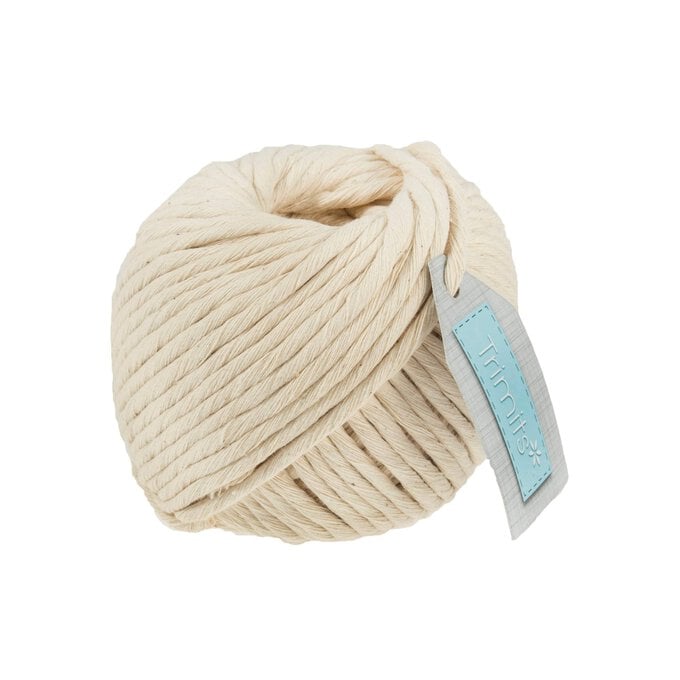
You will need
Subtotal
Is $ 5.49
Subtotal
Is $ 8.49
Subtotal
Is $ 10.00
Subtotal
Is $ 10.00
You will also need:
* Pet-grooming brush or metal bristle hairbrush
*Scrap paper A5 size or larger
*Scissors
Cut 1 x 35cm piece of cord and 1 x 35cm piece of twine and fold them both in half. On the twine, thread 1-2 beads over both ends of the twine, leaving a loop of around 5cm at the bottom.
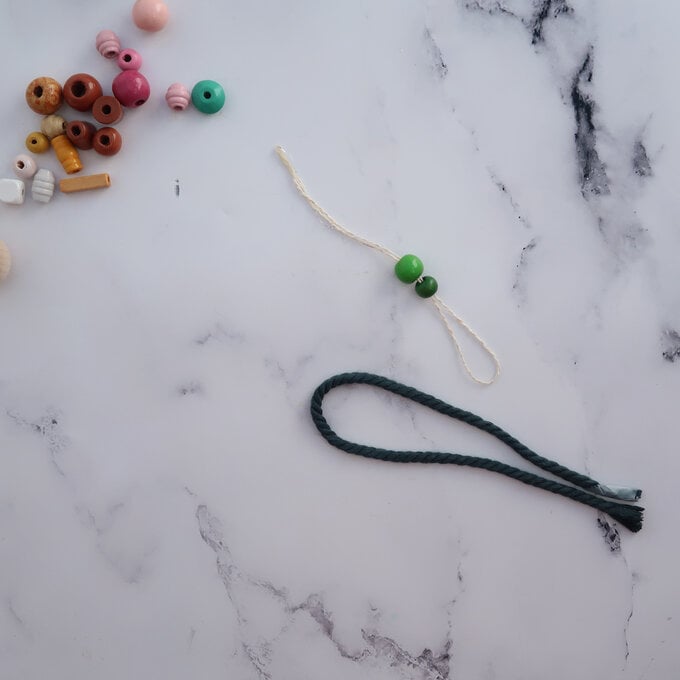
Attach the cord to the twine using a lark's head knot: insert the loop end of the folded cord into the loop of the twine from front to back, then feed the tail ends of the cord through the loop of the cord. Pull down on the tail ends of the cord firmly to close the knot. Lark's head knot formed. This cord will now be referred to as the main cord.
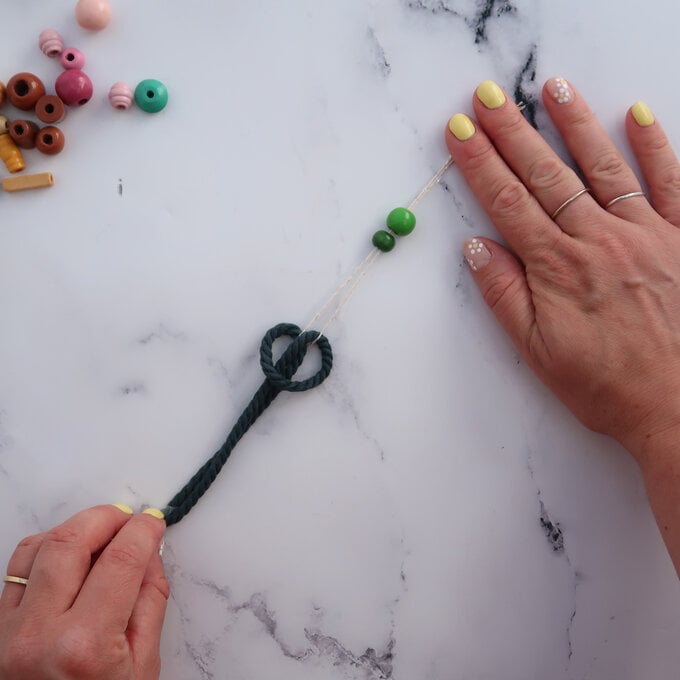
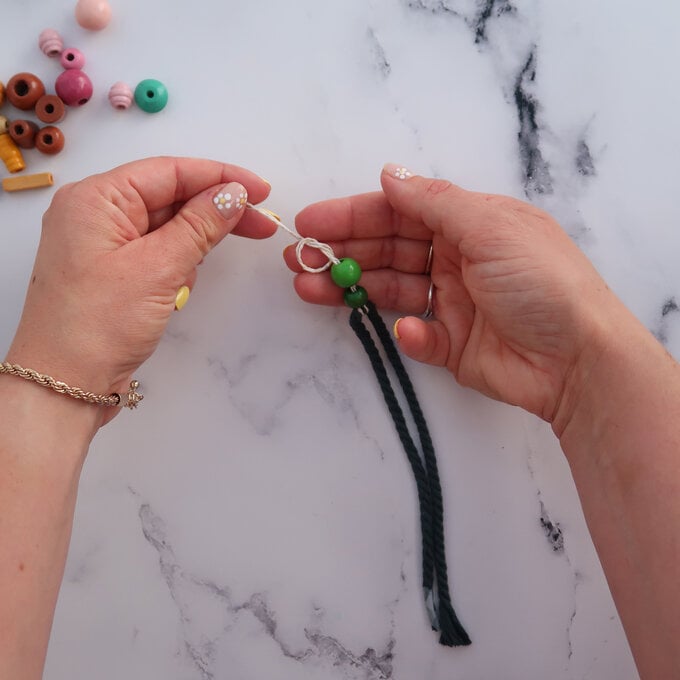
Push the beads down so they sit on top of the lark's head knot, then tie an overhand knot in the twine above the beads, to prevent them sliding off. Tie a final overhand knot at the top of the 2 tail ends of the twine to create a hanging loop from the twine.
Cut 12 x 15cm pieces of cord. Take 1 piece and fold it in half, to create a loop at one end. Attach the smaller cord to the main cord using a reverse lark's head knot, as follows: Lay the loop on top of the main cord, with the loop pointing to the left.
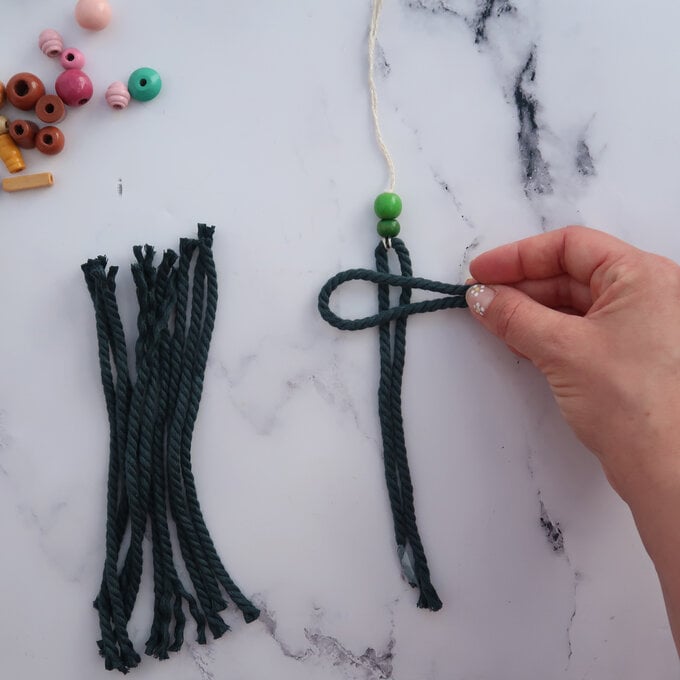
Wrap the tail ends of the smaller cord round behind the main cord, and then up through the centre of the loop from back to front. Pull firmly to close the knot.
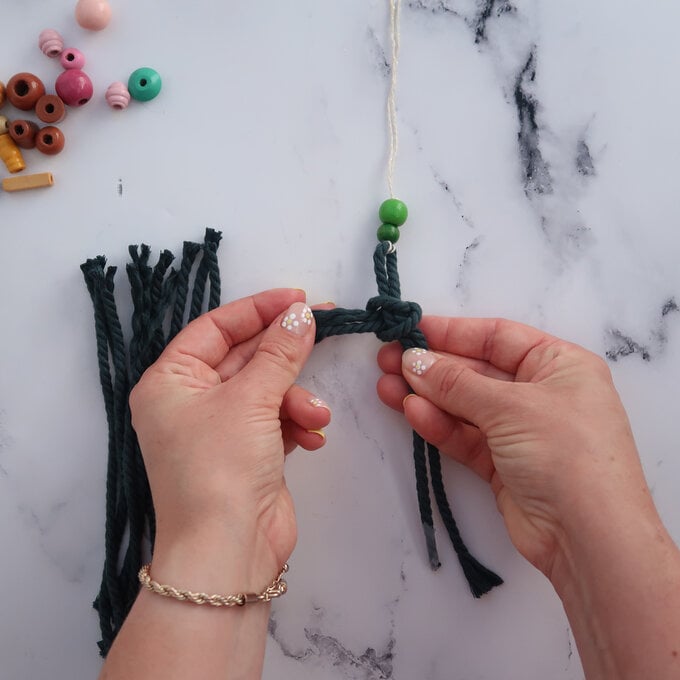
Attach all 12 smaller cords to the main cord using reverse lark's head knots in this way, but alternate the direction each time, so that every other cord points in the opposite direction.
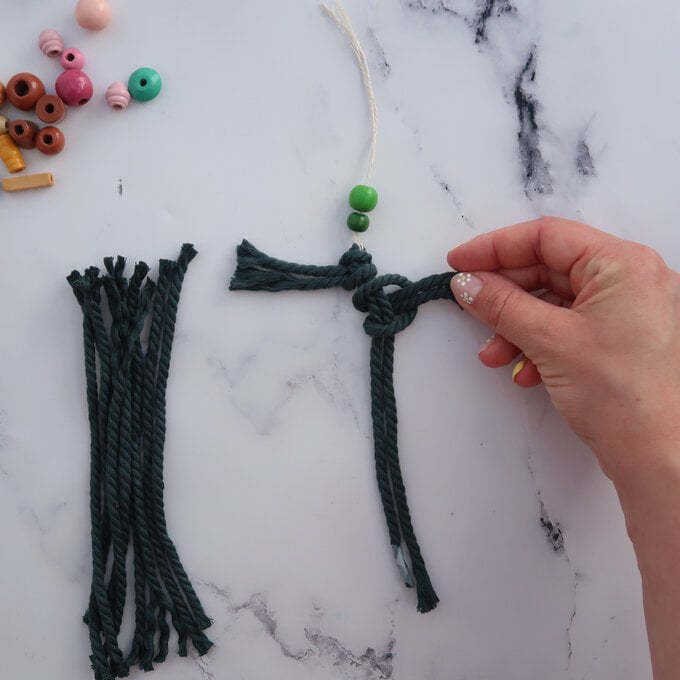
When all 12 cords are attached to the main cord, hold the main cord firmly in one hand and use your other hand to push the 12 reverse lark's head knots closer together. Don't let them push off the top of the cord but encourage them to condense as closely together as possible. Tie an overhand knot in the bottom of the main cord, to stop the reverse lark's head knots sliding off.
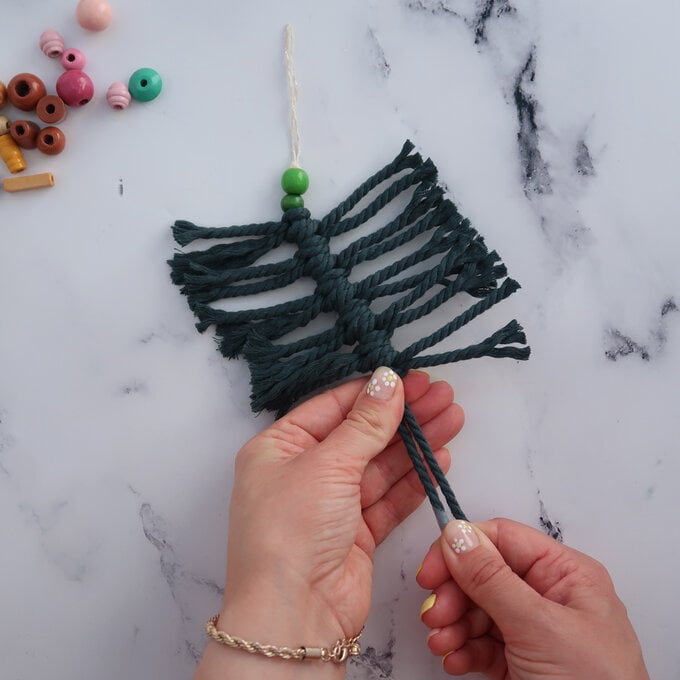
Unwind and split out the two long tails of the main cord to create 6 smaller cords. Group these into 3 groups of 2, which we will call left, middle and right.
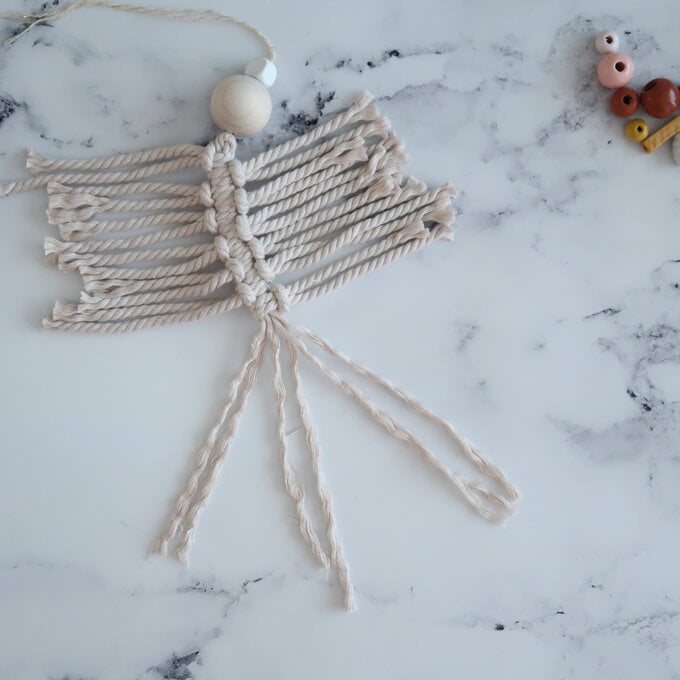
Create 2 square knots using these groups of 2, as follows: take the left cords and create 4 shape by laying them over the top of the middle cords.
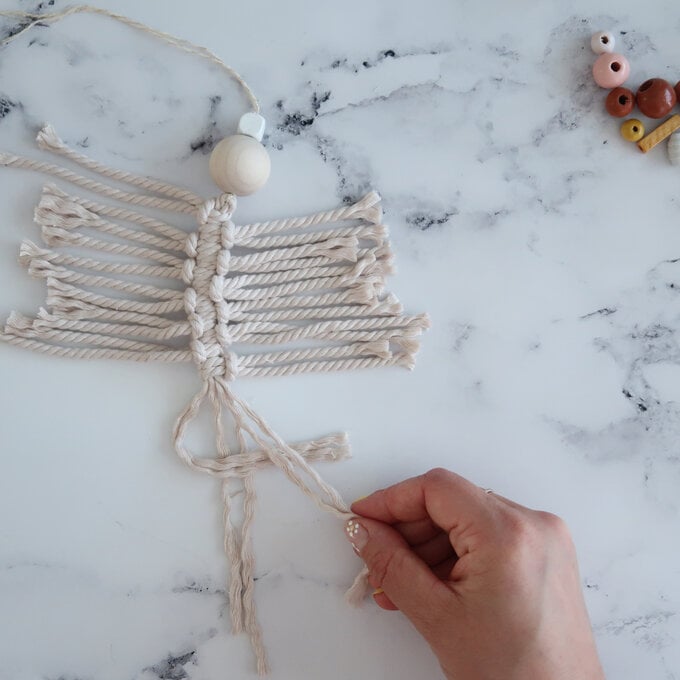
Take the right cords and pass them over the top of the left cords, and underneath the middle cords. Bring the tail ends of the right-hand cords up through the centre of the 4 shape just formed, and pull on the left and right cords firmly to close the knot. Left-hand side of the square knot is now formed.
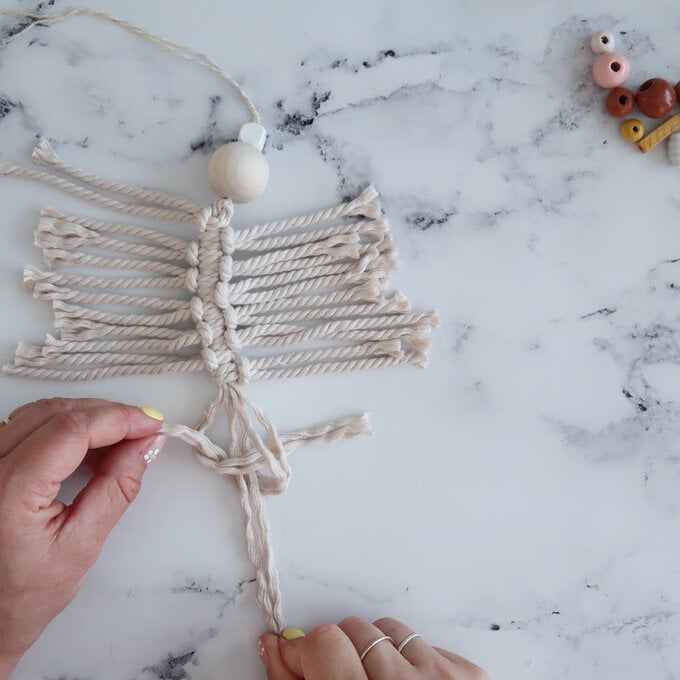
Take the cords now on the right and fold the then in a backwards 4 shape over the top of the middle cords
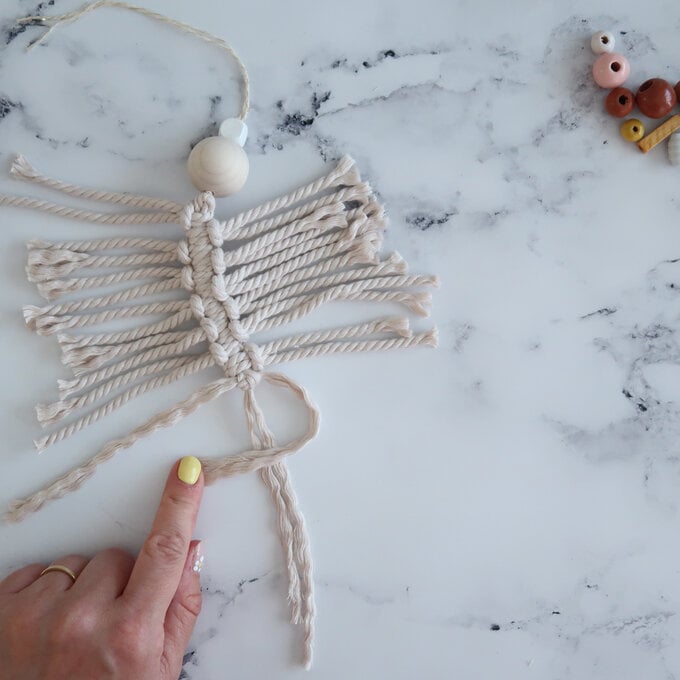
Take the cords on the left and bring them over the top of the right-hand cords and underneath the middle cords, coming out in the centre of the backwards 4 shape just formed. Pull on the left- and right-hand cords firmly to close the knot. Full square knot now formed.
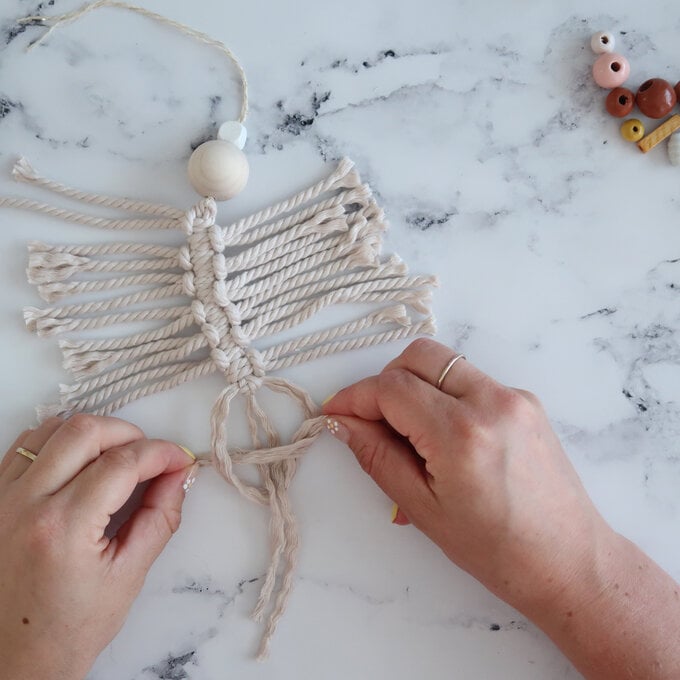
Repeat steps 9-12 once more to create a second square knot, pulling very firmly closed, then trim the ends of the right, middle and left cords.
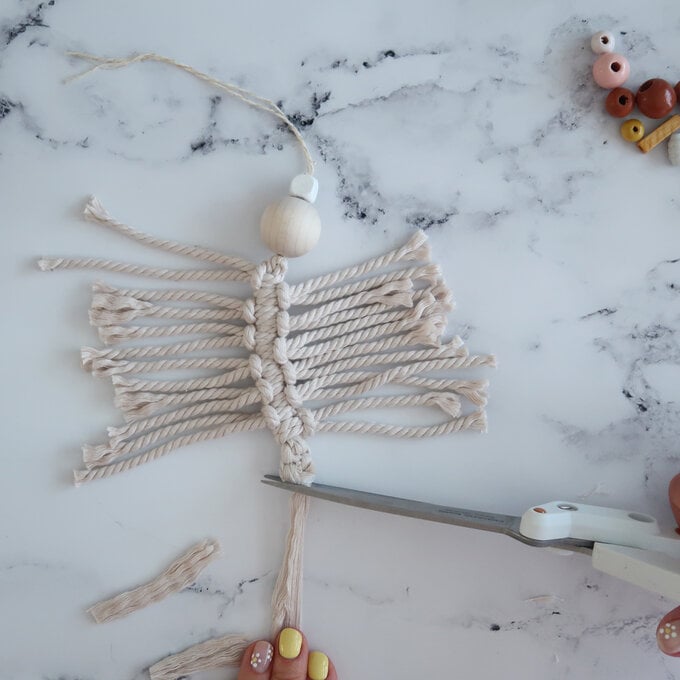
Using a brush, comb out the cords on the left and the right side of the main cord, until the cords are completely unravelled and have fluffed up
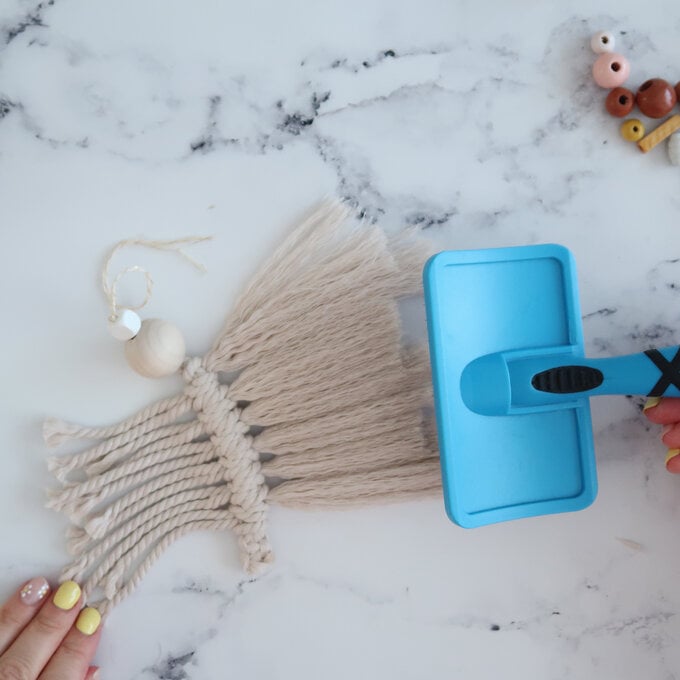
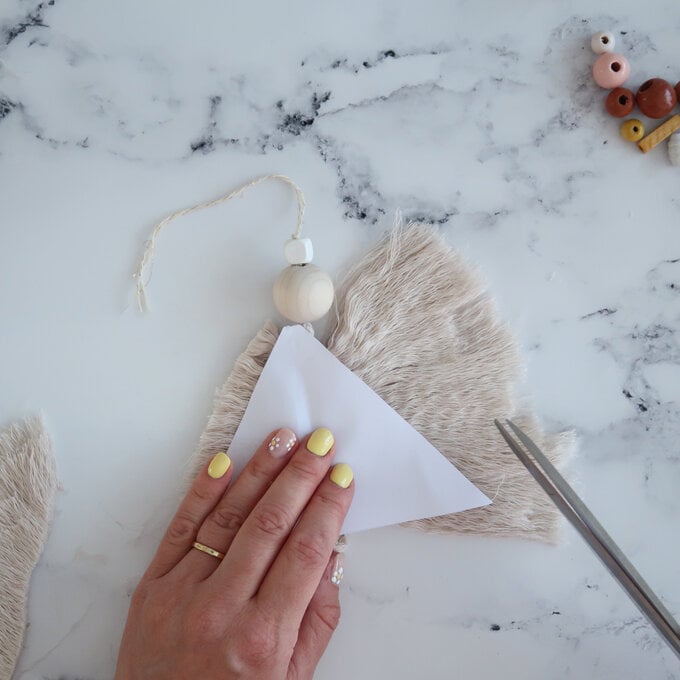
Create a triangle template from a scrap piece of paper, where the base is 14cm wide and the triangle is 10cm tall at its highest point. Use the template as a guide to trim the brushed cords into a Christmas tree shape. Your macrame tree is complete!
