Skip to Content (Press Enter) Skip to Footer (Press Enter)

How to Make a Stitched Scrapbook Layout

Level
Beginner
Time
1/2 day
Budget
10 - 30

Sewing is not just for fabric! You can add some wonderful texture to your papercraft projects by adding stitched details, either by hand or using a sewing machine.

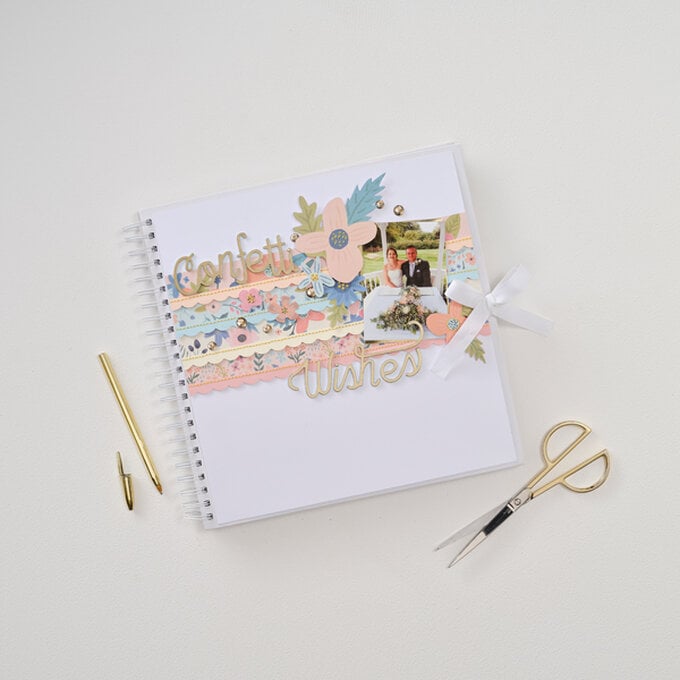
Here we have added hand beautiful stitching to this beautiful wedding page layout, using embroidery thread and needle to bring special wedding moments to life!

Project and instructions by Jackie Jasper

Discover more scrapbook ideas here >

You will need

Is $ 3.49 , was $ 6.49

Quantity: 1

Subtotal

Is $ 3.49 , was $ 6.49

Out of stock

Is $ 4.49 , was $ 9.49

Quantity: 1

Subtotal

Is $ 4.49 , was $ 9.49

Out of stock

Is N/A

Quantity: 1

Subtotal

Is N/A

Out of stock

Is $ 2.49

Quantity: 1

Subtotal

Is $ 2.49

Is $ 3.49

Quantity: 1

Subtotal

Is $ 3.49

You’ve viewed 2 of 5 products

You’ve viewed 4 of 5 products

Total:

You will also need

*A glue stick

*Needles

*A4 paper


How to make
Step 1
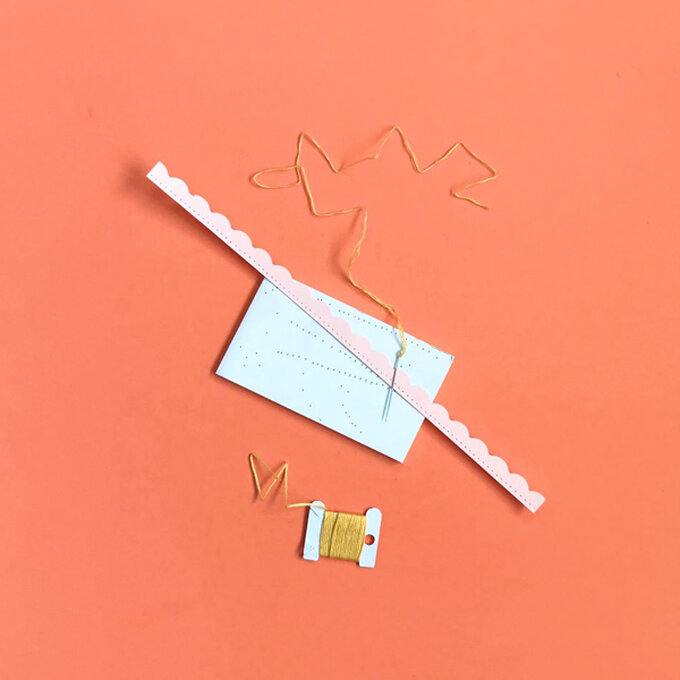
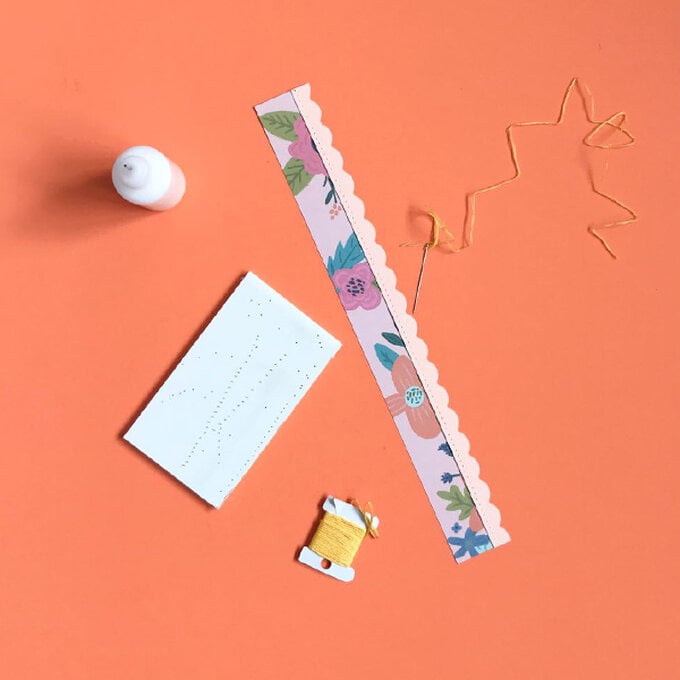
Trim a strip of pastel coloured paper using scalloped edge scissors. Cut this strip down further to approximately 5mm x 284mm, then use a needle and piece of foam to prick holes all the way along the length as this will make the sewing easier later on.
idea_stitched-wedding-scrapbook_step1.jpg?sw=680&q=85
Step 2

Cut a strip of floral paper measuring approximately 30mm x 284mm. Lay the scalloped edge strip on top, and then sew the two together through the holes that were created in step one.


Top Tip: It is easier if you glue the two strips together before sewing.
idea_stitched-wedding-scrapbook_step2.jpg?sw=680&q=85
Step 3

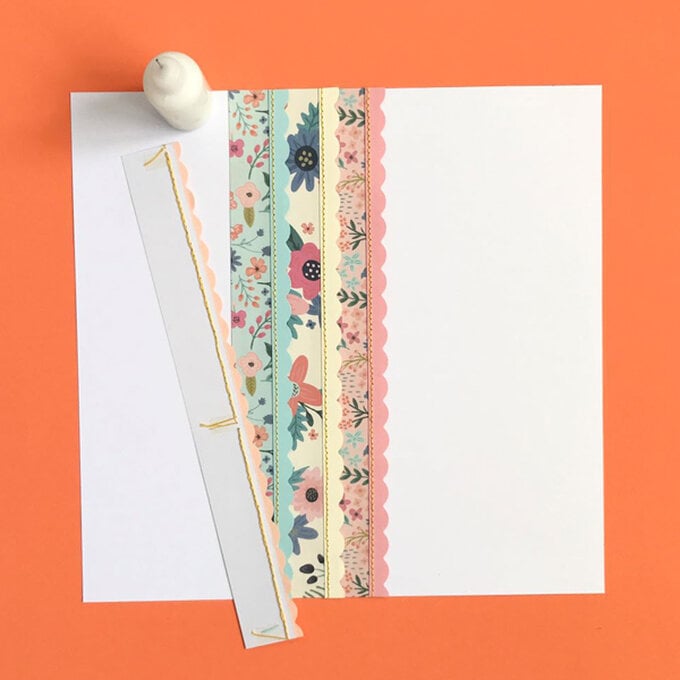
Sew all four strips using four different floral patterns and four different pastel papers.


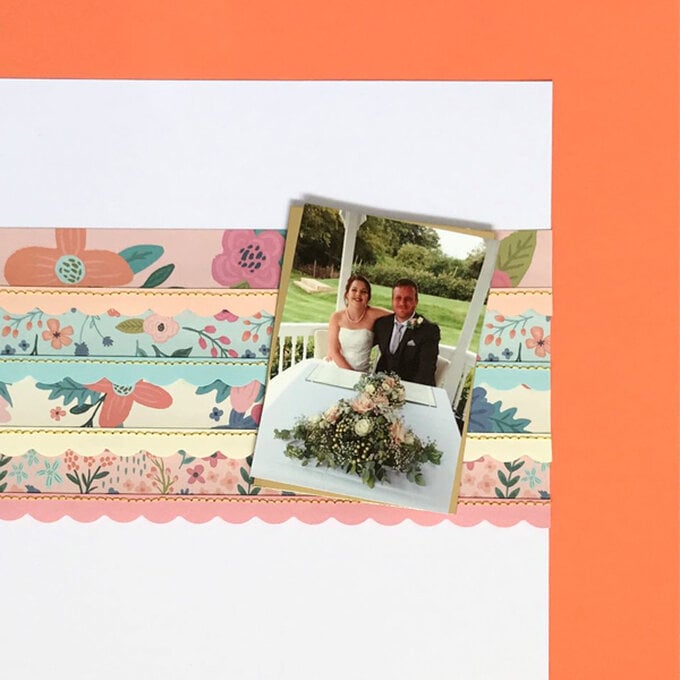
Glue the prepared strips to a panel of white card measuring 284mm x 294mm. Glue the strips on top of each other, making sure they slightly overlap as shown in the photo below.
idea_stitched-wedding-scrapbook_step3.jpg?sw=680&q=85
Step 4
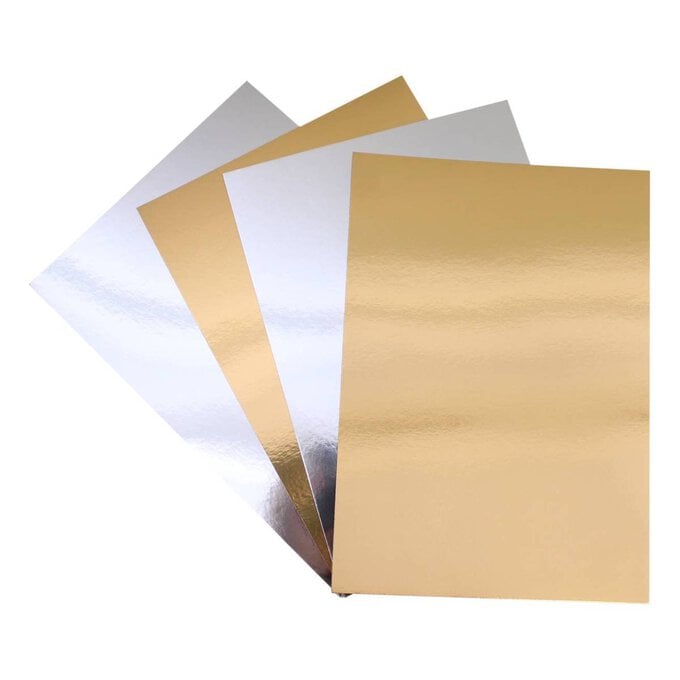
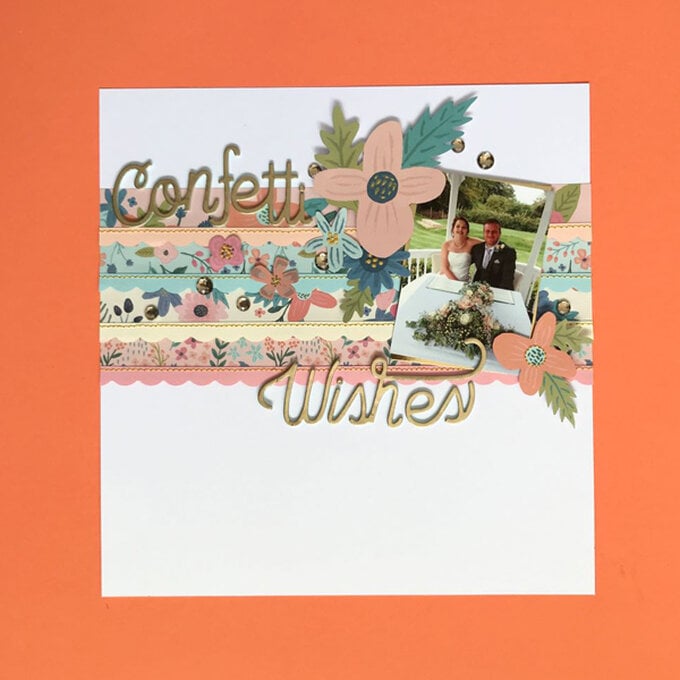
Layer your chosen photo onto a piece of rectangular gold card at a slight angle, then attach to the page using 3D foam pads.
idea_stitched-wedding-scrapbook_step4.jpg?sw=680&q=85
Step 5

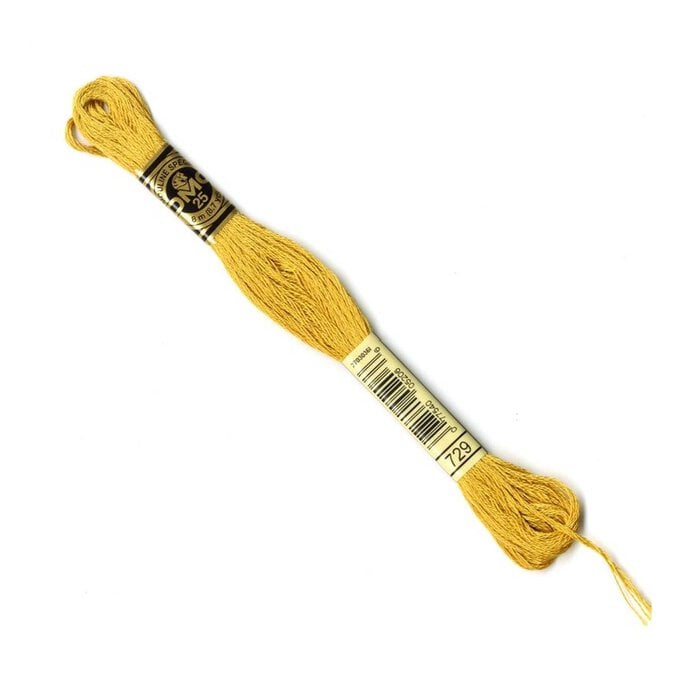
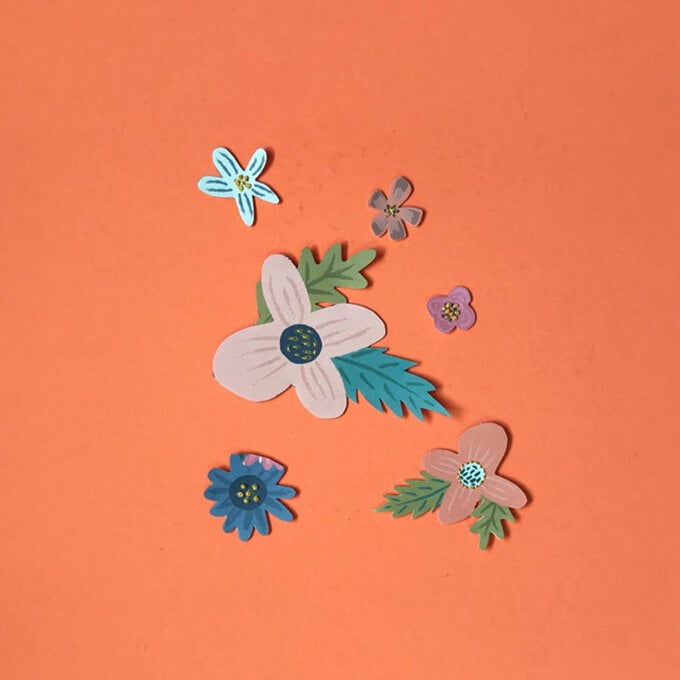
Fussy cut a handful of flowers from the floral pad, hand sew on to each flower centre mimicking the patterned detail.


Use French knots and running stitches for the added detail then add the flowers here and there around the photo.
idea_stitched-wedding-scrapbook_step5.jpg?sw=680&q=85
Step 6
Add a few gold gems to the page, tucking some under the flower edges. Finish by adding the confetti wishes sentiment to your layout.
idea_stitched-wedding-scrapbook_step6.jpg?sw=680&q=85
Step 7
Relive the special moments from your big day in superb style!
idea_stitched-wedding-scrapbook_step7.jpg?sw=680&q=85
  • bvseo_sdk, dw_cartridge, 18.2.0, p_sdk_3.2.0
  • CLOUD, getReviews, 5ms
  • reviews, product
  • bvseo-msg: Unsuccessful GET. status = 'ERROR', msg = 'Not Found.'; Unsuccessful GET. status = 'ERROR', msg = 'Not Found.';

Related Products

Top