How to Make a Jelly Roll Quilt
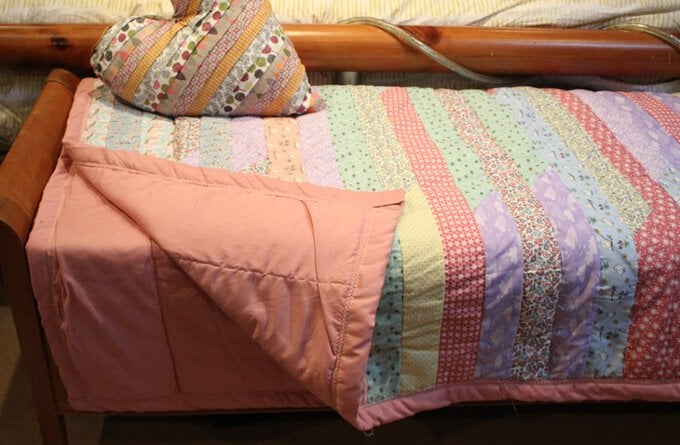
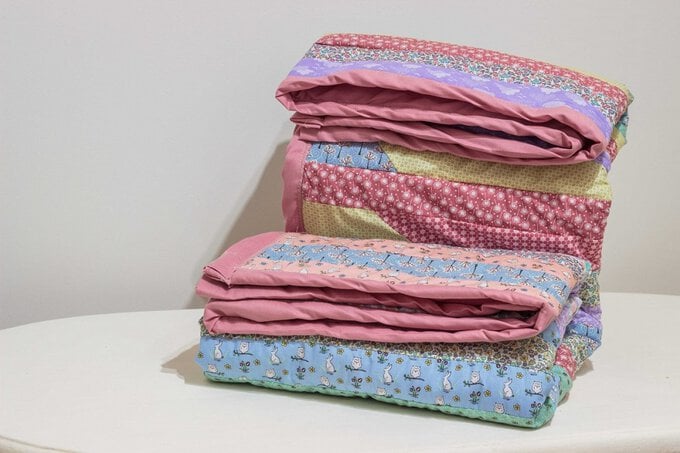
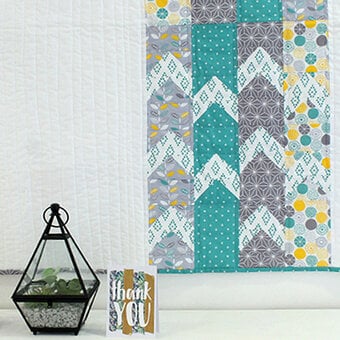
Quilts are fun and functional; they can be used as throws, wall hangings or to warm up on cold nights. A jelly roll quilt is one of the easiest quilts to put together and it looks great. Don't forget to give it a thorough testing by lying under it for at least an hour with a drink! What Are Jelly Rolls?...Jelly rolls are pre-cut strips of coordinating fabric designs with a standard width and length (2 ½ x 44 in). With 10 to 40 strips a roll, they're ideal for crafting cushions, quilts, patches and other home projects.
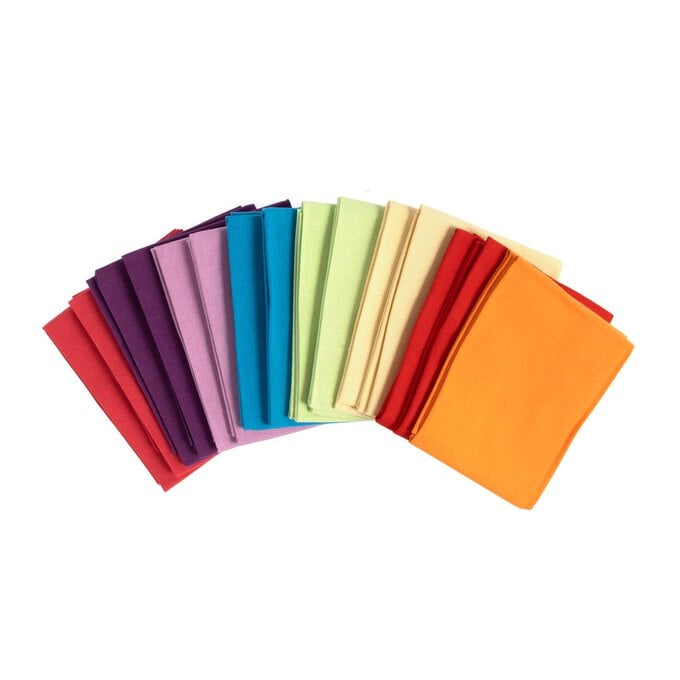
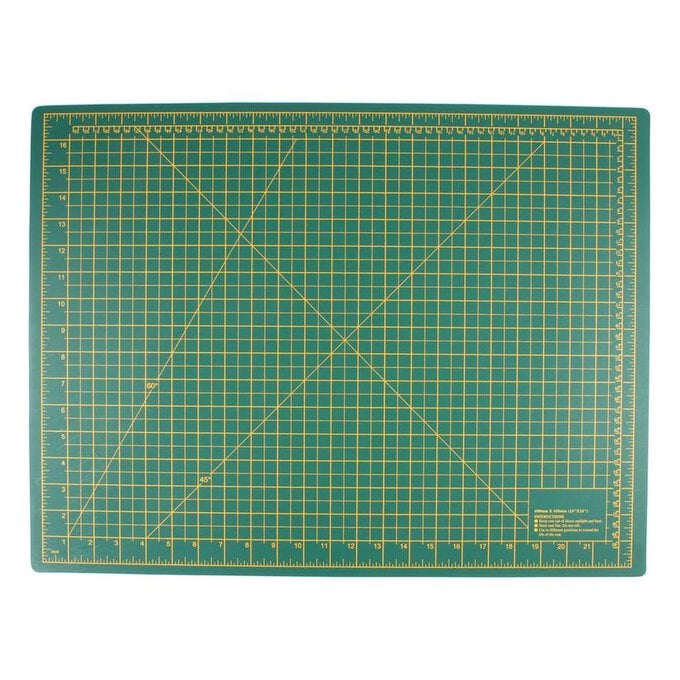
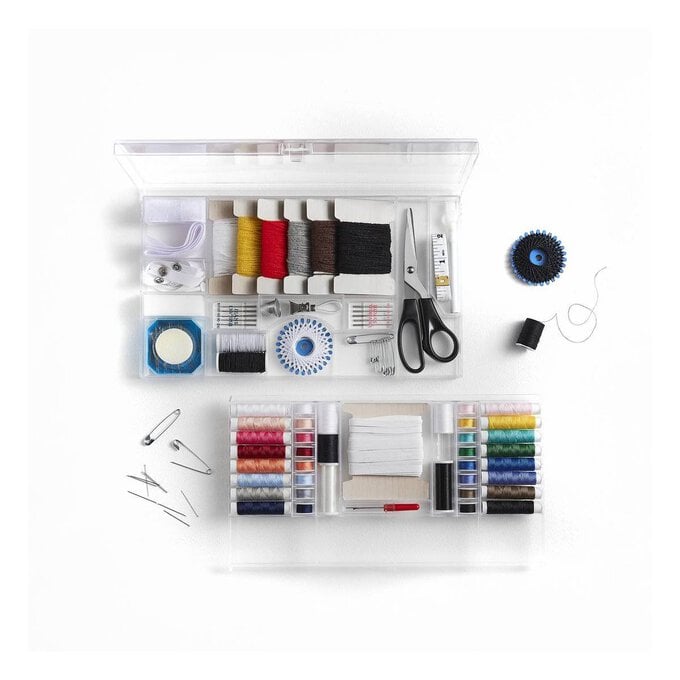
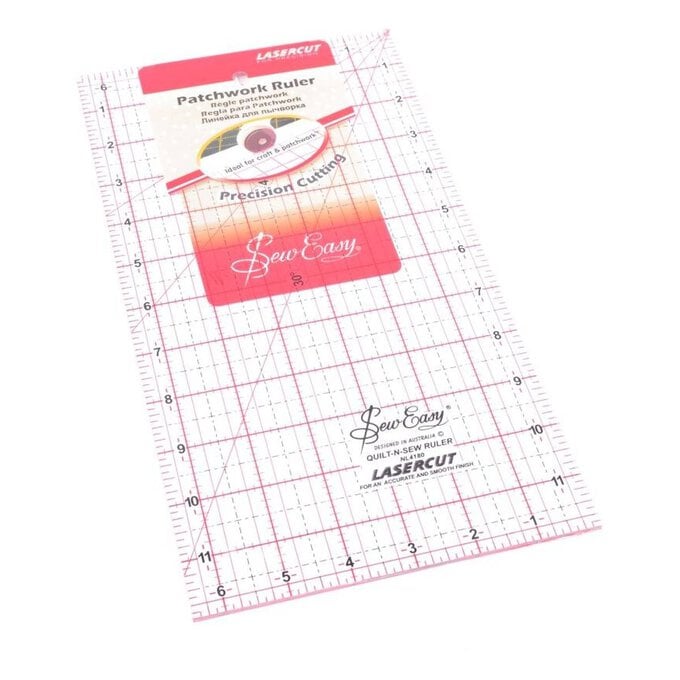
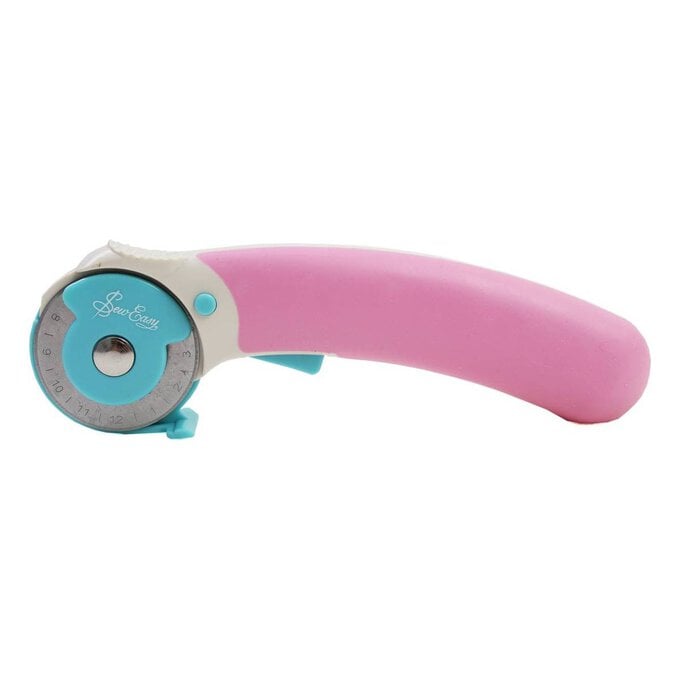
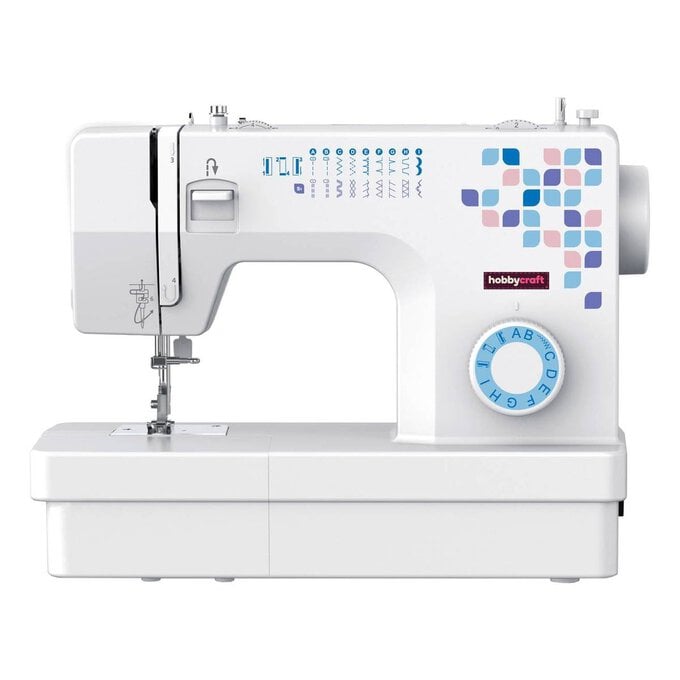
You will need
Subtotal
Is $ 38.00
Out of stock
Subtotal
Is $ 23.00
Subtotal
Is $ 33.00
Subtotal
Is $ 27.00
Subtotal
Is $ 23.00
Subtotal
Is $ 133.00
How to make
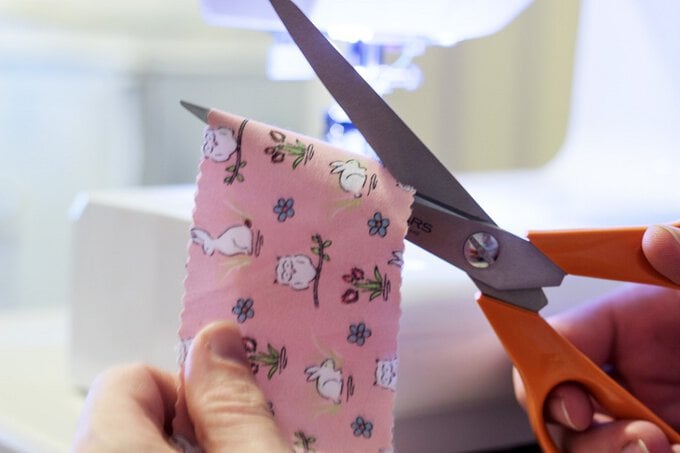
Unroll the Jelly rolls and separate out the strips. Take the first strip and cut off 12 to 18 inches. This will prevent the strips from being uniformly aligned when they have been sewn together.
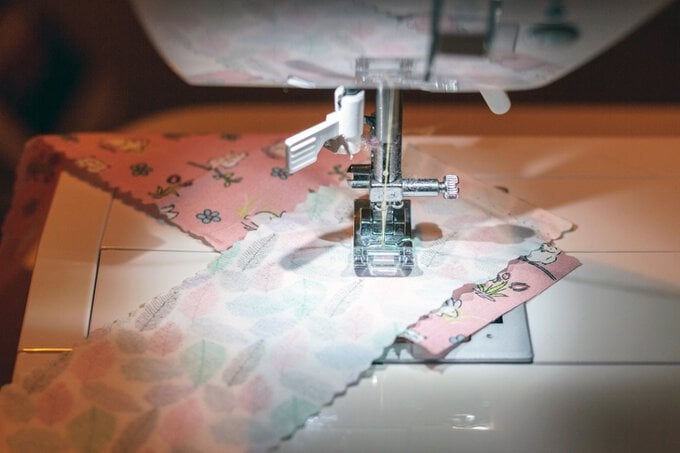
Sew the strips together by laying one face up and another face down perpendicularly, then sew across the two at a 45 degree angle.
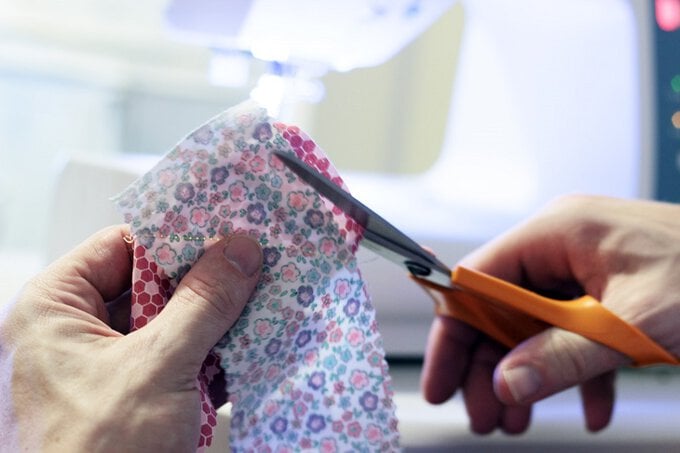
Once you have sewn all the strips together, cut the threads (if you've chain pieced) and clip off the corners leaving a quarter inch seam where the strips join.
Find the last strip and place it right sides together over the first. Sew down the side of the new strip you're making, using a quarter inch seam allowance.
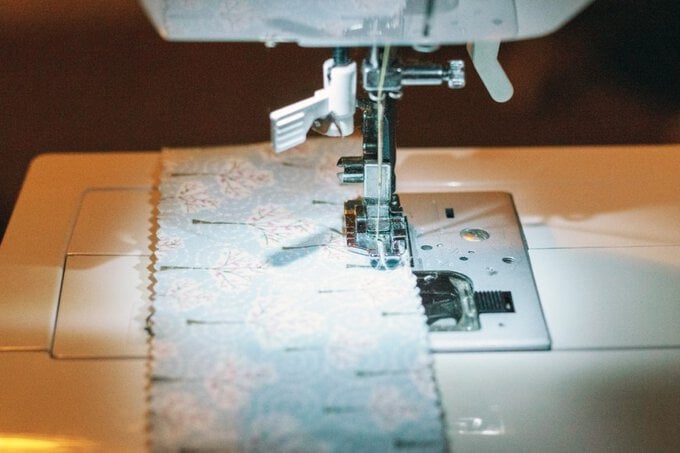
Once you reach the end, cut your work in half along the fold and open out. You should see two rows of strips that are joined by a centre seam.
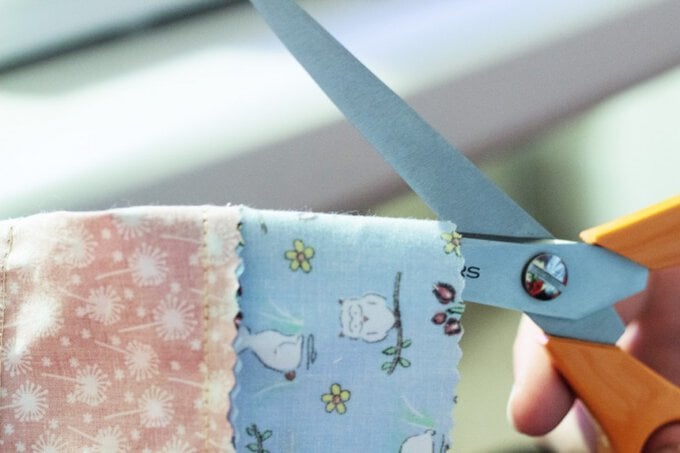
Lay the end two strips over the first two, right sides together, and sew down the side with a quarter inch seam allowance.
When you have finished this row, cut along the fold and open out the strips. You should see four rows of strips joined by centre seams.
Now you need to keep repeating the above steps, once you get to the end of the row, cut it along the fold and open it out. Then fold the joined strips over and sew down the side. The good news is that the rows get shorter as you sew, so the first one is the longest.
After sewing for a while you should be able to judge how large your quilt top is getting. Once you are happy with the size you will need to find somewhere you can assemble the quilt.
Lay out the backing fabric and make sure there are no creases. Once you have smoothed it out, lay the wadding on top and then the quilt top.
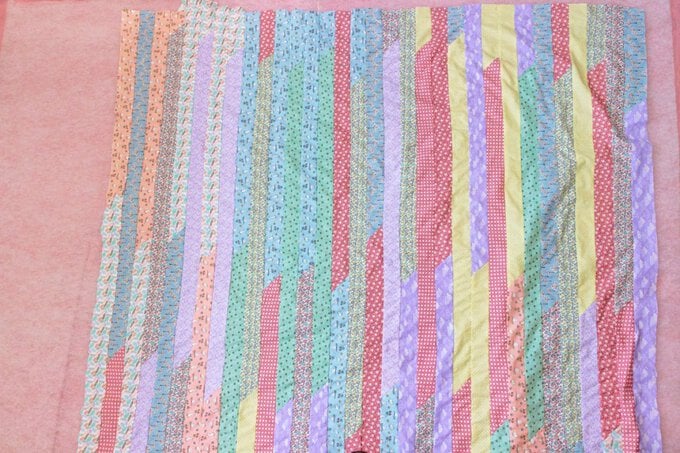
When you are happy with the alignment, cut the fabric and wadding to size using the quilt top as a template.
Once you have cut everything to size you can start fixing the layers together. You can use safety pins to sandwich your quilt, pin through all three layers and space them a few inches apart, smoothing as you go.
Whichever method you choose, you should end up with all three layers secured together. Trim the edges of your quilt so that they are flush with each other.
You can now sew the layers together to secure your quilt. Position your needle so that it goes into the seam between the strips and sew down the row. This will result in a line of stitching that is hidden in the join referred to as “stitching in the ditch”.
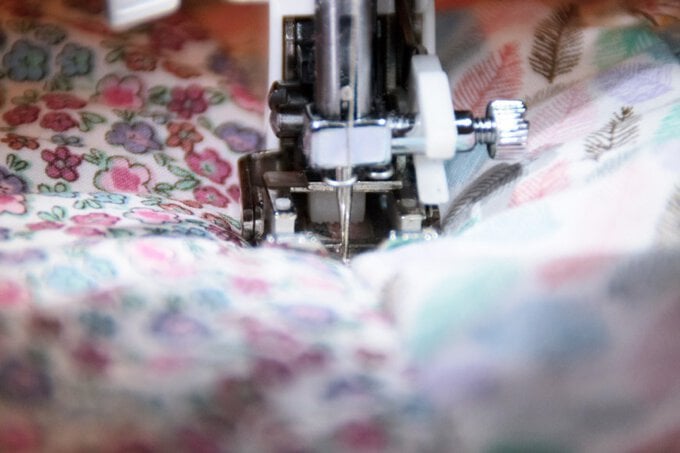
Repeat this for every few rows, until you reach the bottom of the quilt. You can do this for each row if you wish.
Now it's time to make the binding for the edge of your quilt. Decide how much of a border you would like and cut out strips of fabric double the measurement. For example, if I wanted a two inch border I would cut out a 4 inch wide strip so that it can be folded over the quilt edge.
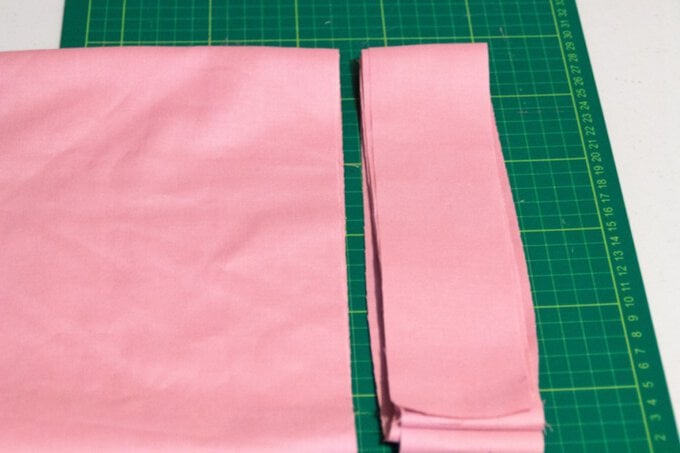
Measure your binding by pinning the strips together, end to end and laying them around the edge of the quilt until you have enough to go all the way round with a few inches overlap.
When you have enough binding strips cut, join them together the same way that you first joined the jelly roll strips; lay one face up and another perpendicularly face down and sew at a 45 degree angle.
Once you have finished you will have one long strip of fabric. Fold and press the long edges over approximately a quarter of an inch along the length of the strip, this will hide the raw edges of the fabric.
Fold the strip in half along its length and over the edge of the quilt. You can pin the binding into position before you sew to stop it from moving.
Sew close to the edge where the binding meets the quilt to attach it, make sure that both sides of the binding are caught by the stitching.
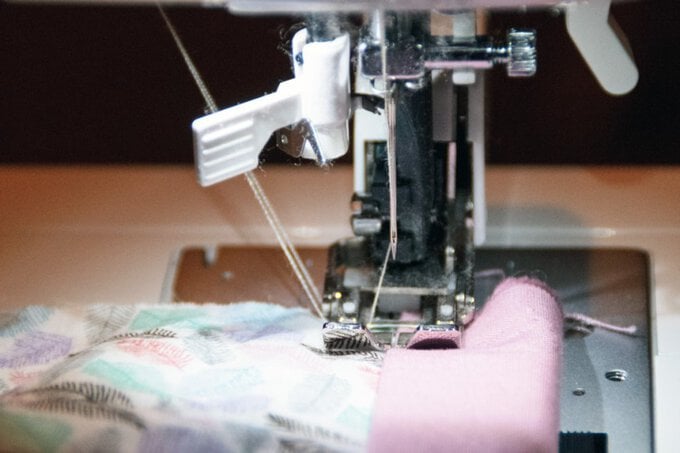
Once you have attached the binding, your quilt is finished. You can give the quilt a steam with an iron if there are any folds from sewing or to make sure there are no creases.
