How to Sew Three Embroidery Hoop Heart Designs
Embroidery is a huge crafting trend this year, so why not try your hand at these three gorgeous embroidery heart designs and make a great handmade gift for someone special in your life.
Our Haberdashery expert, Kathi, has provided some tips and tricks on how to achieve different stitch patterns within your pieces and has provided some handy downloadable patterns to follow!
All the different embroidery threads and the specific colours needed for each of the heart designs can be viewed in the attached pdf document below.
Project and instructions by Katherine Lucy
Discover more Embroidery projects here >
You will need
Subtotal
Is $ 4.49
Subtotal
Is $ 8.49
Subtotal
Is $ 8.49
Subtotal
Is $ 16.00
How to make
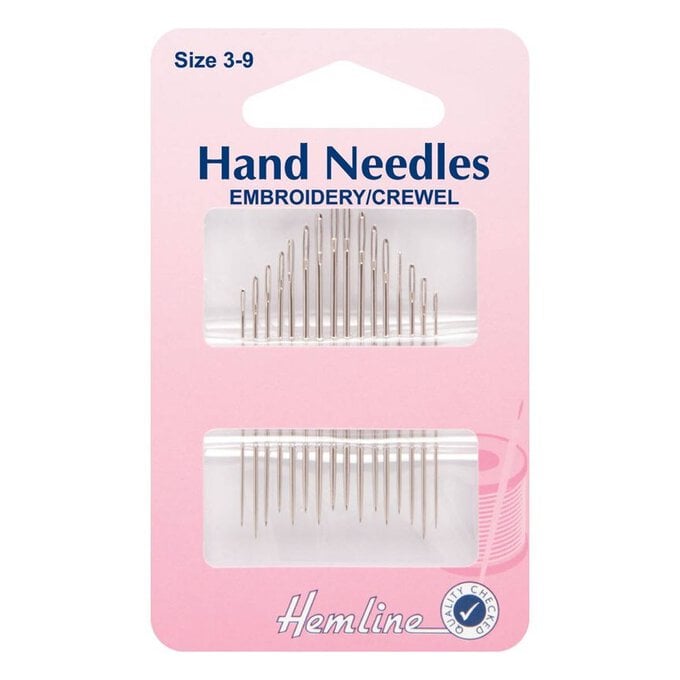
* Hemline Size 3 to 9 Embroidery Crewel Needles 16 Pack
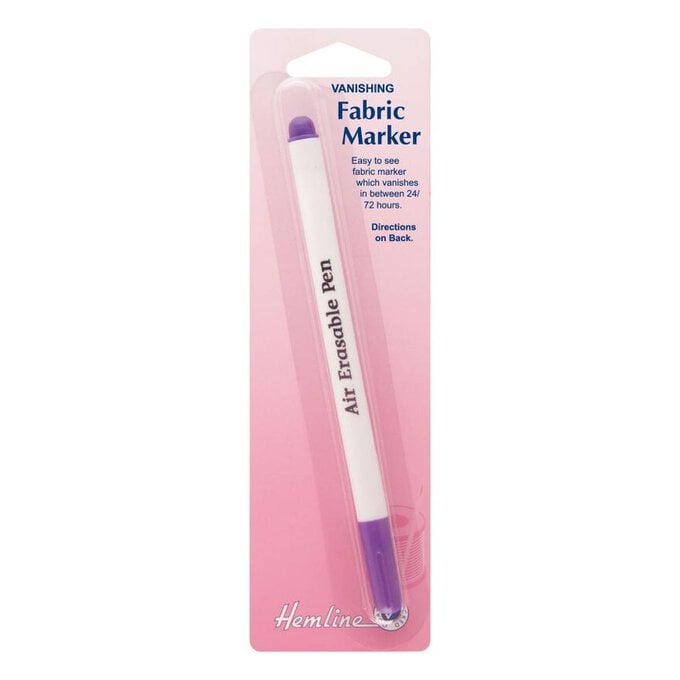
* Hemline Vanishing Fabric Marker
* Petrol Embroidery Scissors
* Bamboo Embroidery Hoop 6 Inches
* Bamboo Embroidery Hoop 4 Inches
* Bamboo Embroidery Hoop 5 Inches
* DMC Mouline Light Effects Embroidery Thread 8m (Gold & Light Pink)
* DMC Mouline Special 25 Cotton Thread 8m (7 Different Shades of Pink & Red)
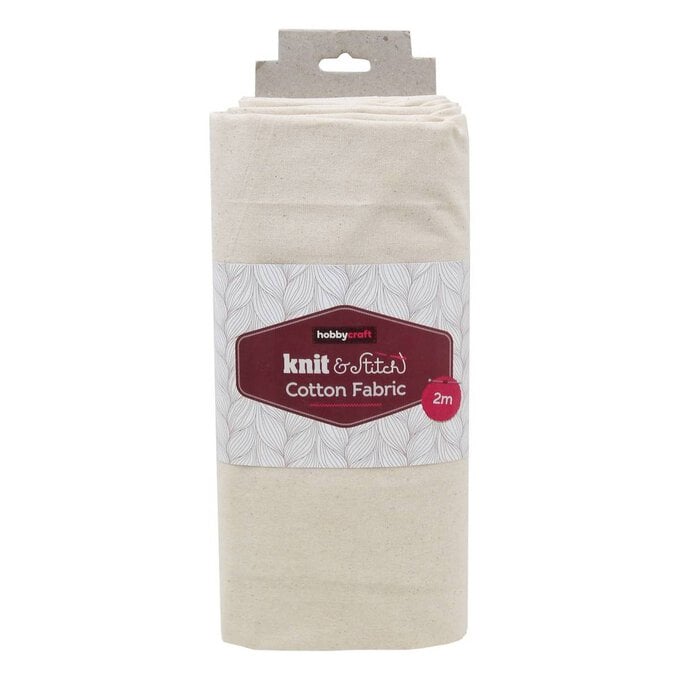
* Cotton Calico Fabric Pack 152cm x 2m
* Hot Glue Gun/Glue Sticks

Download the PDF template here
We've included specific thread names in this document, however we encourage you to use scraps that you have in your stash! All you need is a variety of pink/red shades and gold embroidery thread.

Download and print the embroidery hearts template. Iron your fabric and using a good light source or light box trace the designs onto the fabric with a fabric pencil or pen.
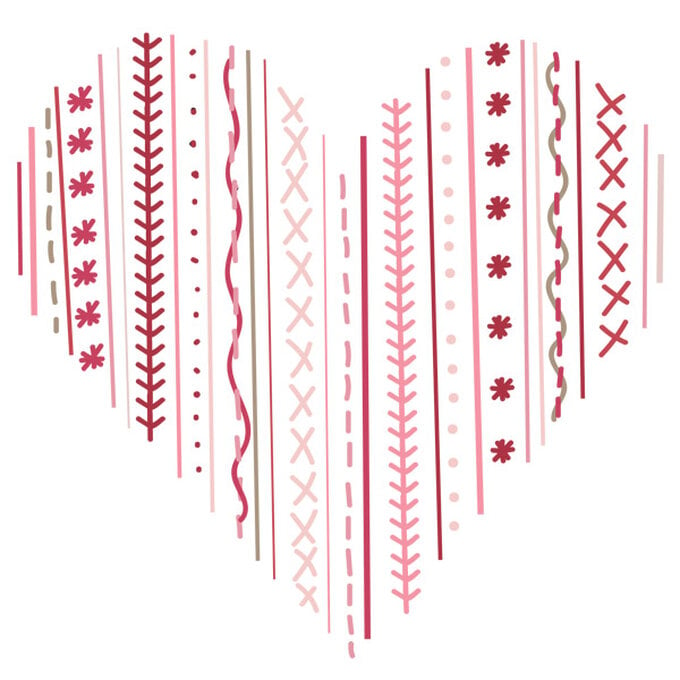
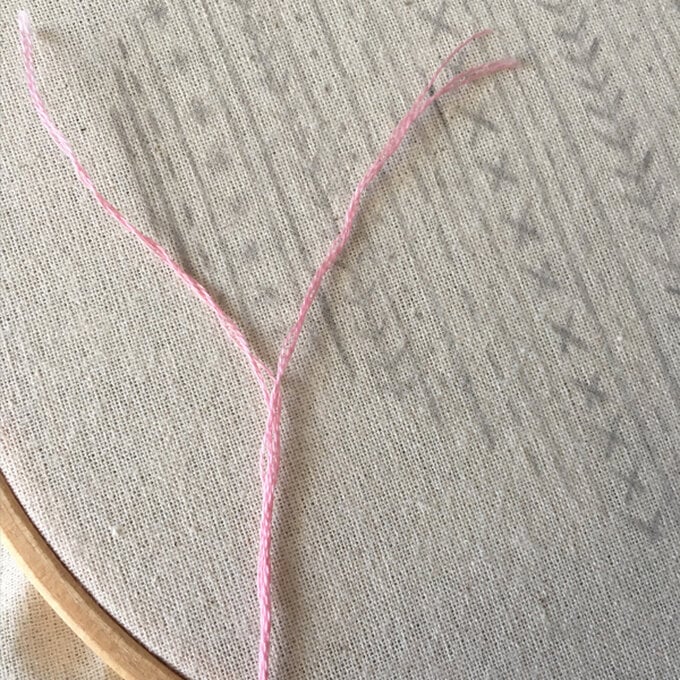
For all of these designs, split your embroidery floss in half so that you have three strands.
Starting with the 6” design pick up your needle and begin the design. The following stitch guide will show you how to create each stitch.
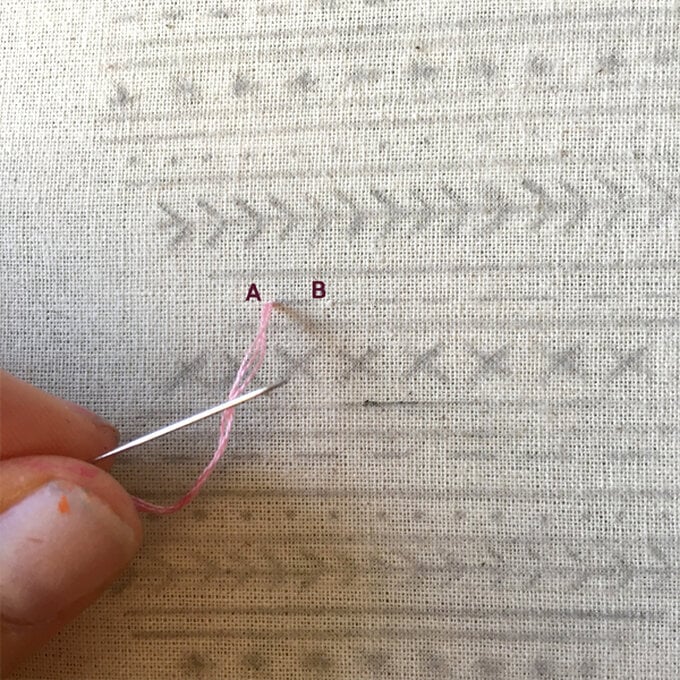
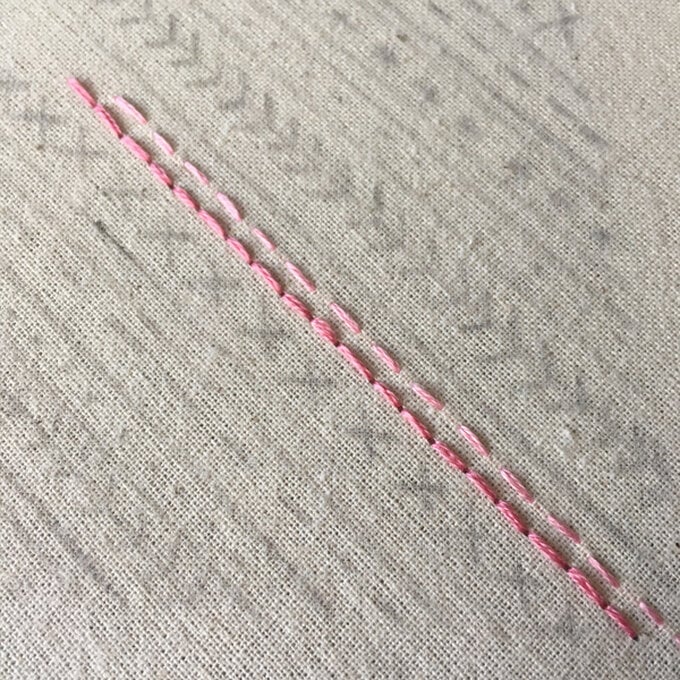
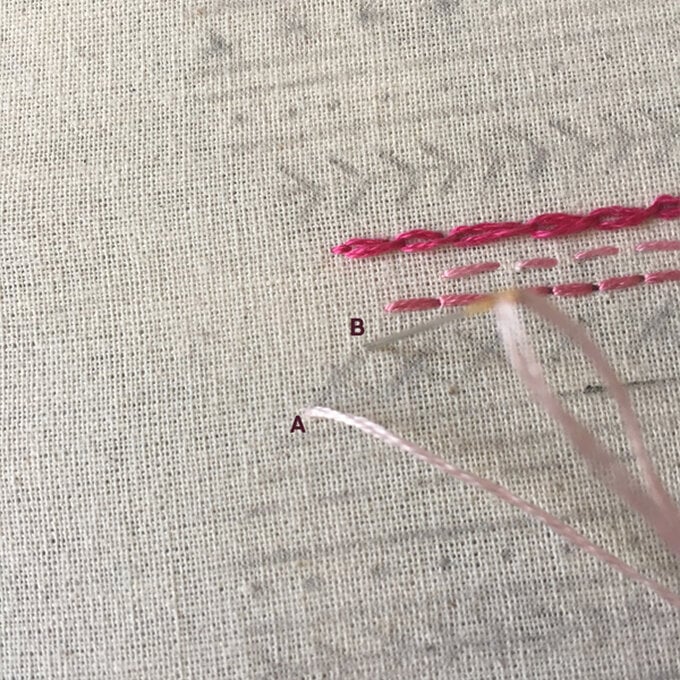
Starting at the bottom centre, pull the threaded needle to the front of the fabric at A. Then return to the back of the fabric at B. Pull the needle through again and repeat.
The gaps between A and B can be as long or a short as you would like. For this design I have kept them short. Tie off at the back.
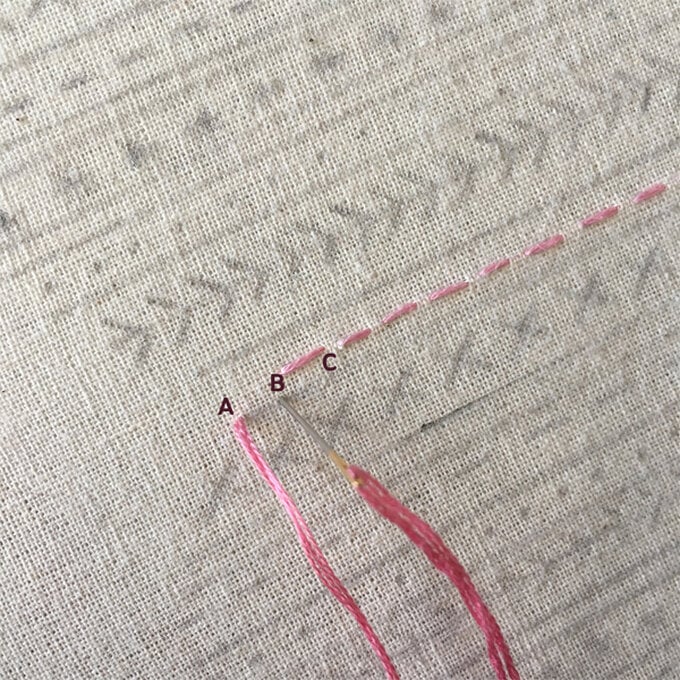
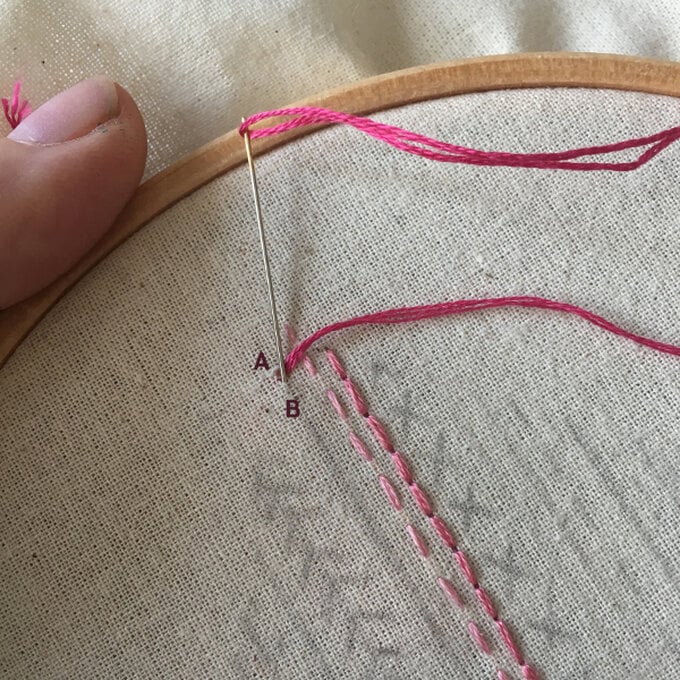
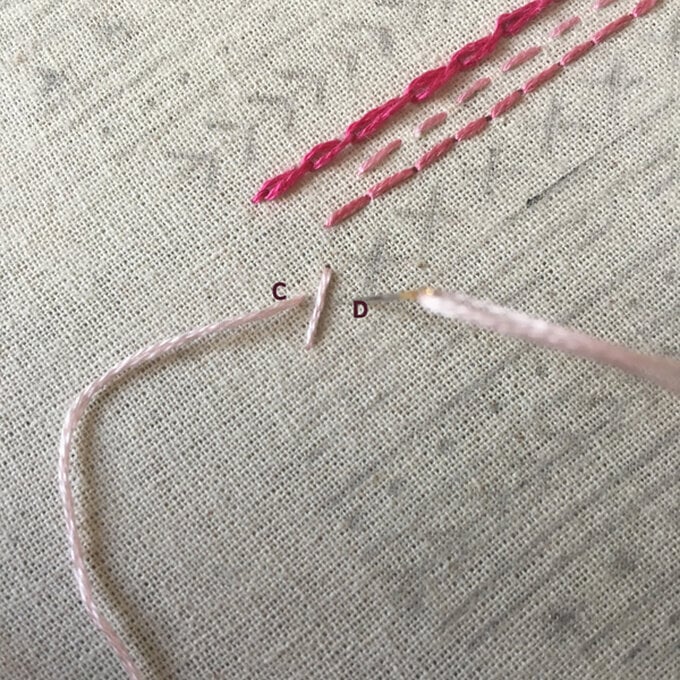
Starting at the bottom again move onto the next line. Bring your needle through to the front of the fabric at A. Then go backwards and return your needle to the back of your fabric at B. Next you're going to move your needle forward, coming up at C.
Repeat this process to create consecutive back stitches by working backwards, poking your needle through at the end of the previous stitch, then moving your needle forward. Try to make small, even stitches of equal length for this. Once you reach the end of the line, tie off.
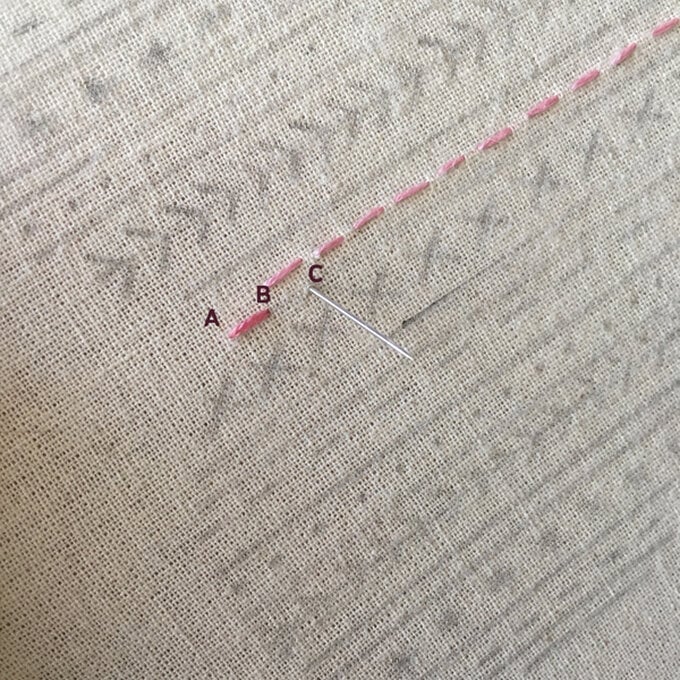
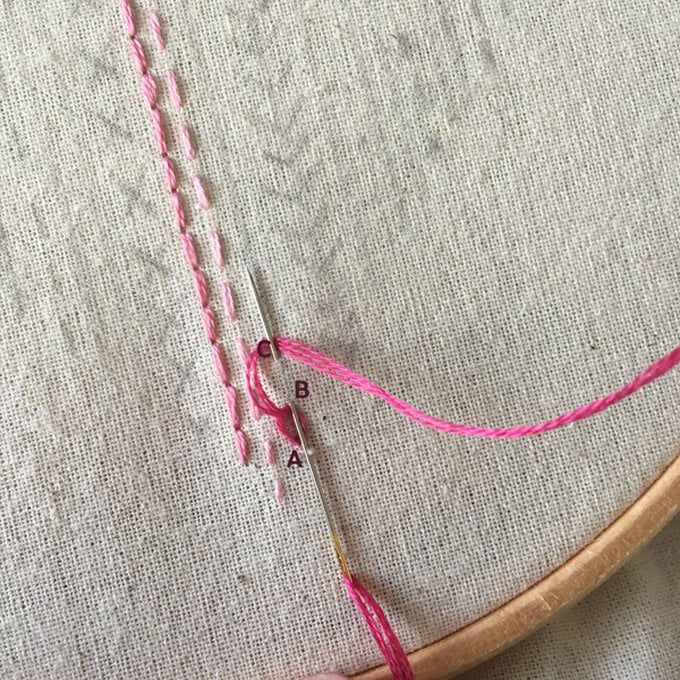
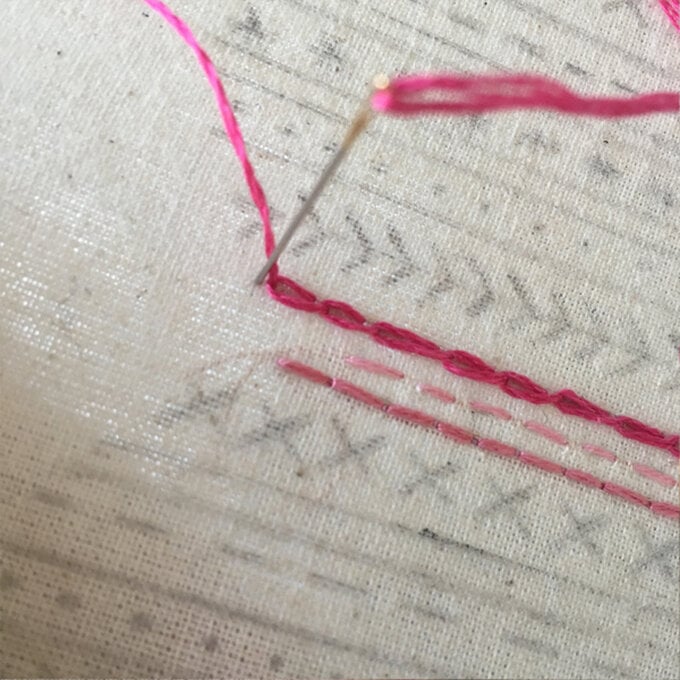
Start again at the bottom of the pattern and move your way up. Bring the threaded needle to the front at A. Insert the needle back into the fabric at A and then just poke the needle back up to the front at B. Loop the thread under the needle point then pull the thread through to create your first chain.
Begin the next stitch in the same way by inserting the needle back into the fabric at B (now under the loop), coming up at C (outside the loop). Bring the thread around and under the needle point and pull the thread through.
On your last stitch, end the chain by inserting your needle into the end of the last chain (outside the loop). Pull the thread through to the back and tie off.
Starting at the bottom of your pattern, bring your needle through to the front of the fabric at A and then back down again at B (creating a diagonal straight stitch). Next make a second stitch from C to D. Make sure each cross (x) overlap is in the same direction.
Once you finish your row and tie off.
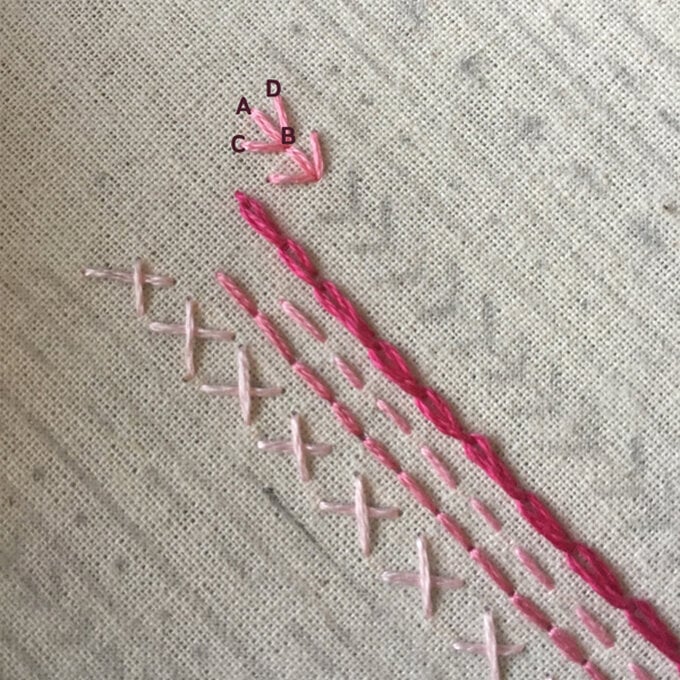
Fern stitch consists of three straight stitches of equal length radiating from the same central point B. Starting at the top of the pattern and moving your way down, bring the thread through at B and then make a Straight Stitch to A. Bring the thread back through again at point B and make another Straight Stitch to C. Bring the thread back through at point B (for the final time) and make a final straight stitch to D.
Repeat this pattern by moving the needle down and coming up through the next center stitch to begin the next three radiating stitches.
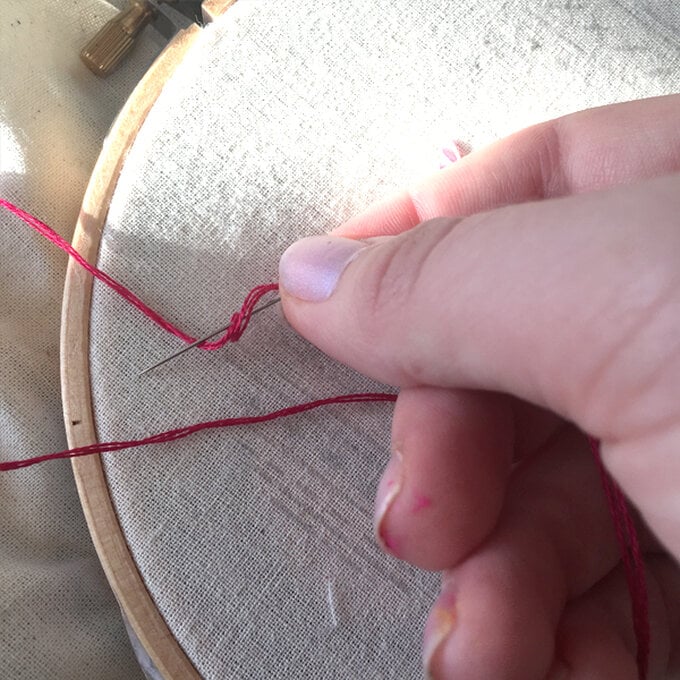
Bring the needle out through the fabric, wrap the thread around the needle and pull tight. Put the needle back through the fabric as close to the original point. Make sure the thread is pulled tight so that the knot doesn't loosen.
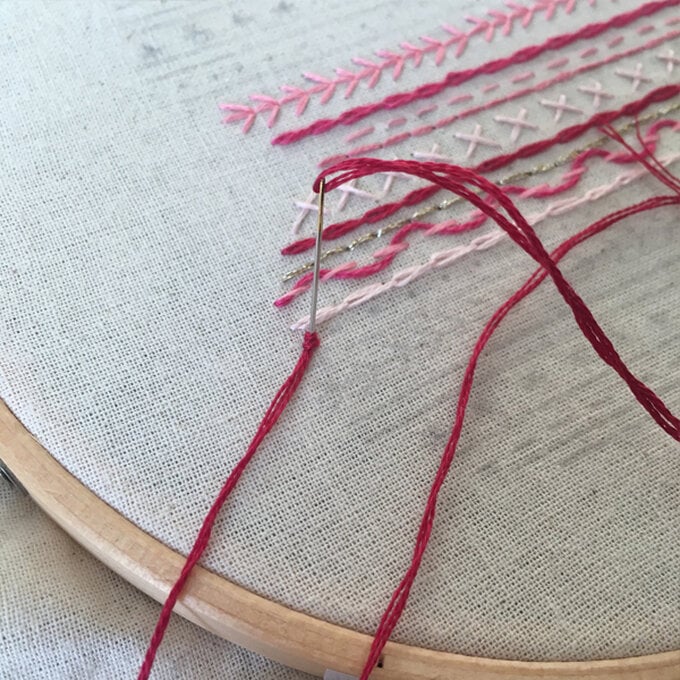
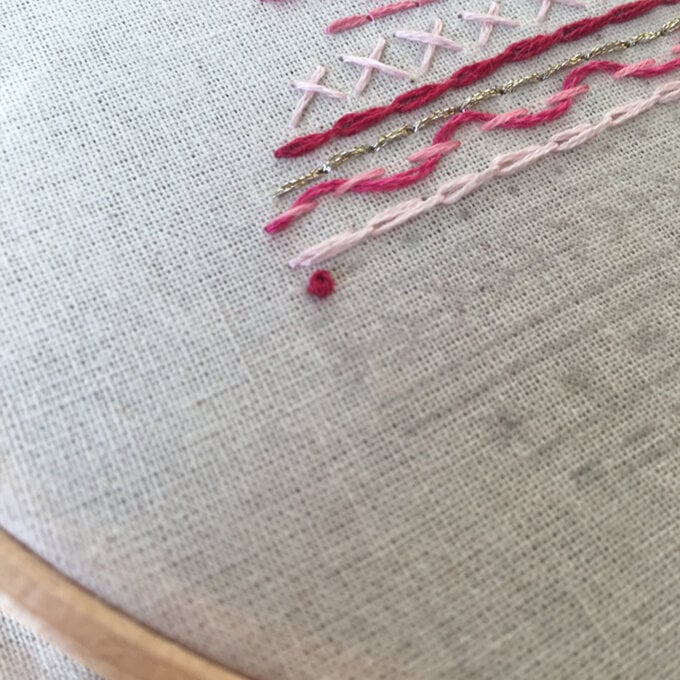
This is an Eight Point Star Stitch. Begin by first making a basic cross stitch. Then make another cross stitch diagonally on top of the first one to form a star.
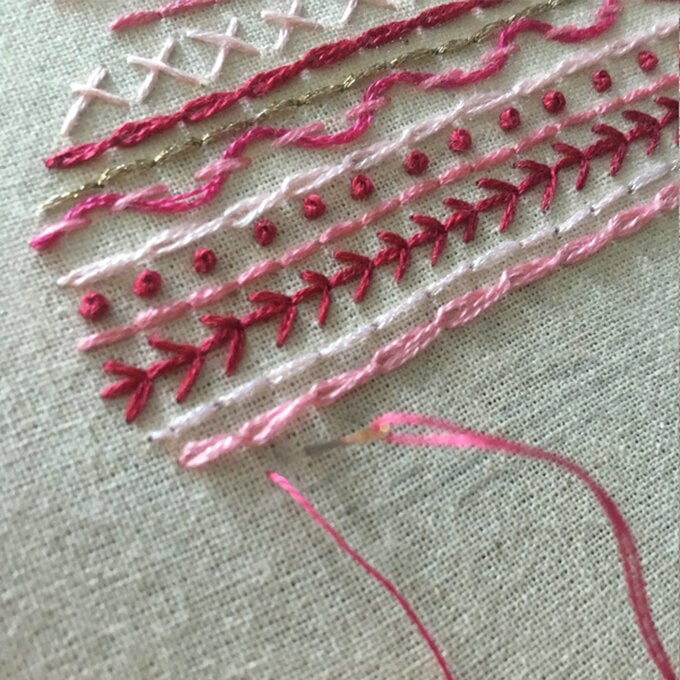
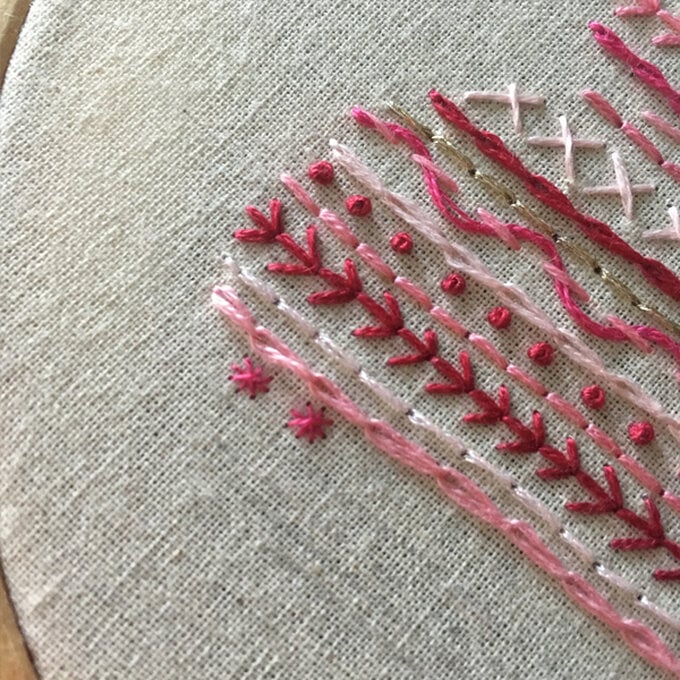
First make a line of small close Running Stitches and tie off. Start a second floss strand (in a different color) at the same spot as the first line of running stitches, bringing your needle to the front of your fabric. Working on the front only, without stitching through the fabric, insert the needle under the first Running Stitch, then through the second Running Stitch.
Continue weaving back and forth under the Running Stitches until you reach the end of the line and tie off.
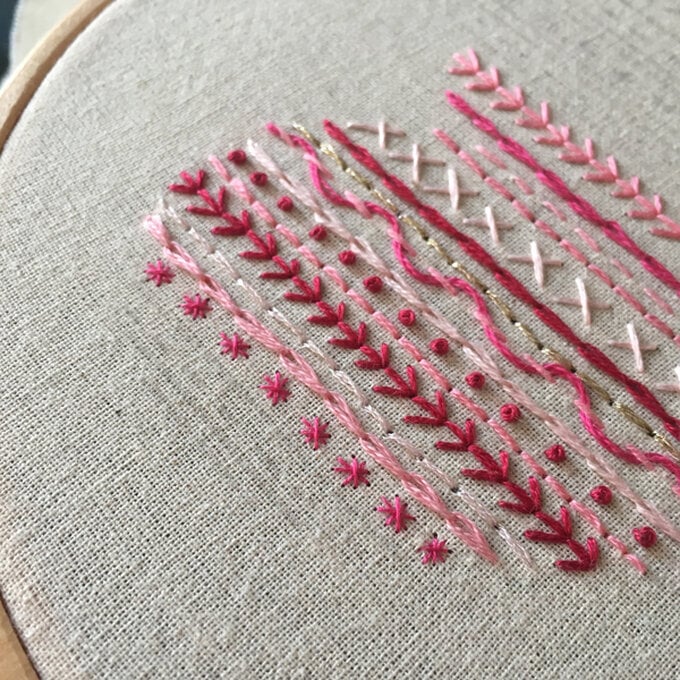
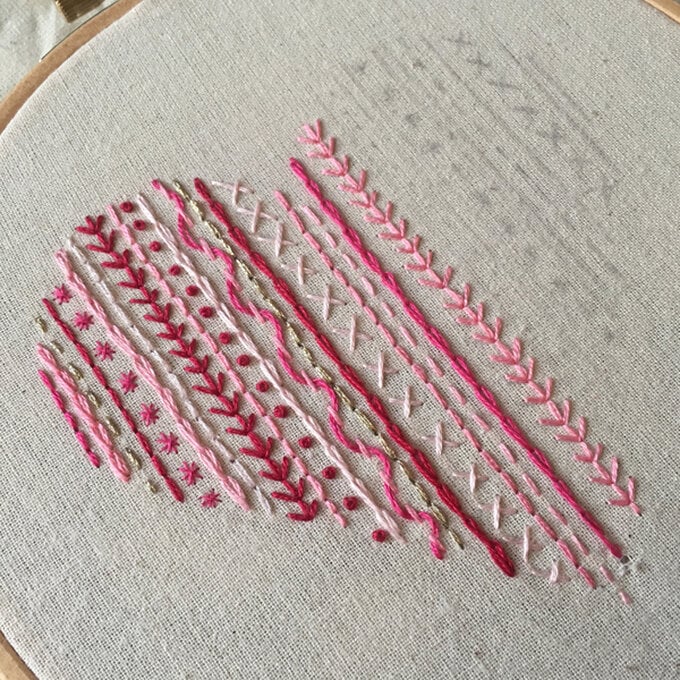
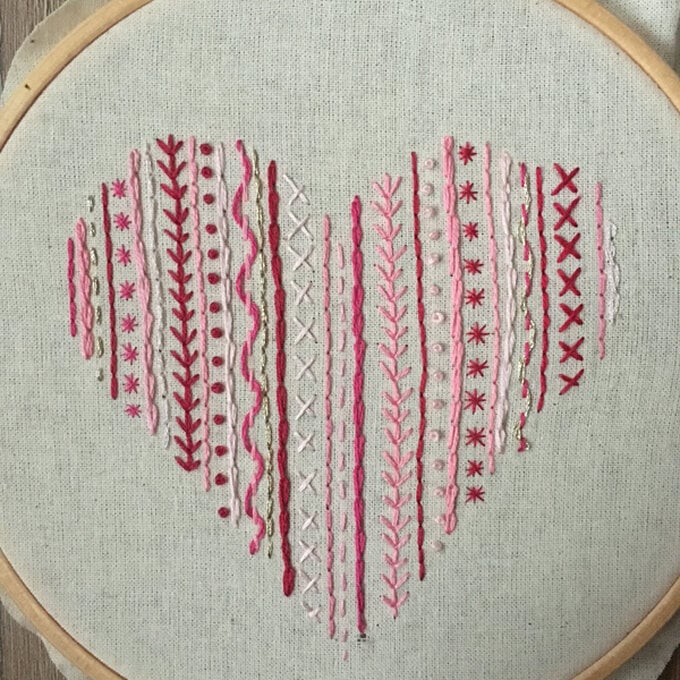
Once you have completed this design, finish off the hoop by adding a piece of embroidery thread to the top so that it can hang.
Turn the hoop over and use hot glue to stick the fabric to the hoop. Finally, cut a circle of felt and use hot glue to stick this to the back..
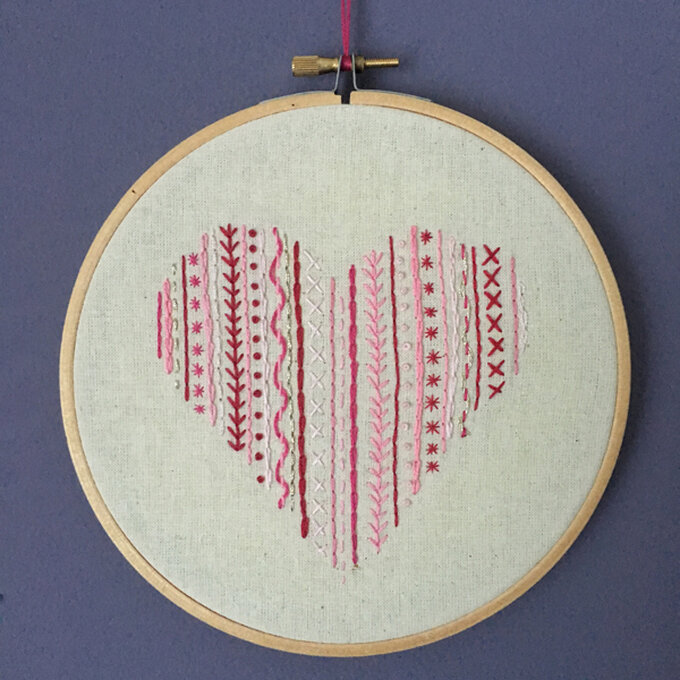
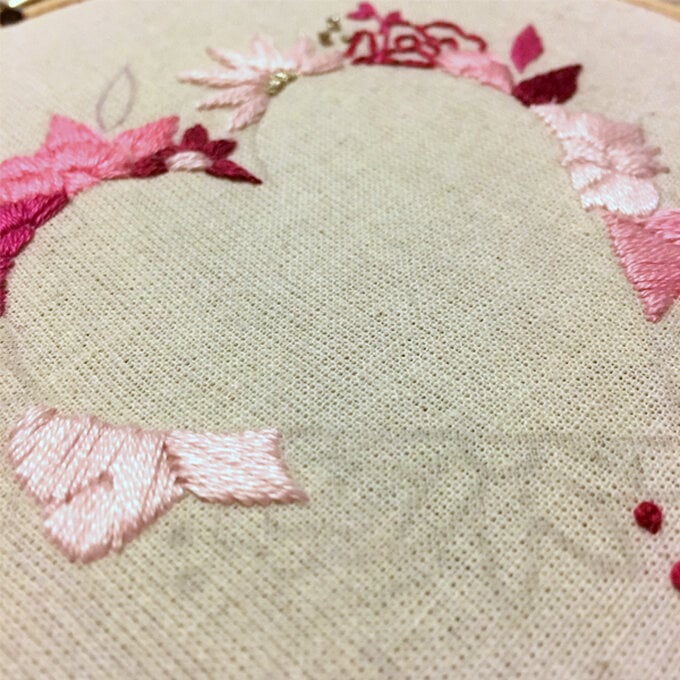
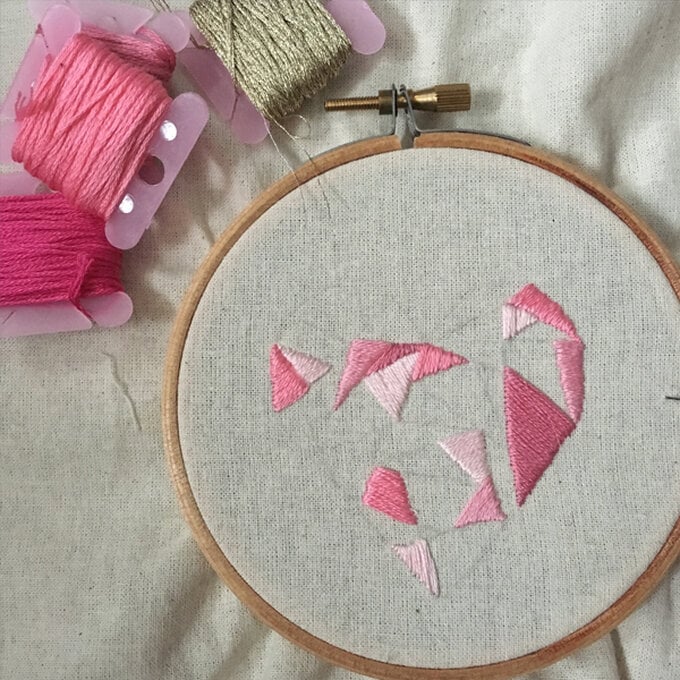
Using satin stitch is a great way to fill out an area!
Start by bring your needle through the fabric along the pattern line, I find it best to start in the middle of the shape you are working on

Once you have completed this design, finish off the hoop by adding a piece of embroidery thread to the top so that it can hang.
Turn the hoop over and use hot glue to stick the fabric to the hoop.
Finally, cut a circle of felt and use hot glue to stick this to the back.

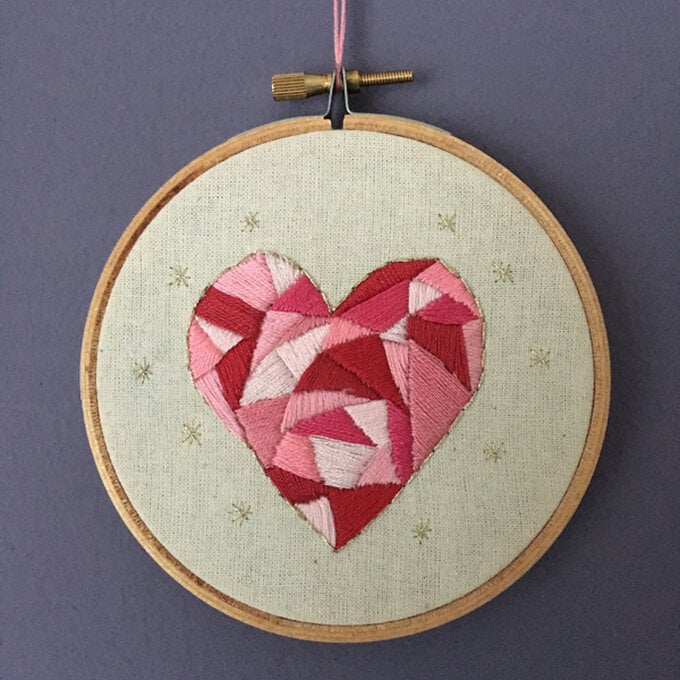
The geometric heart design is made using satin stitch with a gold back stitch outline and gold star stitches around the edge.
Follow the downloadable template and guide for thread colours and stitches.
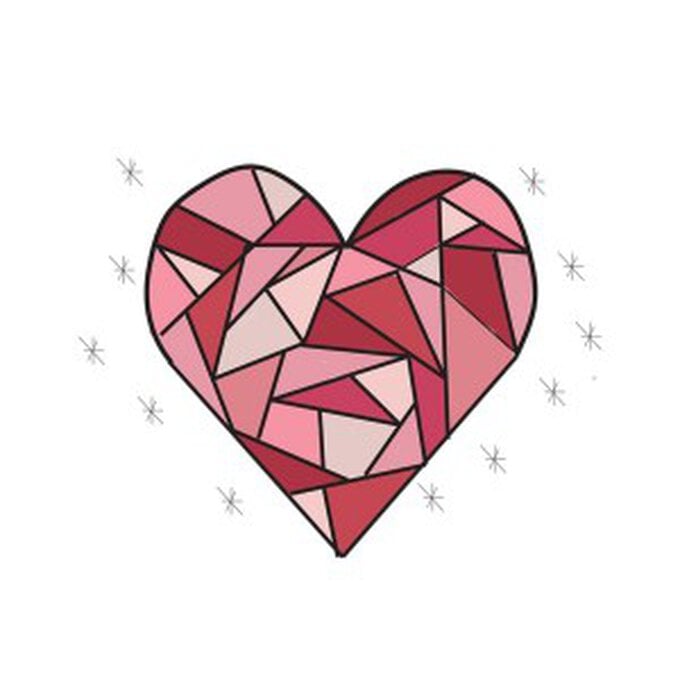
Add a gold border to the heart and add some star stitches around the outside for further decoration
Turn the hoop over and use hot glue to stick the fabric to the hoop.
Finally, cut a circle of felt and use hot glue to stick this to the back.
