Skip to Content (Press Enter) Skip to Footer (Press Enter)

Cricut: How to Make a Congratulations Card

Level
Beginner
Time
1 hour
Budget
<10

This 'Congrats' card is perfect for any occasion; a New Job, Engagement, New Home etc. The subtle debossed star design gives the card a very tactile effect which pairs brilliantly with the contrasting bold text.

It's quick and easy to create using the super-fast Cricut Makerâ„¢ 4. All you need is your Cricut Maker 4, the Cricut debossing tip, scoring wheel, contrasting colours of cardstock and glue.

Please note: This project contains paid-for content from Cricut's Design Spaceâ„¢ app. Screen reference images are taken from the desktop version of Design Space.

Project and instructions by Kate Smith

You will need

Is $ 589.00

Spend £100 on Digital Crafting to get a FREE Vinyl and Card Bundle worth £53 when added to basket
Quantity: 1

Subtotal

Is $ 589.00

Is $ 11.00

Quantity: 1

Subtotal

Is $ 11.00

Is $ 11.00 , was $ 14.00

Spend £100 on Digital Crafting to get a FREE Vinyl and Card Bundle worth £53 when added to basket
Quantity: 1

Subtotal

Is $ 11.00 , was $ 14.00

Is $ 59.00 , was $ 74.00

Spend £100 on Digital Crafting to get a FREE Vinyl and Card Bundle worth £53 when added to basket
Quantity: 1

Subtotal

Is $ 59.00 , was $ 74.00

You’ve viewed 2 of 4 products

Total:
£0.00

You Will Need
* A Cricut Maker

* A4 Pastel Pop Premium Card

* Cricut Scoring Wheel or Stylus

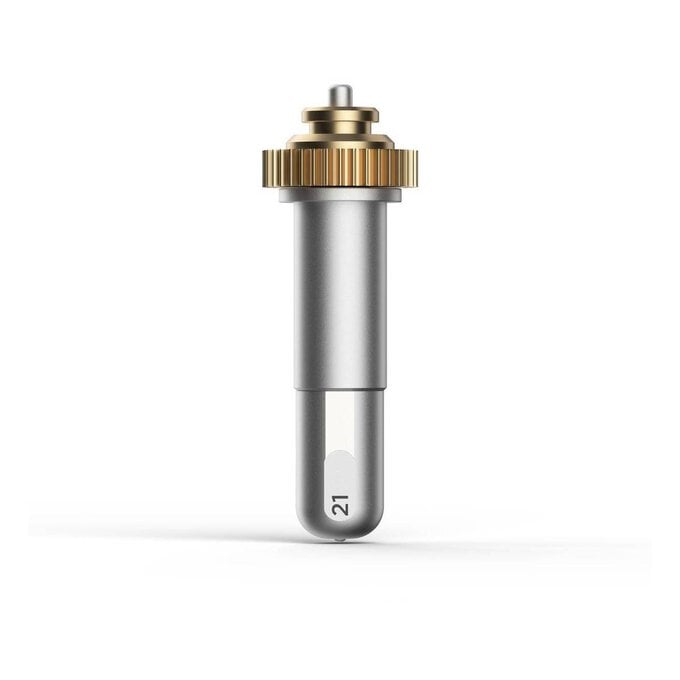
* Cricut Debossing Fine Tip

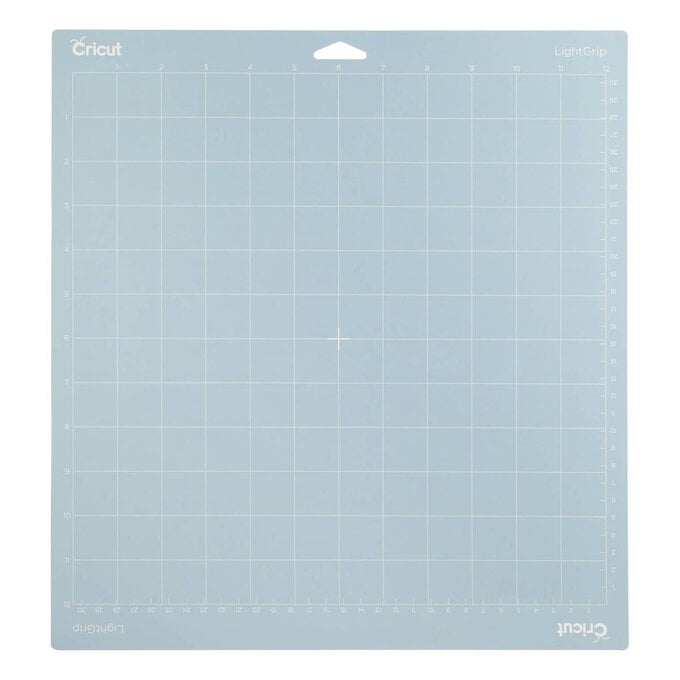
* Cricut Lightgrip Cutting Mat 12 x 12 Inches

* Glue Stick

* A Computer / Tablet / Smartphone with Cricut Design Space app installed


How to make

Step 1

Open the Cricut Design Space project here >


Click 'Make It' and follow the on-screen prompts to set up the project.

idea%5Fcricut%2Dcongratulations%2Dcard%5Fstep1.png?sw=680&q=85
Step 2

When prompted, place the scoring wheel into the clamp on your Cricut Maker 4, as directed, and place your chosen card onto the Cricut LightGrip Cutting Mat.


Load the mat into your Cricut Maker 4 and press the 'Go' arrow.

idea%5Fcricut%2Dcongratulations%2Dcard%5Fstep2.png?sw=680&q=85
Step 3
Follow the on-screen prompts by swapping the Fine Point Blade with the Scoring Wheel and De-Bossing Tip, changing the card on the Cricut LightGrip mat as directed.
idea%5Fcricut%2Dcongratulations%2Dcard%5Fstep3.png?sw=680&q=85
Step 4
When all the elements have been cut, de-bossed and scored; fold along the score lines and fix the card insert inside the card using glue or double-sided tape.
idea%5Fcricut%2Dcongratulations%2Dcard%5Fstep4.png?sw=680&q=85
Finished Card & Envelope
Your recipient will love their personalised card!
idea%5Fcricut%2Dcongratulations%2Dcard%5Fstep5.png?sw=680&q=85
  • bvseo_sdk, dw_cartridge, 18.2.0, p_sdk_3.2.0
  • CLOUD, getReviews, 5ms
  • reviews, product
  • bvseo-msg: Unsuccessful GET. status = 'ERROR', msg = 'Not Found.'; Unsuccessful GET. status = 'ERROR', msg = 'Not Found.';
  • bvseo_sdk, dw_cartridge, 18.2.0, p_sdk_3.2.0
  • CLOUD, getContent, 107ms
  • questions, product
  • bvseo-msg: Unsuccessful GET. status = 'ERROR', msg = 'Not Found.';

Related Products

Top