How to Create a Mixed Media Scrapbook Layout
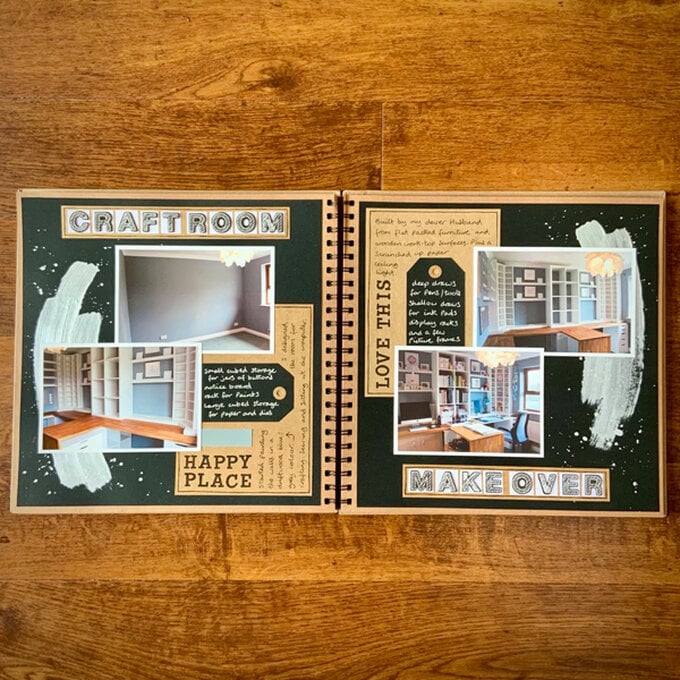
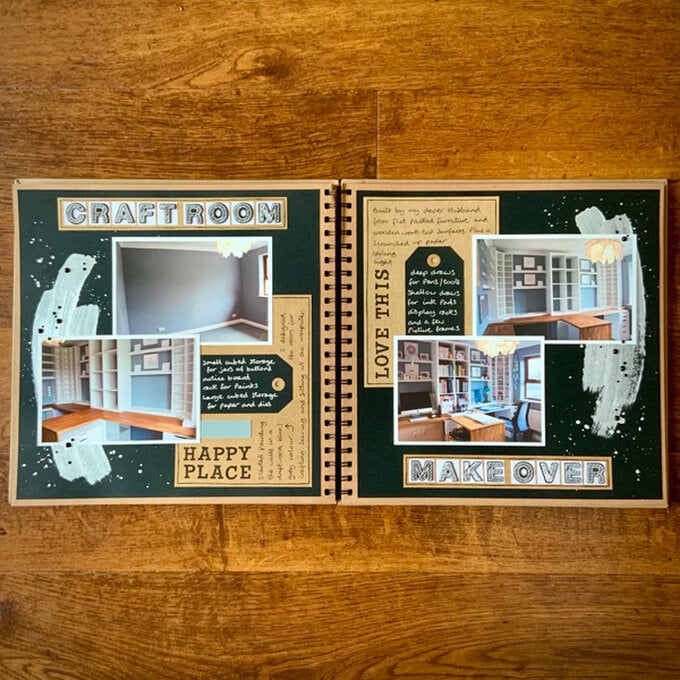
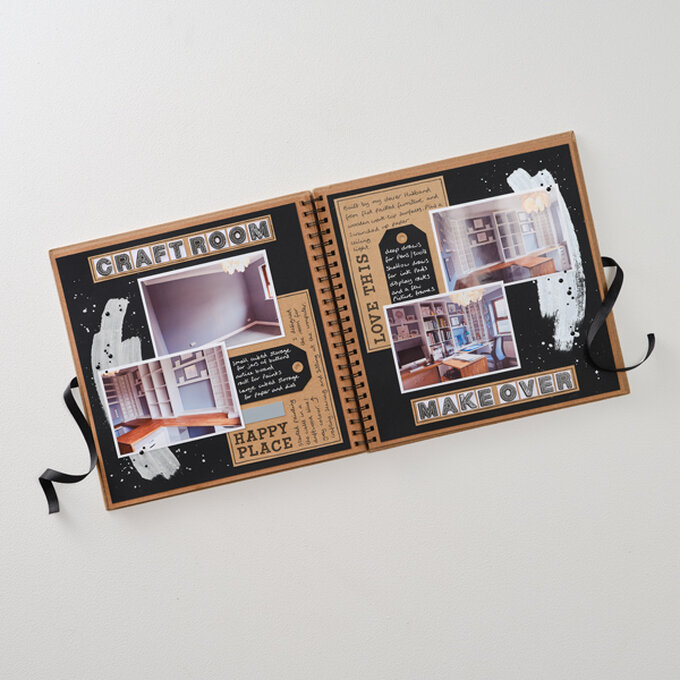
Start the planning of your new home renovations from the ground up with the help of your very own personalised scrapbook layout.
A great project for beginners, this scrapbook idea is the perfect way to get inspired for transforming your home. The layout allows you to get creative in rethinking your home décor, making it fun and simple to bring those ideas to life!
Project and instructions by Sue Smith
You will need
Subtotal
Is $ 9.49
Subtotal
Is $ 4.49
Subtotal
Is $ 4.49
You will also need
*Four 6 x 4 inch printed photographs
*White card
*A paint palette
*Paint brush
*Paint swatch sample
*Scissors
*A pencil
*An eraser
*Water
*A glue stick
*A uni pin fine-line black ink pen
*A uni-ball silver metallic gel pen
How to make
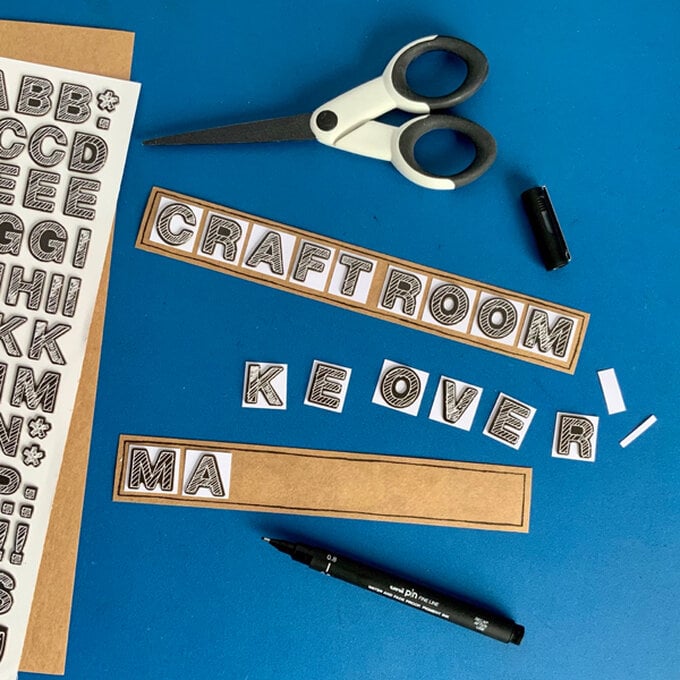
Begin by creating two titles, one for each page.
Remove the relevant letters, and stick them onto a strip of spare white card. Trim the card around each individual letter, leaving a small border.
Next, glue each title onto a panel of kraft card, allowing a small gap between the letters. Trim if necessary and draw a freehand black line to frame the titles.
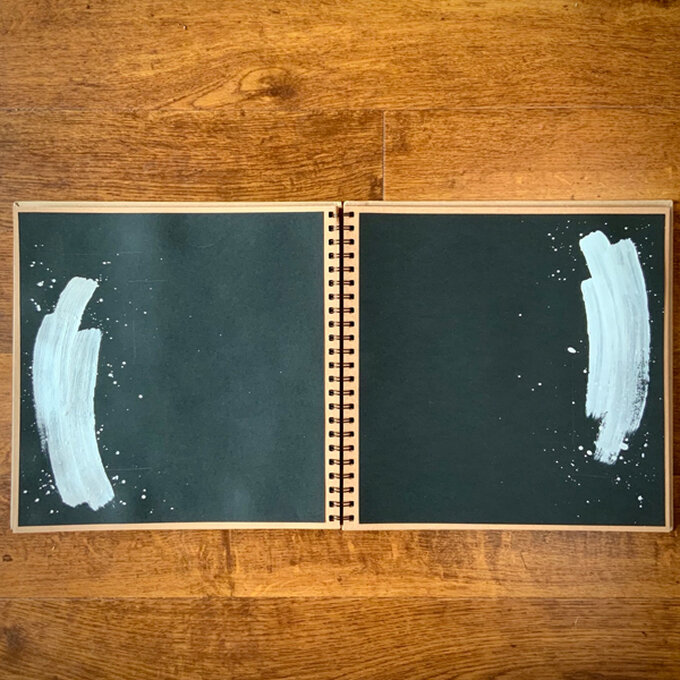
Place a small amount of silver gilding polish into a paint palette, and water down slightly. Apply in curve strokes with a wide brush towards the outer edges of both pages. Paint the left hand strokes towards the bottom of the page, and the right hand strokes towards the top.
Add some paint plashes to complete the effect.
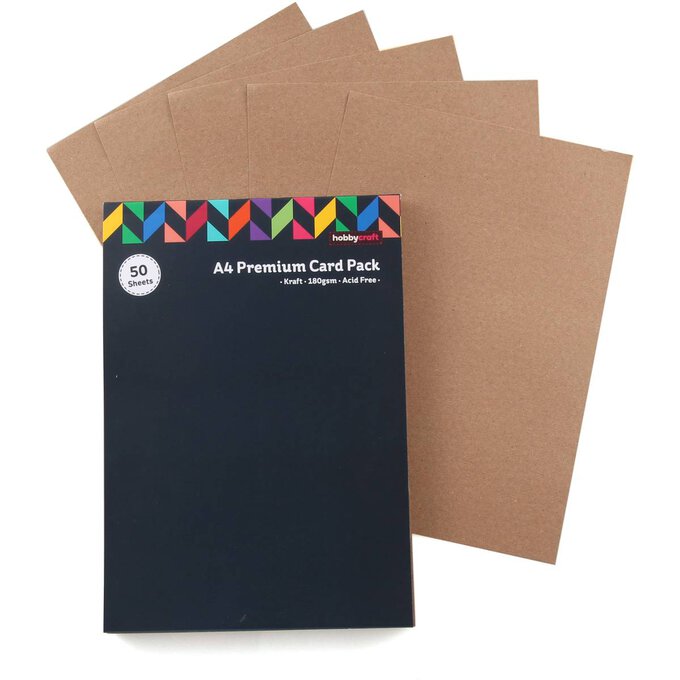
Trim two pieces of kraft card down to a 5 x 7 inch size.
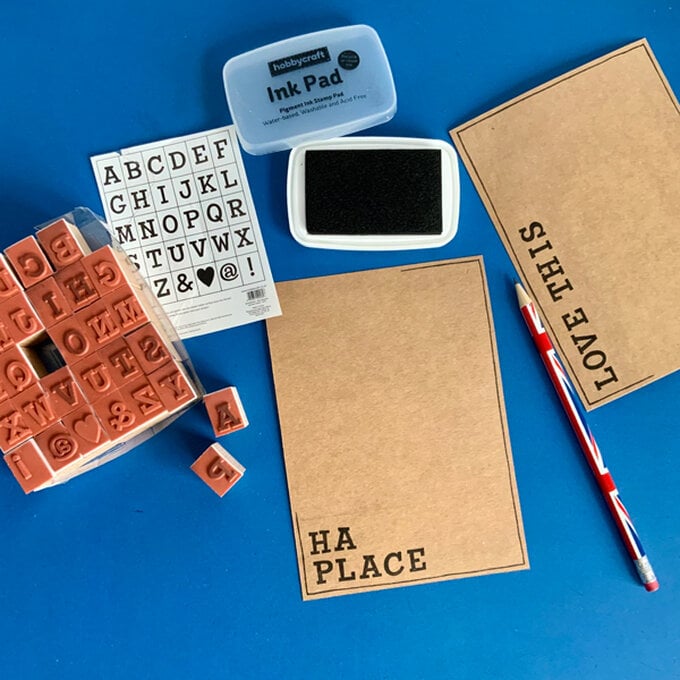
Draw a freehand black line around the edges. Use the bold alphabet stamps to stamp a heading on each piece with back ink.
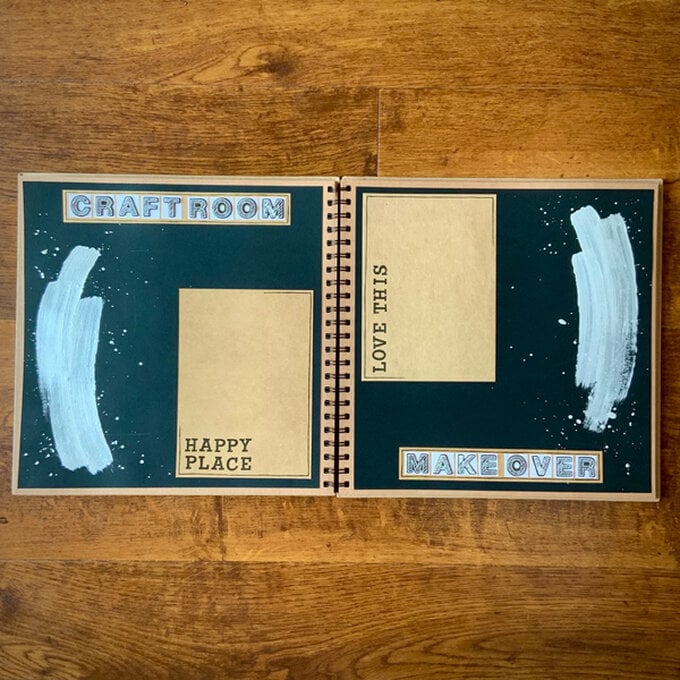
Take two sheets of 12 x 12 inch black card, and cut down to size to fit as a matted layer in the kraft scrapbook.
Glue in place on both sides of the open album pages.
Fix down both title panels centrally top and bottom on each page. Also, fix both stamped panels towards the ring binder corners.
Layer up all four photographs together with a black tag on each page.
Glue in place.
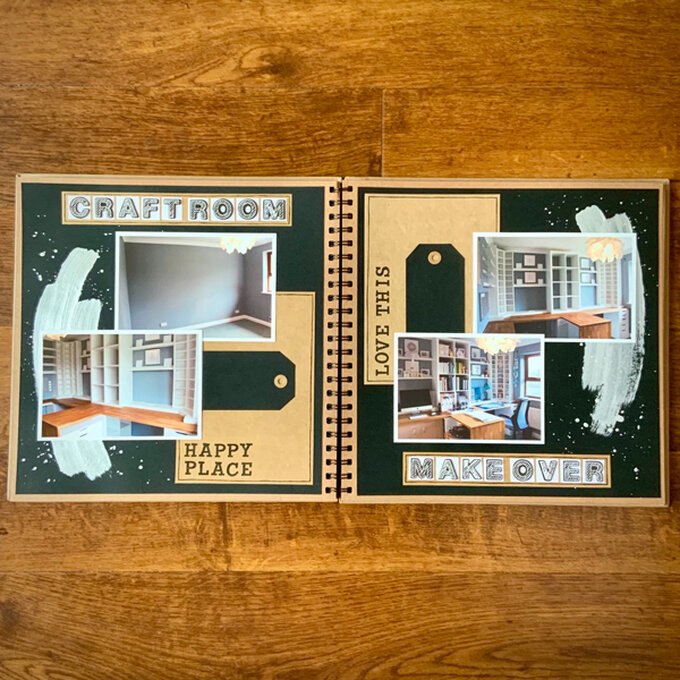
Fix down a possible paint swatch sample onto the left hand kraft panel.
Add some journal words using a black pen to fill both the kraft areas. Then use the silver pen to add more journal words over the black tags.
