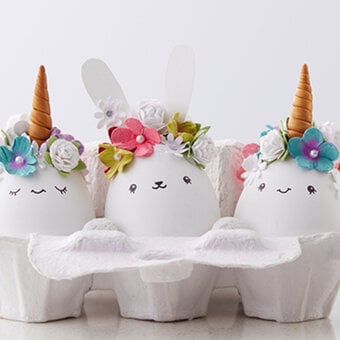
How to Make a Bunny Cake
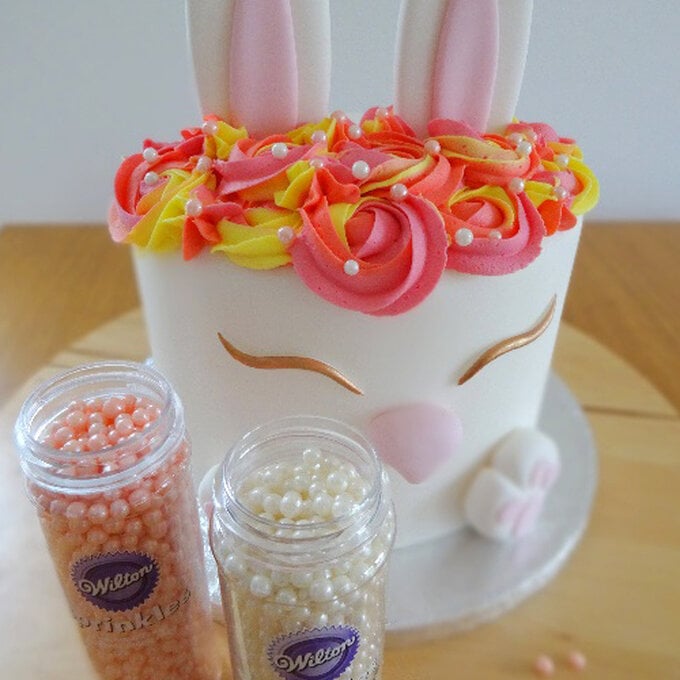
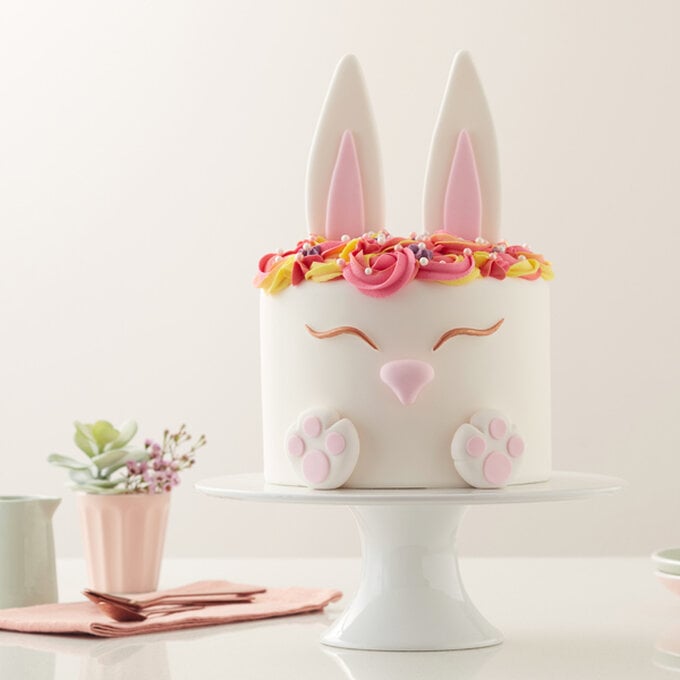
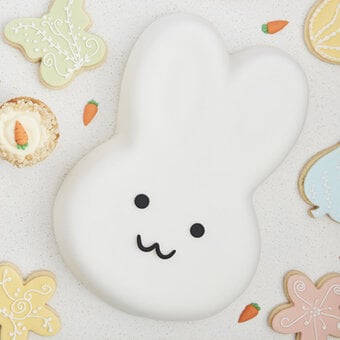
Take a look at this tutorial and learn how to decorate the most adorable bunny cake around! Using edible gold paint and sugar pearls, expert baker Lucy Bruns shows us how simple it is to turn a plain cake into a masterpiece.
You will need
Subtotal
Is $ 8.49
Subtotal
Is $ 4.49
Subtotal
Is $ 4.49
Subtotal
Is $ 4.49
Subtotal
Is $ 4.49
Subtotal
Is $ 4.49
Subtotal
Is $ 6.49
Subtotal
Is $ 4.49
Subtotal
Is $ 7.49
Subtotal
Is $ 30.00
Subtotal
Is $ 8.49
Subtotal
Is $ 8.49
How to make
You will need:
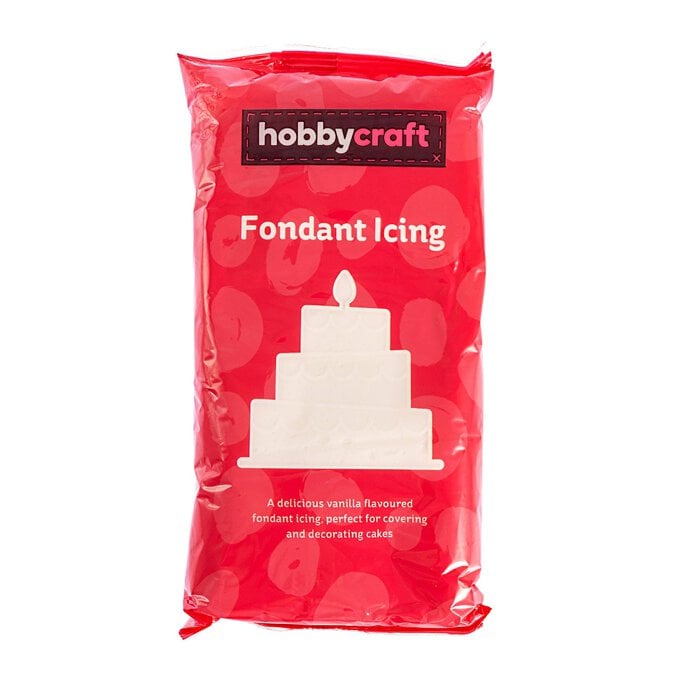
7” round cake, covered with White Ready to Roll Icing
Dresden Tool
Craft Essentials
Cocktail Sticks
Sharp Knife
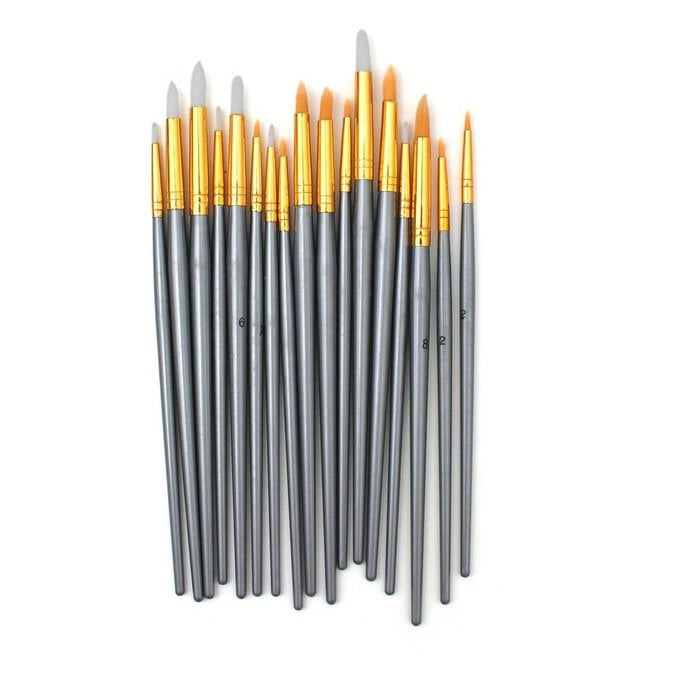
Fine Paintbrush
Water and Brush
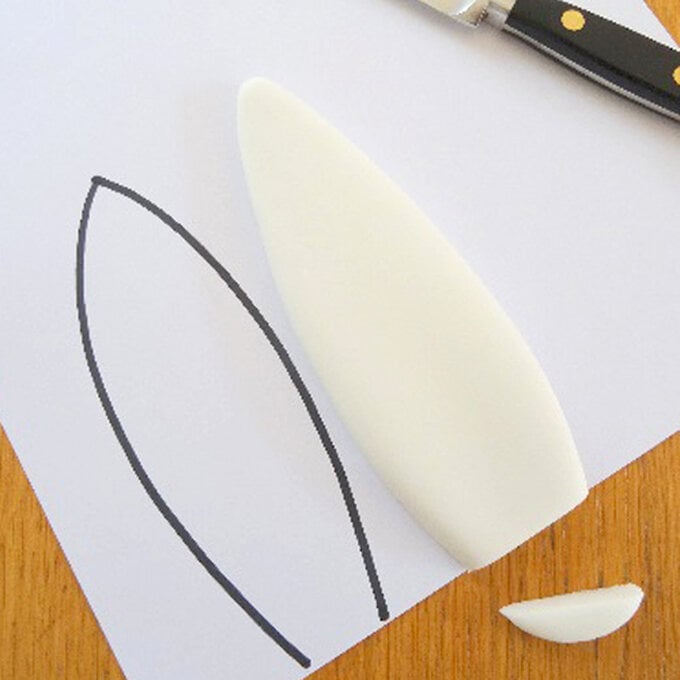
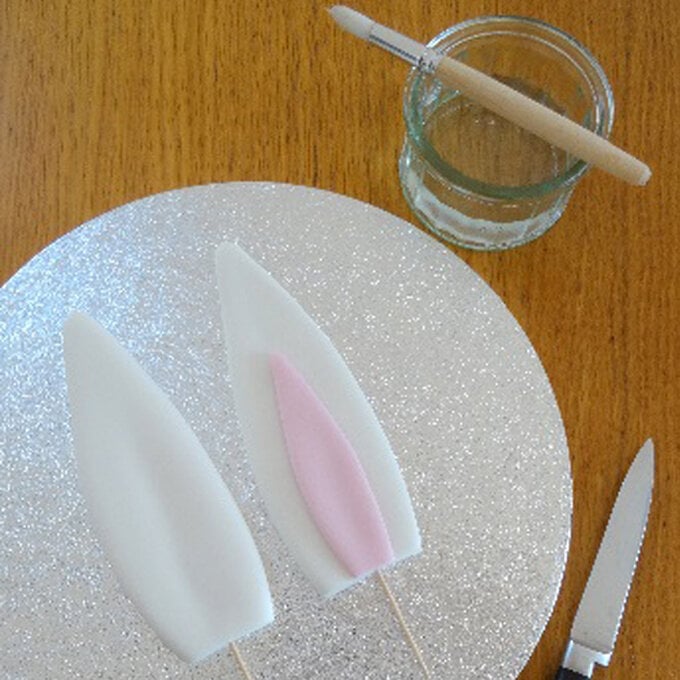
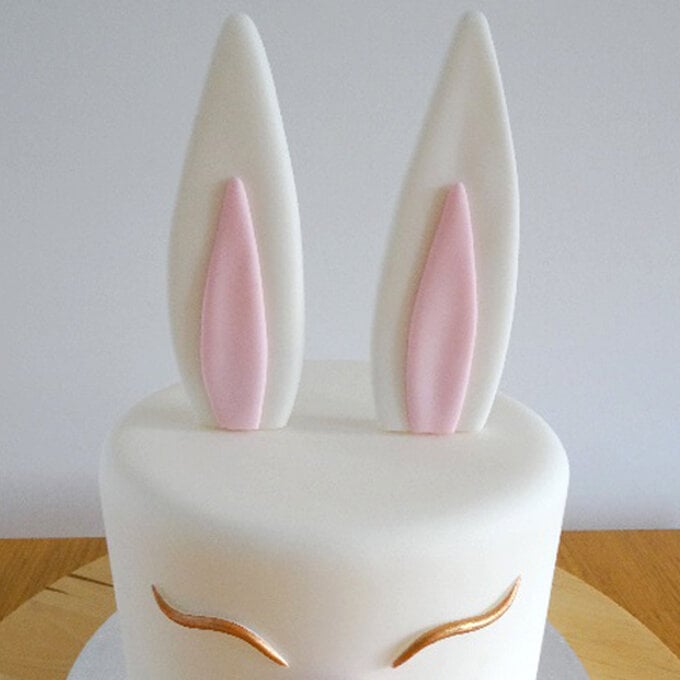
First, make the bunny ears a day or 2 in advance. Take 140g of flowerpaste and divide in two. Shape into 2 ears approx. 15cm long. Cut the bottom of each ear with a sharp knife to make a flat base.
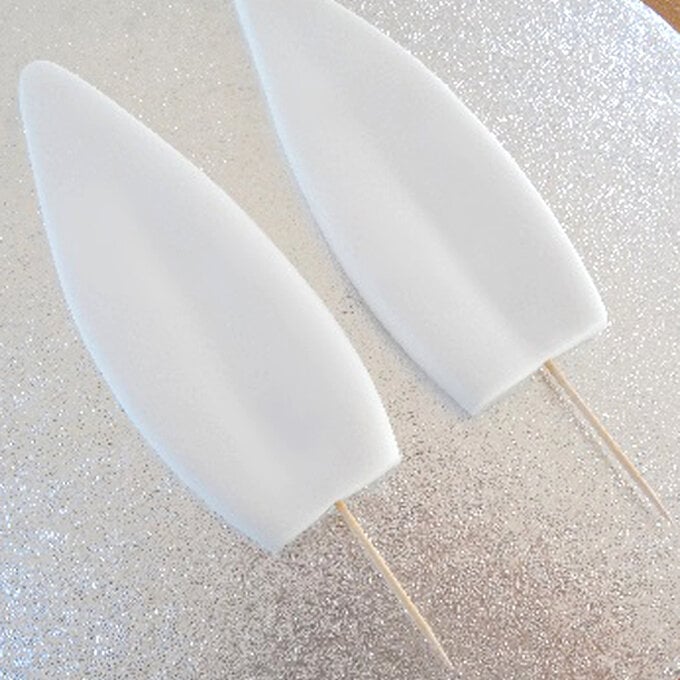
Insert a cocktail stick in each ear – leave half of it protruding from the bottom.
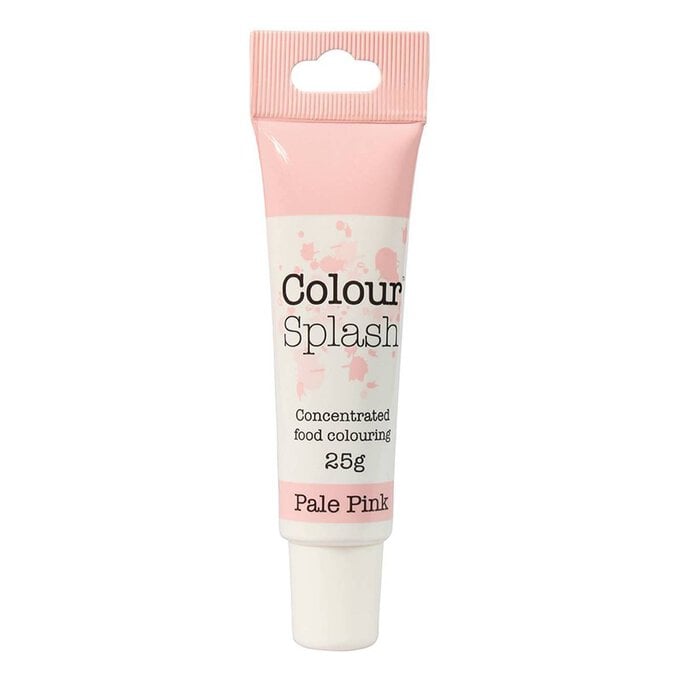
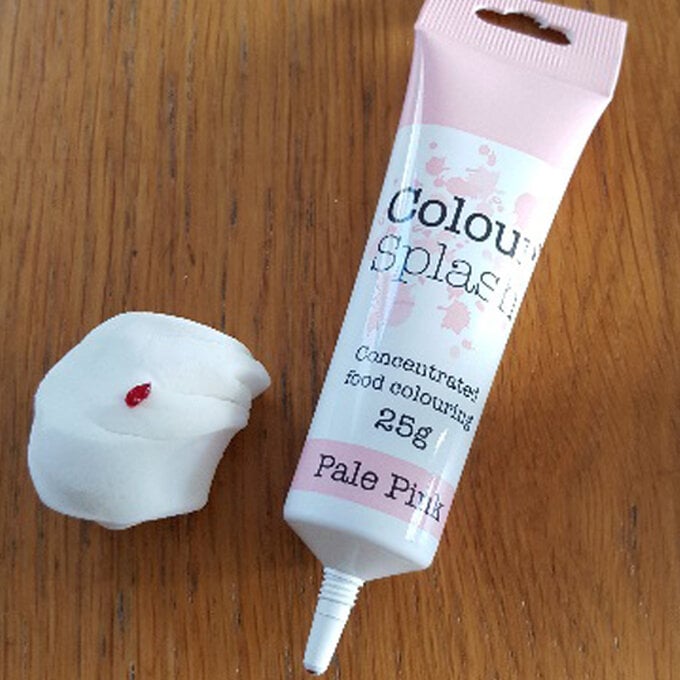
Take 35g of flowerpaste and colour it with the pale pink food colour. You will need 20g for the insides of the ears (reserve the rest for later) – divide in 2 and use your fingers to shape into elongated teardrop shapes.
Stick these to the ears with a little water. Leave the ears for 24-48 hours to set hard.
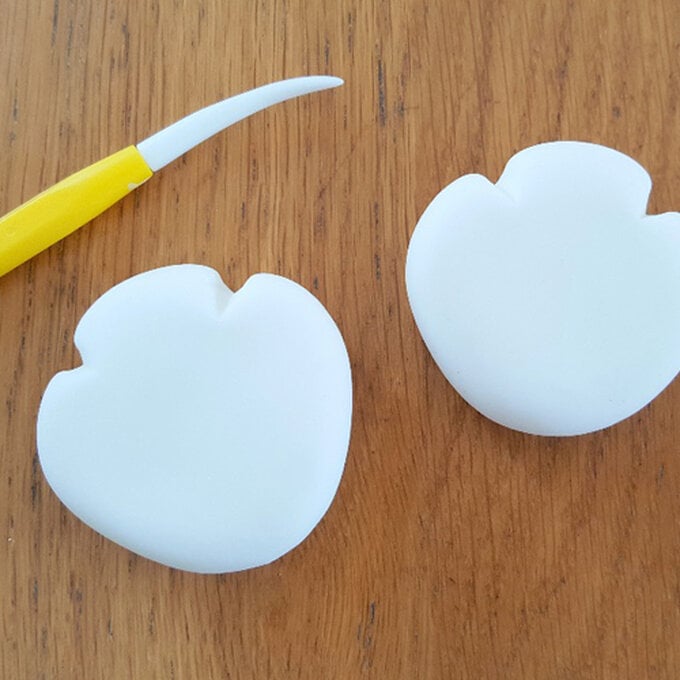
You will need 80g of flowerpaste for the feet – divide in half and roll into 2 balls. Flatten the balls and use a Dresden tool or knife to make 2 indentations for the toes.
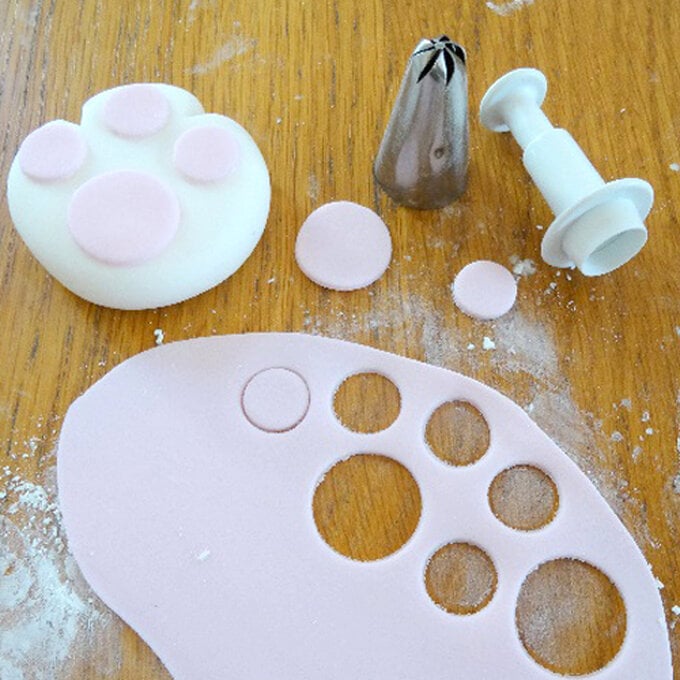
Roll out the remaining pale pink flowerpaste and cut out 2 large circles and 6 smaller circles for the pads of the feet.
Top tip! I used a round plunger cutter and the wide end of a piping nozzle to cut my circles.
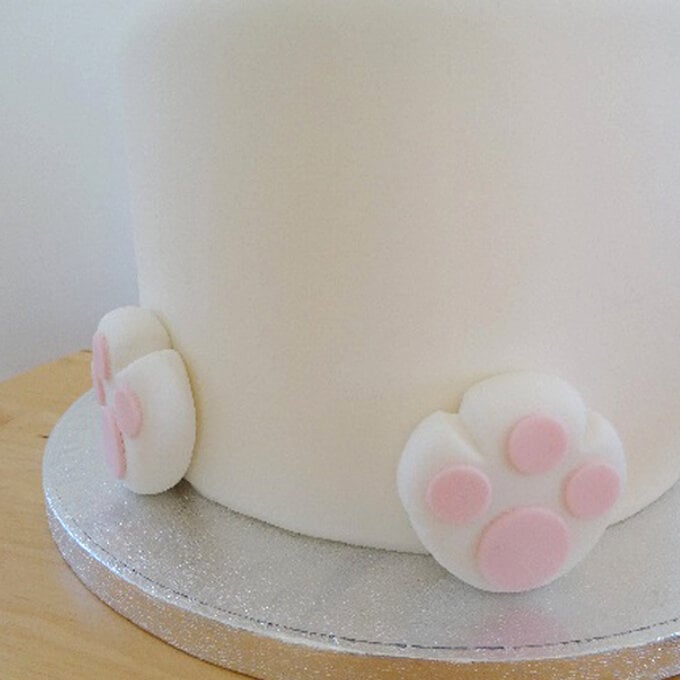
Stick the circles to the feet with water and attach the feet to the base of the cake with the toes pointing upwards.
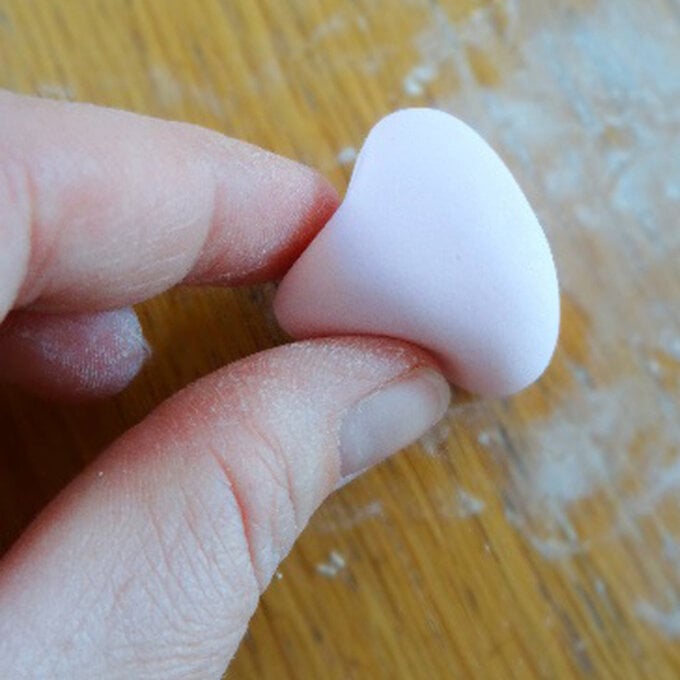
Gather up any remaining pink flowerpaste and use your fingers and thumb to shape the bunny's nose. Stick this to the cake with water.
Top tip! If the nose is too heavy you can insert a cocktail stick into the cake, leaving 1cm sticking out and push the nose onto this to give it support.
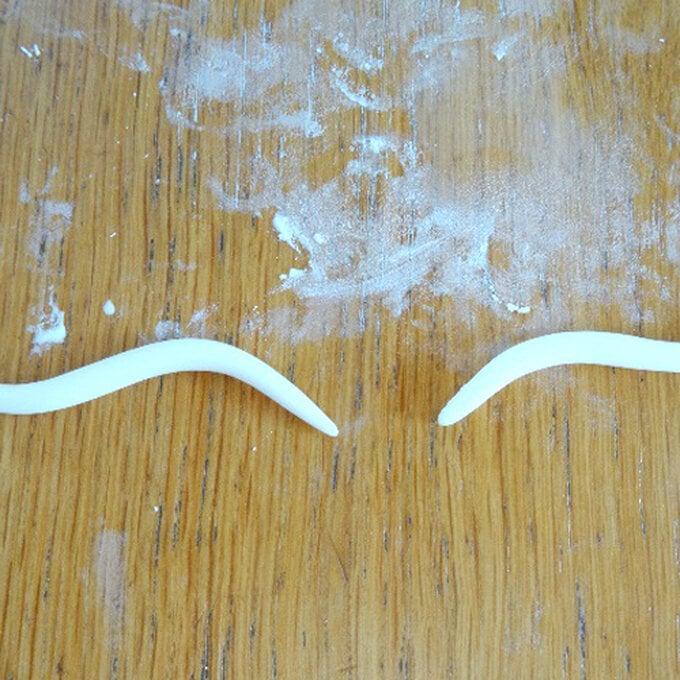
To make the eyes, use 5g of white flowerpaste to roll 2 thin sausages which taper at each end – shape them into 'S' shapes and attach to the cake with water.
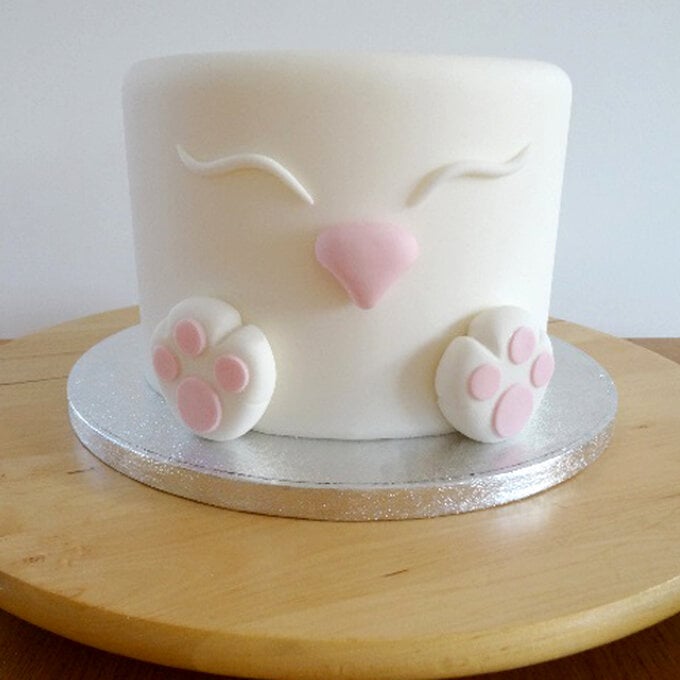
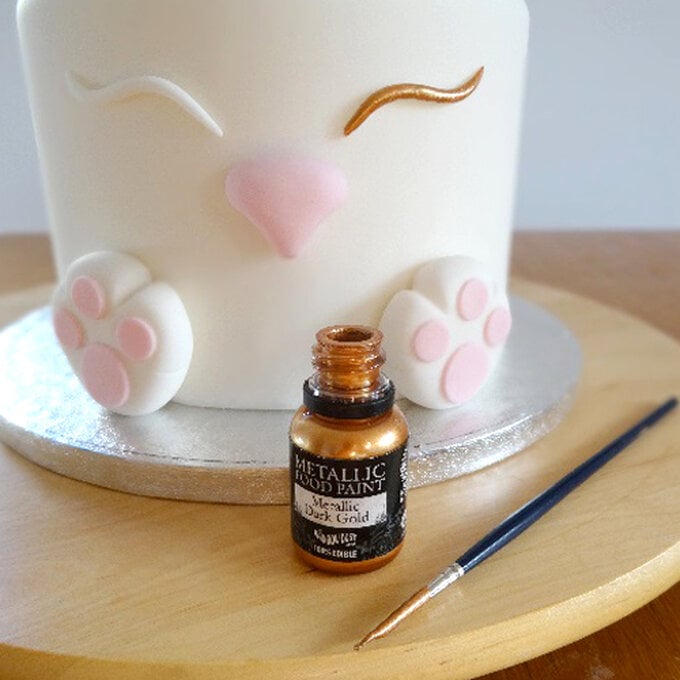
Use a fine paintbrush to paint the eyes with gold food paint. Insert the ears into the top of the cake.
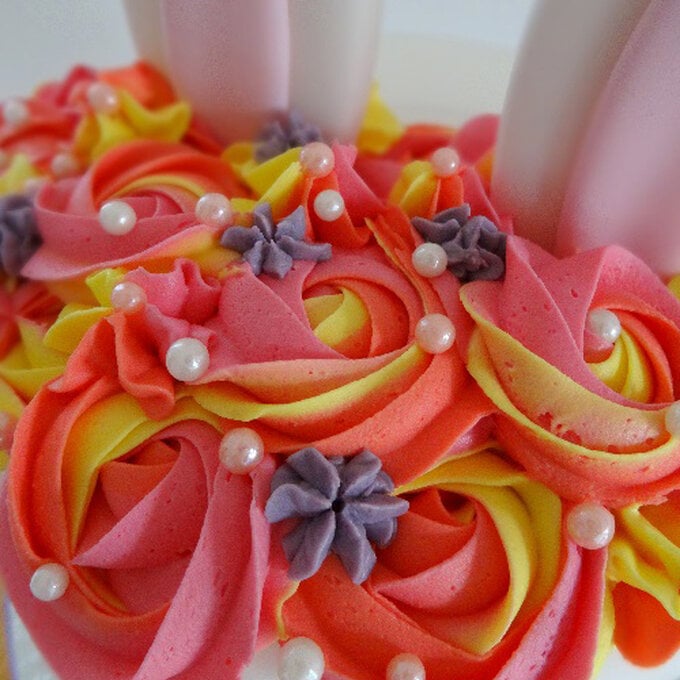
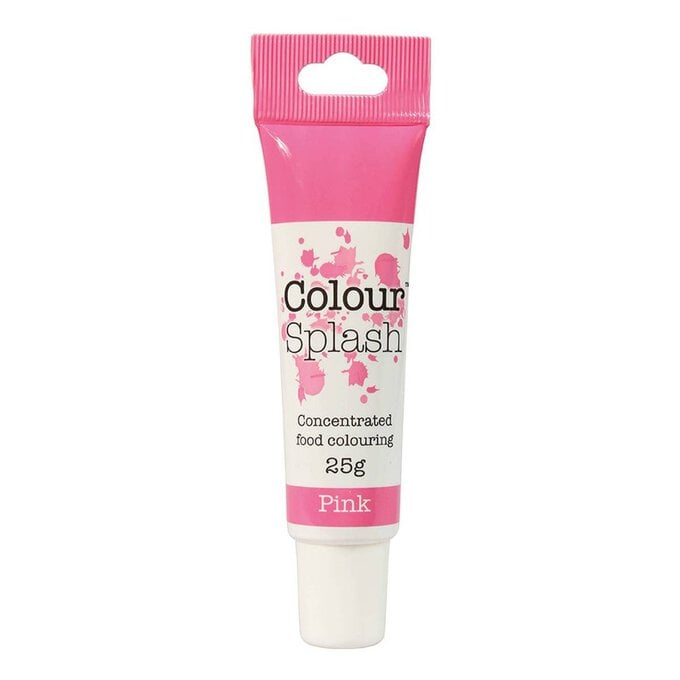
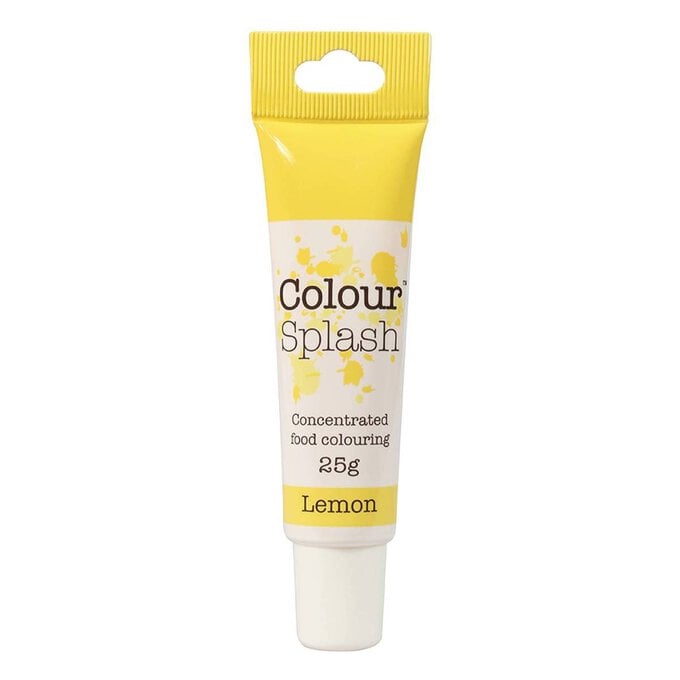
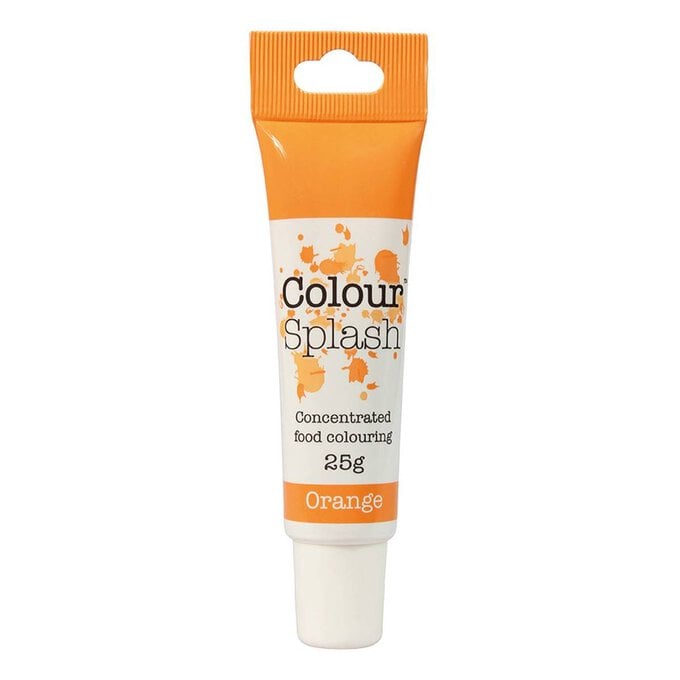
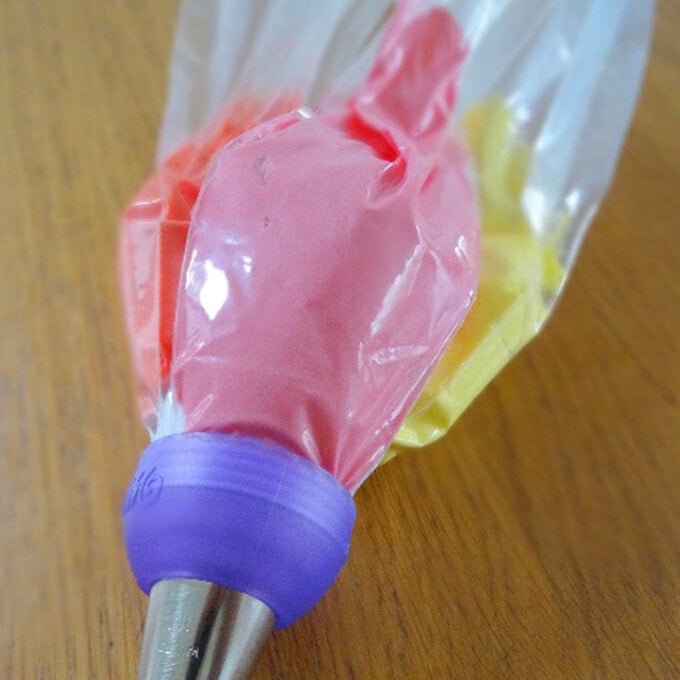
Divide the buttercream between 3 bowls and colour yellow, orange and pink. Put each colour into separate disposable piping bags using the Colour Swirl decorating set. Use the 1M nozzle to pipe rosettes on the bunny's head.
Top tip! To pipe rosettes – think the opposite of piping a cupcake where you start at the outside edge and pipe inwards, start in the middle and pipe a spiral outwards.
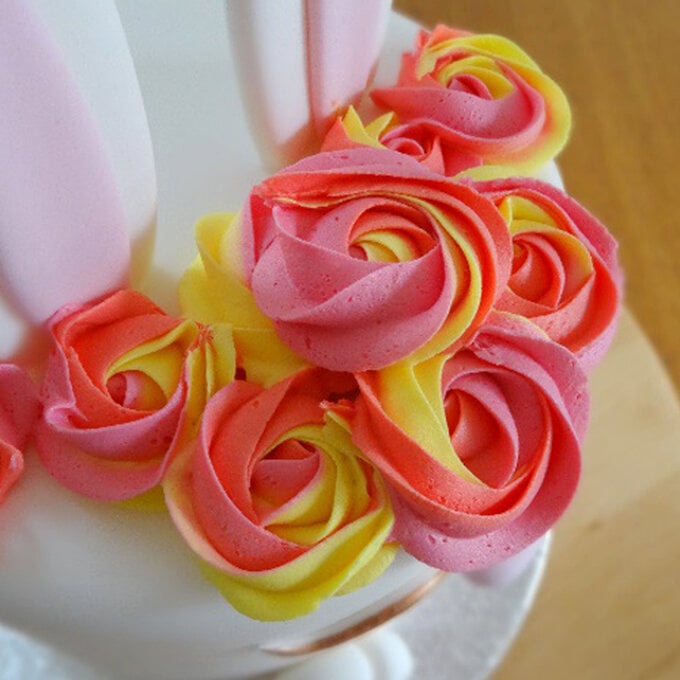
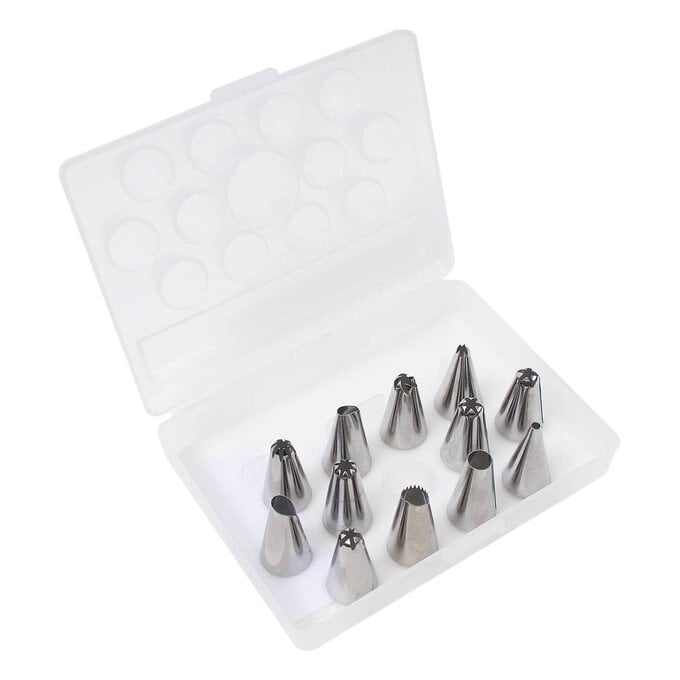
You can further embellish your bunny's flower crown with edible pearls and pipe extra flowers on in purple buttercream – I used nozzle number 126 from set 604868.
