How to Make a Colourful Christmas Eve Box
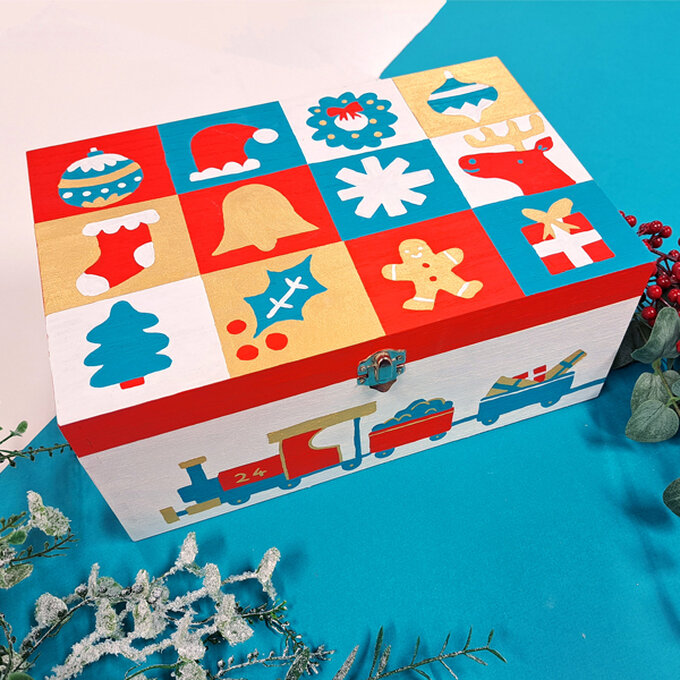
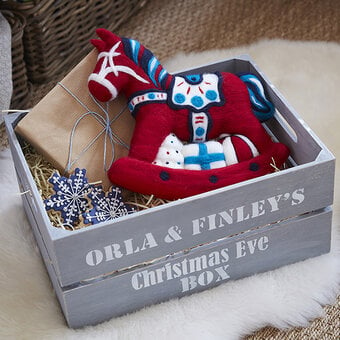
Make something special for Christmas Eve by creating a beautifully decorated box, bursting with vibrant colours and festive illustrations.
Fill it with small gifts and treats to be enjoyed on the night before Christmas.
With a such unique design, this stunning creation can be enjoyed for many years to come!
You will need
Subtotal
Is $ 15.00
Subtotal
Is $ 5.49
Subtotal
Is $ 5.49
Subtotal
Is $ 6.49
Subtotal
Is $ 4.49
Subtotal
Is $ 3.49
How to make
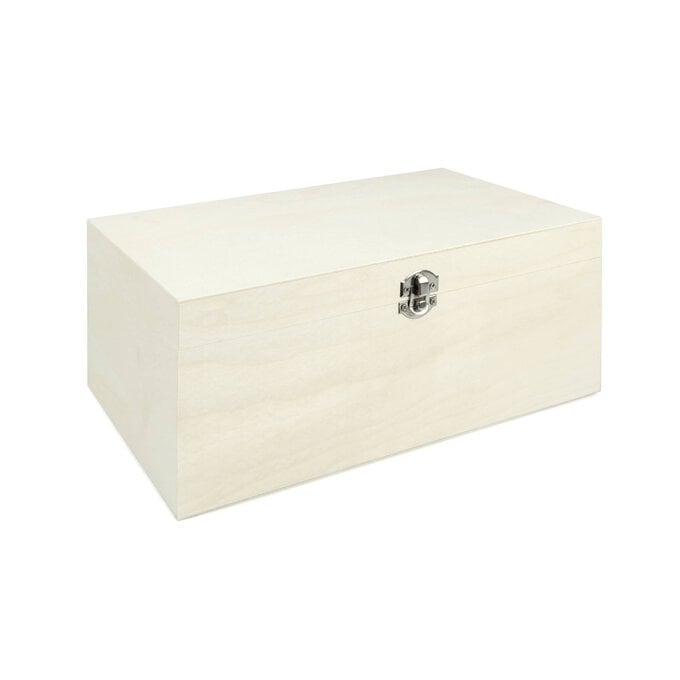
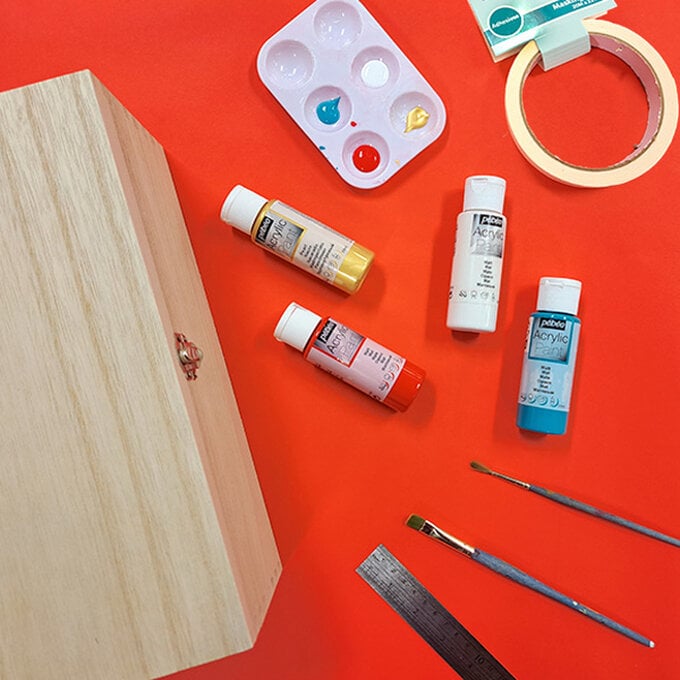
* Wooden Storage Box 30cm x 20cm x 13cm
* Acrylic Paint - We've used Pebeo Matt in White, Gold, Teal and Cherry
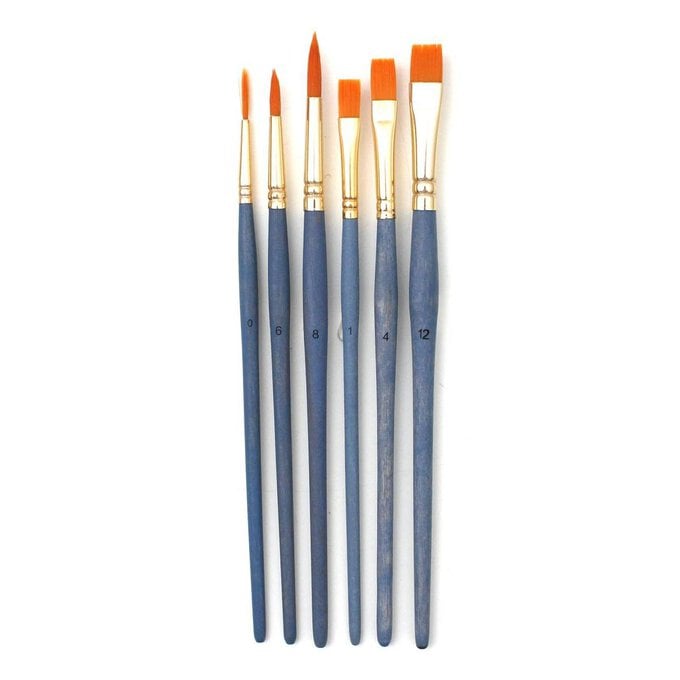
* Paintbrushes
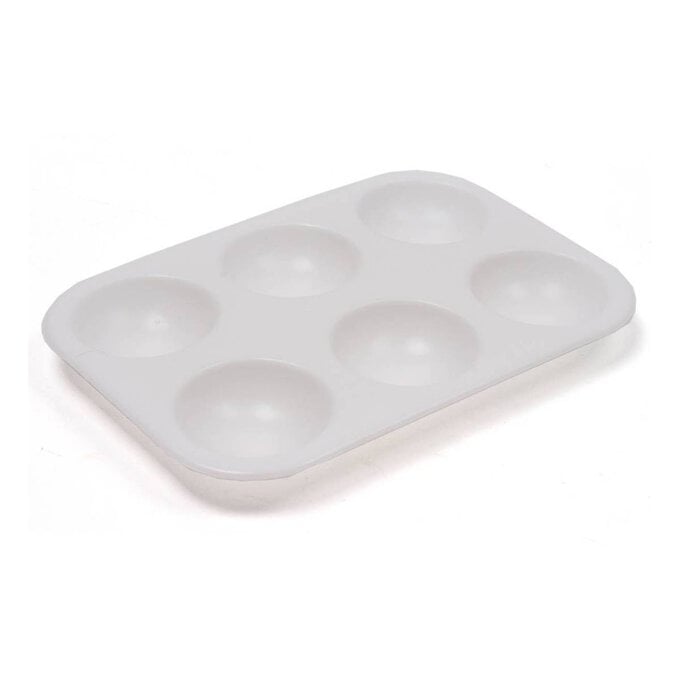
* A Paint Pallette
* Masking Tape
* A Pencil
* Scissors
* Free Templates - Downloaded + Printed

In preparation for this project, please download and print out the template below.

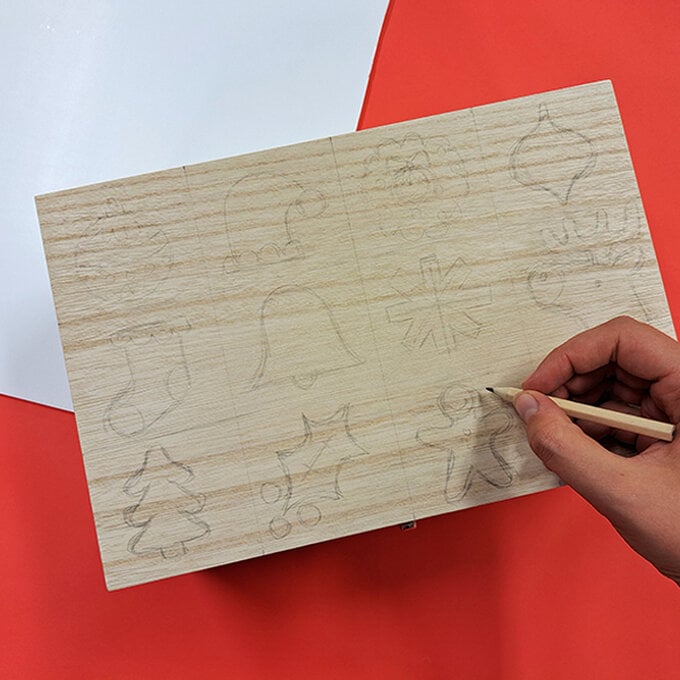
Divide the top of the box into 12 sections, each one will measure approximately 6.5x7.5cm.
Cut out the template pieces and draw around them into each space with a pencil.
Do the same with the train template around the edges of the box.
Top Tip: You could also use TraceDown paper to transfer the designs if you didn't want to cut them out.
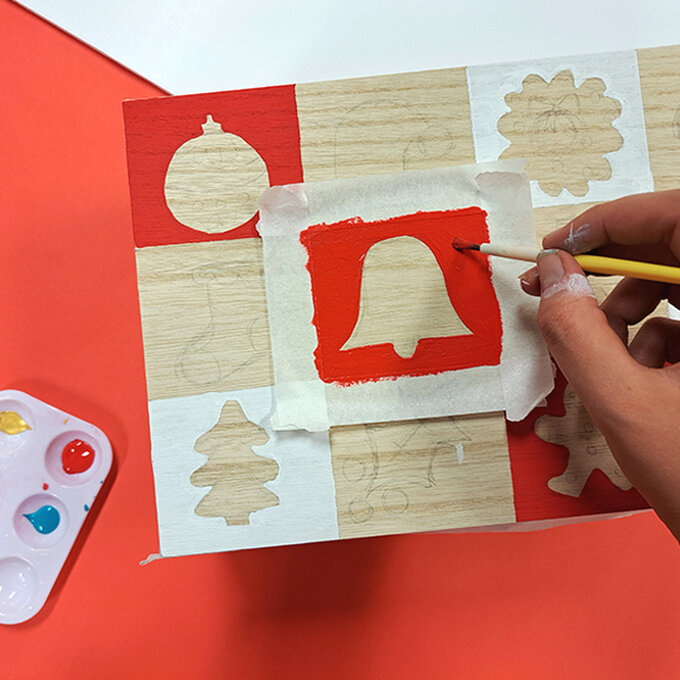
Once the backgrounds have been painted, begin painting each of the illustrations.
You can layer lighter colours of acrylic paint on top of darker ones if you wait for the first layer to dry. This will allow you to add the details on the wreath, bauble and gingerbread man afterwards.
Then, paint the rim of the lid of the box all the way around. You can also use the masking tape again to ensure you dont get paint on the top.
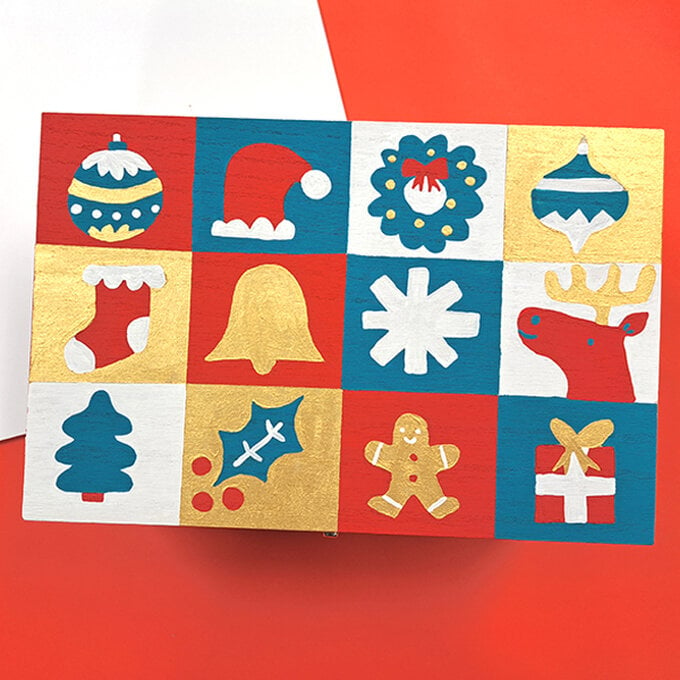
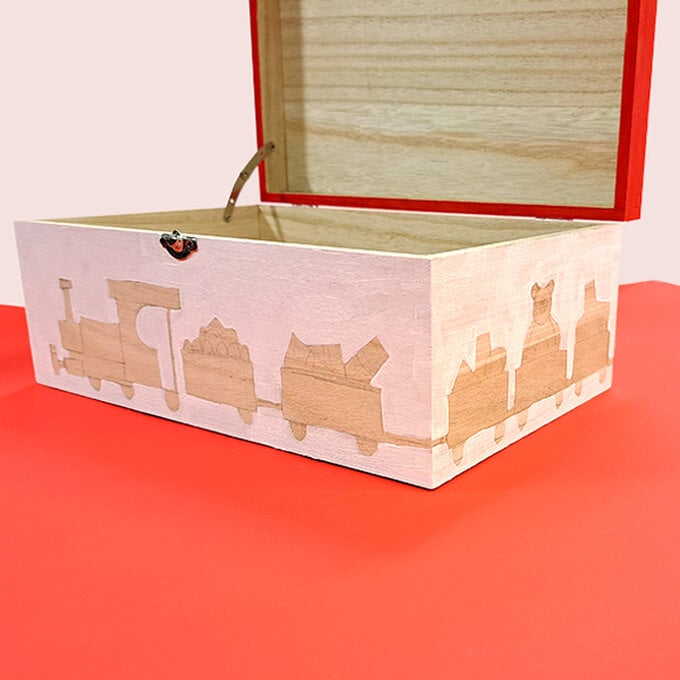
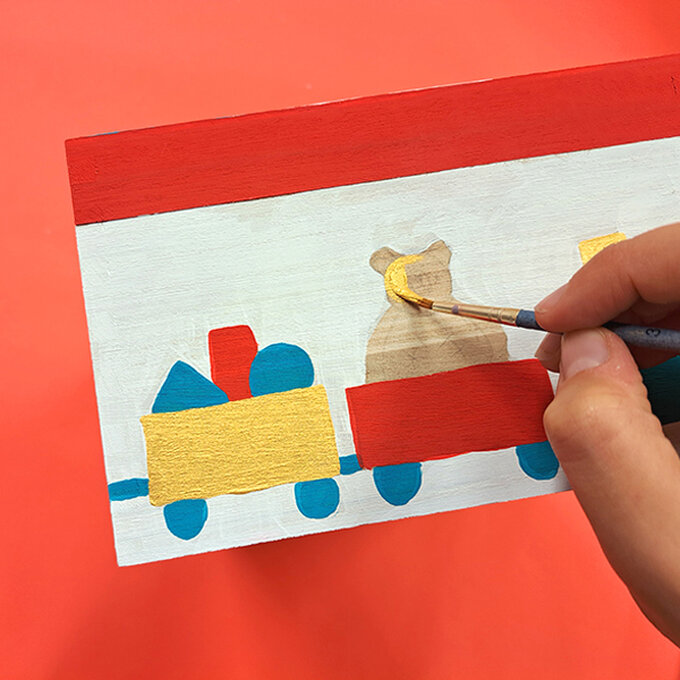
Now you can begin adding colour to the train.
Start by painting in all the base colours, then add the smaller details in over the top once it has dried.
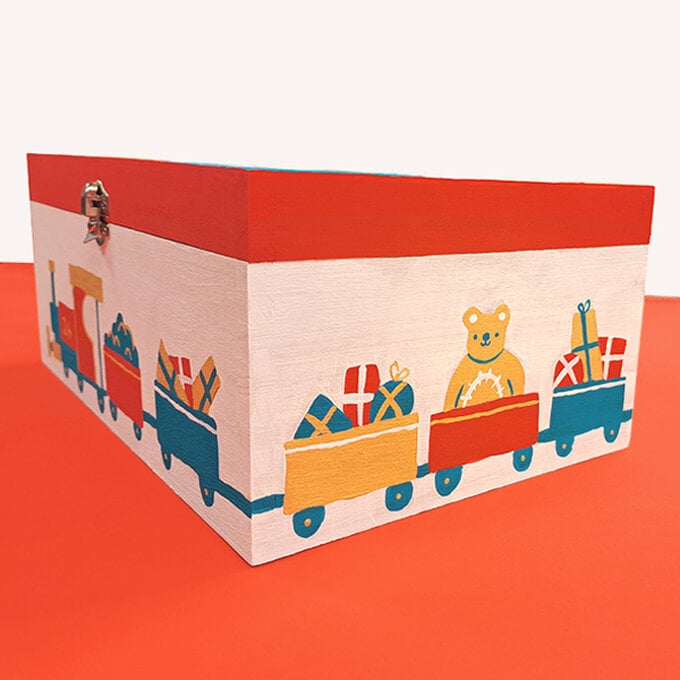
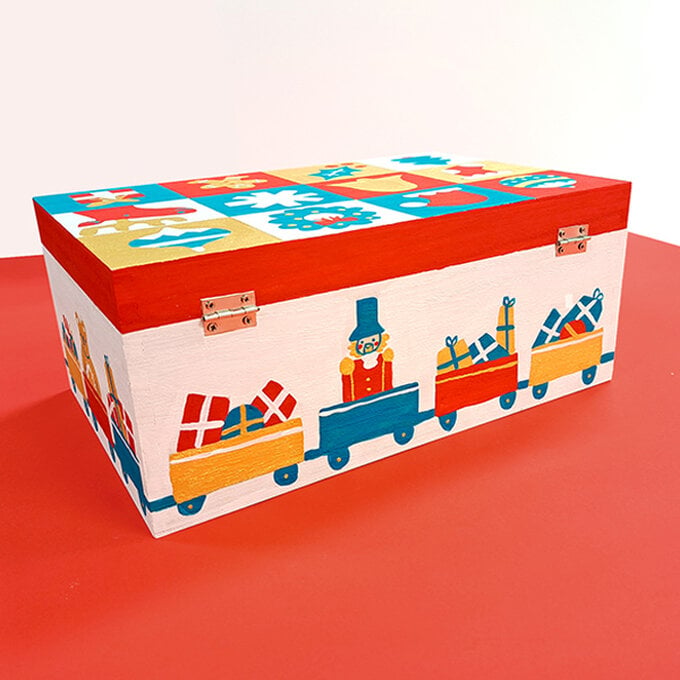
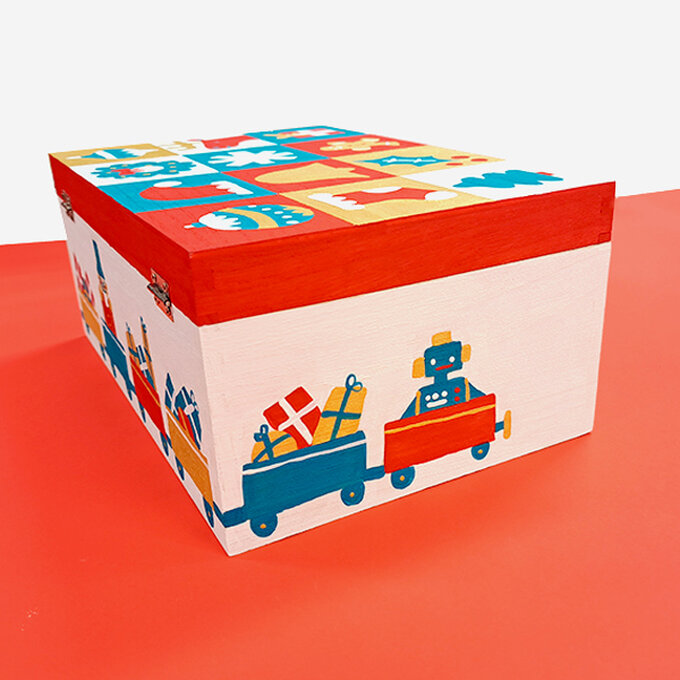
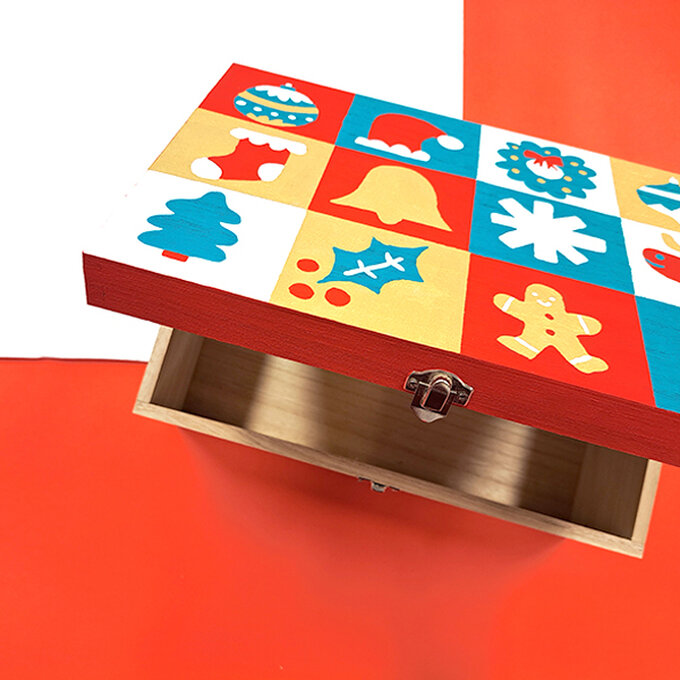
Your Christmas Eve box is now finished! Why not personalise the box by adding a name onto the side?
