How to Make a Father's Choice Quilt Block
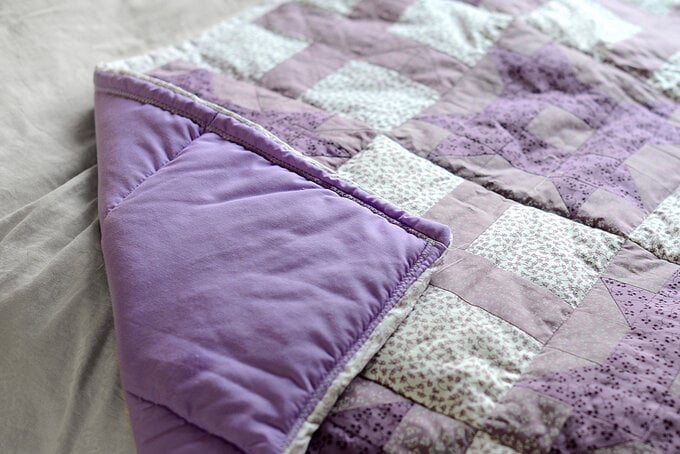
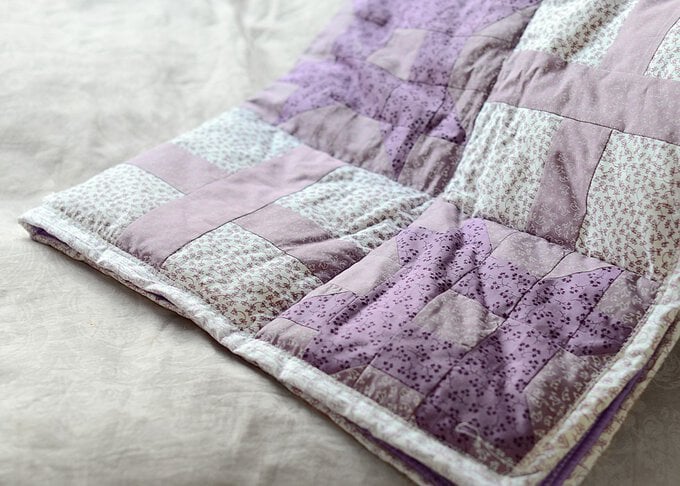
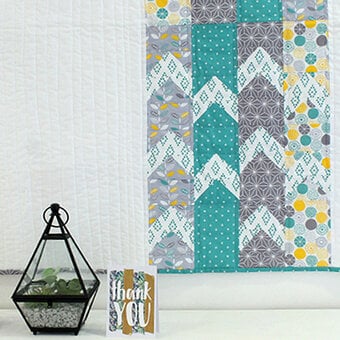
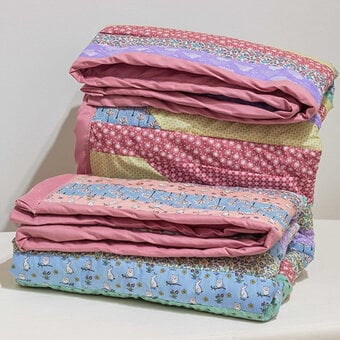
This beautiful quilt pattern features the 'Father's Choice' quilt block, a historical quilting block pattern that has its origins in the tradition of barn quilts.
Made using ombre fat quarters, it gives the quilt a wonderful colour finish to accent your bedspread. Follow along with the instructions below to find out how to make this cosy home accessory.
You will need
Subtotal
Is $ 12.00
Subtotal
Is $ 38.00
Out of stock
Subtotal
Is $ 5.49
Subtotal
Is $ 134.00
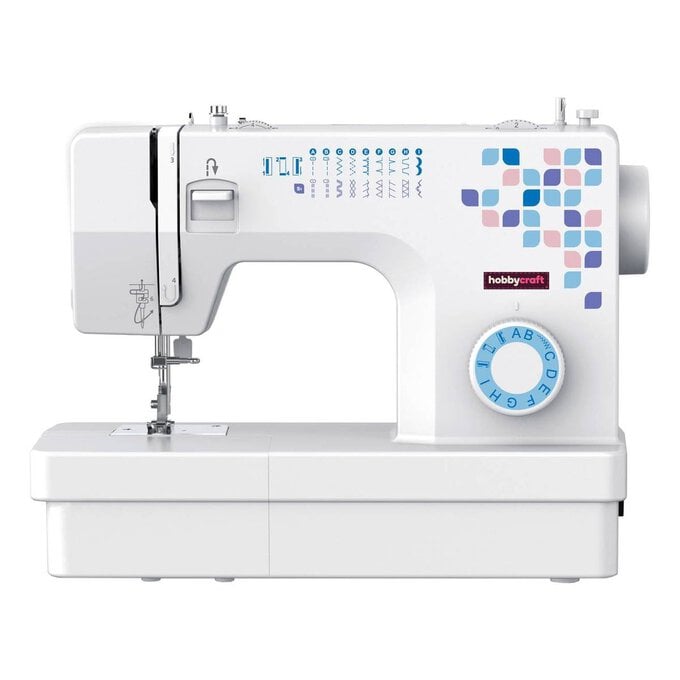
* Sewing Machine
* Rotary Cutter
* Square Patchwork Ruler
* Sewing Kit
* Cutting Mat
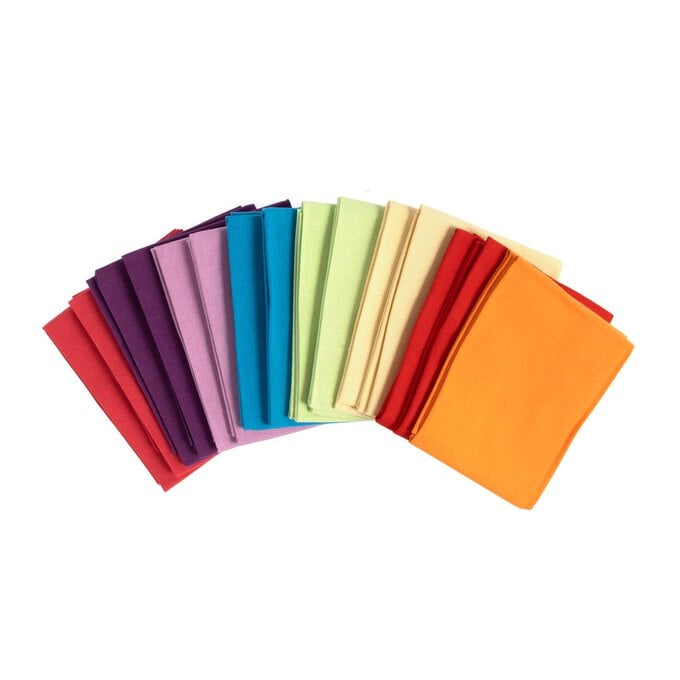
* Fat Quarters
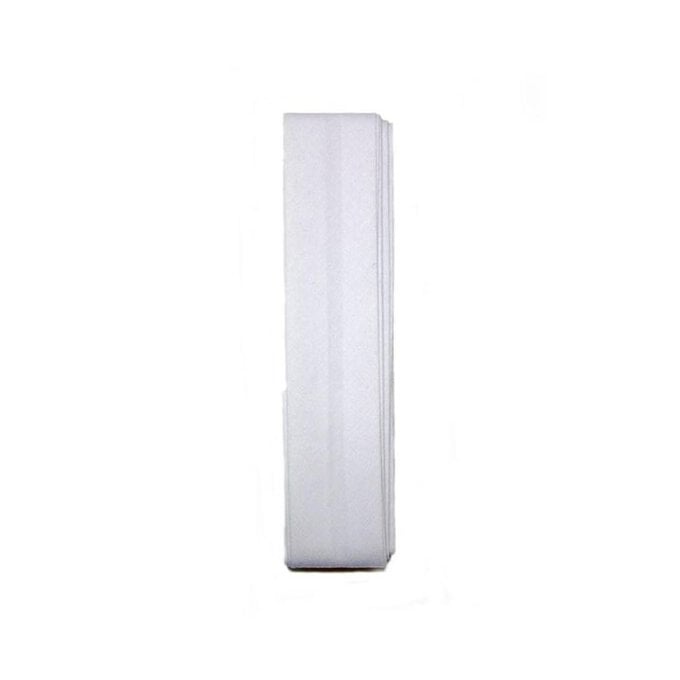
* White Bias Binding
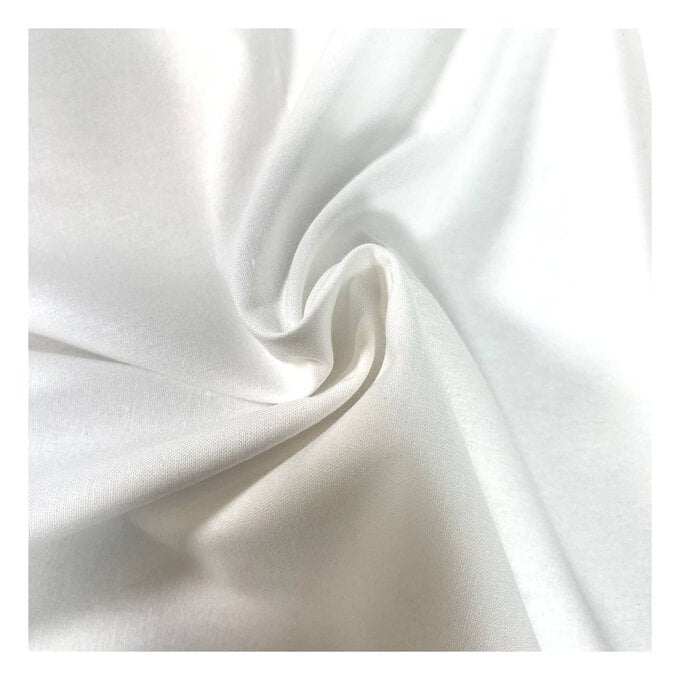
* Fabric (for the quilt back - available in store)

Start by cutting contrasting fat quarters into 2 ½ inch wide strips.
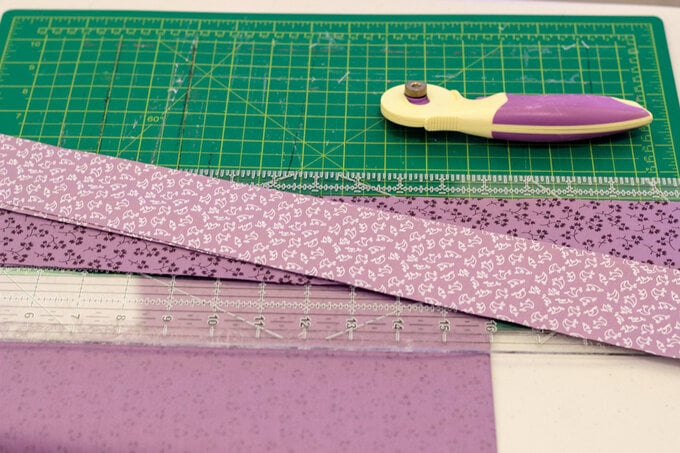
From the strips cut a 2 ½ inch square and then 4 x 4 ½ inch strips.
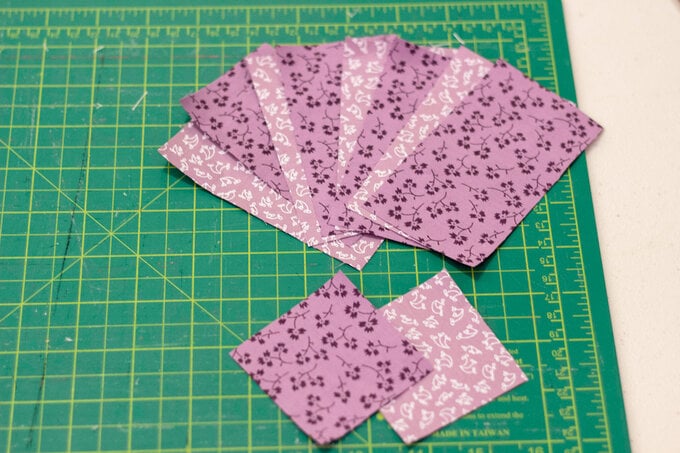
Sew an uncut two and a half inch strip from each fat quarter, along the length using a ¼ inch seam.
Open and press the sewn strip then cut it into rectangles two and a half inches wide.
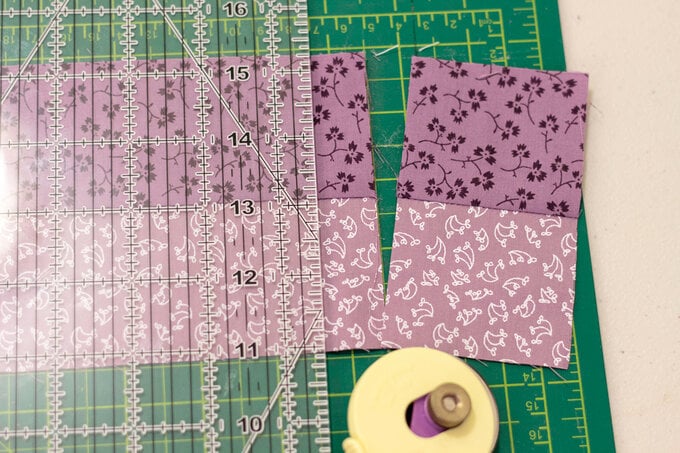
Sew the rectangles to another two and a half inch strip and press, then cut them into larger squares.
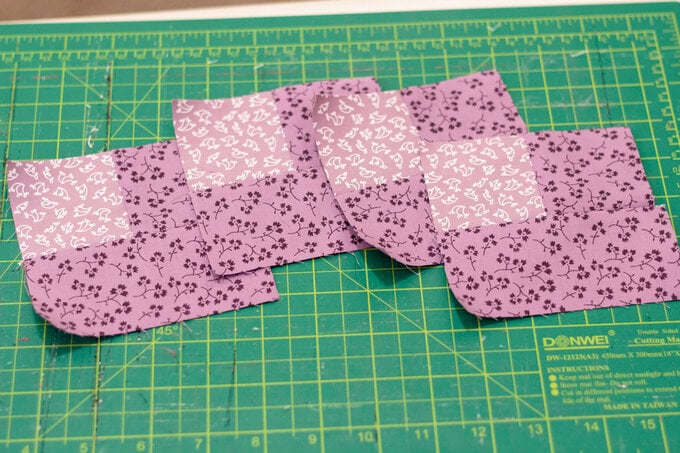
You should have several large squares with a contrasting smaller square in one corner.
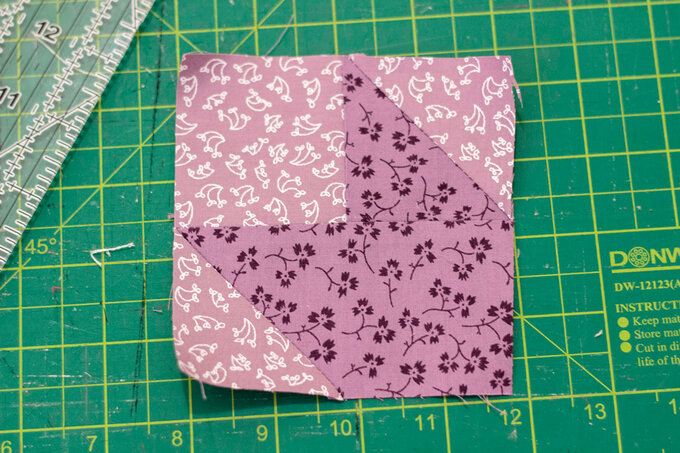
Cut another strip into two and a half inch squares and sew them to the larger square as shown. This will create a chevron pattern once the excess has been trimmed and pressed.
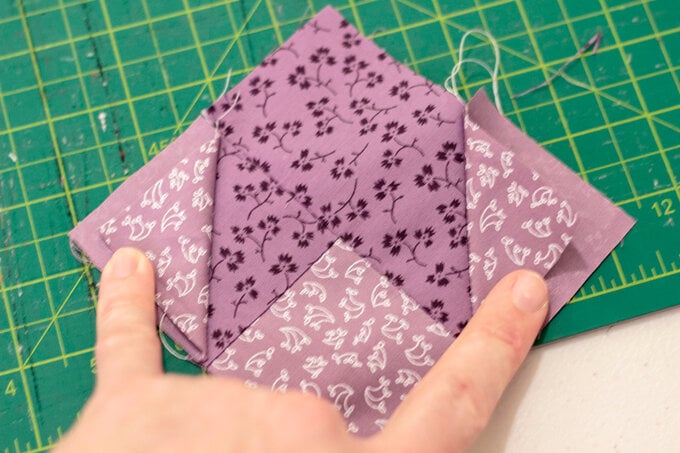
To assemble the block you will need, four of the larger chevron squares, four of the two colour strips and a two and a half inch square for the centre. Refer to the photo for the arrangement.
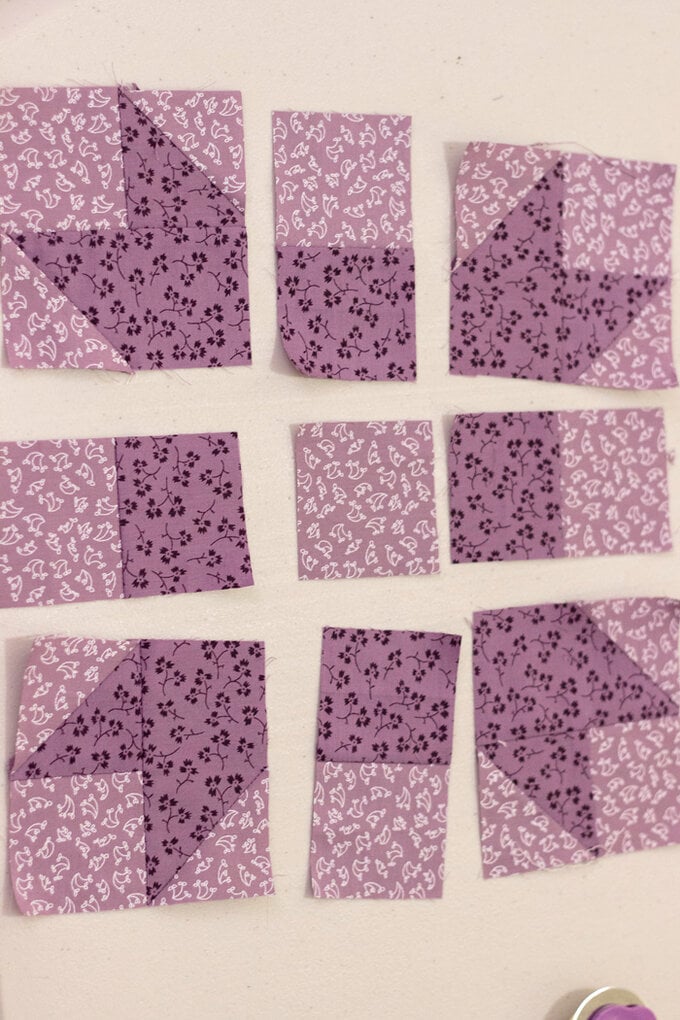
Sew all of the pieces together using a quarter inch seam and press. I find it easier to sew the rows together and then join the rows once I've pressed the pieces.
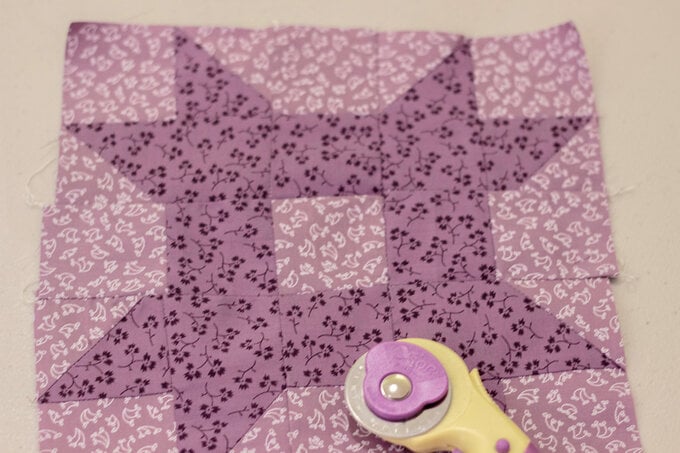
You may need to square the block once you have sewn it all together. If you choose to do this then make sure you check their sizes as you go.
The design for the quilt is entirely up to you. I chose to use a simple block in-between the starts so that it didn't look too busy. This block was made using four by four half inch squares joined with a spare two and a half inch strip in the middle.
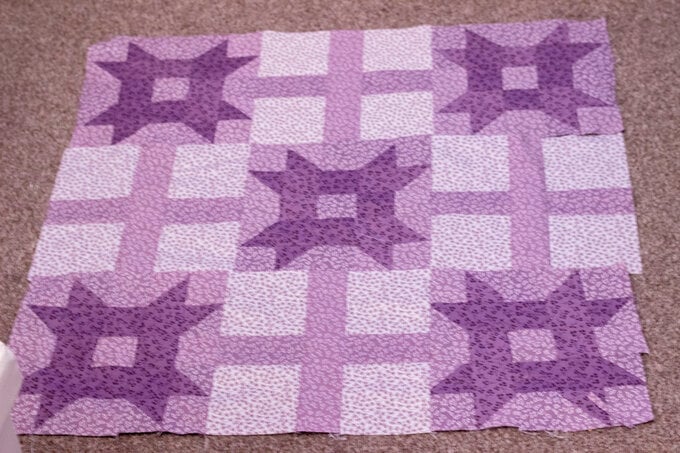
Decide how large you would like your quilt, if you have the space it's helpful to lay out the blocks as you make them so you can see how you're getting on. Once you are happy with your design, sew the blocks together using a quarter inch seam.
You should now have a finished quilt top. Check out my other post for a guide on how to sandwich it together.
Once you have sandwiched your quilt, you can either use a free motion technique to finish it or 'stitch in the ditch'.
Trim the edges so that the wadding and backing fabric don't overhang. Then attach bias binding to the outside edge. There are a couple of ways to do this, you can either make your own with a bias tape maker (or just use and iron), or you can buy pre-made tape.
Once you have finished your binding you have completed the quilt.
