Skip to Content (Press Enter) Skip to Footer (Press Enter)

How to Make a Lino Printed Table Runner and Napkin Set

Level
Beginner
Time
1/2 day
Budget
10 - 30

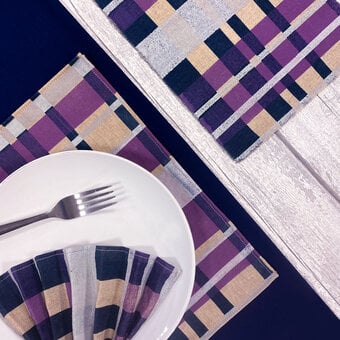
Create a modern, Scandi-inspired table runner and napkin set for your festive table this year. This project is perfect for those who would like a simple sewing and printing project that has a hugely effective outcome! Reuse the set for years to come, and even apply the carved lino blocks to other projects such as fabric gift bags.

You will need

Is $ 4.49

Quantity: 1

Subtotal

Is $ 4.49

Is $ 11.00

Quantity: 1

Subtotal

Is $ 11.00

Is $ 6.49

Quantity: 1

Subtotal

Is $ 6.49

Is $ 42.00

Quantity: 1

Subtotal

Is $ 42.00

Is $ 17.00

Quantity: 1

Subtotal

Is $ 17.00

Is $ 7.49

Quantity: 1

Subtotal

Is $ 7.49

Is $ 7.49

Quantity: 1

Subtotal

Is $ 7.49

You’ve viewed 2 of 7 products

You’ve viewed 4 of 7 products

Total:

How to make

Step 1

From the calico, cut one piece 39cm wide x 117cm long for the runner and six pieces 38cm sq. for the napkins.

scandi-print-image-1.jpg?sw=680&q=85
Step 2

Make the napkins and the runner exactly the same way. Begin by mitring the corners of a napkin. Lay your square of fabric down and fold both opposite sides in by 1.5cm and press with a hot iron.

scandi-print-image-2.jpg?sw=680&q=85
Step 3
Do this again to make a double fold and press. Do the same on the two remaining raw sides and press.
scandi-print-image-3.jpg?sw=680&q=85
Step 4
Open the corners out and trim across. I have coloured my ironed creases with water soluble marker so that you can see what is going on. The line to be trimmed off is shown in purple marker. Repeat this for all corners.
scandi-print-image-4.jpg?sw=680&q=85
Step 5
Fold the corner over so that the lines match up and that the trimmed part is right at the point where the two corners meet.
scandi-print-image-5.jpg?sw=680&q=85
Step 6

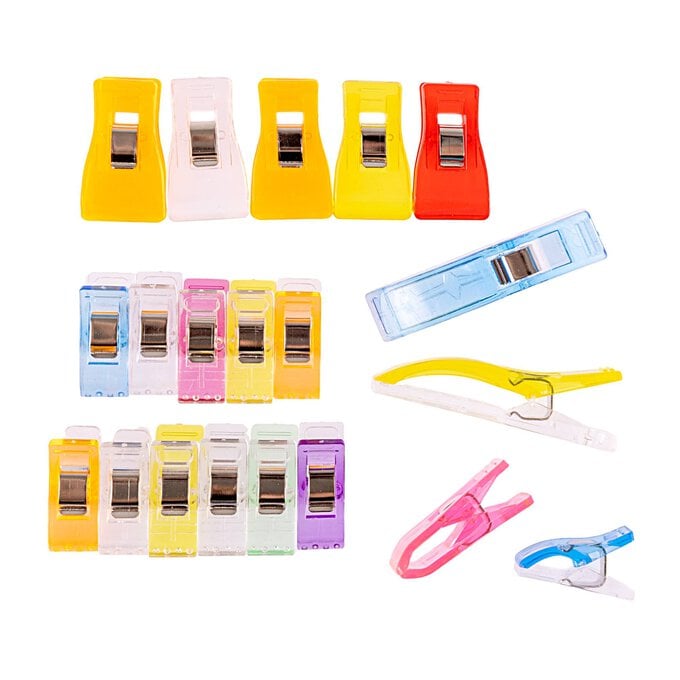
Now fold the mitre in along the original folds and use pins or clips to keep it there.

Sew around the edge of the napkin right on the pivoting in each corner (lift the presser foot but keep your needle down in the fabric). Repeat for the other five napkins. The runner is made in the same way but this time, allow a folded edge of 2cm.

scandi-print-image-6.jpg?sw=680&q=85
Step 7

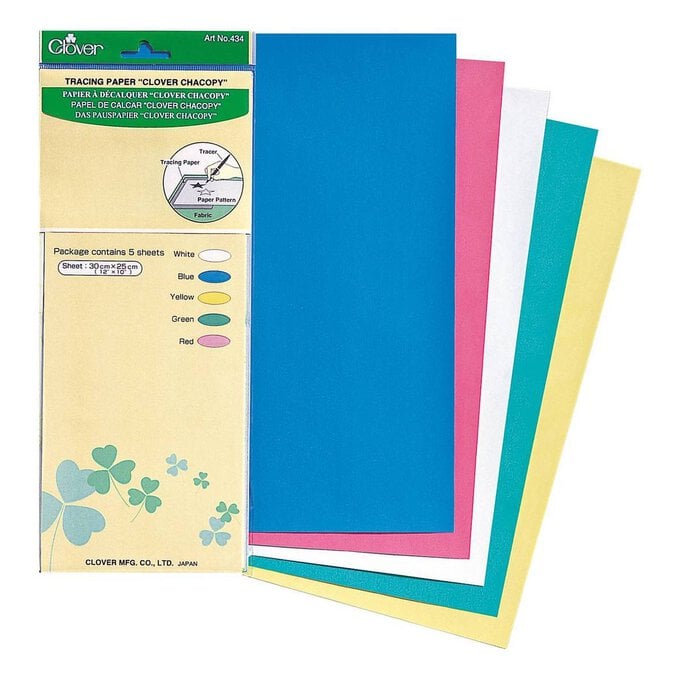
Use transfer paper to transfer the image to the smooth side of the Softcut block.

Step 8
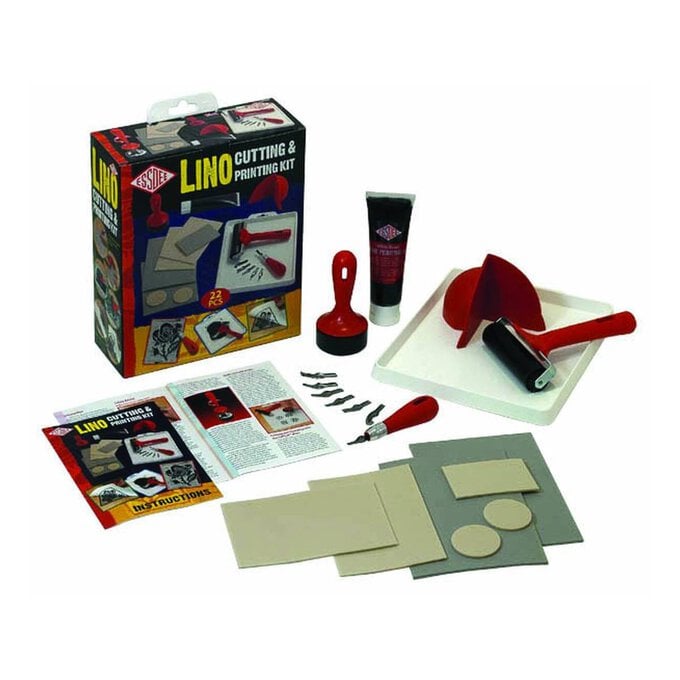
Use tool #4 from the kit to carve the outline of the image to about 1cm wide.
scandi-print-image-8.jpg?sw=680&q=85
Step 9
Swap to the #1 tool and carve the details.
scandi-print-image-9.jpg?sw=680&q=85
Step 10

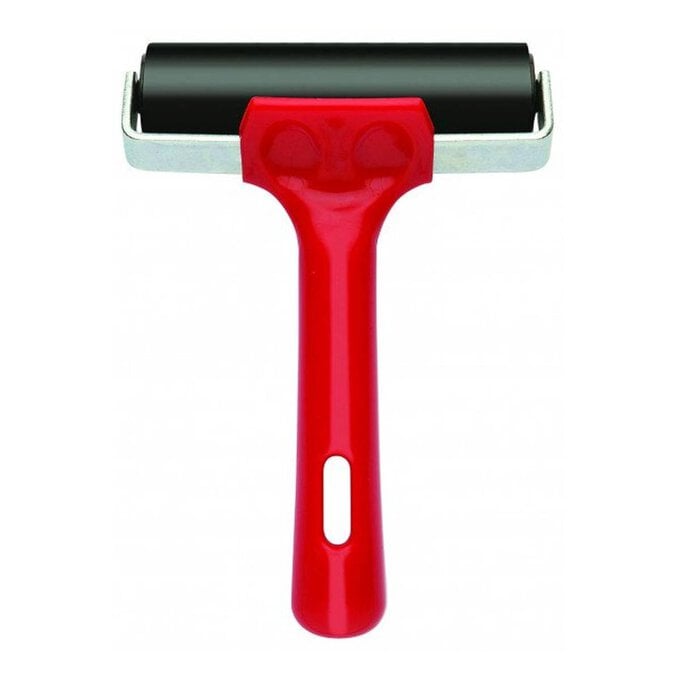
Place some ink into the tray and work it back and forth in a couple of directions to spread it out. It will sound sticky-tacky but look well spread when it is ready. Coat the prepared block.

scandi-print-image-10.jpg?sw=680&q=85
Step 11
Lay the inked block carefully onto the calico and use the other roller to evenly roll onto the fabric to transfer the motif.
scandi-print-image-11.jpg?sw=680&q=85
Step 12
Continue to ink and print reloading the block each time. Add more ink to the tray as needed. You have two images to choose from and you can mix and match or use just the one. They can be arranged differently and reduced or enlarged to suit your project.
lino-printed-table-setting-square.jpg?sw=680&q=85
Step 13

It's also possible to use the same blocks again to create some on-trend reusable gift bags – perfect for cutting down on the amount of wrapping paper and sticky tape used over the festive period this year. The bags can then either be passed on to the recipient or reused again by yourself for years to come!

scandi-print-image-12.jpg?sw=680&q=85
Step 14
Leave your project in a warm dry place where it will not be disturbed. Clean the tools with water and a little detergent if needed.
lino-printed-gift-bag-square.jpg?sw=680&q=85
  • bvseo_sdk, dw_cartridge, 18.2.0, p_sdk_3.2.0
  • CLOUD, getReviews, 5ms
  • reviews, product
  • bvseo-msg: Unsuccessful GET. status = 'ERROR', msg = 'Not Found.'; Unsuccessful GET. status = 'ERROR', msg = 'Not Found.';

Related Products

Top