How to Make a Messenger Bag
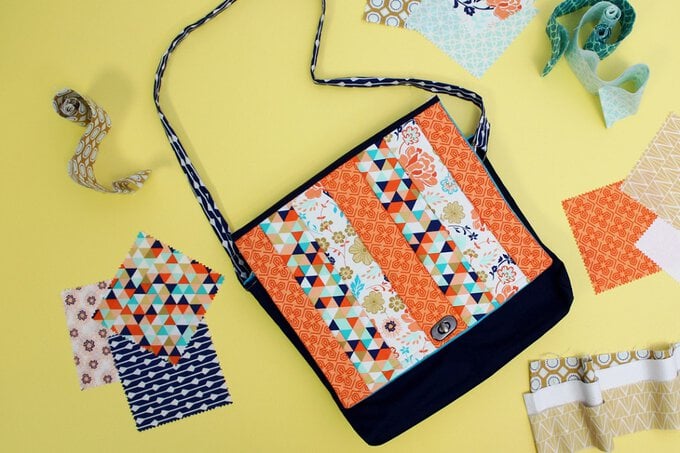
Looking to take your sewing to the next level? If you've had enough of sewing bunting, cushions and tote bags, a messenger bag is the perfect step forward. Introducing you to working with interfacing and fabric strips, it's achievable but also challenging - plus you get a totally usable make at the end of it!
You will need
Subtotal
Is $ 133.00
Subtotal
Is FREE
Subtotal
Is $ 33.00
Subtotal
Is $ 8.49
Subtotal
Is $ 7.49
Subtotal
Is $ 5.49
Subtotal
Is $ 5.49
Subtotal
Is $ 8.49
Subtotal
Is $ 4.49
How to make
You will also need:
Outer fabric – available in store
Lining fabric – available in store
A turn clasp
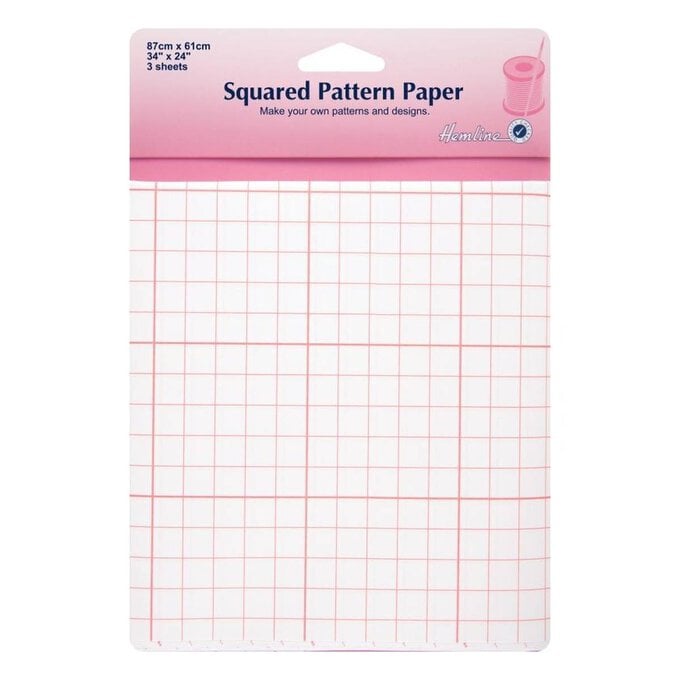
Use pattern paper or newspaper to create the pattern pieces for the bag, using the following measurements and labelling the pieces:
– 13in x 11in (top, back and flap) A
– 11in x 6in (sides) B
– 13in x 6in (bottom and top) C
Pin the pattern pieces to the fabrics and cut out.
– Piece A: cut 2 from outer fabric, 3 from lining fabric and 3 from the foam bag form.
– Piece B: cut 2 from outer fabric, 2 from lining fabric and 2 from interfacing.
– Piece C: cut 2 from outer fabric, 2 from lining fabric, 1 from interfacing and 1 from the foam bag form.
Unroll the fabric strips and choose some you like. Lay the strips together vertically, long edge to long edge, continue until the strips total a width of 13 inches.
Sew the strips together along the long edge, one at a time and using a ¼ inch seam allowance. Press the seams open.
Position pattern piece A, pin to the sewn strips and cut out.
Pin 2 lining pieces from pattern piece A to the long edges of pattern piece C and sew using a ½ inch seam allowance. Press the seams open.
Pin the 2 lining pieces from pattern piece B to pieces A and C. Sew together using a ½ inch seam allowance. Press the seams open.
Repeat the above steps for the outer fabric.
Using an iron, fuse the foam bag form pieces to the wrong sides of the outer fabric portion of the bag; 2 x pattern piece A and 1 x pattern piece C.
Fuse the 2 x pattern piece B interfacing to the wrong sides of the outer fabric portion of the bag.
Fuse the pattern piece C interfacing to the wrong side of the pattern piece C outer fabric.
Fuse the final pattern piece A foam bag form to the wrong side of the fabric strips.
Place the sewn together lining inside the sewn together outer fabric, right sides together. Pin and match the corner seams and edges.
Sew around the top with a ½ inch seam allowance, leaving a 4 to 5 inch gap in one of the long sides.
Turn the bag right sides out using the gap left during the above step.
Fold the edges of the gap to the inside, pin and then sew close to the edge around the top of the bag to close.
Pin the lining piece of pattern piece A to the fabric strips pattern piece A, right sides together.
Sew along both short edges and one long edge using a ½ seam allowance.
Place the outer fabric piece of pattern piece C to the fabric strip side of pattern piece A, right sides together.
Repeat for the lining piece of pattern piece C, matching right sides of the fabric.
Sew all layers together, stitching close to the edge.
Press the seams and iron the pattern piece C fabrics so that they are right sides up. This completes the flap.
Fold bias binding over the short edges of the flap and sew to attach.
Pin the flap to the bag top edge, matching edges and right sides of the fabric. Sew close to the top edge to attach.
Fold bias binding over the top raw edges and sew to attach.
Position the bag clasp on the flap and bag body, then attach following the manufacturers instructions.
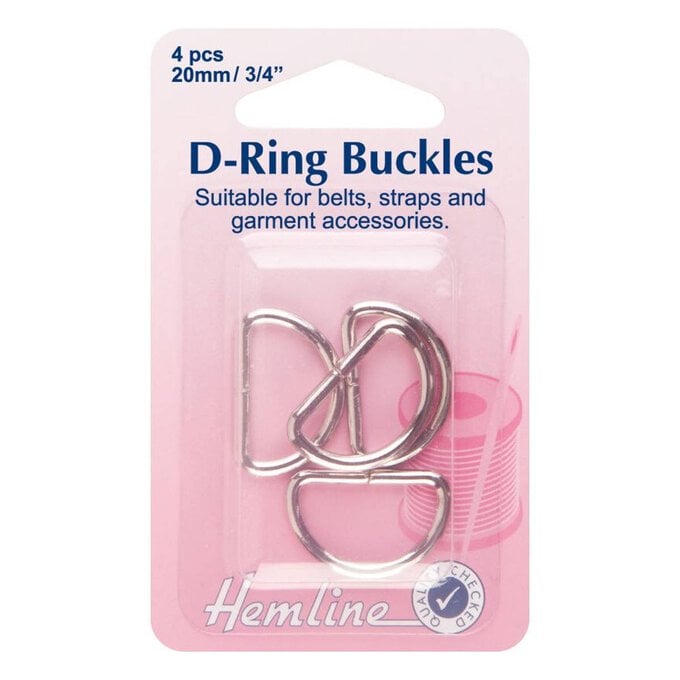
Fold 5-6 inches of bias binding in half to create a loop through a D-ring and pin to the bag side.
Sew to the bag using a small stitch along the loop edges.
Repeat the above steps to attach a loop with a D-ring to the other side.
Choose one fabric strip, fold in half with right sides together along the long edge and sew using a ¼ inch seam allowance. Turn the sewn strip right sides out and press flat.
Pass the strip through one of the D-rings and fold over to make a 2 inch loop. Sew together using a small stitch and repeat for the other side to complete the strap.
