Skip to Content (Press Enter) Skip to Footer (Press Enter)

How to Make a Snowy Forest Cake

Level
Intermediate
Time
1/2 day
Budget
10 - 30

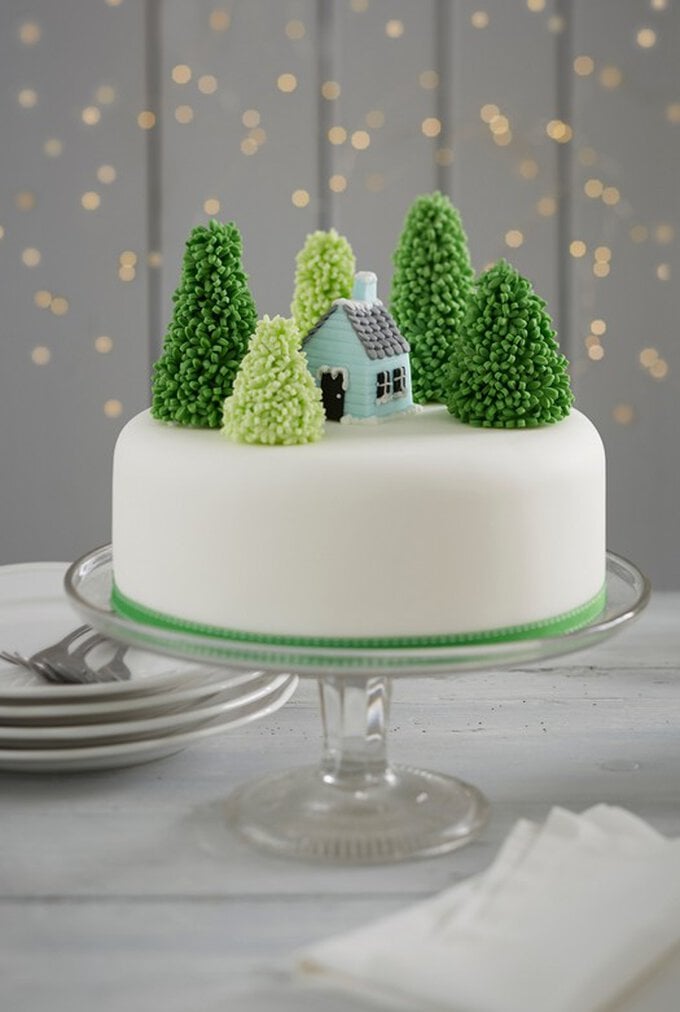
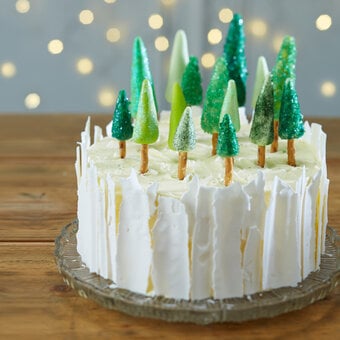
Christmas is just around the corner, so now's the time to start thinking about the Christmas cake and how you want to decorate it. This beautiful Snowy Forest cake proves that with a few key pieces of kit you can create a stunning cake that will wow your guests on Christmas day. Let's get making!

How to by Lucy Bruns from Lucy's Sugar Shack

You will need

Is $ 4.49

Quantity: 1

Subtotal

Is $ 4.49

Out of stock

Is $ 5.49

Quantity: 1

Subtotal

Is $ 5.49

Out of stock

Is $ 4.49

Quantity: 1

Subtotal

Is $ 4.49

Is $ 4.49

Quantity: 1

Subtotal

Is $ 4.49

Is $ 4.49

Quantity: 1

Subtotal

Is $ 4.49

Is $ 4.49

Quantity: 1

Subtotal

Is $ 4.49

Is $ 4.49

Quantity: 1

Subtotal

Is $ 4.49

Is $ 5.49

Quantity: 1

Subtotal

Is $ 5.49

You’ve viewed 2 of 8 products

You’ve viewed 4 of 8 products

Total:

How to make

You will need:

White iced cake

Small quantity of royal icing
Step-1
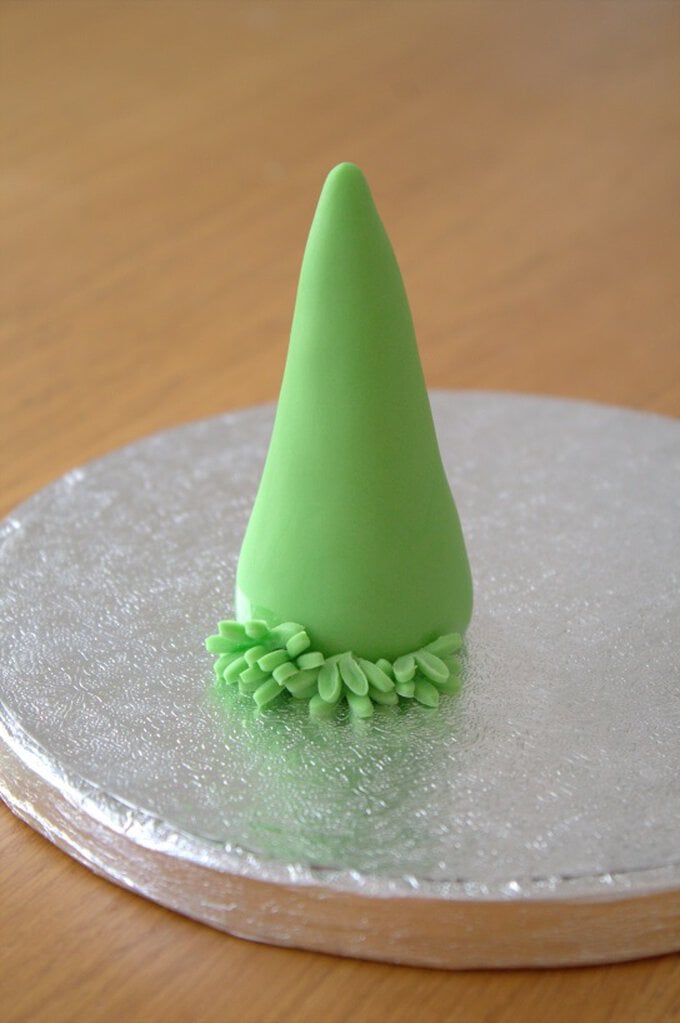
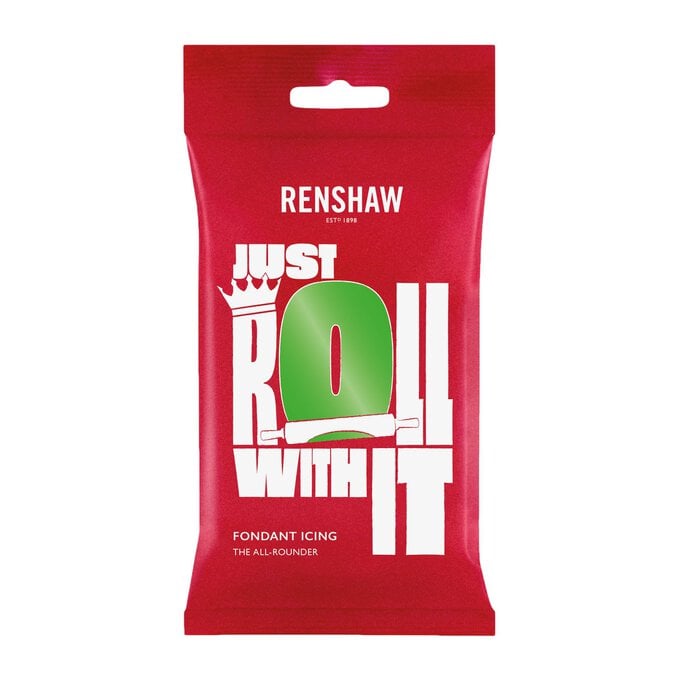
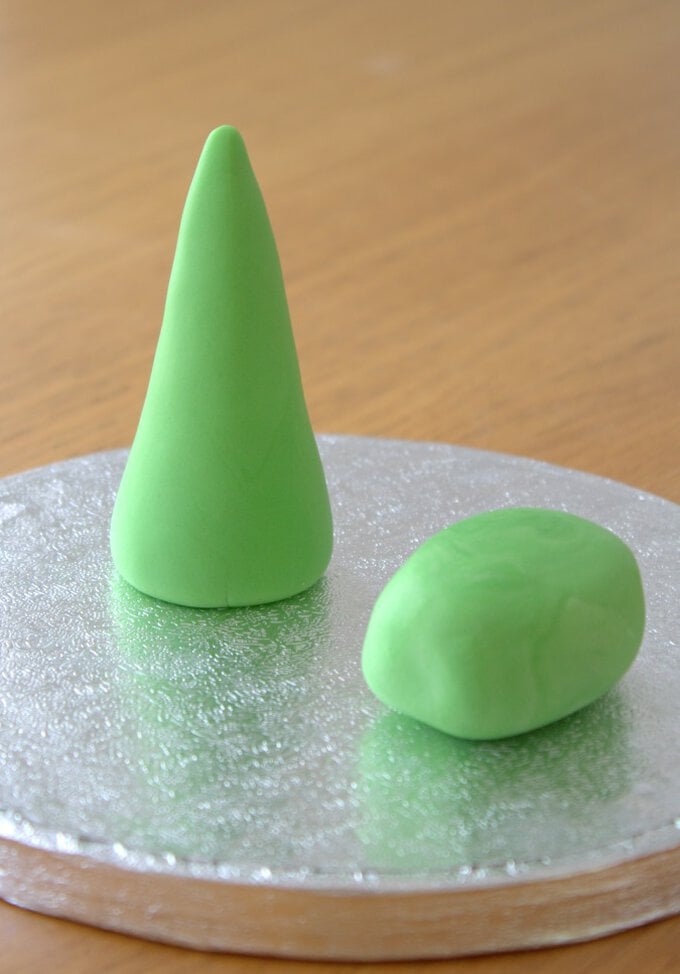
Make the trees for the forest by rolling a cone of green icing.
forest-cake-image-1.jpg?sw=680&q=85
Step-2
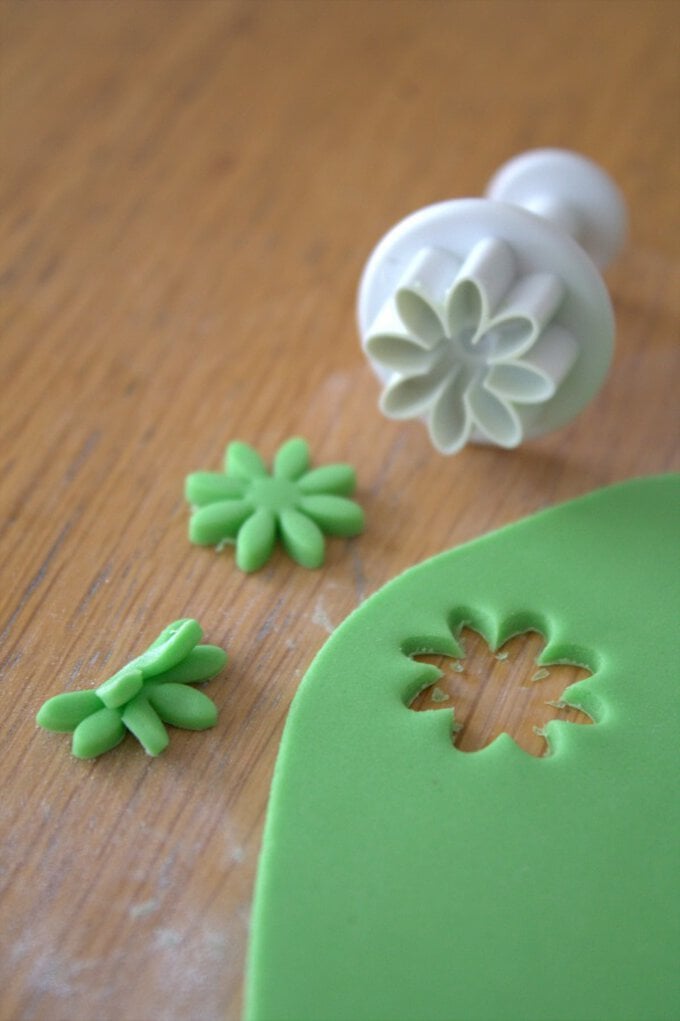
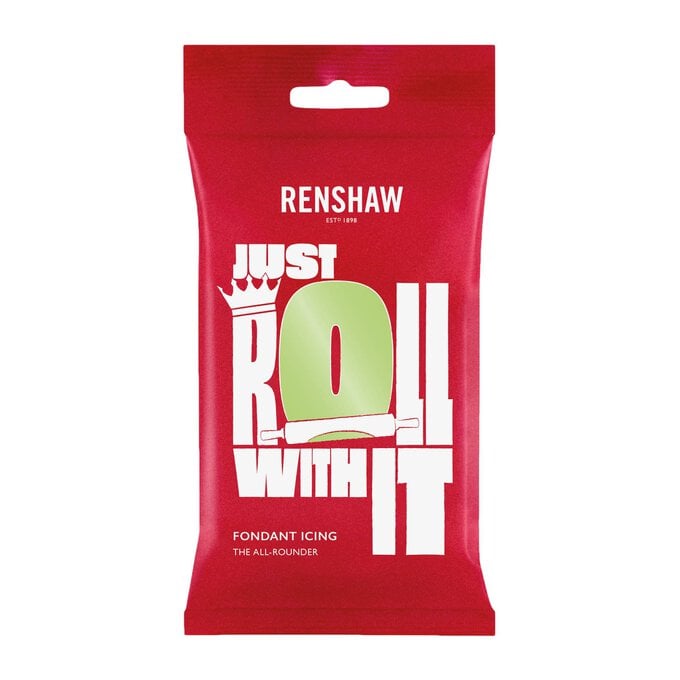
Roll out the same shade of green icing and cut out a few daisies with the plunger cutter. Gently pinch and squish the daisy in the centre and secure to the bottom of the cone with cooled boiled water and a paintbrush.
forest-cake-image-2.jpg?sw=680&q=85
Step-3
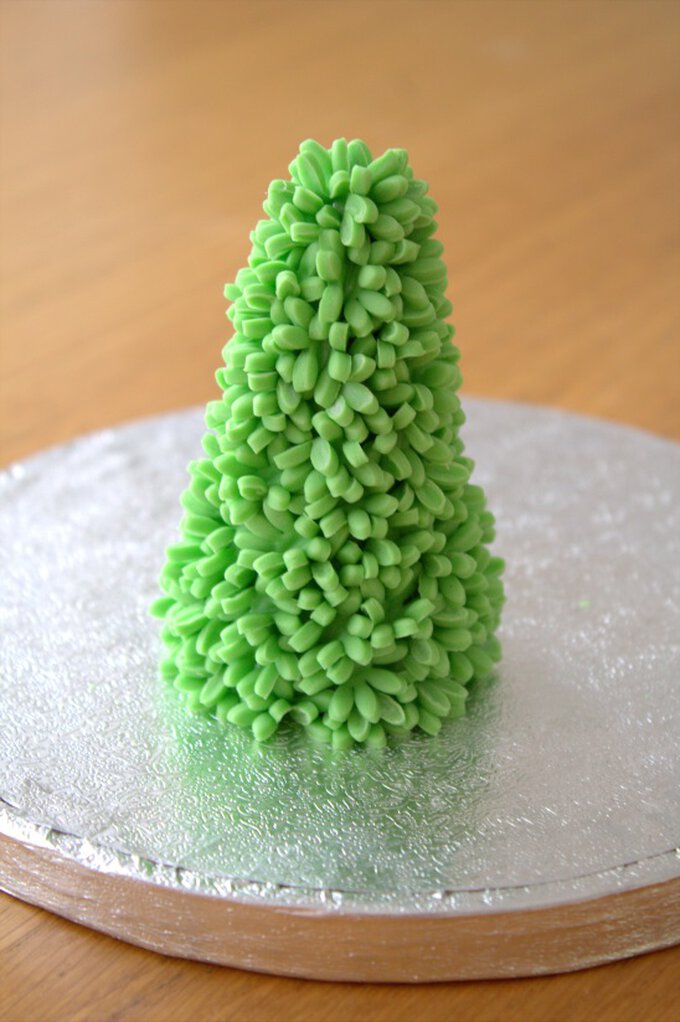
Work your way around the cone adding the squished daisies and working upwards.
forest-cake-image-4.jpg?sw=680&q=85
Step-4
Cover the whole of the cone and leave all your trees to dry whilst you make the cottage.
forest-cake-image-6.jpg?sw=680&q=85
Step-5

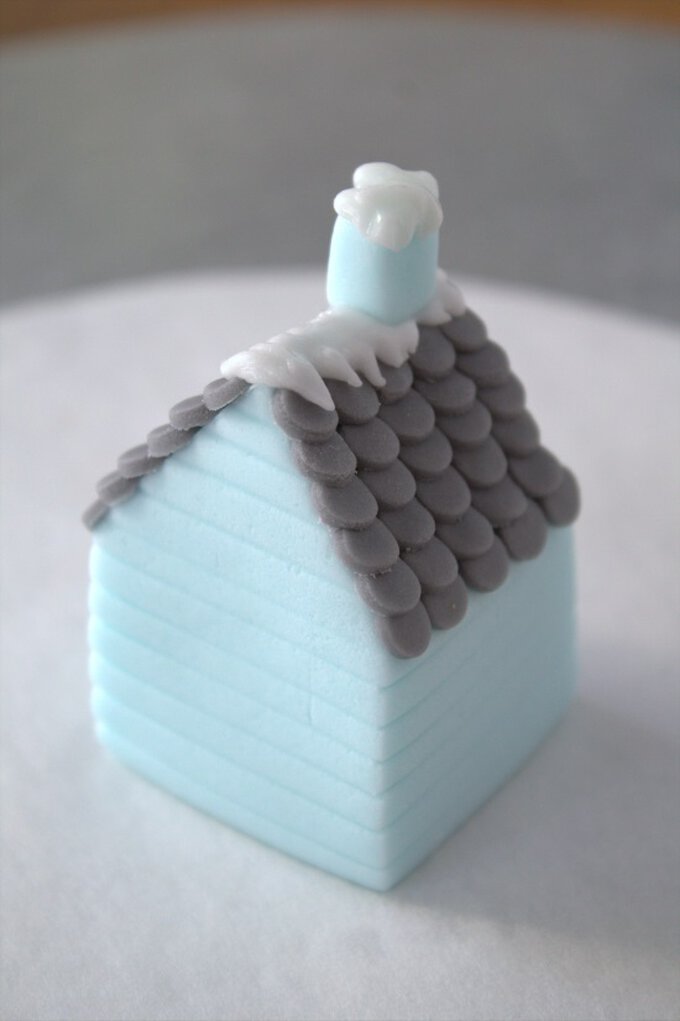
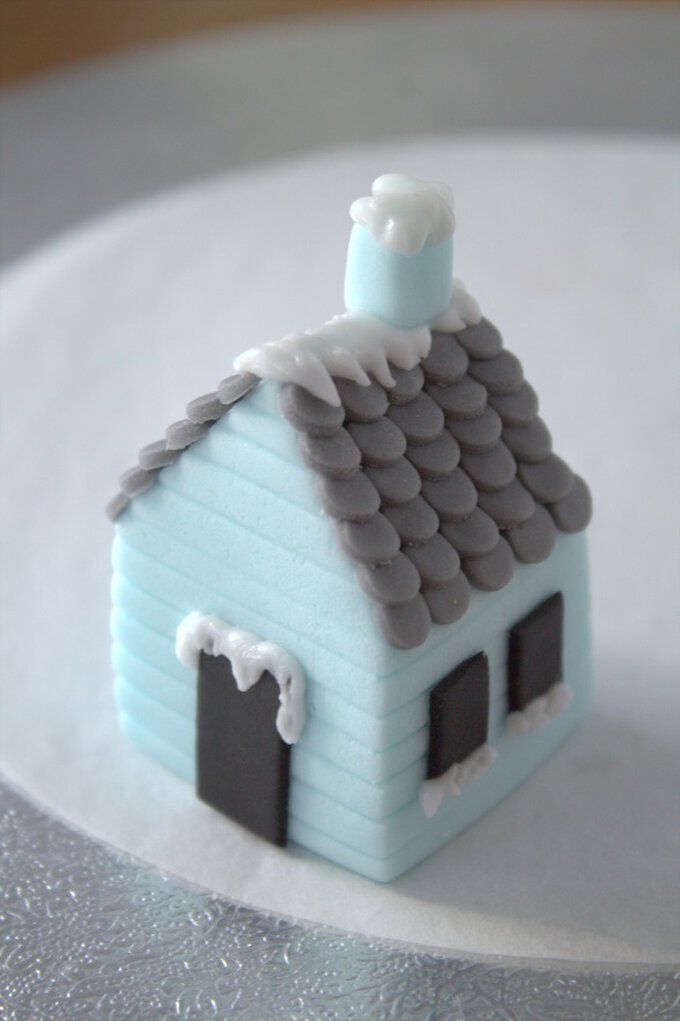
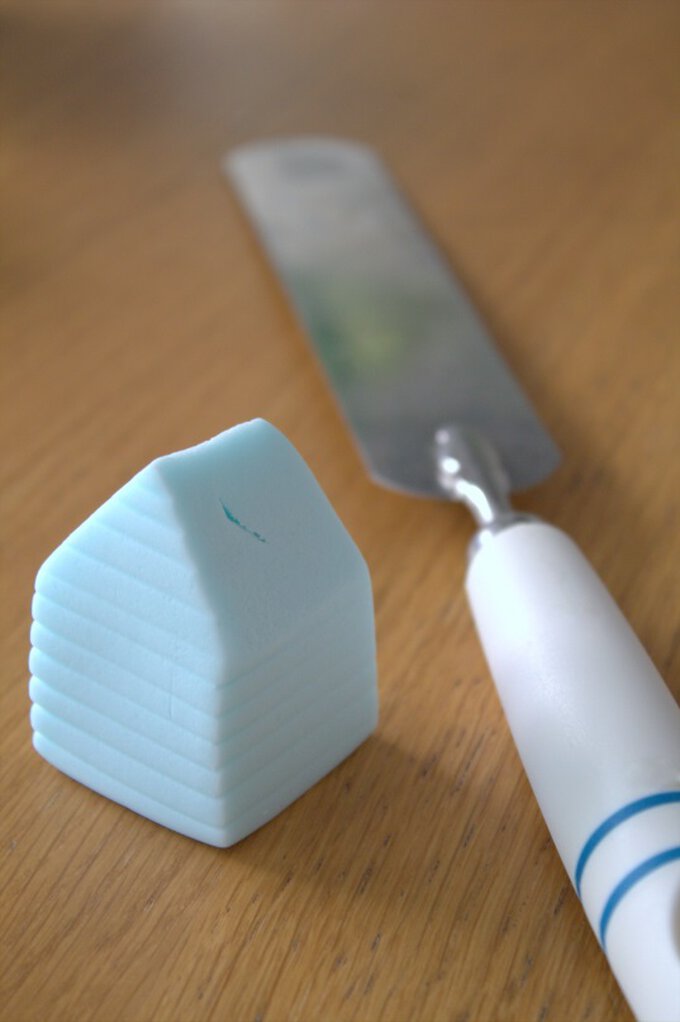
Take a golf ball sized piece of blue icing and shape into a cube with a pointed roof. Use a sharp knife to cut straight sides all around. Score lines into the four sides of the cottage with the edge of a knife.
forest-cake-image-8.jpg?sw=680&q=85
Step-6
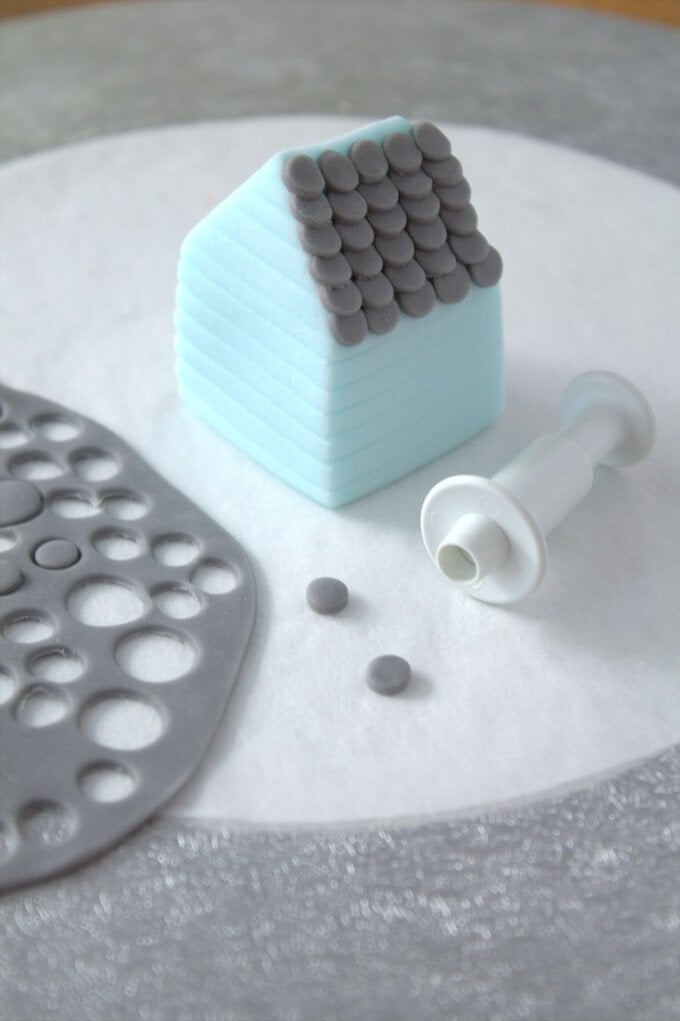
Transfer the cottage onto a piece of non-stick paper. Thinly roll out some grey icing and use the small plunger cutter to cut out the roof tiles. Apply them to the roof using a little water starting at the bottom and working in rows upwards, overlapping the tiles as you go. Repeat on the other side of the roof.
forest-cake-image-9.jpg?sw=680&q=85
Step-7
Pipe a little royal icing 'snow' along the top of the roof and add a snow-capped chimney.
forest-cake-image-10.jpg?sw=680&q=85
Step-8
Cut some windows and a door from the black icing, attach in place with water and pipe more 'snow' on the window ledges and top of the door. Add doorknob and windowpanes.
forest-cake-image-11.jpg?sw=680&q=85
Step-9
Arrange your trees on the cake and nestle the cottage in amongst the forest. When you're happy with the placement secure everything with royal icing.
screenhunter_512-jul.-09-12.07.jpg?sw=680&q=85
  • bvseo_sdk, dw_cartridge, 18.2.0, p_sdk_3.2.0
  • CLOUD, getReviews, 6ms
  • reviews, product
  • bvseo-msg: Unsuccessful GET. status = 'ERROR', msg = 'Not Found.'; Unsuccessful GET. status = 'ERROR', msg = 'Not Found.';

Related Products

Top