How to Make Chocolate Slabs
Chocolate slabs beautifully decorated are becoming increasingly popular, they're great to make as you can add any topping you like, from banana chips to marshmallows, nuts to pieces of fudge, the possibilities are endless!
You will need
Subtotal
Is $ 7.49
Subtotal
Is $ 5.49
How to make
Total time needed : Three hours and 20 minutes
Prep time : Ten minutes
Setting time : Two to three hours
Decorating time : Ten minutes
Skill level : Beginner
Ingredients:
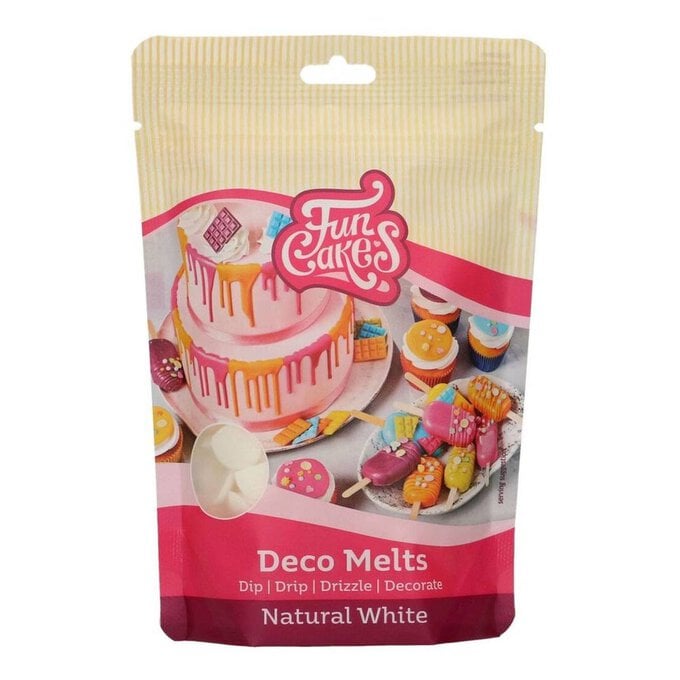
Candy Melts
Baking tray
Greaseproof paper
Spatula
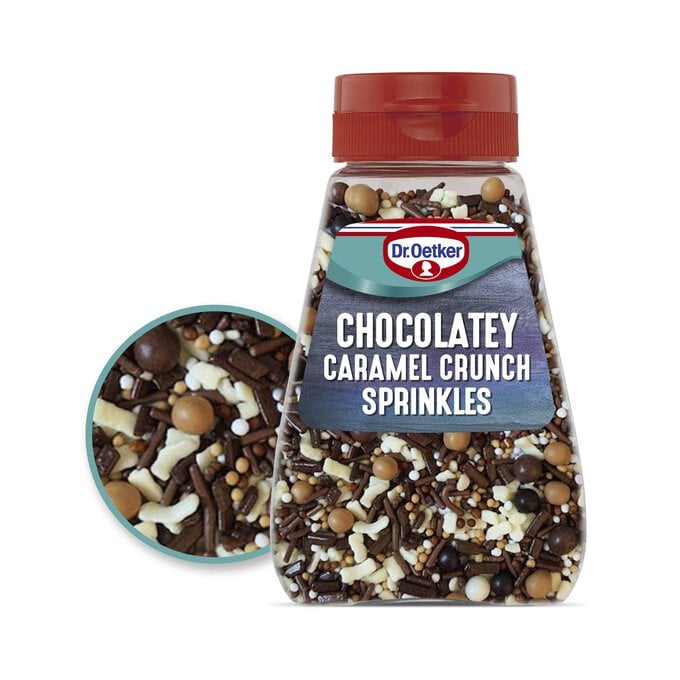
Selection of edible toppings
Follow the instructions on the back of the pack to melt the Candy Melts. This can either be done in a saucepan or in the microwave. Whichever method you choose make sure that you keep an eye on the chocolate at all times.
Once the Candy Melts have completely dissolved and you have a smooth flowing mixture. Pour onto a baking tray lined with greaseproof paper, spreading out to your desired thickness using a spatula.
If you are using another chocolate (white, dark etc) place small blobs on top of the already spread chocolate and swirl into it using the end of paint brush, or if you don't have a paint brush to hand try using a cocktail stick or kebab skewer.
Once you are happy with the look of your chocolate slab add your toppings whilst the chocolate has yet to set.
Once you have added all of your toppings leave the chocolate slab to set overnight either in the fridge or on a cool surface. To test the chocolate has set; gently push with the tip of your finger.
Once set remove from the greaseproof paper.
Any chocolate that is leftover can be stored in a bowl and left to set, this can then be melted down again at a later stage.
To beautifully package your chocolate slab, you could try wrapping some patterned cellophane around it. Or, for something a little simpler, try greaseproof paper cut to size using pinking shears, fastened using twine and ribbon and finished off with a hand-written tag.
