How to Make Vampire Bat Cookies
Want to create a Halloween centrepiece with extra bite? These hanging vampire bat cookies are a great project for making with the kids, and can be made in a whole array of colours.
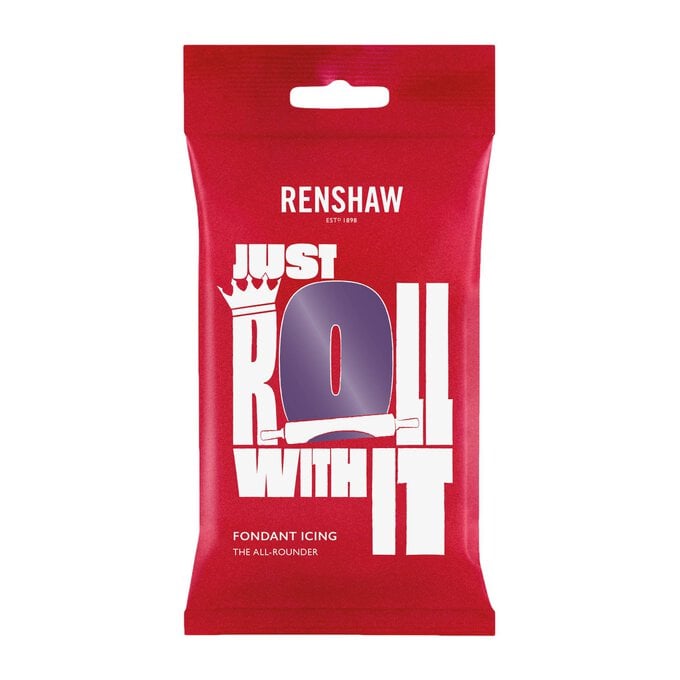
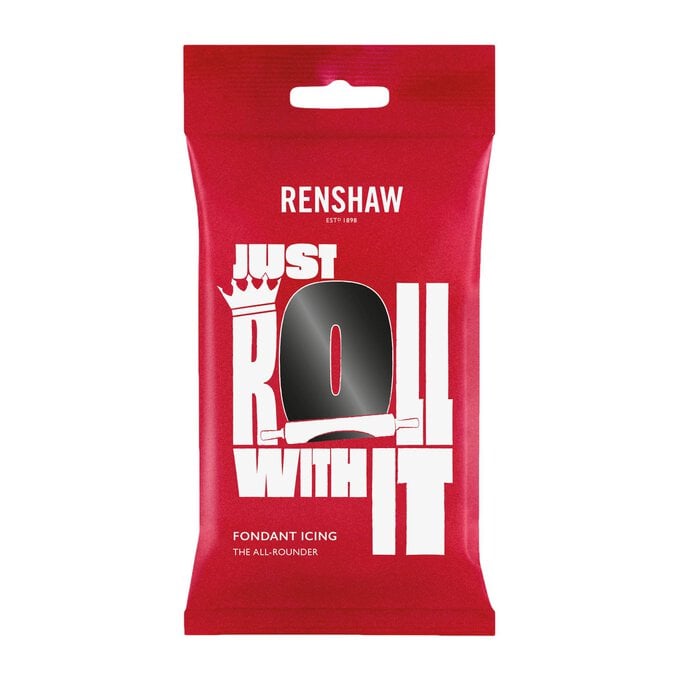
I've stuck with the traditional Halloween colours of black, grey and purple, but you could have a go at experimenting with different colours of ready to roll icing, or even add small sweets for extra decoration.
You will need
Subtotal
Is $ 4.49
Subtotal
Is $ 7.49
Subtotal
Is $ 4.49
Subtotal
Is $ 4.49
Subtotal
Is $ 4.49
Subtotal
Is $ 4.49
Subtotal
Is $ 4.49
Subtotal
Is $ 4.49
Subtotal
Is $ 15.00
How to make
Ingredients:
(Makes 20 to 30)
225 grams Unsalted butter, softened
200 grams Caster sugar
115 grams Light brown sugar
Two small Eggs, cold
375 grams Plain flour, sifted
70 grams Cocoa powder, sifted
Half a teaspoon of salt
One teaspoon Vanilla extract
In an electric mixer fitted with paddle attachment, cream together the butter and sugars for approximately five minutes until fluffy and pale. Beat in eggs until just combined.
Add flour, cocoa, salt and vanilla and mix on low speed until thoroughly combined. Wrap the dough in cling film and chill in fridge for 45 minutes before rolling out on a floured surface
Roll out dough to a thickness of five millimetres.
Cut the bat cookies from the dough and use a drinking straw to make a hole in each cookie (for hanging) before baking at 170 degrees Celsius for 12-16 minutes (or until edges are just crisp). Cool cookies on wire racks until completely cold before decorating.
Use the bat cutters to cut out coloured icing and attach to the cookies with water.
Use the end of a paintbrush (or similar item) to poke the hole through
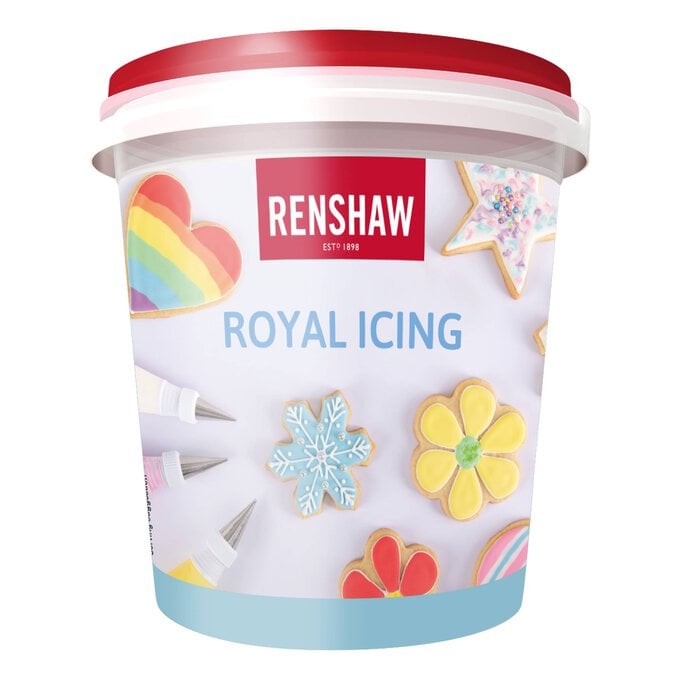
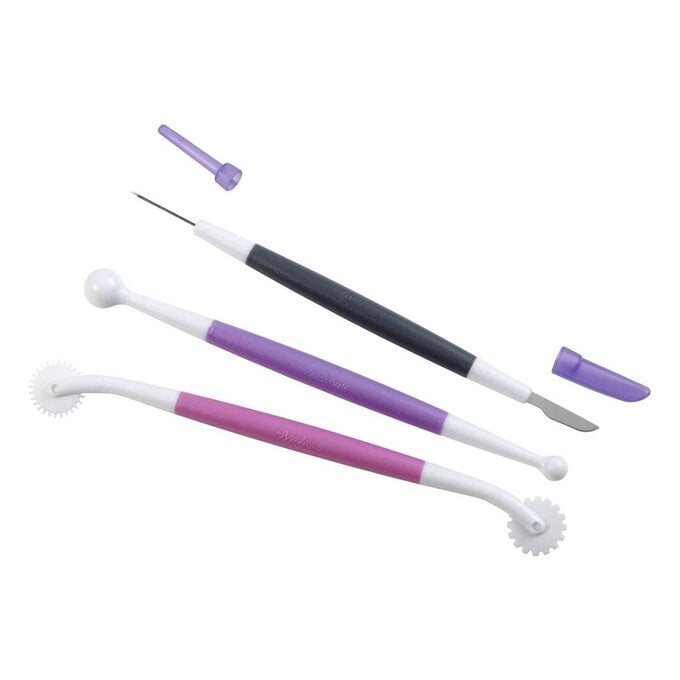
Add detail to your bats – you can score lines in the wings with the leaf shaper tool or pipe them on with coloured Royal icing. Add dots for eyes or use ready-made icing eyeballs.
Add some tiny teeth made from white icing to give your bats scary fangs!
Once you've finished decorating the bats thread your twine or ribbon through the hole and then hang them. I create a spooky bat infested white display tree with mine.
