How to Make a Thank You Card
Looking for the perfect way to say thank you? Look no further! This thank you card is an ideal way to show your appreciation for any special occasion, and it's a great project for beginners.
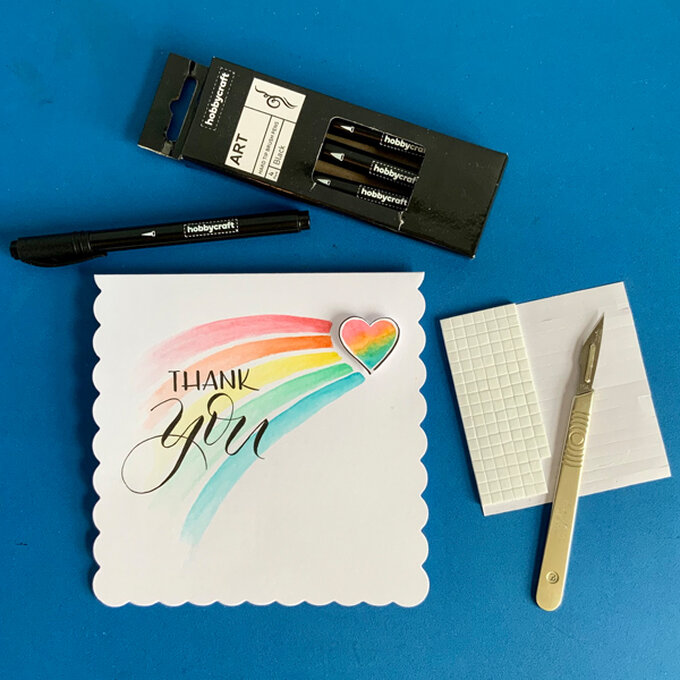
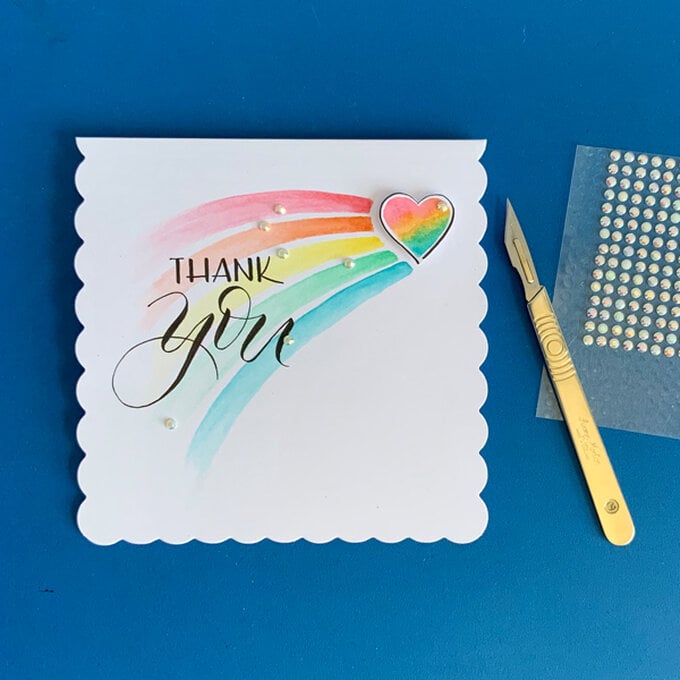
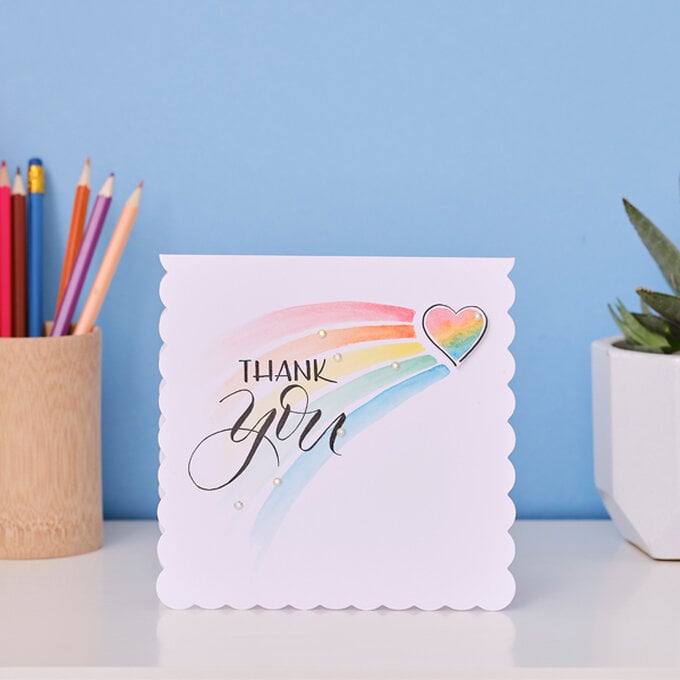
Brush markers have been mixed with water to create a vibrant watercolour rainbow, complete with hand-punched heart topper.
Project and instructions by Sue Smith
You will need
Subtotal
Is $ 16.00
You will also need
*Spare white card
*Scissors
*A pencil
*An eraser
How to make
In preparation for this beautiful project, download the template below.

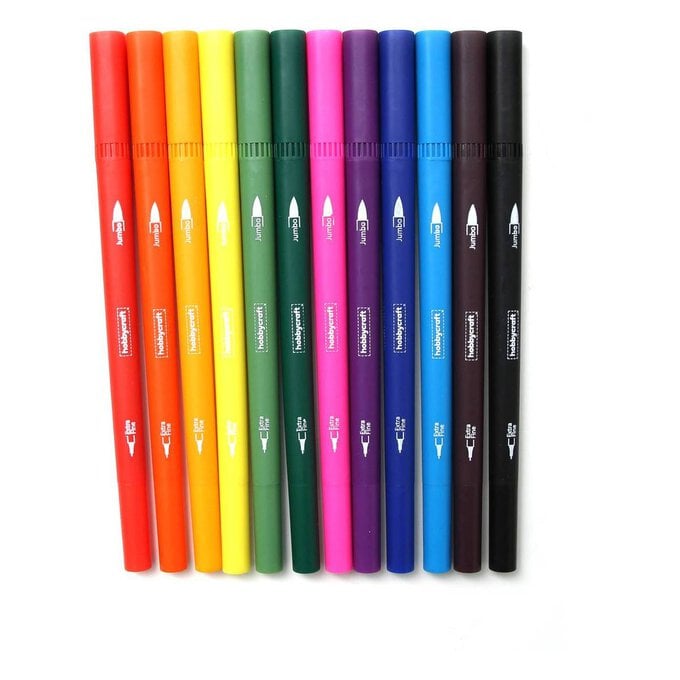
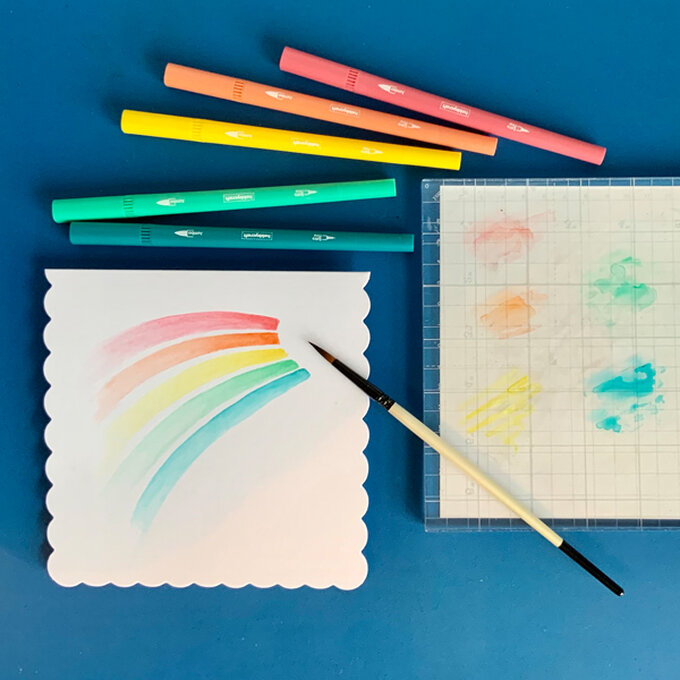
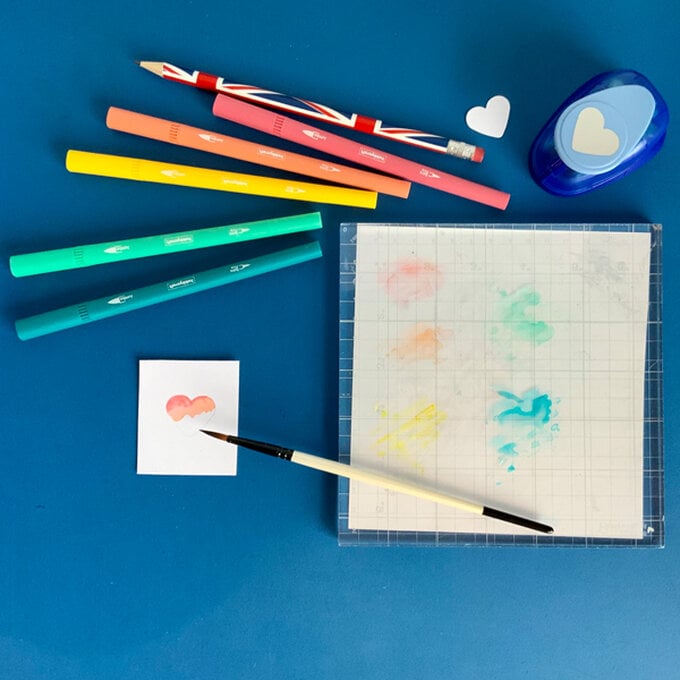
Start by choosing five pastel coloured pens from the selection case, a red, an orange, a yellow, a green and a turquoise pen were used in this project.
Lightly draw a rainbow with a pencil onto the card front, leaving room for the heart topper. Scribble some colour from each pen onto the acrylic block.
Pick up each colour one at a time with water, and paint the rainbow colours from the heart shape fading out.
Allow to dry fully.
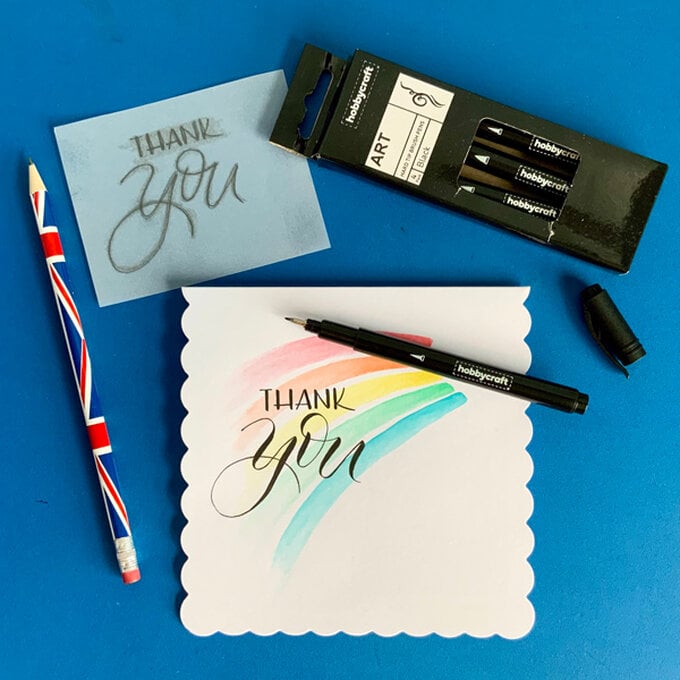
Use the template to transfer the caption lettering onto the painted rainbow.
Write the caption using the finest black brush pen.
Punch out a heart from spare white card. Use this heart as a template to draw a heart shape onto another piece of spare white card. Use the rainbow colours as before to paint a rainbow within the heart shape.
Allow to dry fully.
Using the finest black brush pen again, draw a line around the heart leaving a tiny white border.
Cut this out with scissors creating a little heart topper.
Use foam pads to fix onto the card front.
