Wood Craft Ideas
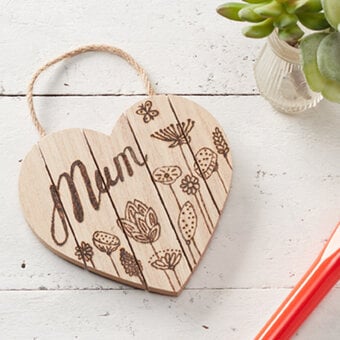
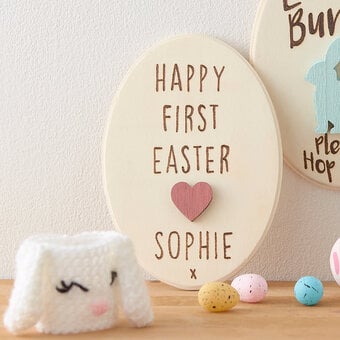
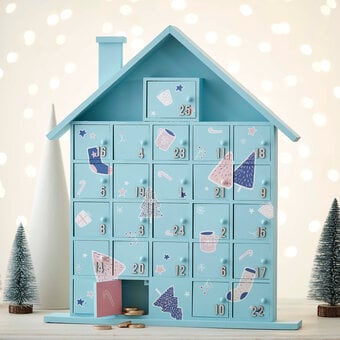
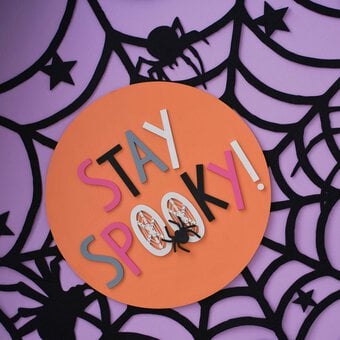
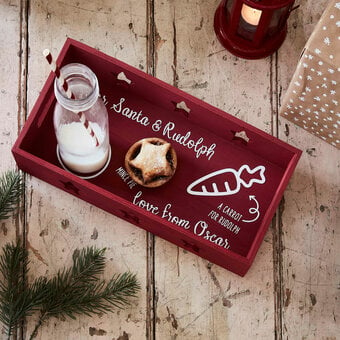
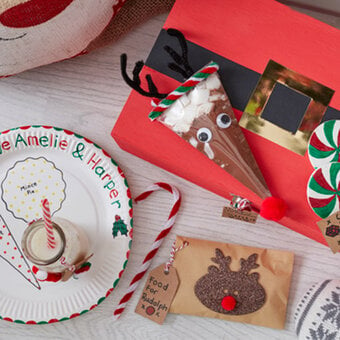
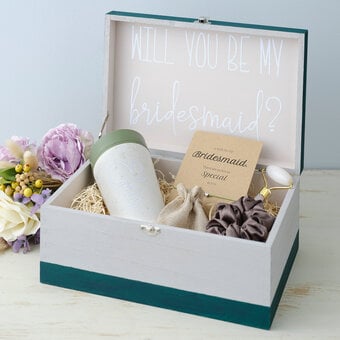
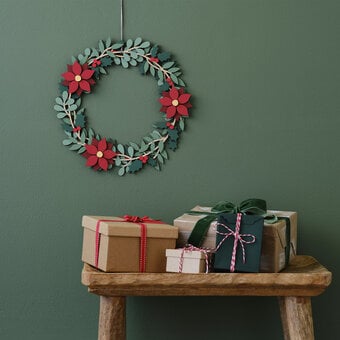
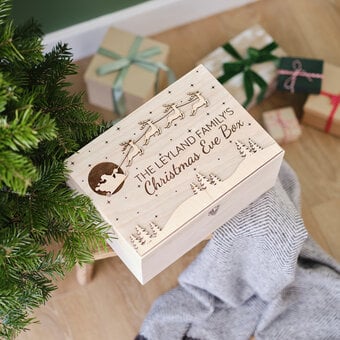
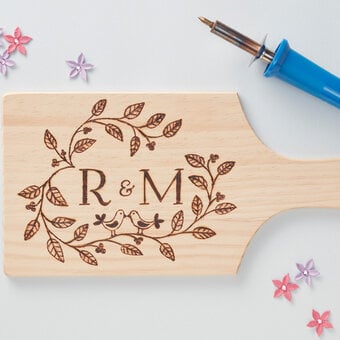
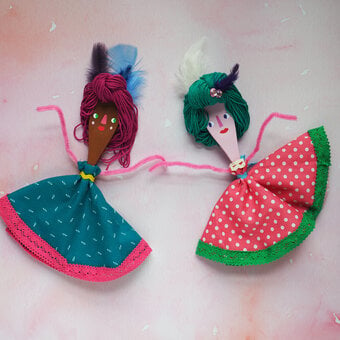
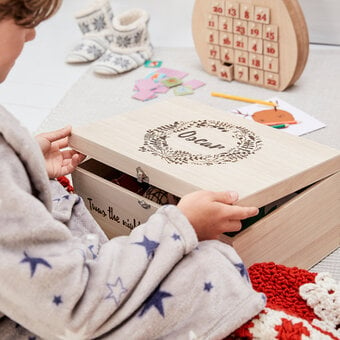
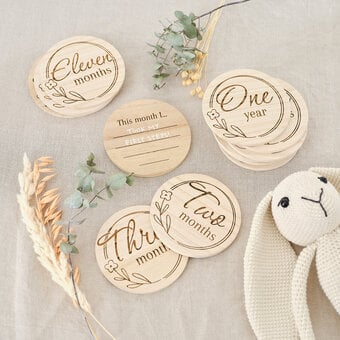
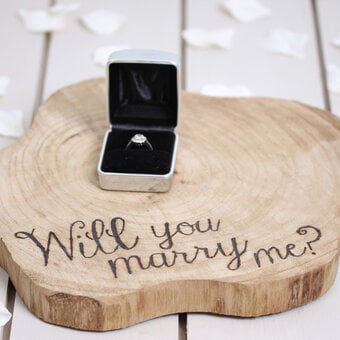
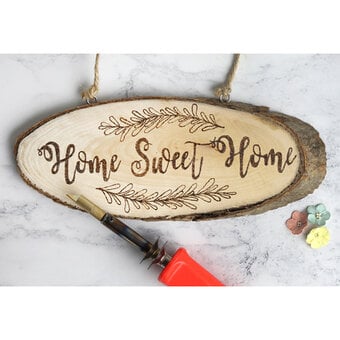
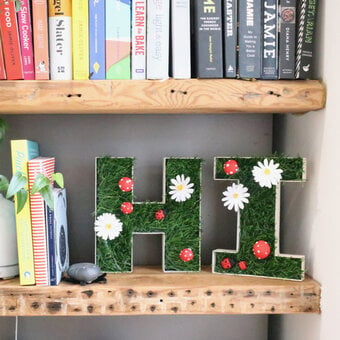
From beautiful pyrography to woodworking and carving, there are so many ways to get creative with wood. You’ll even find a variety of ideas for painting our wooden blanks to transform your décor with personal touches. Discover projects suitable for beginners and beyond, whether you’re making DIY decorations for your home or crafting handmade gifts.
Skip to Product Grid (Press Enter)
Filters
-
Decor & Hobbies (28)
-
Cricut (22)
-
Glowforge (18)
-
Gifting (7)
-
Kids (1)
-
Weddings (1)
-
Beginner (65)
-
Intermediate (12)
-
£10.00 - £30.00 (49)
-
£30.00+ (20)
-
<£10.00 (8)
-
1 hour (49)
-
1/2 day (23)
-
1+ days (5)
-
Art - Acrylic Painting (2)
-
Cricut - Other (3)
-
Cricut - Papercraft (3)
-
Cricut - Vinyl (14)
-
Decor & Hobbies - Other (6)
-
Decor & Hobbies - Pyrography (19)
-
Digital Crafting - Laser Cutting (19)
- View more
-
Digital Crafting - Sublimation (1)
-
Kids - Craft Activities (1)
-
Occasions - Gift Ideas (6)
-
Occasions - Gift Wrapping (1)
-
Gift Ideas (28)
-
Home Décor (20)
-
Advents (1)
-
Animals (1)
-
Home Dècor (1)
-
Wreath Making (1)
-
Birthday (1)
-
Christmas (21)
-
Wedding (5)
-
Valentine's Day (6)
-
Newborn Baby (3)
-
Mother's Day (2)
-
Father's Day (2)
- View more
-
New Home (2)
-
Advent (1)
-
Halloween (1)
-
Thank You (1)
-
Autumn (1)
-
Spring (1)
-
Easter (5)
Viewing 1 - 48 of 77 Ideas
Viewing 1 - 48 of 77 Ideas
You've viewed 48 of 77 products
Oops...
Sorry, we did not find any products that match the
selected filters. You can go back to previous results to
select something different.

